
Configure Atlan Integration
Configure Ataccama ONE
Ataccama ONE configuration involves creating a secure connection between Ataccama and Atlan so the two platforms can share data quality information.
This setup has three main steps:
-
Set up a dedicated Keycloak client for secure, automated authentication between platforms.
-
Map the role to a ONE group so that you can select which data sources to share with Atlan.
Prerequisites
Before you begin, make sure you have:
-
ONE user with access to the General Settings section of ONE.
-
Access to Keycloak in your ONE instance.
Keycloak configuration
Create Keycloak client
Set up a dedicated Keycloak client that enables secure, automated authentication between platforms.
To create a new Keycloak client:
-
Navigate to your Keycloak Admin Console.
-
Select the Ataccama ONE realm (for example,
ataccamaone).
-
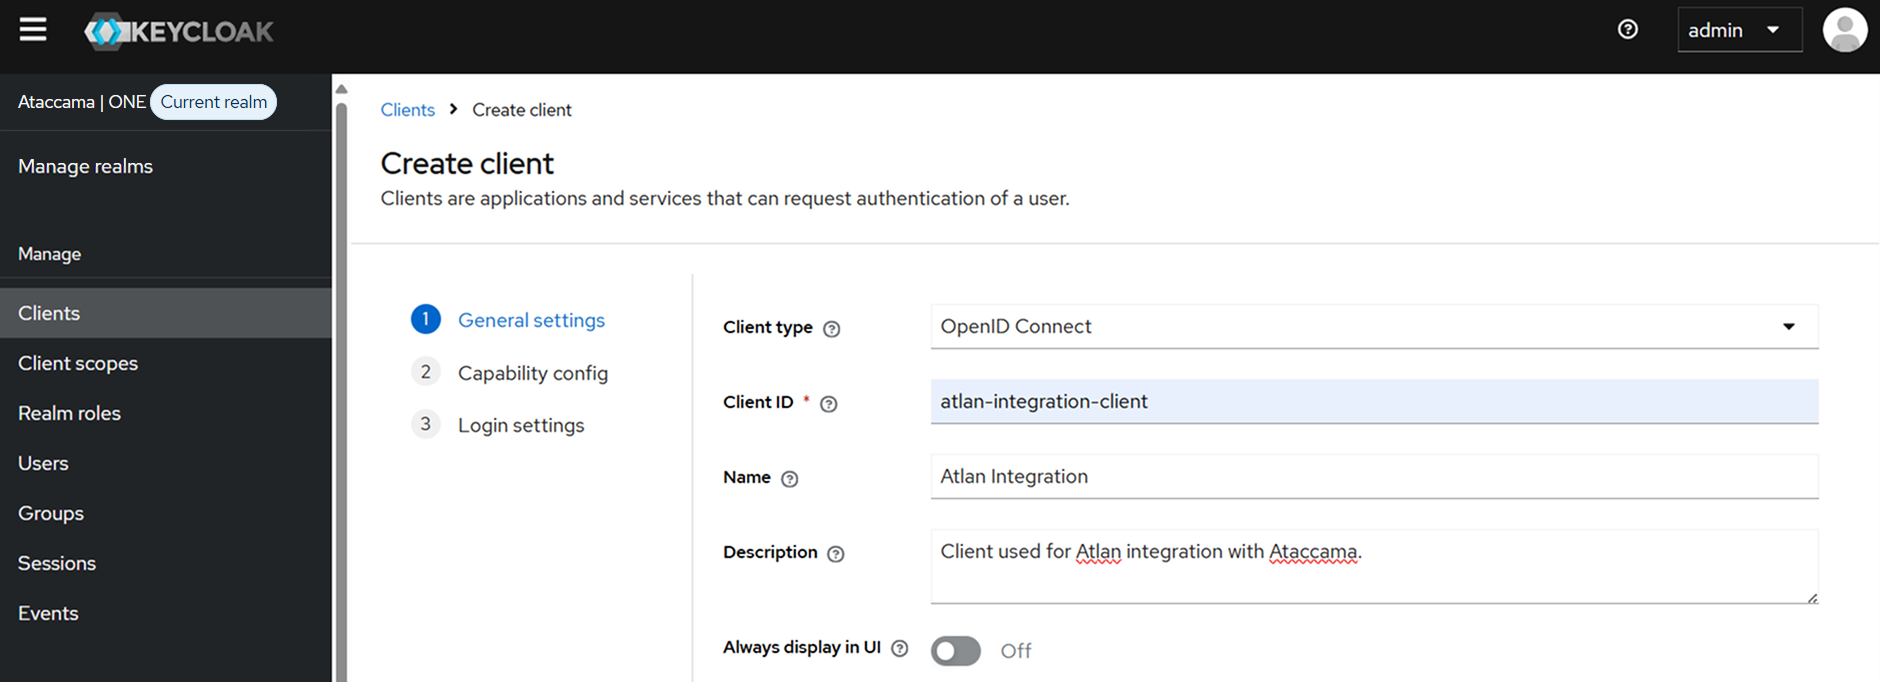
Select Clients > Create client.
-
Configure client settings:
-
Client type:
OpenID Connect. -
Client ID: A unique identifier (for example,
atlan-integration-client). -
Description: Client description (for example, Client used for integration with Atlan catalog.).
-
-
Select Next.
-
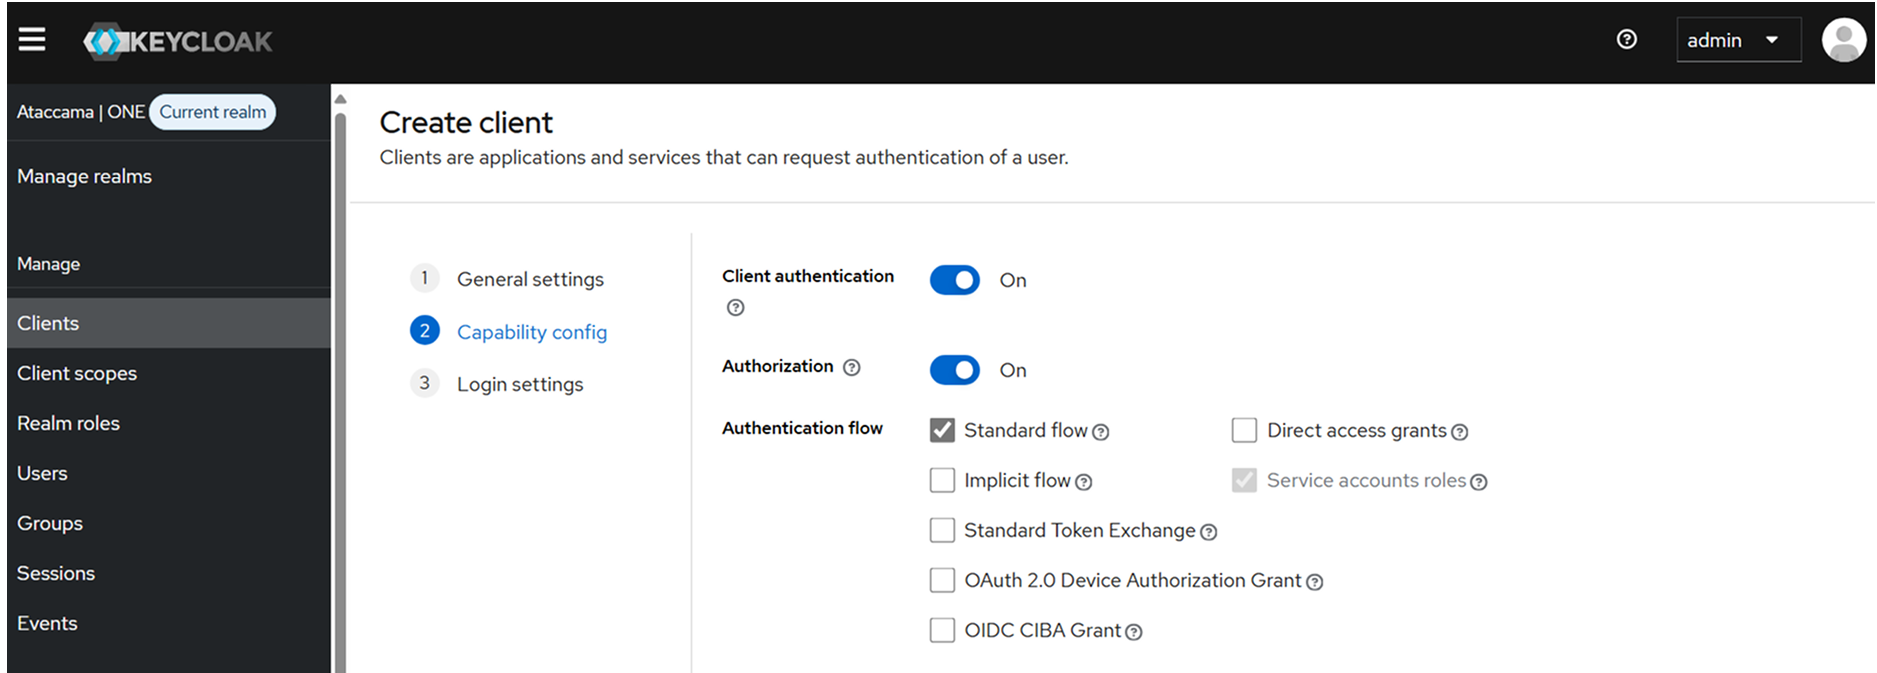
Configure authentication:
-
Client authentication: Enable this option.
-
Authorization: Enable this option.
-
Authentication flow: Enable Standard flow and Service accounts roles. Do not change any other settings.
-
-
Select Next.
-
Keep the Login settings screen as it is, and select Save.
Create and assign Atlan integration role
The Keycloak client is created with default roles that grant overly broad access. Here, you remove these and create a narrow, custom role that limits the client to only the specific permissions needed for the Atlan integration.
To assign required roles to the Keycloak client:
-
Create a new role:
-
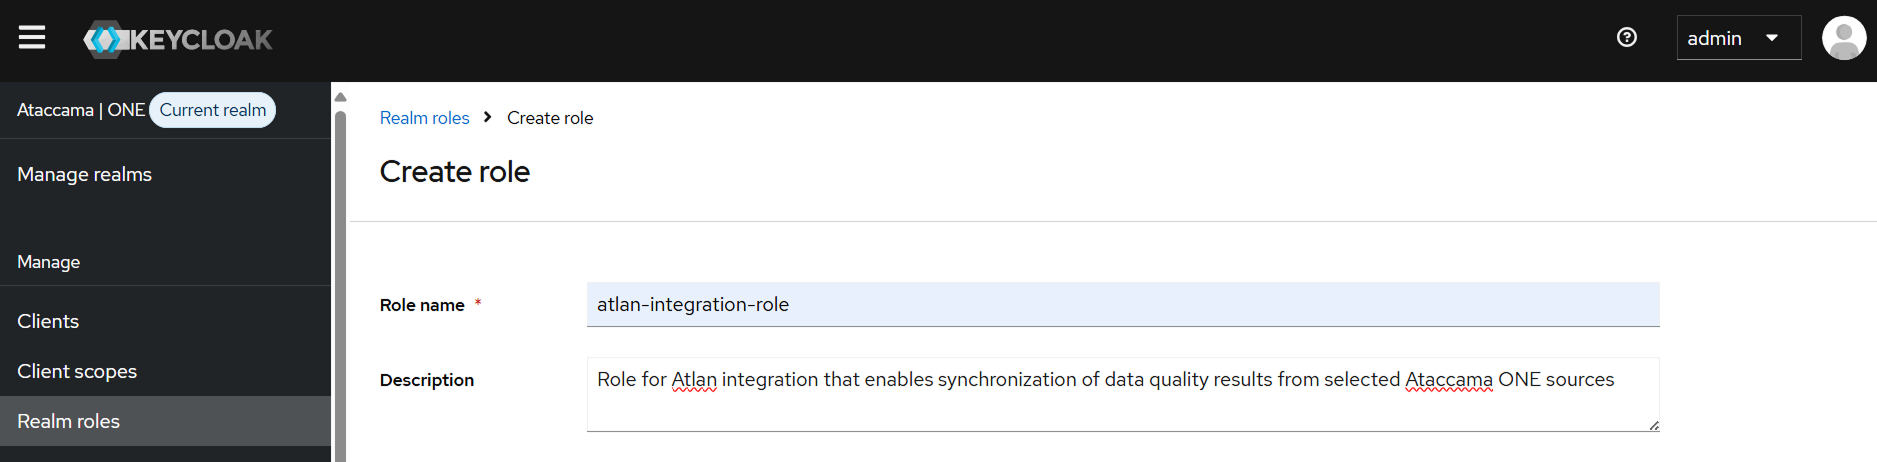
From the left navigation menu, select Realm roles > Create role.
-
Configure role settings:
-
Name: Role name (for example,
atlan-integration-role). -
Description: Role description (for example, Role for Atlan integration that enables synchronization of data quality results from selected Ataccama ONE sources).
-
-
Select Save.
-
-
Navigate to the Service accounts roles tab of your client.
-
The client has some roles assigned by default. Unassign all of them.
-
Assign the new role to the Keycloak client:
-
Navigate back to the Service accounts roles tab of your client.
-
Select Assign role.
-
Filter by realm roles and select the role you have created in step 1.
-
Select Assign to confirm.
-
Copy Ataccama ONE credentials
Atlan needs your client credentials to authenticate with Ataccama ONE. Copy the client secret and realm name of your Keycloak client and provide them to the person responsible for the Atlan configuration.
You can find the credentials in Keycloak Admin Console, under your client:
-
Client Secret: In the Credentials tab.
-
Realm name: Select the realm name from the dropdown in the upper-left corner of the Admin Console. Use the technical realm name, not the display name (for example,
ataccamaoneinstead ofAtaccama | ONE).You can also find this name in Realm settings > Realm ID value.
Ataccama ONE configuration
Map Atlan integration role to ONE group
To control which data sources are covered by the integration, you need to map the Atlan integration role from Keycloak to a group in Ataccama ONE. You can then share specific sources with this group to make them available for the integration.
In this step, you import the new role (atlan-integration-role) from Keycloak and assign it to a new dedicated group in ONE application:
-
Log into Ataccama ONE application
-
Import the role from Keycloak to ONE:
-
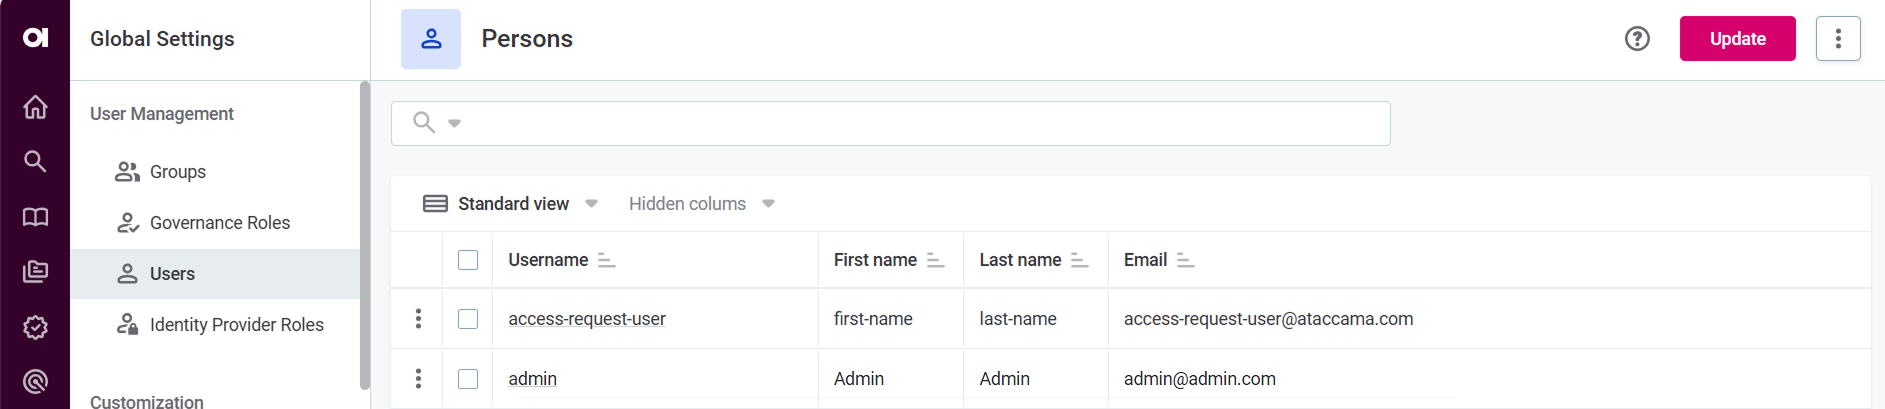
Navigate to Global Settings > Users.
-
Select Update to synchronize Keycloak to ONE.
-
In Global Settings > Identity Provider Roles, you can now see the imported Atlan integration role.
-
-
Assign the role to a group:
-
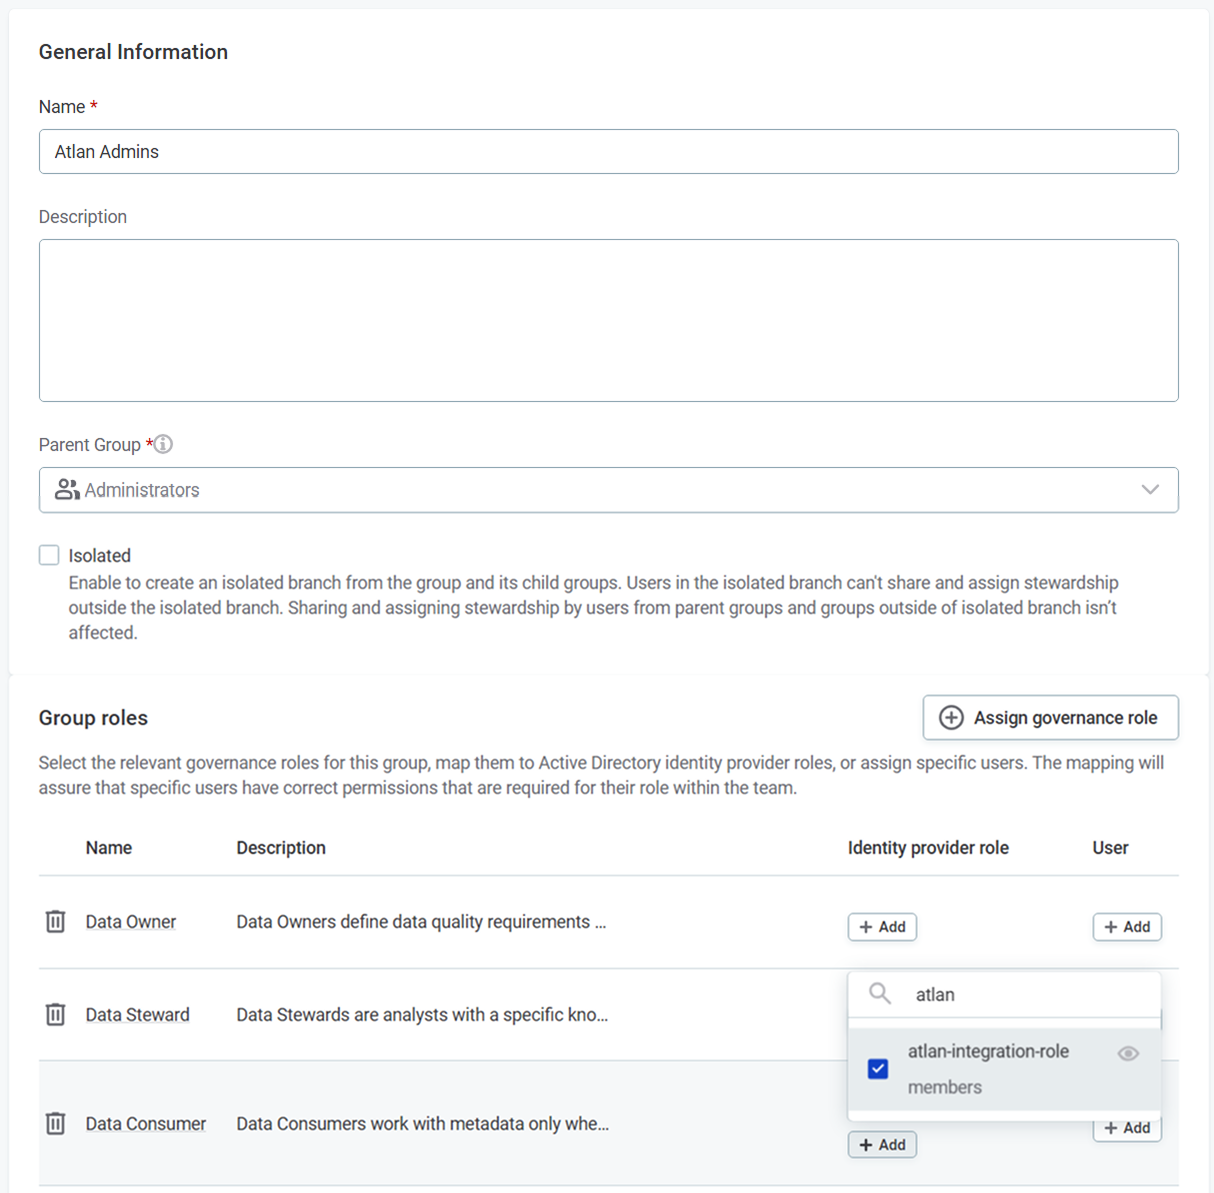
Navigate to Global Settings > Groups.
-
Select Create to create a new dedicated group (for example, Atlan Admins).
-
Fill the Name field and select Parent Group.
-
In the Group roles section, find the Data Consumer row and add the realm role you created in Keycloak to the Identity provider role column.
-
Select Save and publish.
-
Configure Atlan
For instructions about configuring Atlan for the integration, see the official Atlan documentation.
You’ll need the Keycloak client credentials you copied earlier during setup.
Was this page useful?