
System Changes
When publishing changes in the metadata model configuration, it is necessary to use the System Changes to apply the changes. This guide outlines how to use the System Changes to successfully update your metadata model.
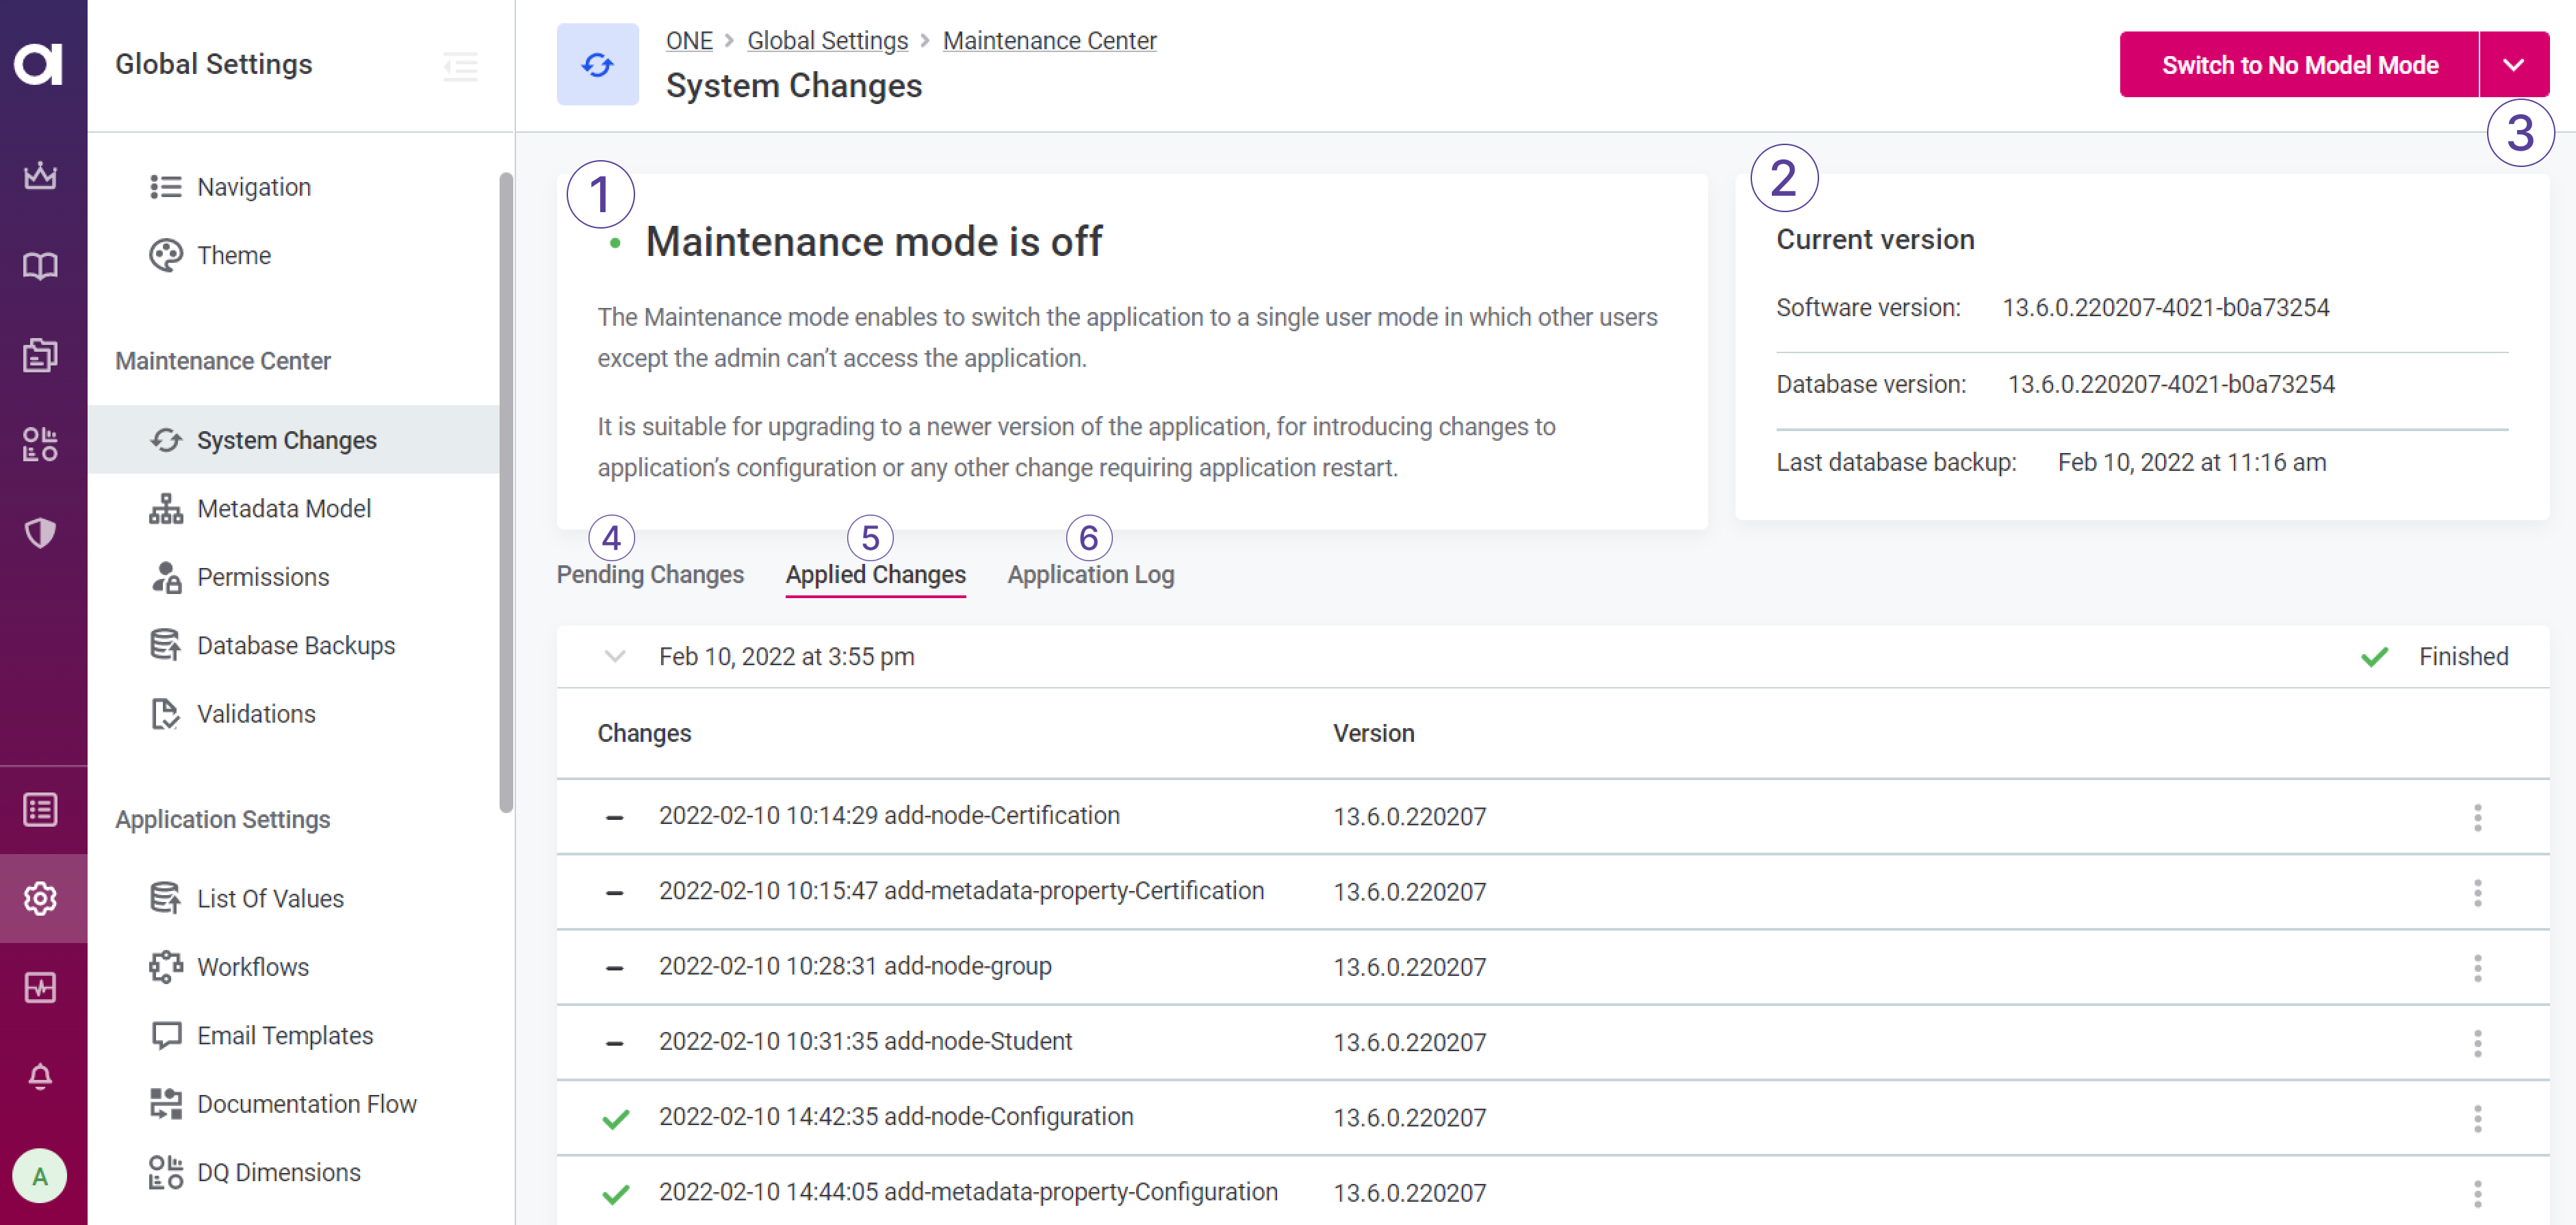
In Global Settings > System Changes, you can do the following:
-
(1) See in which mode the application is working right now.
-
(2) Find information about the current state of the application in Current Version section.
-
(3) Switch to the single-user mode by selecting one of the options in the mode switch section.
ONE switches between required modes automatically as you apply changes. You can also switch between modes manually as needed. See Application Modes. -
(4) See the list of Pending Changes.
-
(5) See the list of Applied Changes.
-
(6) See the Application Log.
Overview
The System Changes let you seamlessly update the metadata model, manage how the changes made to the model are published, or upgrade the application to a new system version. This is done through JSON-based instructions that are either generated automatically by the application or uploaded by users.
Depending on their impact, there are two types of system changes:
-
System upgrade commands: Used when installing a new system version in the application. Such commands must be successfully executed as without them the new version of the application does not start.
In addition, given their key role in migrating between different versions, system upgrade commands cannot be deleted.
More information about how system upgrade commands fit into the whole upgrade process, and version-specific upgrade notes, can be found in the ONE Gen2 Upgrade Guide, ONE Web Application Upgrade section. -
User changes: Used when changes are made to the metadata model. As these changes are optional, users can decide when and whether to apply them.
The commands can be provided in one of the following ways:
-
Generated automatically after the metadata model has been modified: For example, this includes adding a new entity or editing a trait.
When the metadata model is edited through the web application, any changes are first represented as draft versions and appropriate update commands for publishing the drafts are created.
The new commands are then added to the list of changes (Pending Changes section in the System Changes), where they are collected until users choose to publish the changes. Once an update command has been executed, it is moved to the Applied Changes list in the System Changes.
-
Uploaded by users through the System Changes: In this case, the list of update commands is synchronized with the metadata model.
Once the application detects commands for which there are no corresponding draft versions, it automatically switches to the read-only mode (No Model Mode) and creates the necessary drafts based on the list of changes.
-
In both user and system migration, metadata model changes are published and propagated to the database only after the metadata model has been successfully validated. If the model cannot be validated, the application remains in the No Model Mode and users are prompted to resolve the issues reported.
At this point, you can add new update commands, modify existing ones, or reorder the list of commands. For example, in case there is a conflict caused by the application attempting to create an entity that already exists, you can fix the issue by adding a custom command that deletes the existing entity before it is created again.
If the update finished successfully, the application switches to Application Mode.
| You can track how update commands are synchronized and executed by monitoring the status of the list of changes as any warnings are shown in the list itself. |
Add changes
Changes that have not yet been applied are shown on the Pending Changes tab. Automatically generated user update commands are added here as soon as you create a new draft version of the model.
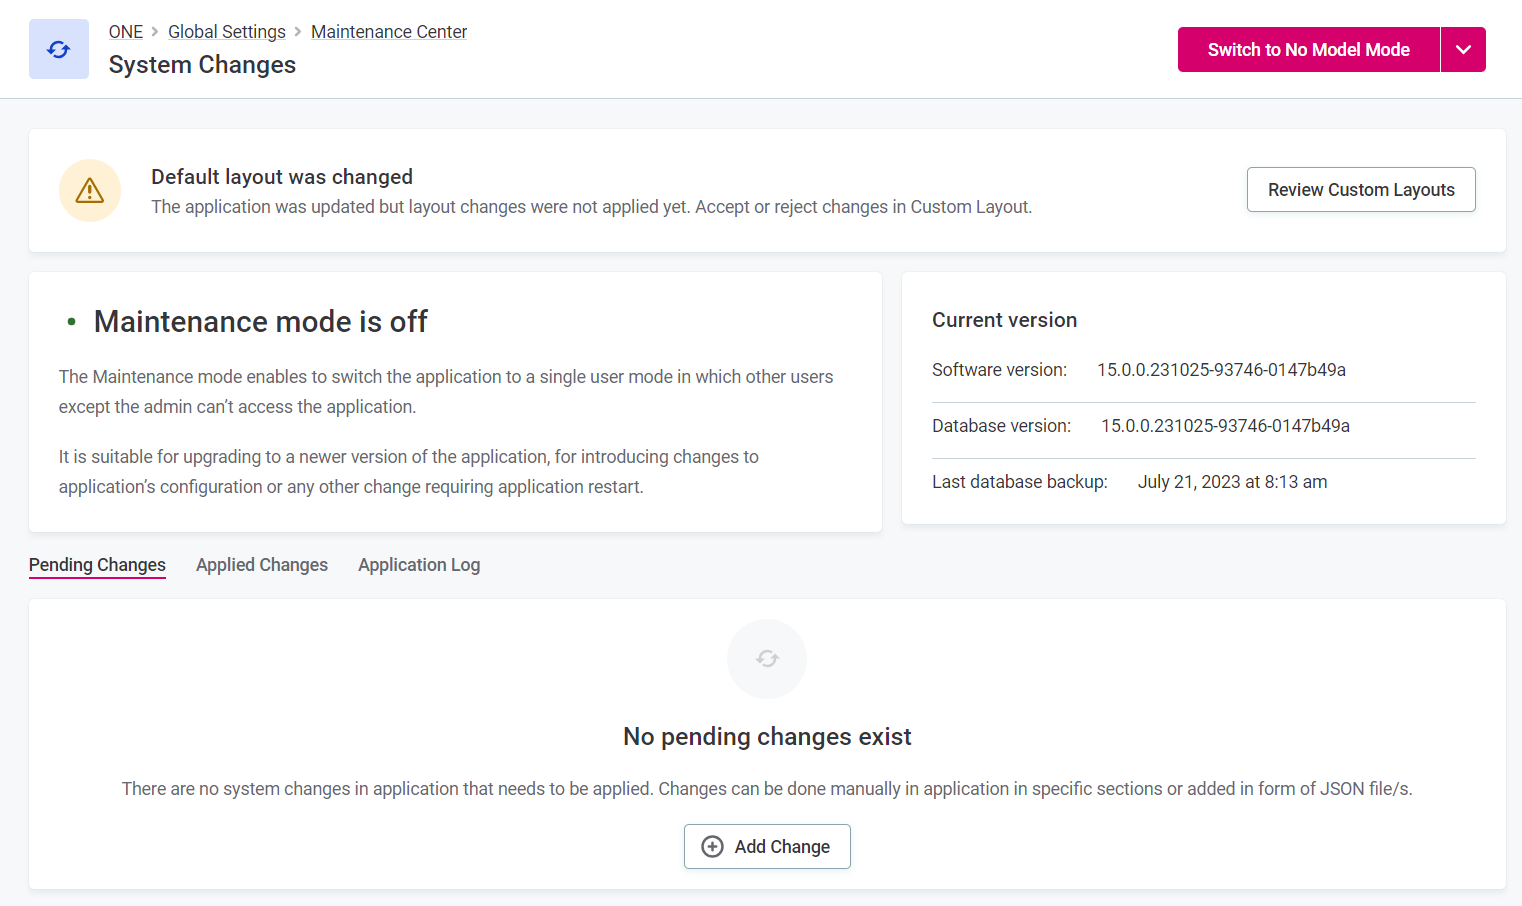
This is also where you can upload custom update commands. To do this:
-
In System Changes > Pending Changes, select Add Change.
-
In the sidebar that opens, select Browse files and choose the JSON file containing the command that you want to upload.
-
Once the file has been uploaded, you can proceed with adding it to the list of changes.
-
(Optional) This step applies only to user changes.
Choose whether the metadata model is immediately synchronized with the list of update commands after a new custom command is added. This creates a temporary model on which any changes can be tested before they are finally applied to the actual metadata model.
If you want to skip this, clear the Synchronize with Metadata Model option.
The synchronization can also be initiated manually from the System Changes. If there are any unsynchronized changes, the following appears:

In addition, the metadata model is synchronized when running the upgrade procedure as well.
-
(Optional) When the list of changes is not empty (that is, it contains at least one more pending command), you can also select the position of the new update command in the list. To do so, choose one of the following options in Position in list of steps:
-
The Top of the list.
-
Before another command from the list.
-
After another command from the list.
-
The Bottom of the list.
-
-
Select Add.
The new update command is now visible in the list of Pending Changes.
The uploaded JSON file is validated before proceeding. Invalid update commands cannot be added to the list of changes.
-
Run and publish changes
Once you have made all the necessary changes or uploaded your update commands, you can proceed with applying the changes. Both user and system updates follow the same migration procedure.
-
Before running the changes, make sure the commands under Pending Changes are listed in the order in which you want them applied.
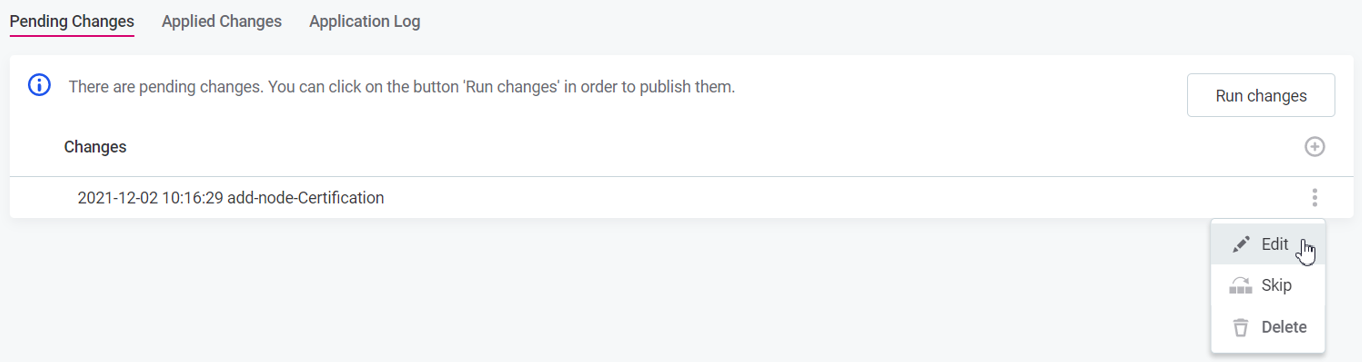
The following options are available for each command:
-
Edit: Change the position of the command in the list (Top, Before, After, Bottom).
-
Skip: The command remains on the list but is not executed in this run. Skipped commands can be added again through the same menu by selecting Include.
-
Delete: The command is deleted from the list. To prevent accidental removal, you are prompted to confirm your choice. Available only for user upgrades.
-
-
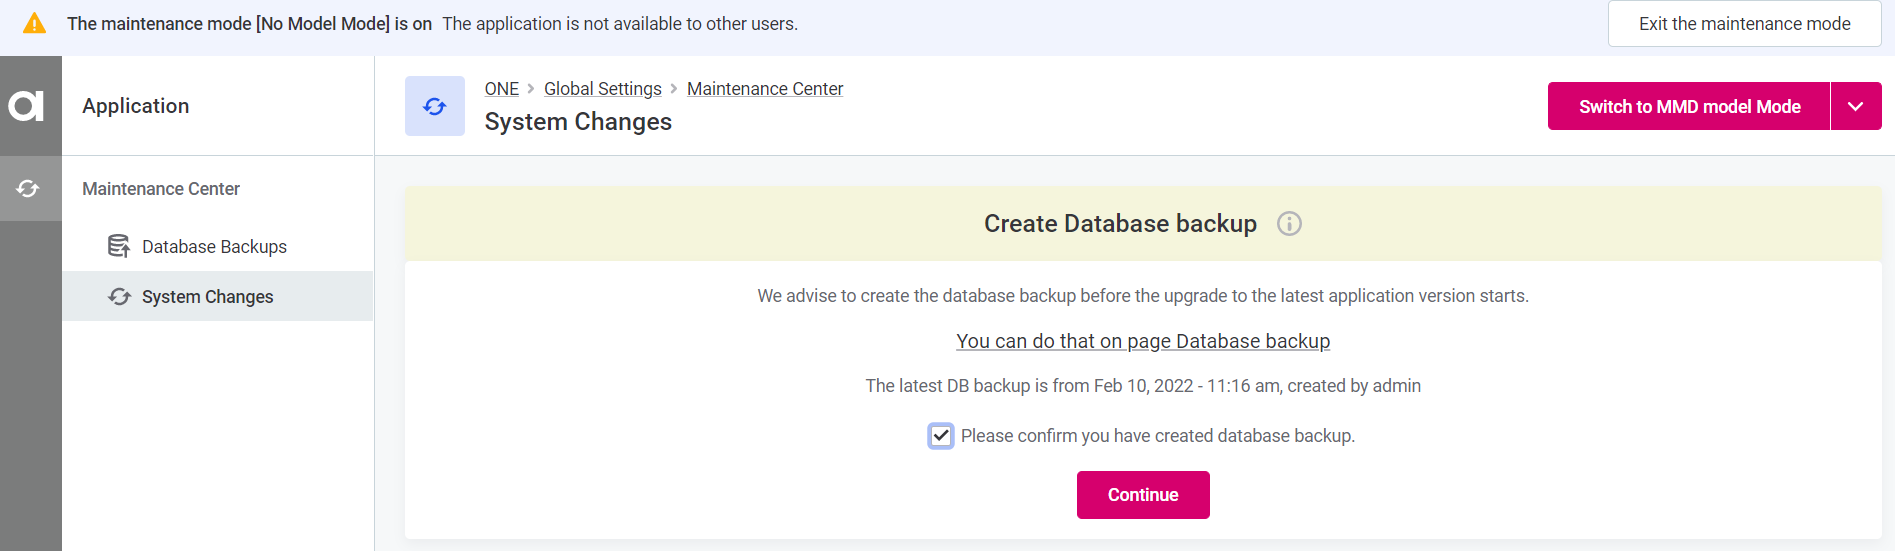
To run the update procedure, select Run changes. This switches the application to the No Model Mode.
-
To prepare for the update and prevent potential loss or corruption of data, we strongly recommend creating a database snapshot before continuing.
-
As instructed, navigate to the Database backup screen and create a database snapshot. For more information, see Metadata Backup.
-
Once you have created a backup, return to the System Changes and select Please confirm you have created database backup.
-
Select Continue.
-
-
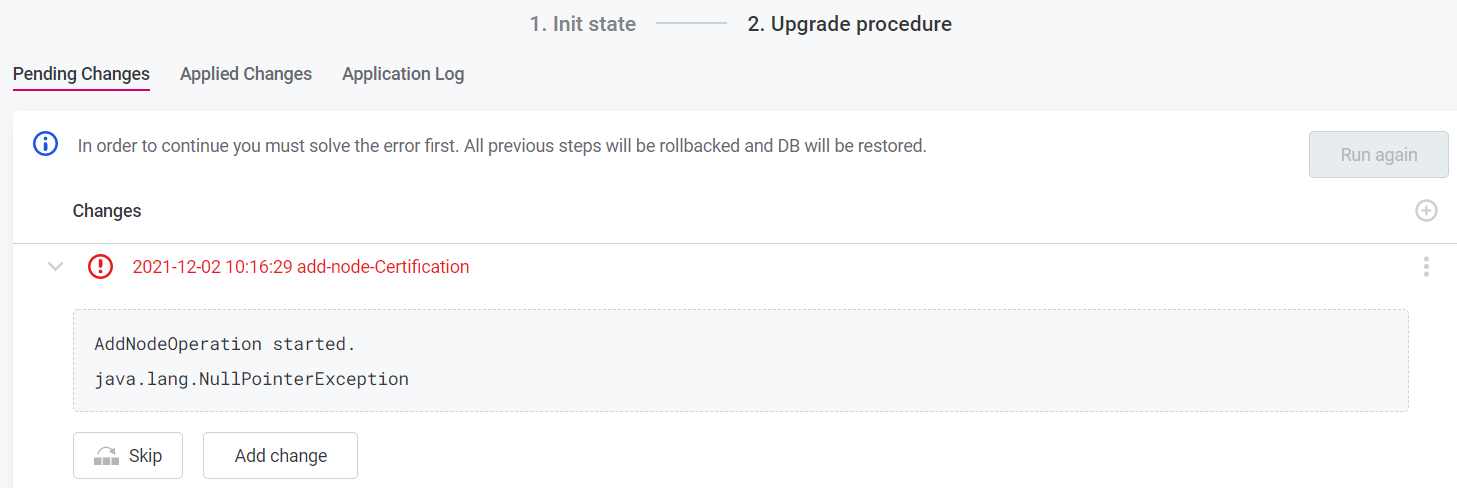
Wait for the application to finish applying the changes.
In case an error is reported during the execution, the issue must be resolved before continuing. You can either ignore the command in question (Skip) or add another command to resolve the error (Add command).
Once the upgrade procedure is done, the application switches back to the application mode. The list of executed commands is now available under Applied Changes.

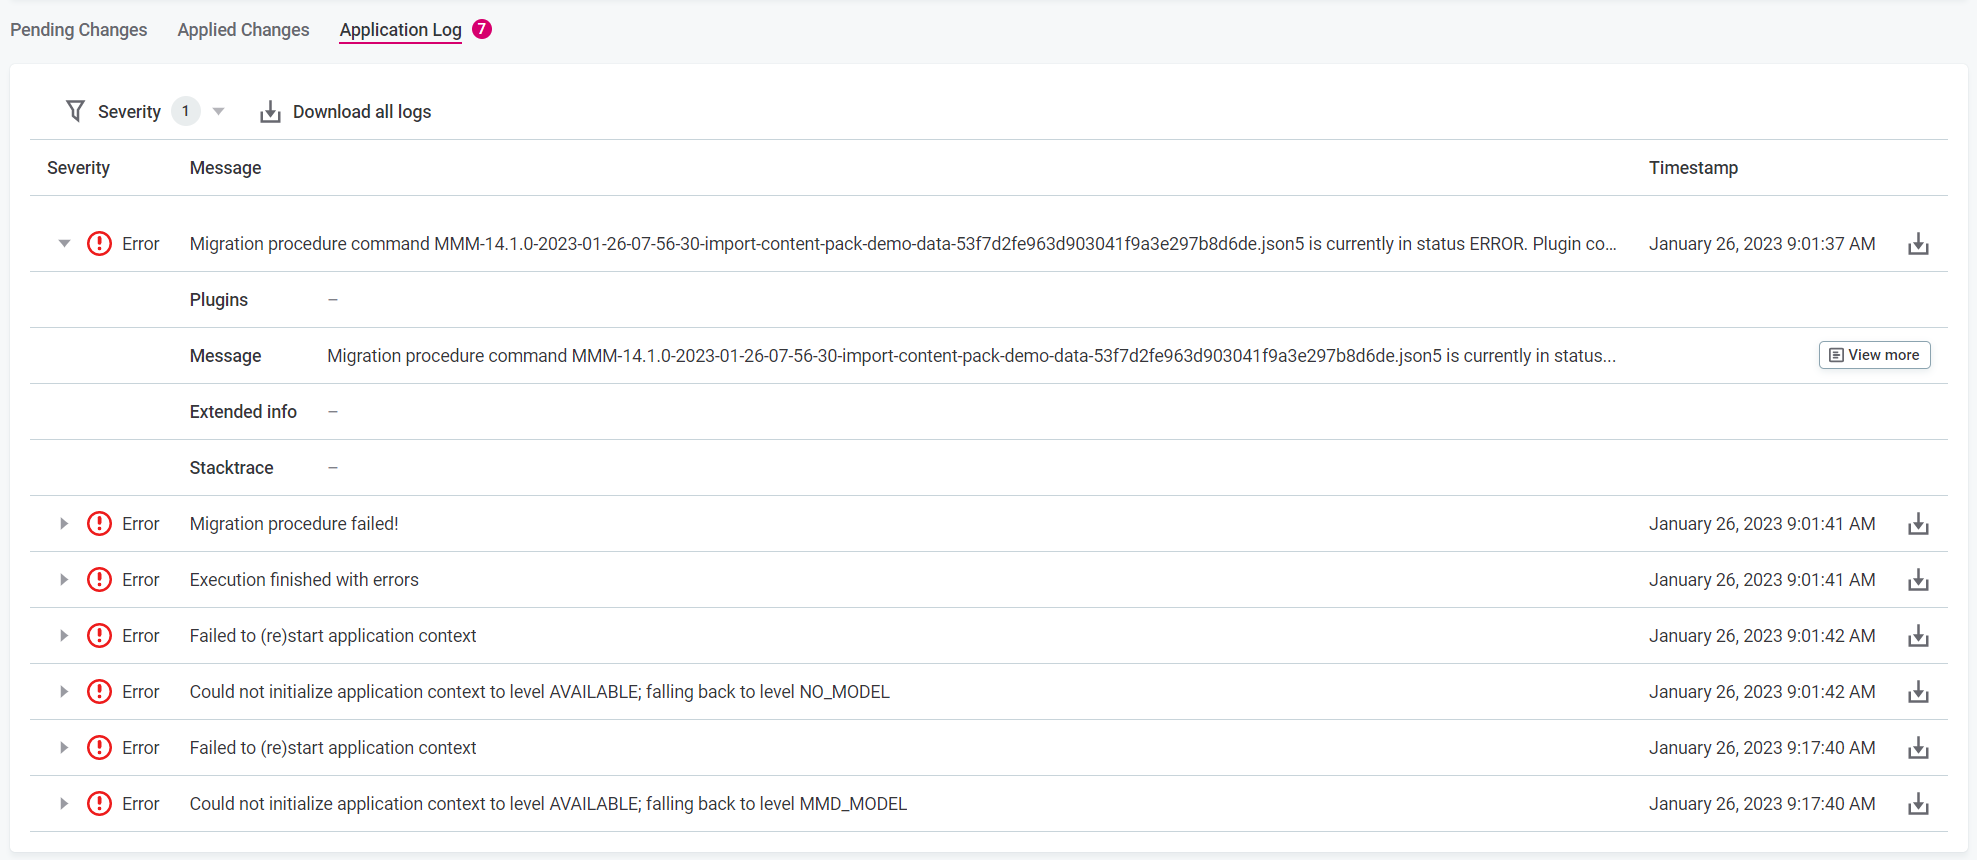
If the application does not automatically switch back to the application mode, the migration has failed even if all commands have been successfully applied. Typically, this indicates that an issue occurred during the SQL migration at the start of the procedure or when importing and validating the model after the update.
As these actions are not visualized in the application, check the Application Log to determine what the issue is.
You can filter the application log by the severity of the issue. To view more details about a log, select View more.
You can export applied changes by expanding the three dots menu and selecting Export. This downloads the JSON file containing the executed update instructions.

Was this page useful?