
DQ Firewalls
DQ firewall projects allow you to apply data quality rules to your data using API calls.
Both GraphQL and REST options are available. This means that you can maintain one central rule library and use Ataccama data quality evaluation rules on your data in real-time in the data stream.
For example, you have an ETL pipeline in Python that processes data, and you want to make sure that it filters out invalid records. After defining the DQ rule in ONE, the pipeline for each record (or batch of records) can call the DQF endpoint, and records will be split up by their validity.
In DQ firewalls, rule assignment and data quality evaluation is on the attribute level.
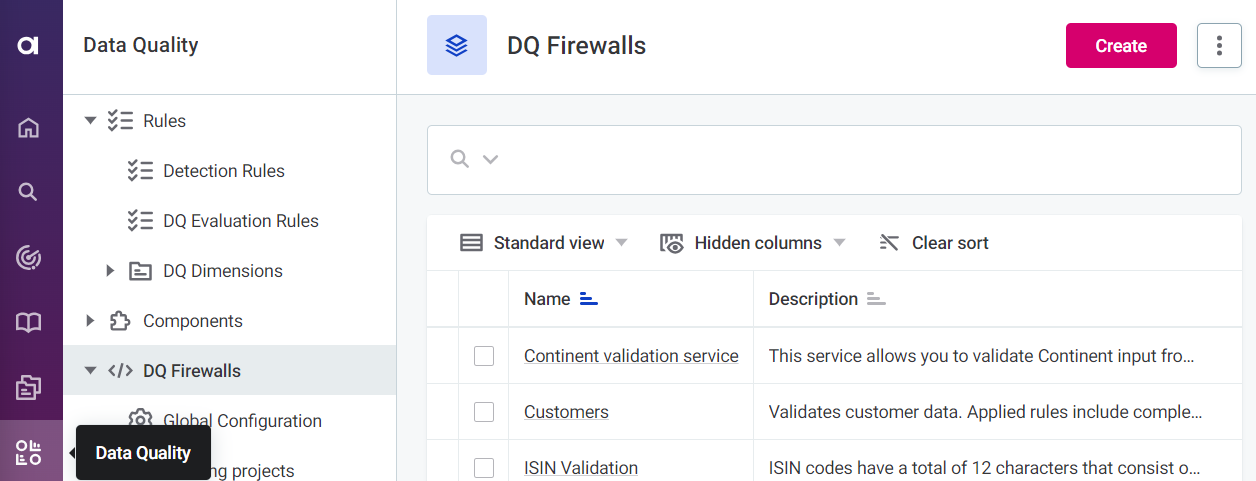
DQ firewall projects are found in Data Quality > DQ Firewalls.
|
When you use aggregation rules within DQ firewall, this aggregation is done on a single batch, that is, on a single request, not on the whole dataset. This means that if you send a request for a single record, it is also returned as Unique, even if it is not and even if you have sent previous requests for records with duplicated values, as the DQ firewall doesn’t persist any results. |
Configure firewall
-
After selecting Data Quality > DQ Firewalls, select Create.
-
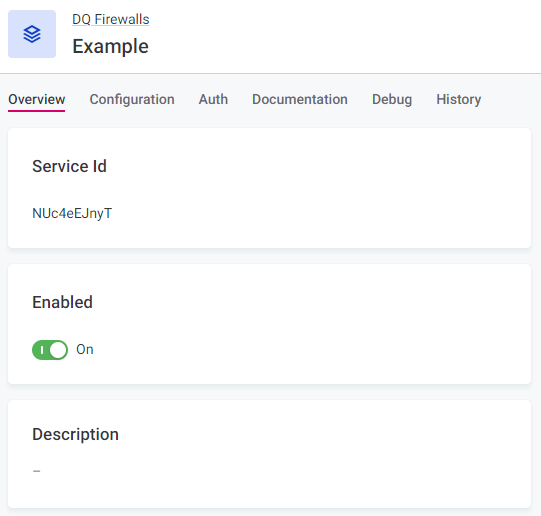
Provide a name and a description (optional), enable the firewall if you want it to be available after publishing, and select Save.
A unique Service Id is automatically generated for every new firewall, this is not editable.
-
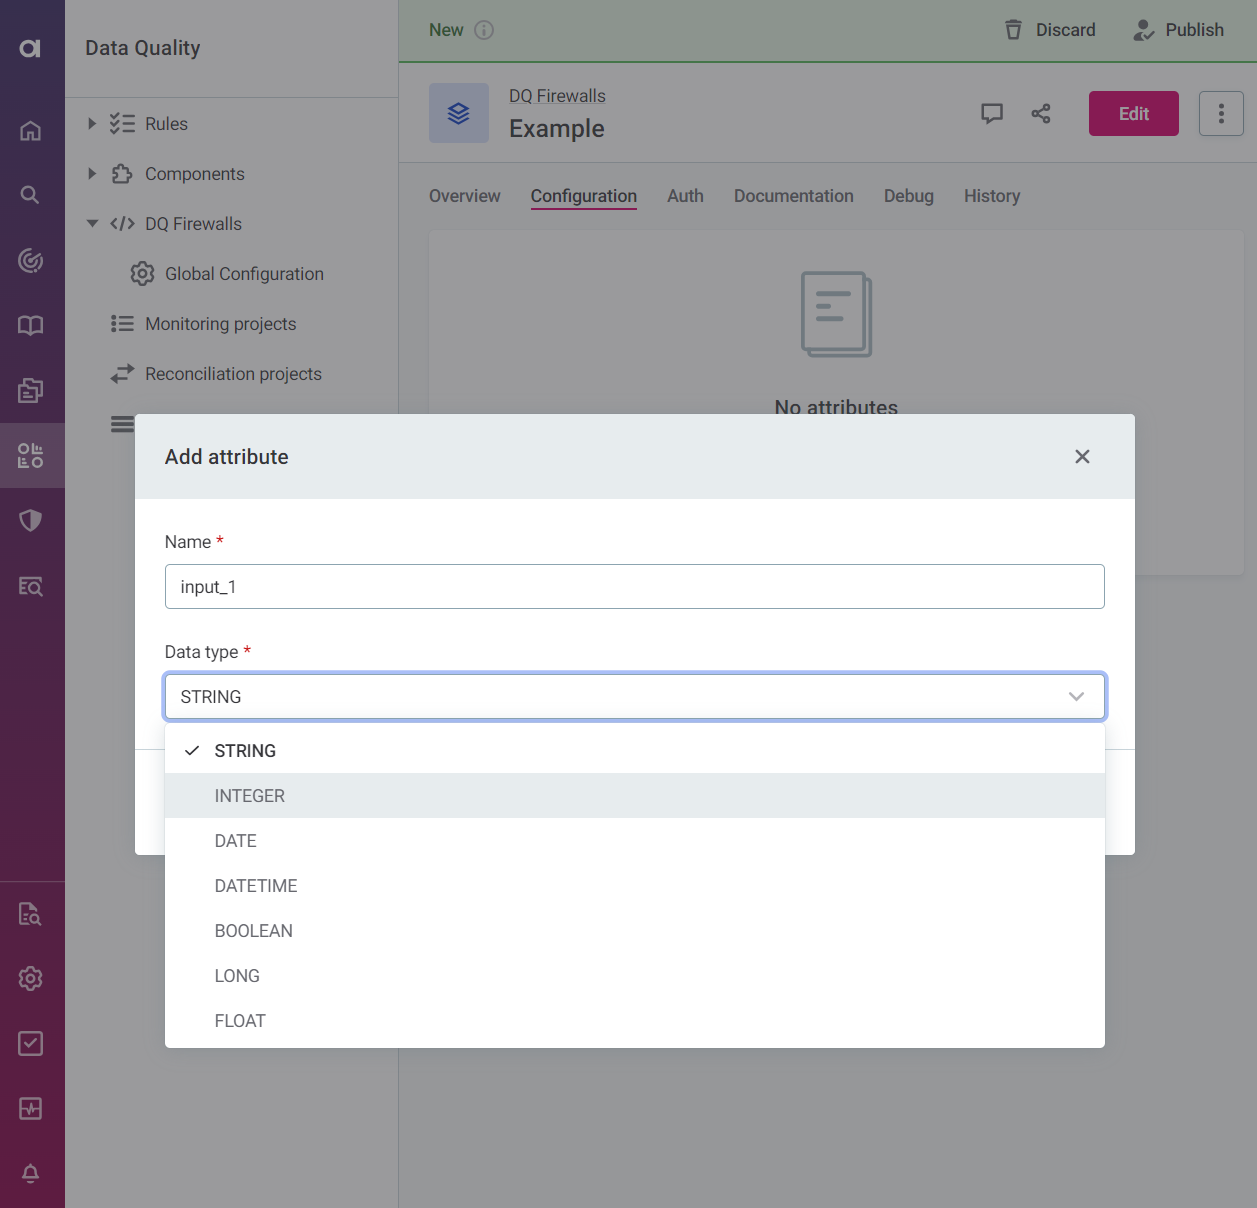
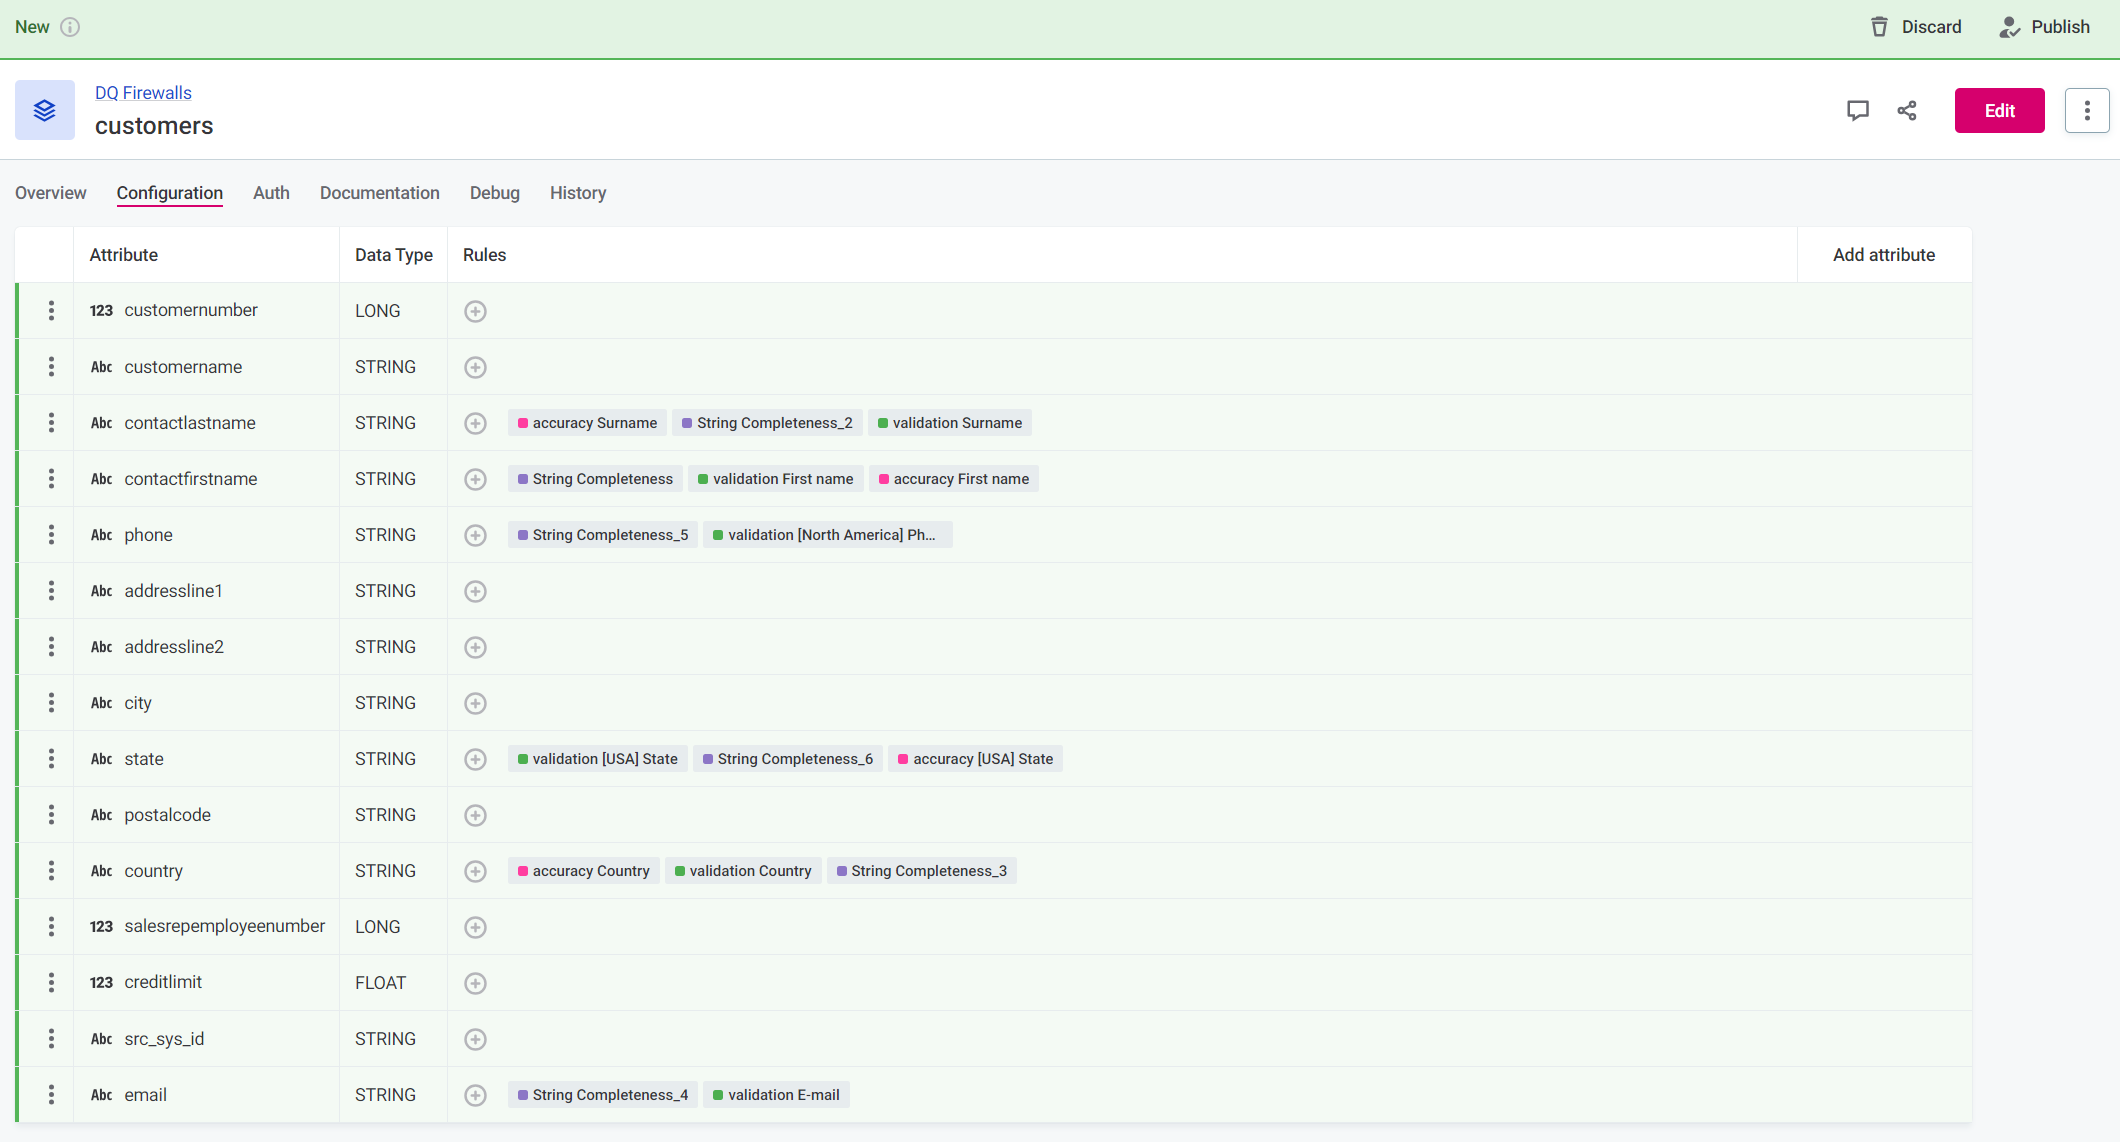
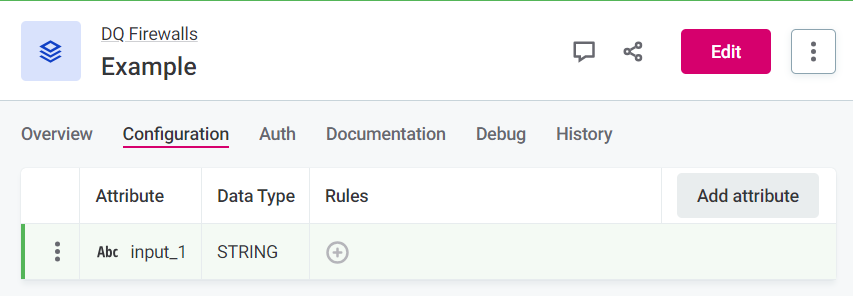
On the Configuration tab, define what the data that will be sent to the firewall for evaluation should look like; this is similar to defining input attributes in rules.
Specify the input attribute name (arbitrary, for user reference only) and data type. Data sent to the firewall must match the input types defined here for successful evaluation.
You can also create DQ firewalls directly from rules, catalog items, attributes, and individual items in monitoring projects.
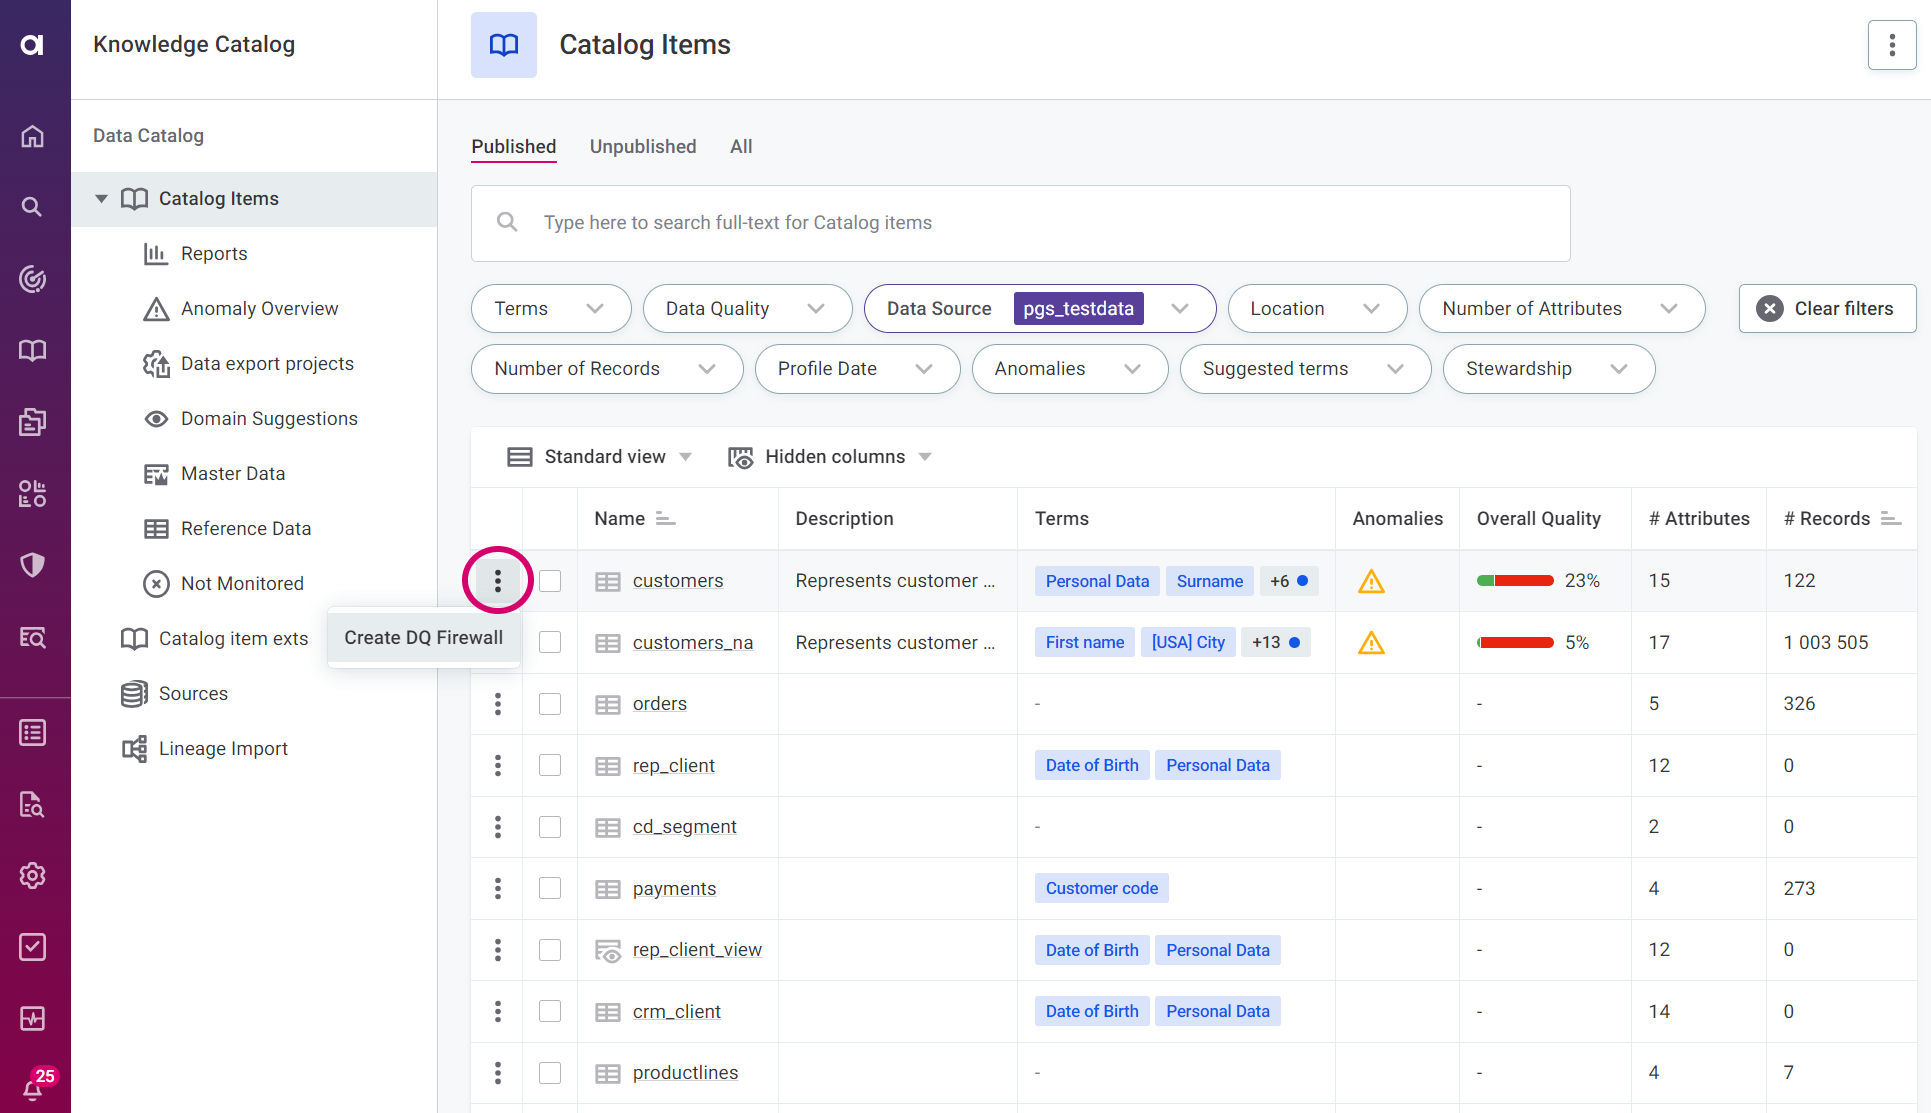
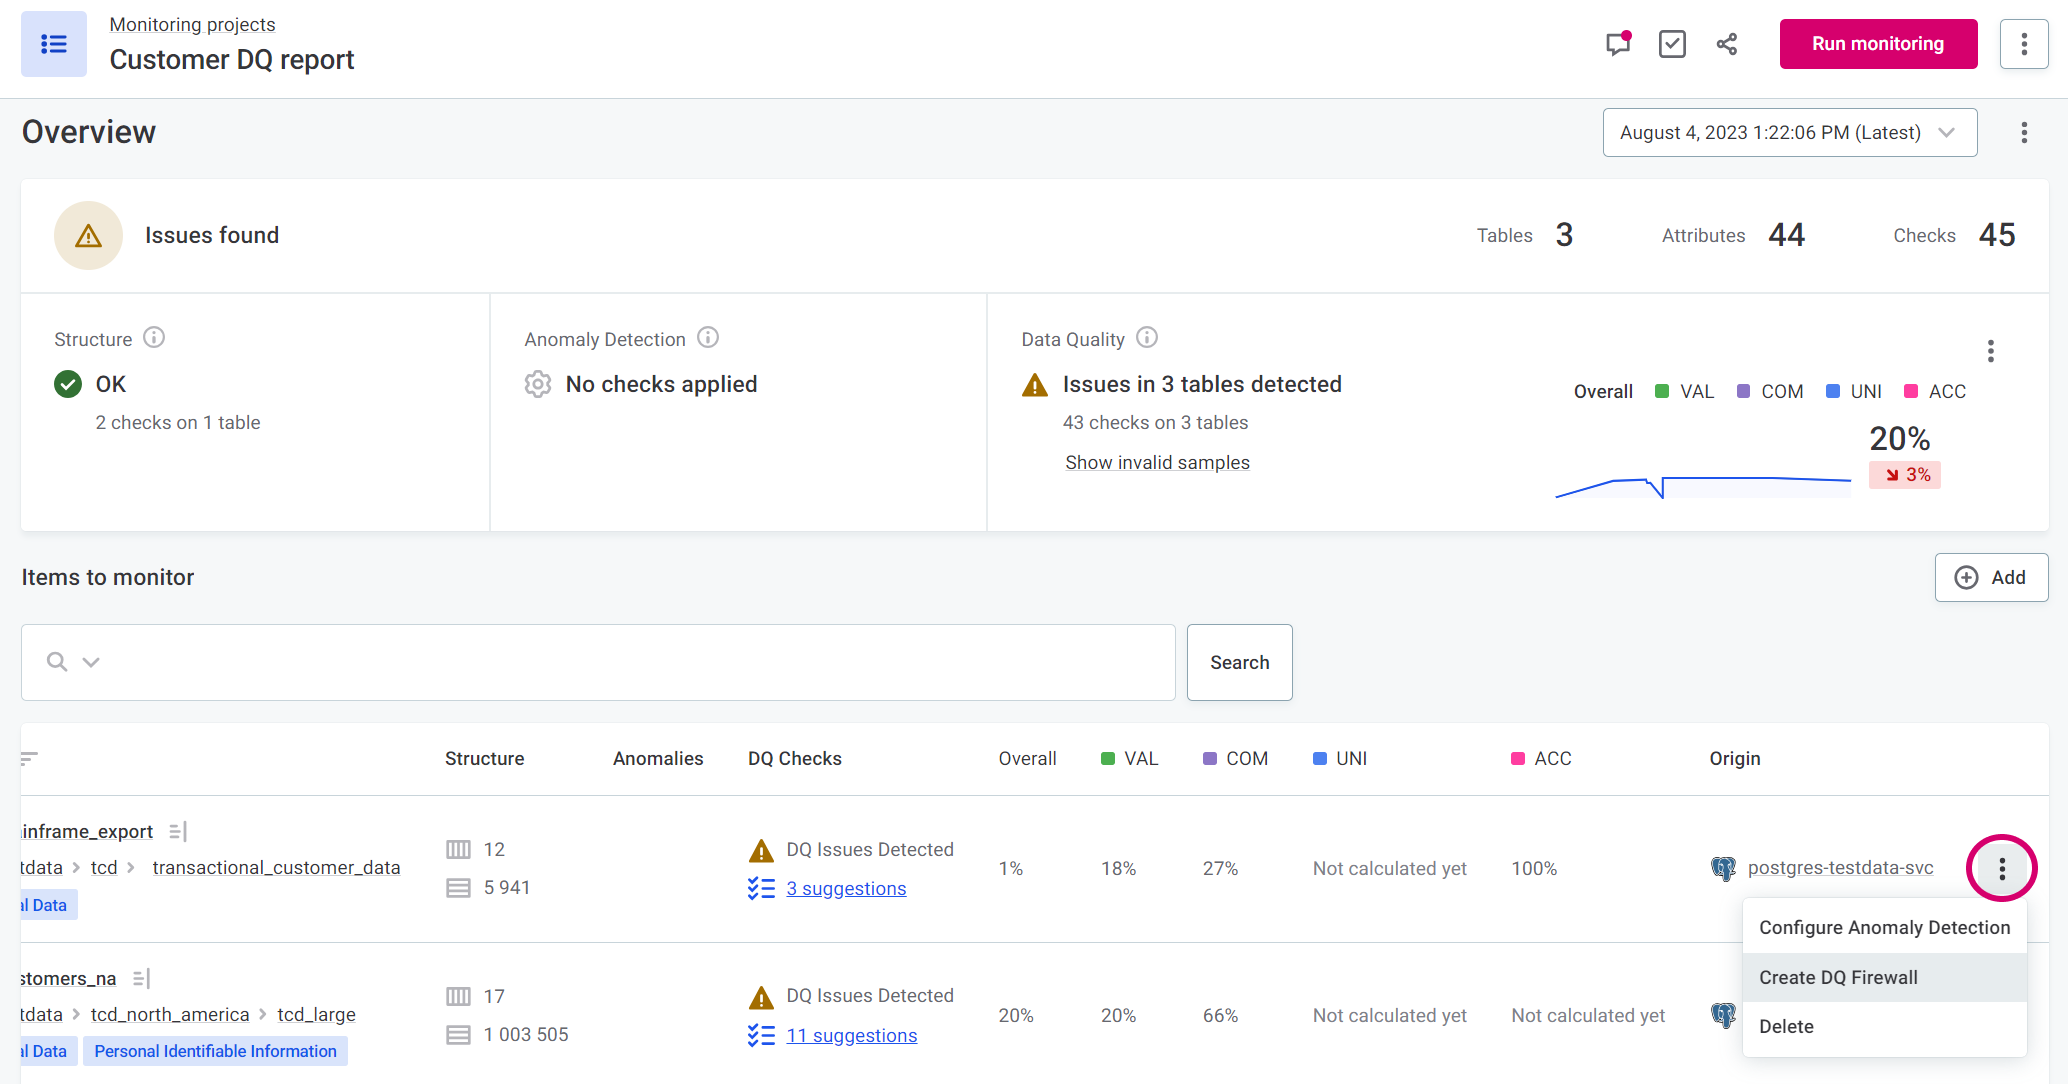
In this case, the input attributes and mapped rules are populated automatically (steps 4-6), and you can continue to Define authentication methods.
-
Select Add attribute to add additional attributes, and repeat step 3 as required.
-
After adding input attribute, you need to map rules to those attributes.
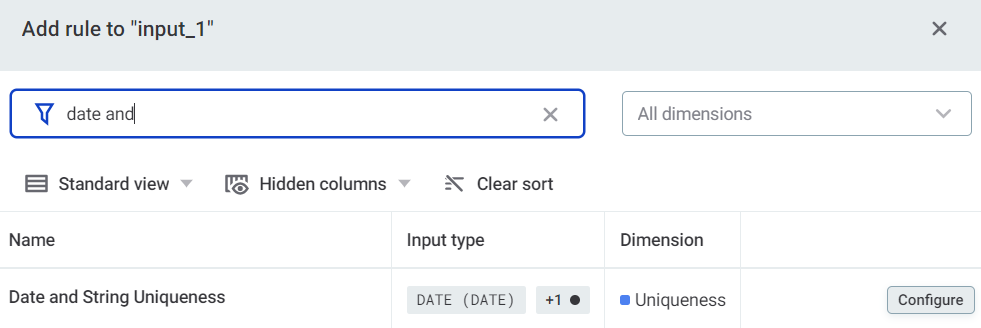
To do this, select Add rule and apply rules from the list available. Repeat as required.
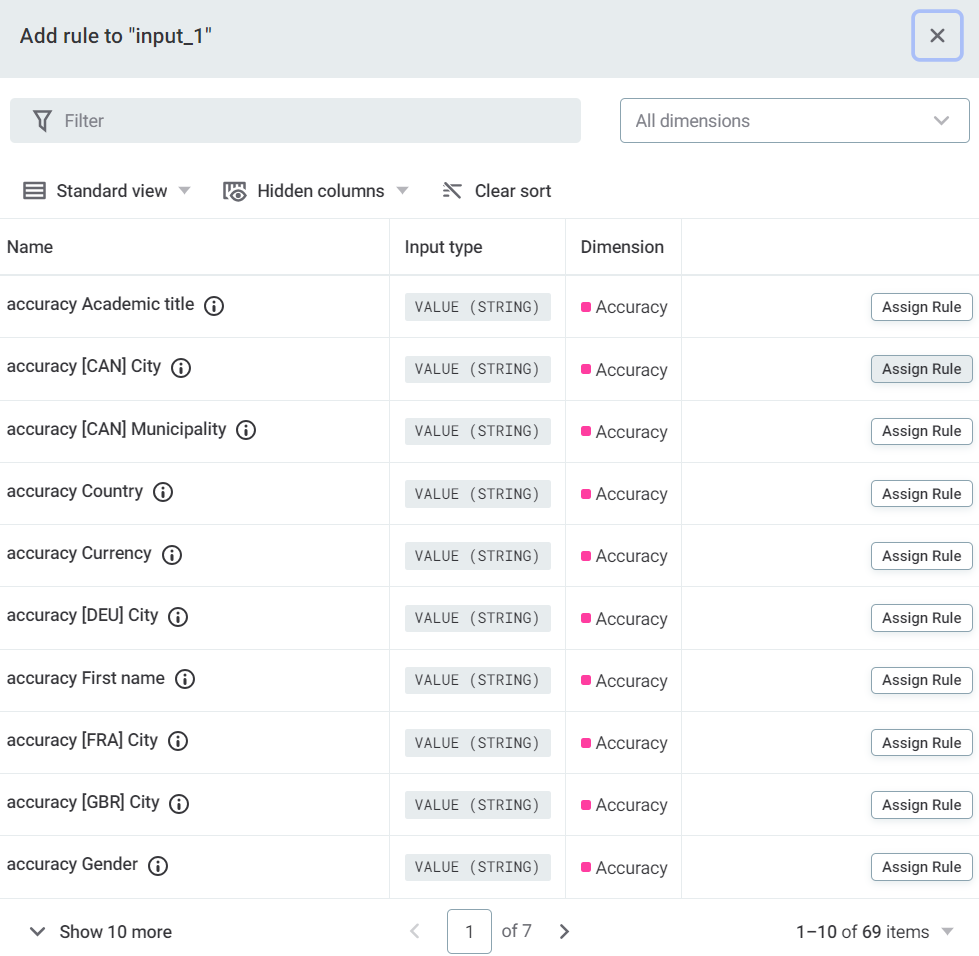
-
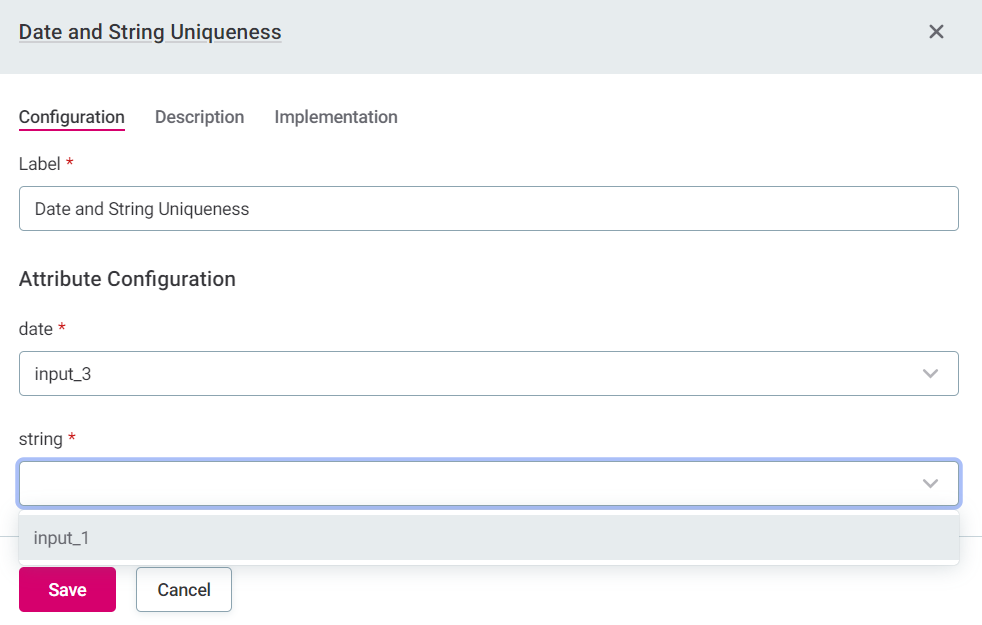
To add multi-input rules, search for the rule and then select Configure to map the DQ firewall attributes to the rule attributes.
It is not possible to publish a firewall project without any rules applied.
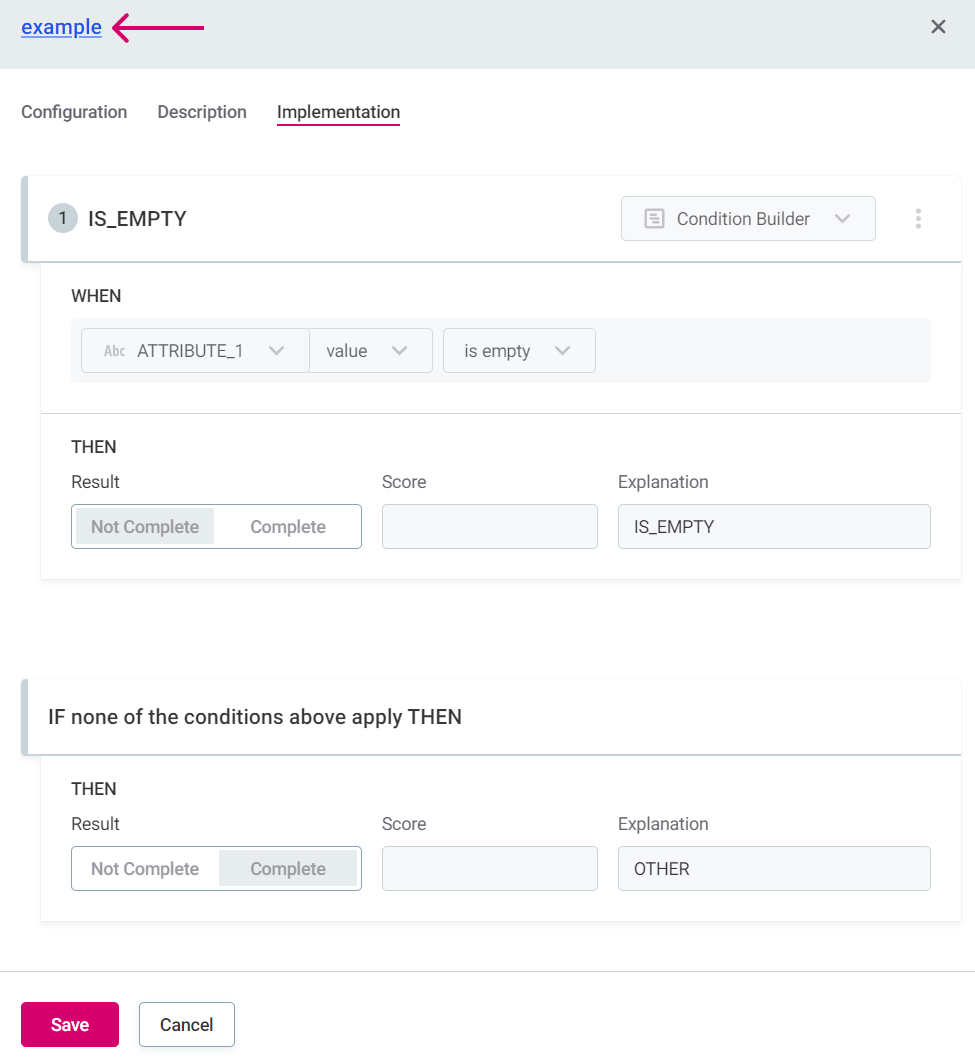
Selecting the Implementation tab when viewing a rule opens a read-only view. Select the rule name in the heading to be directed to the rule page, where it is possible to also edit the rule implementation.
If you edit the rule implementation and return to the firewall, you are notified of the outdated rule and have the option to update it.

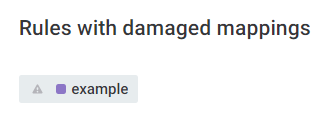
If you make breaking changes to the rule, for example, delete attributes or change data types, it is necessary to remap the rule attributes and firewall attributes.
After selecting Update for this DQ Firewall, you see Rules with damaged mappings: select the rule name and remap the attributes.
Define authentication methods
To evaluate data quality via API using DQ firewalls, authentication methods must be configured. There are three possible ways to define who can invoke each DQ firewall project API:
-
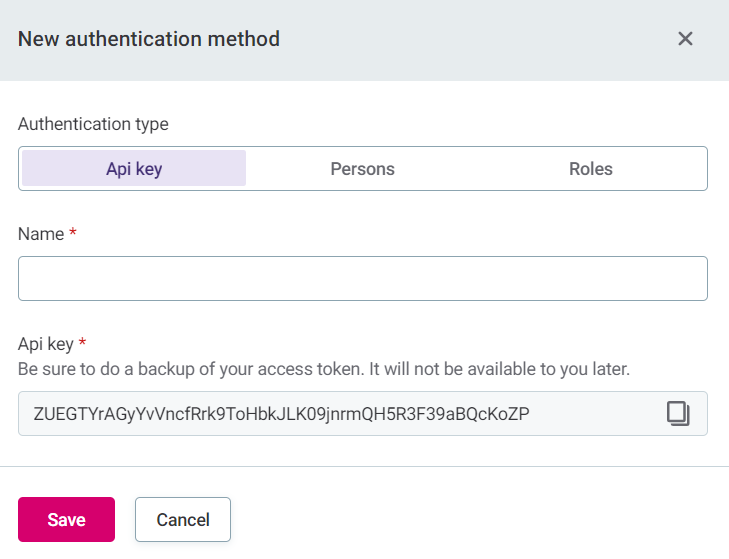
API Key: Anybody who presents valid API Key can invoke the service.
-
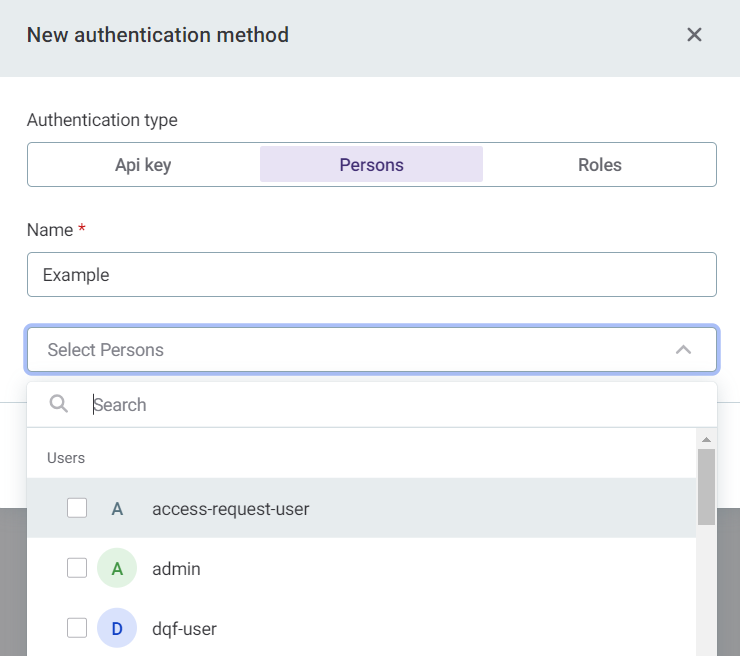
Persons: Any user selected can invoke the service.
-
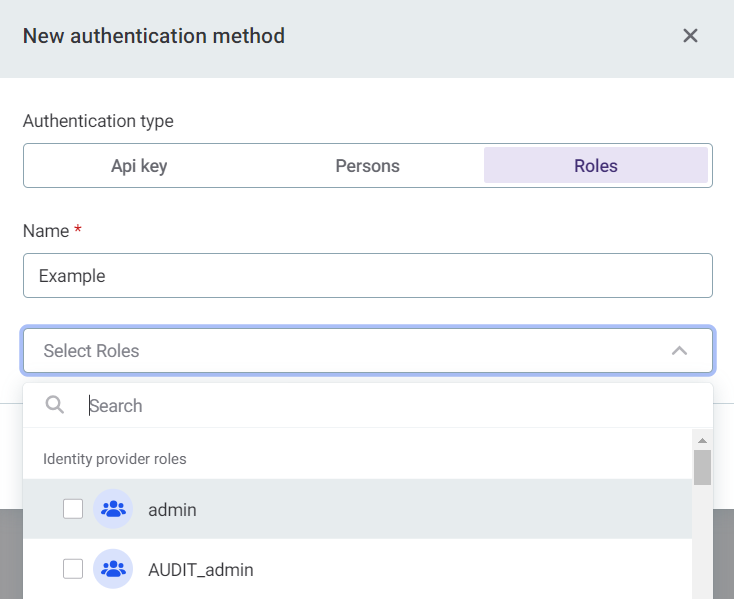
Roles: All members with these roles can invoke the service.
Having a single role is enough; the user does not have to have all of the roles selected.
To add authentication methods:
-
In your project, select the Auth tab, and configure one or several of the following authentication methods.
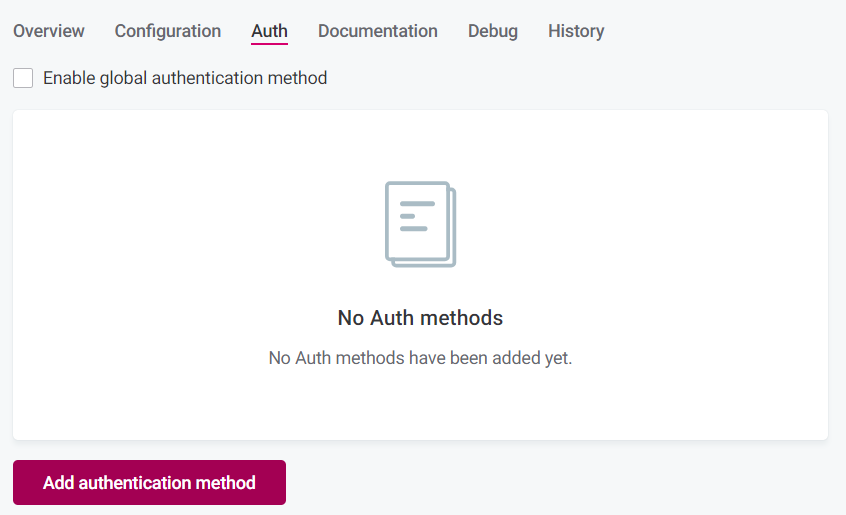
Currently, it is not possible to define multiple methods and then save them at once. You must configure one, save it, and then configure the next. -
For your selected method, define the following information:
-
API key: The key is generated automatically, but you need to provide a name. This API key is required in the HTTP headers for the API call.
To apply this authorization method when you call the API, see API key.
-
Persons: Assign permissions based on users of the application.
To apply this authorization method when you call the API, see OpenID Connect or Basic authentication.
-
Roles: Assign permissions to groups based on Keycloak roles.
To apply this authorization method when you call the API, see OpenID Connect or Basic authentication.
-
-
Alternatively, enable global configuration.
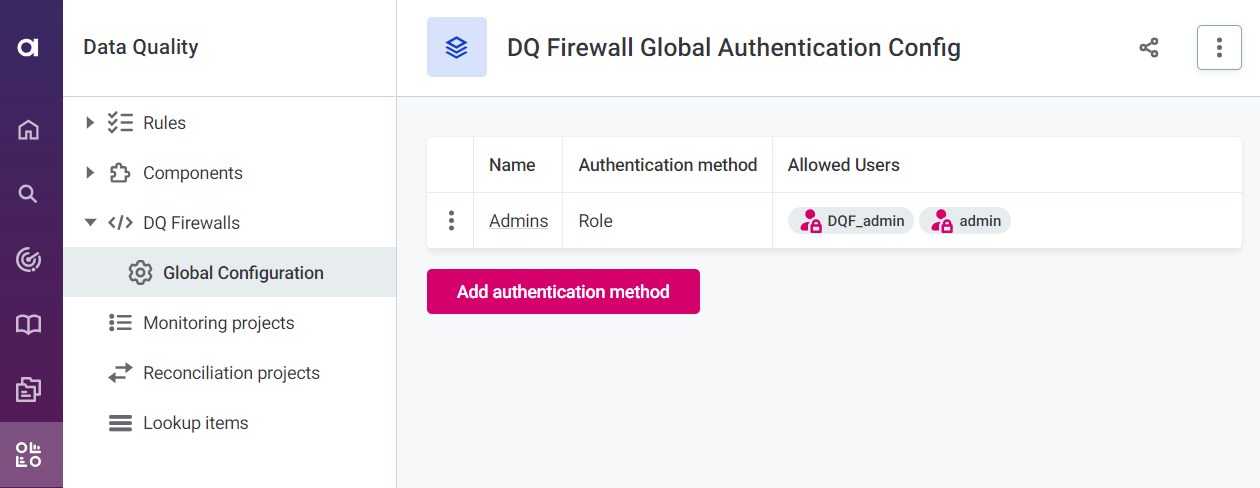
Global configuration
As well as defining authentication methods on a project-by-project basis, you can add global authentication methods and then enable them within the project by selecting Enable global authentication method.

Note that even when global authentication is enabled, the methods themselves aren’t visible on the Auth tab for individual projects. To view details, select Data Quality > DQ Firewalls > Global Configuration.
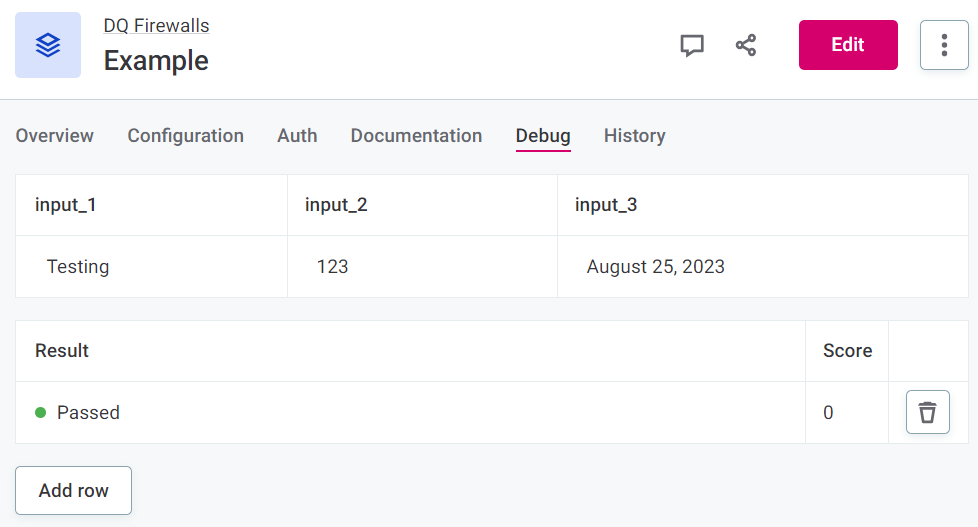
Test your rules
Using the Debug tab, you can test different input values for the firewall attributes and see if your rules are functioning correctly.
Rule debug tests all rules included in your firewall project concurrently. The result shown is the Overall result, aggregated across the contributing dimensions: the result is Failed if any rule fails, Passed only if no rule fails, and Not applicable when every contributing rule the record matches returns a Not applicable result.
Score shows the combined score for results.
If you are noticing some unexpected behavior with rule debug, it might be due to limitations of this feature. For more information, see Feature limitations.
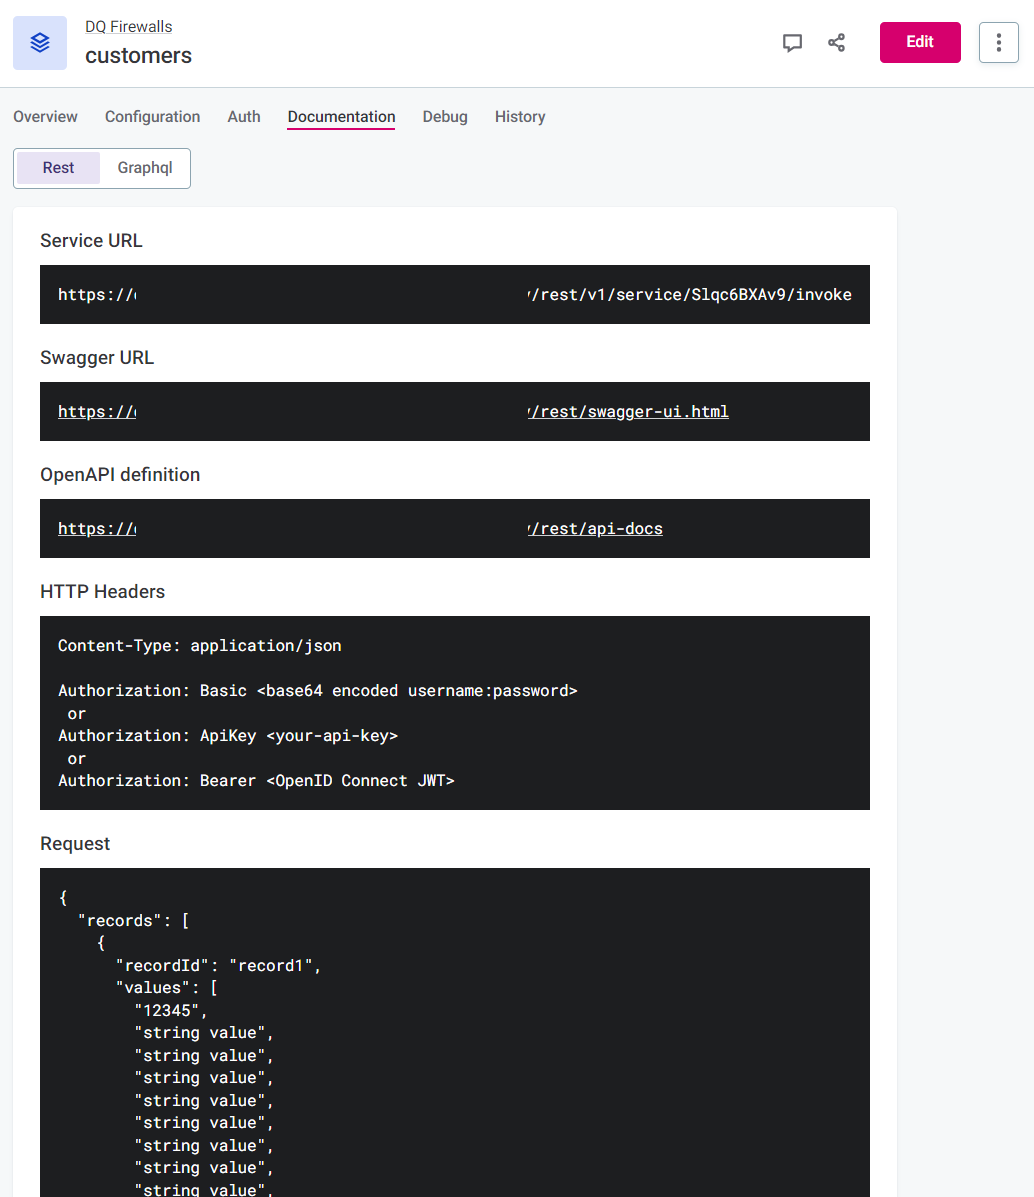
API calls
API documentation, and example requests and responses are found on the Documentation tab. You can copy the request structure to use in your API call.
| The response field does not contain the actual response but instead illustrates the response structure. |
Authenticate
|
Information about how to provide the authentication information using HTTP headers when calling the APIs can also be found on the Documentation tab. 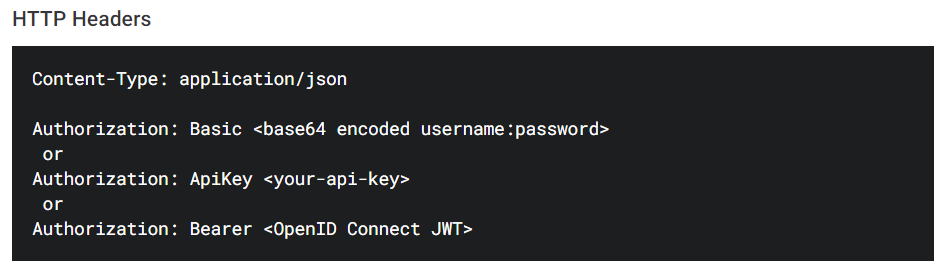
|
API key
If you enabled API Key authentication, use the token generated when you add the API key to invoke the service.
| This token is shown only once and cannot be recovered afterward. If the token is lost, we recommend removing it and generating a new one. |
During the authorization process, the firewall service verifies that the request contains the API Key that was configured for the DQ firewall being called.
The value of the Authorization header should be provided in the form ApiKey <token>.
For example: ApiKey vPYQw8QM7OYswhjZ6f5FpkYvEw0m4s2dMekYFMWXsJmdaZVEVX.
OpenID Connect
To call APIs using OpenID Connect, the client needs to first obtain a JWT Access token from the identity provider. The access token contains information about the username and assigned roles. During the authorization process, the DQF service verifies that the username or role match those configured for the DQ firewall being called.
Authorization is provided in the form Bearer <OpenID Connect JWT> (Bearer <access_token>).
| The access token has usually an expiration period. Expired tokens are rejected, so refresh tokens periodically. |
To acquire the access_token you need to know the Keycloak client credentials and realm.
The client has to be OpenID Connect type and must have Direct access grants enabled.
Use the following POST request:
curl --request POST \
  --url https://<KEYCLOAK HOST>/auth/realms/<MY REALM>/protocol/openid-connect/token \
  --header 'Content-Type: application/x-www-form-urlencoded' \
  --data grant_type=password \
  --data username=my_user \
  --data password=my_user_password \
  --data client_id=my-keycloak-client \
  --data client_secret=my-keycloak-client-secret
Example response:
{
  "access_token": "eyJhbGciOiJSUzI1NiIsInR5cCI...truncated...gOjnHf3E5GvmmlIhBNHW7Zrax31iFDY0-TzA",
  "expires_in": 300,
  "refresh_expires_in": 1800,
  "refresh_token": "eyJhbGciOiJIUzI1NiIsI...truncated...rOxikwdtQZHgGp5pnSuCv0GzeXWWcH-E",
  "token_type": "Bearer",
  "not-before-policy": 0,
  "session_state": "cce33257-d3a4-4900-8db1-d508f8c4106d",
  "scope": "profile email"
}
In this example, you would use the following for authorization: Bearer eyJhbGciOiJSUzI1NiIsInR5cCI…truncated…gOjnHf3E5GvmmlIhBNHW7Zrax31iFDY0-TzA.
For more details see Keycloak documentation and OpenID Connect specification.
Basic authentication
|
Not recommended for production use due to:
|
Invoke the API using user credentials. During authorization process DQF requests client access token from the identity provider and uses included claims to check if client is allowed to invoke service.
Authorization is provided in the form: Basic <base64 encoded username:password>.
For example: Authorization: Basic ZHFmOnNlY3JldA==.
Value formats for API requests
| Type | Expected format |
|---|---|
String |
|
Date |
|
Integer |
|
Boolean |
|
Datetime |
|
Long |
|
Float |
|
REST
-
Service URL: The URL which can be used to invoke the actual API of the service. This includes the Service id generated when you create the firewall.
Use this for the request address.
-
Swagger URL: Link to Swagger API documentation with all the possible API endpoints and operations.
-
OpenAPI definition: Can be imported to clients like Postman without further configuration.
-
HTTP Headers: Template headers to be used in your API call according to your chosen authentication method.
-
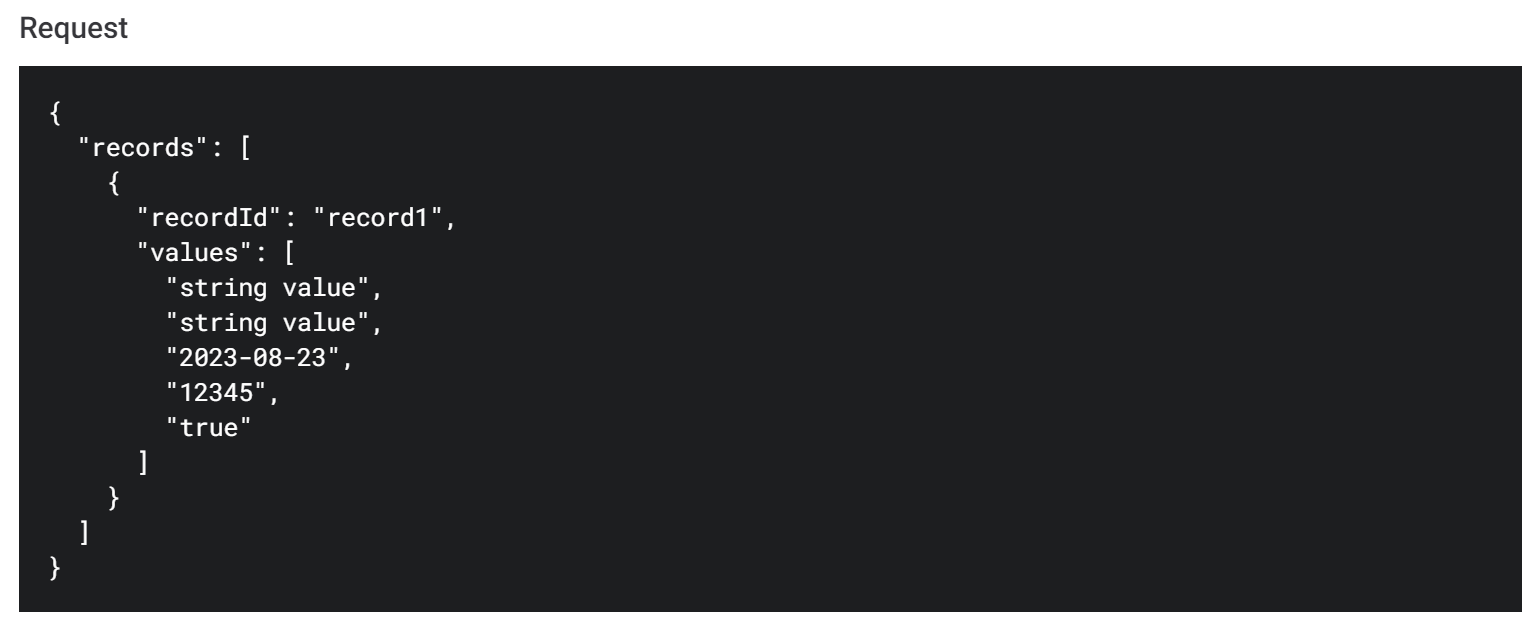
Request: Example request which you can copy to use in your API call to evaluate data quality according to your configured DQ firewall project.
-
Response: Example of the response structure.
The REST API expects a JSON object with a single key, which is the array of objects.
Record Id can be defined for each object (optional) to help when identifying the records in the response.
Alternatively, you can match using order, as the order is never changed.
|
The number and order of the values must match the number and order of the attributes configured on the firewall Configuration tab. The correct order is reflected in the Request format provided on the Documentation tab. 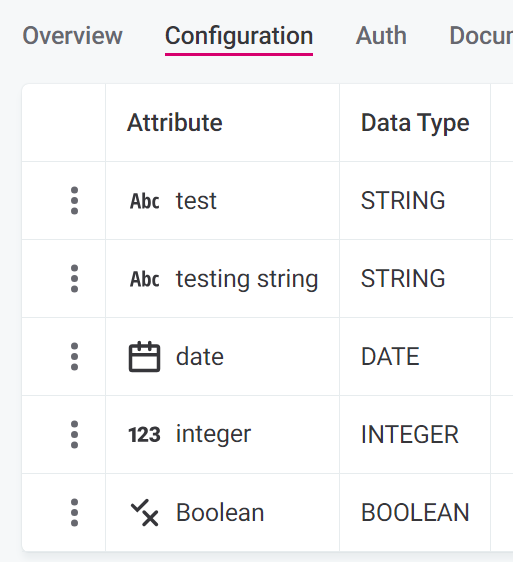
|
Results are sorted alphabetically by ruleInstanceId, which is the name of the rule instance.
GraphQL
-
Service URL: The URL which can be used to invoke the actual API of the service. This includes the Service id generated when you create the firewall.
-
HTTP Headers: Template headers to be used in your API call according to your chosen authentication method.
-
GraphQL Request: Example request which you can copy to use in your API call to evaluate data quality according to your configured DQ firewall project.
-
GraphQL variables: Example GraphQL variables.
-
Response: Example of the response structure.

Results
Results are available only in the API response. No results or any of the actual data are being retained by ONE.
You can see statistics, such as the number of passed, failed, and not-applicable records in the project, on the Overview tab.
Feature limitations
-
Because no data is persisted, aggregation rules aggregate across only a single batch, that is, a single request.
For example, if you are testing a uniqueness rule and send a request with only one record, the result will always be unique, even if the values are not unique in the dataset.
-
Component rules which change the number or order of records are not supported. If the order of records is changed, processing might run successfully but results will not be correct. In case of removed records, processing will fail.
-
By default, only 10000 records can be processed within a single request.
-
By default, requests can’t exceed 1 MB (roughly 10+ columns with 5k records).
-
Hybrid deployment of DQF is currently not supported. DQF can be used; however, it will not be running on-premise but in cloud. That means that if customers want to utilize DQF in a hybrid deployment, data has to be sent to Ataccama systems.
-
Some DQ steps are not supported (see Unsupported steps).
Rule debug limitations
-
Some DQ steps from ONE Desktop do not work in rule debug (for the full list, see Unsupported steps).
-
Rules using runtime configuration are not supported in rule debug.
| Because DQF replaces DPE for rule debug, these limitations apply to rule debug everywhere in the application. However, they don’t apply to processing itself as evaluation is still done by DPE. |
Unsupported steps
Click here to expand
-
Those which require a specific runtime configuration:
-
Jdbc Reader -
Jdbc Writer
-
-
Loqate steps:
-
Loqate -
Multiplicative Loqate -
Loqate Cass
-
-
ONE Metadata steps:
-
Catalog Item Reader -
ONE Metadata Reader -
ONE Metadata Writer
-
-
ONE DQ steps:
-
DQ Monitoring Project Results -
DQ Monitoring Project Check Results -
DQ Monitoring Project Aggregation Results -
DQ Monitoring Project Filter Values -
DQ Rule Instance Results -
DQ Attribute Aggregation Results -
DQ Catalog Item Aggregation Results -
DQ Term Aggregation Results -
DQ Term Attribute Aggregation Results
-
-
Adapter steps:
-
Adapter Execute -
Adapter Select -
Adapter Writer -
Adapter Reader
-
-
SAP RFC steps:
-
SAP RFC Execute -
SAP RFC Reader
-
-
Salesforce steps:
-
Salesforce Reader -
Salesforce Writer
-
-
AI steps:
-
Time Series Predictor -
Classifier Trainer -
Classifier -
Regressor -
Regressor Trainer -
Imputer -
Imputer Trainer -
Normalizer -
Normalizer Trainer -
One Hot Encoder -
One Hot Encoder Trainer -
Text Vectorizer
-
Was this page useful?