
Validate Data Using ONE Data Tables
In addition to using DQ rules to evaluate the data quality of your ONE Data tables, you can also use ONE Data to establish DQ standards for other data in the platform. ONE Data tables evolve with your business needs and bring the following key advantages:
-
Data can be modified directly in ONE Data. You can add new attributes, edit incorrect values, or delete repeated data without leaving the platform.
-
Data is dynamically updated. As soon as you make a change in the reference data, your changes are propagated to the rule in real time.
To use ONE Data tables in your DQ and detection rules, use the condition is from catalog item (or is not from catalog item) in the rule logic.
Rule condition is from catalog item
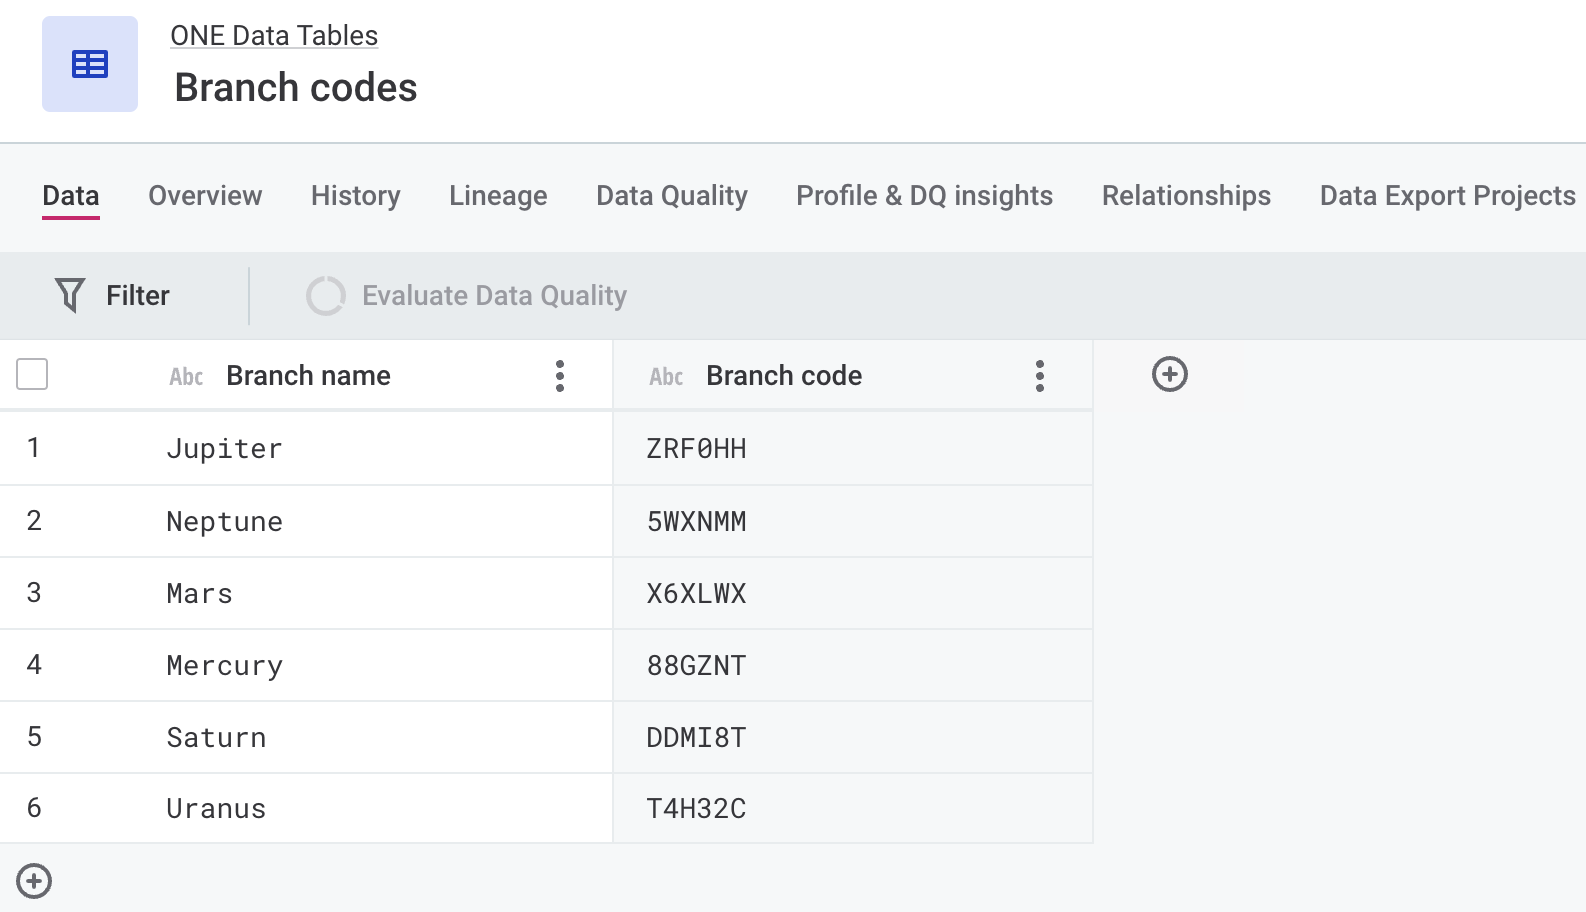
We’ll use an example to better illustrate how a ONE Data table can be used in rules. Suppose your business has many different branches that are identified by unique codes and referred to in multiple tables detailing sales figures, stock quantities, employee lists, and so on.
Create reference data
First, start by creating a reference table listing the branch codes that all occurrences across tables will be validated against. Depending on where your data is located, choose the most suitable option: create the table from scratch, import it as a CSV file, or import the data from an existing catalog item.
The last option is particularly useful if you already have a catalog item containing all the branch codes as one of the attributes. For more detailed instructions about how to create a reference table, see Import Data from a Catalog Item.
Once the data is loaded, verify that all the data is up-to-date and correct.
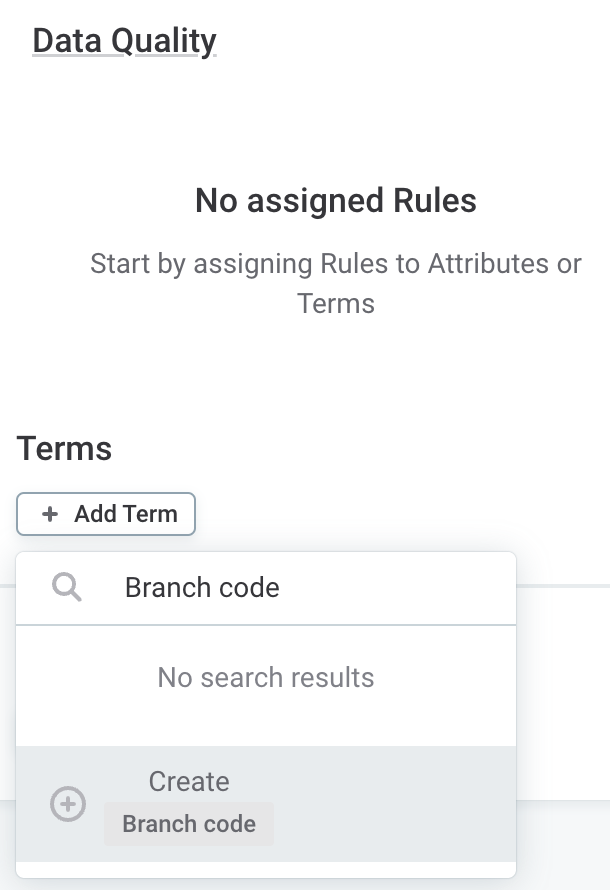
Create business term
Next, create a business term for the branch codes.
You can do this quickly without leaving ONE Data: right-click the attribute header and select Open details.
In the Data quality section, select + Add term and type the full name of the new term in the search bar (for example, Branch code).
Use the Create term shortcut that appears. Configure the term, then save and publish the changes.
| You can also create the term from the Business Glossary. For more information, see Terms. |
Create rule
Now you can create a rule for this term. In Data Quality > Rules, select Create. Provide the general rule information (name, description, owner) and select Save. Switch to the Implementation tab and configure the rule as follows.
Set the rule type to Validity.
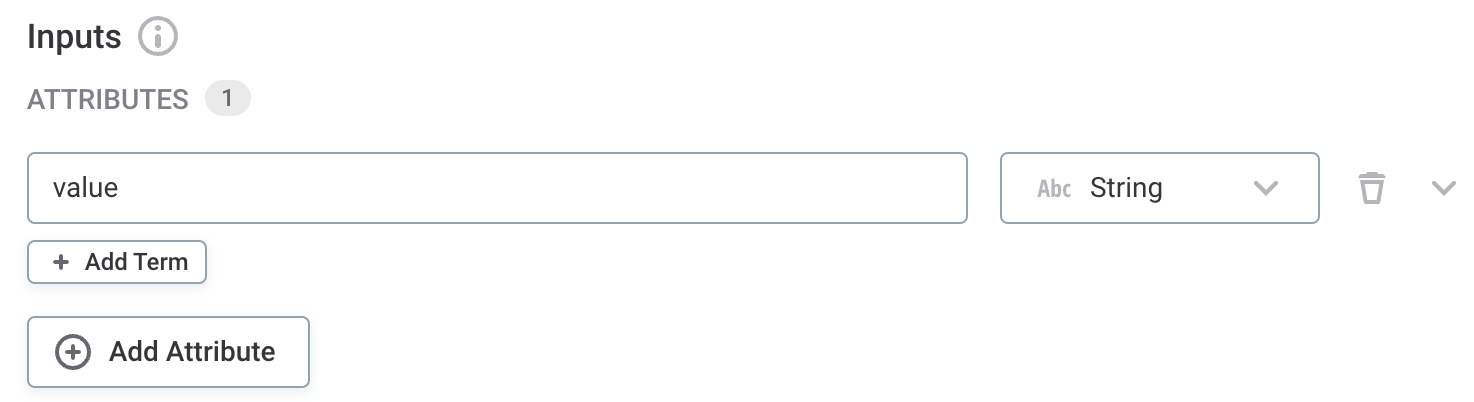
Next, define the rule input in the Inputs section.
For the purpose of this guide, we’ll change the ATTRIBUTE_1 placeholder to value, however, you can use something else too.
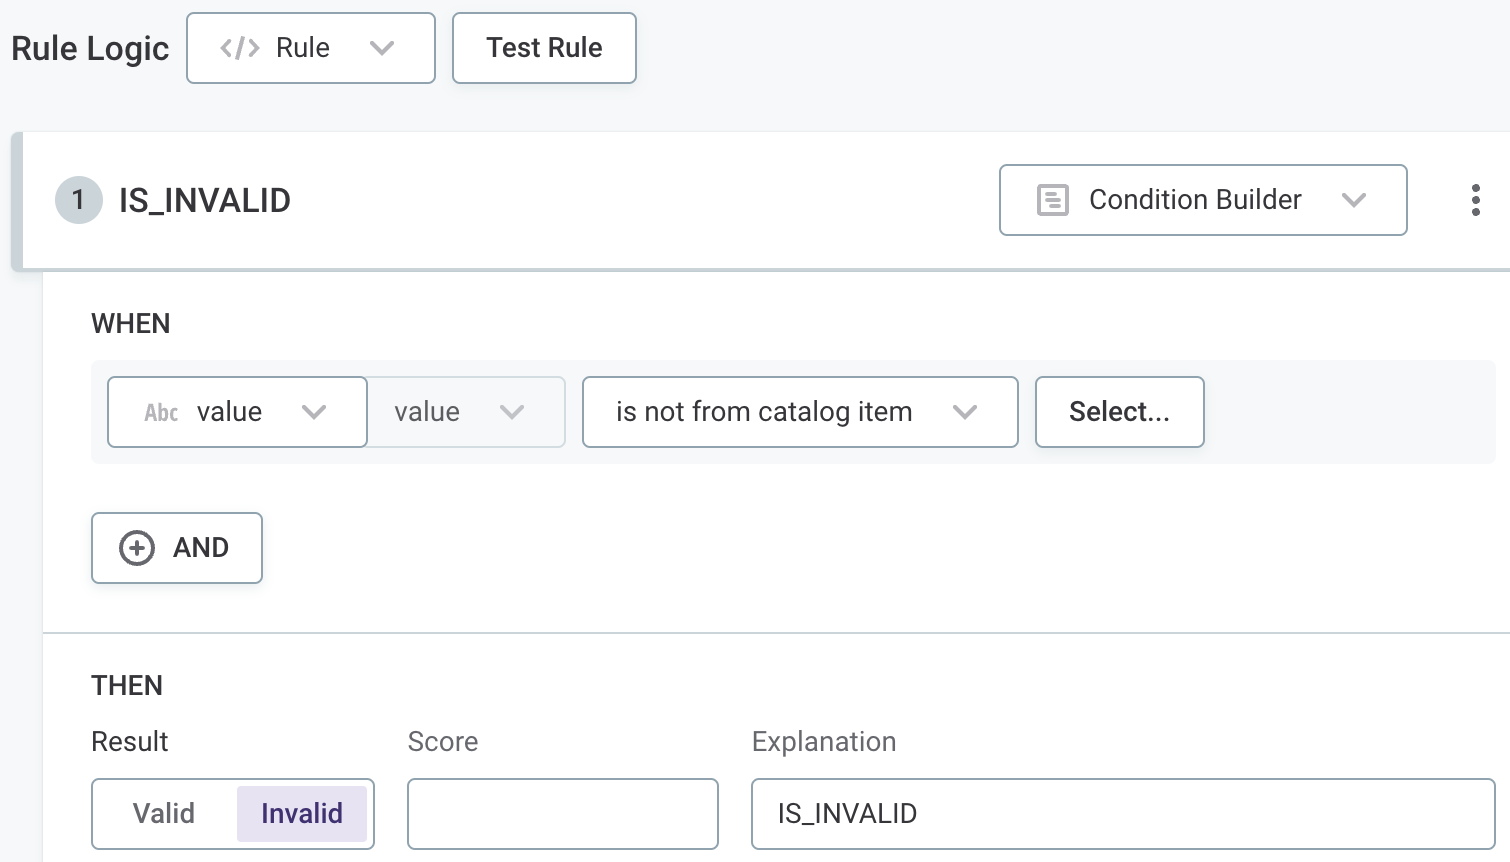
In Rule Logic, update the When part of the rule condition.
In the dropdown menu, select is not from catalog item.
We’ll return to this part of the condition in a few moments.
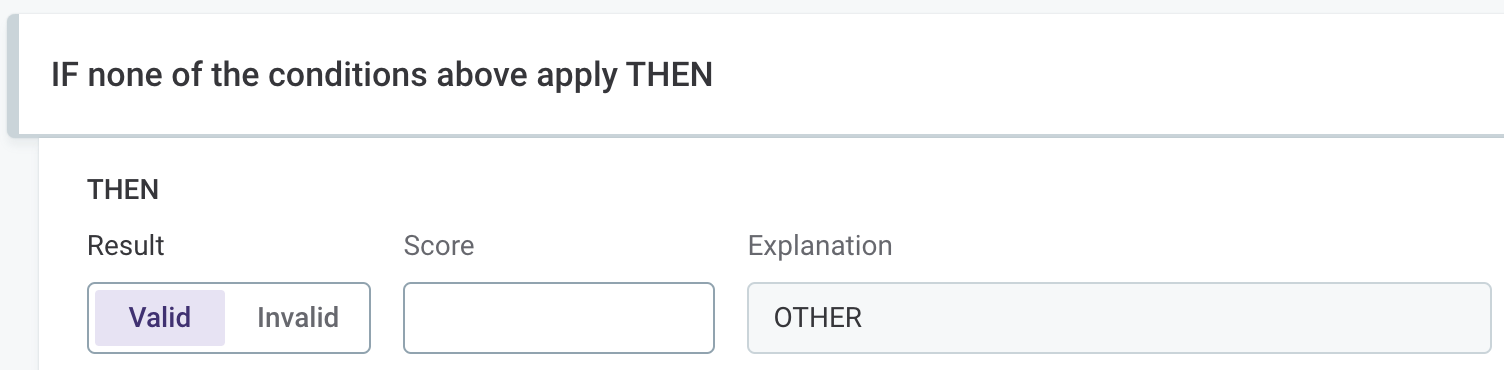
In the Then part of the condition, update the explanation to IS_INVALID and, optionally, assign a score to the rule.
In the section IF none of the conditions above apply THEN, keep the default settings.
Next, let’s choose which catalog item the rule should use as reference data.
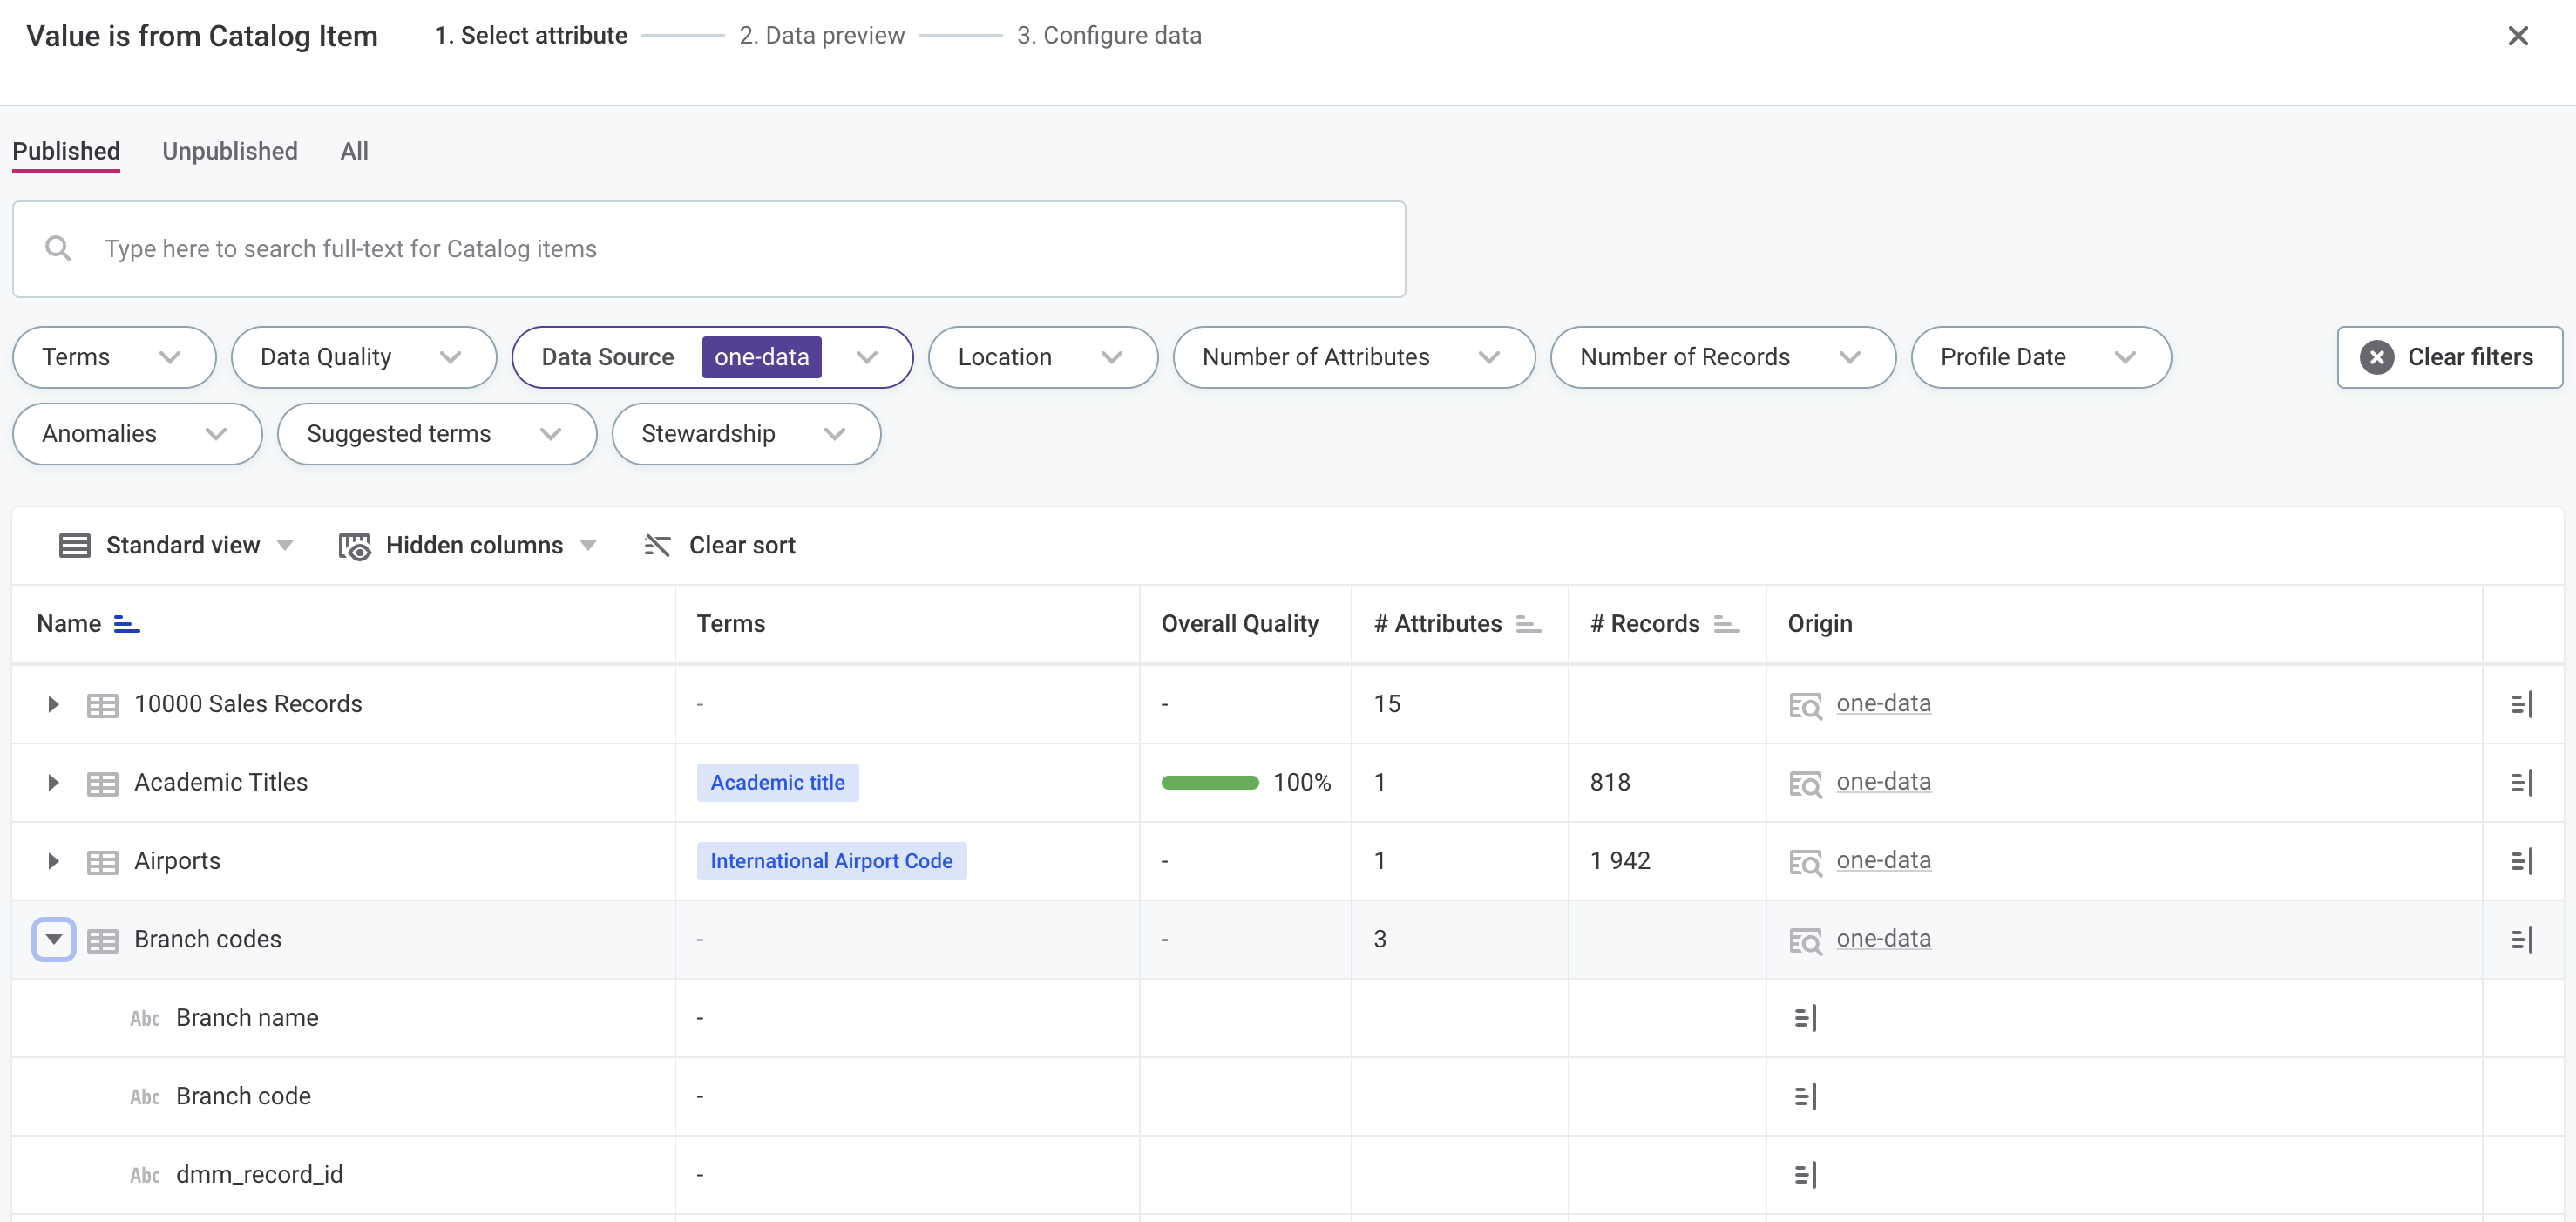
Click Select next to the When part of the condition.
In the menu that opens, filter the catalog items by data source (one-data) and expand the catalog item with the branch codes.
Choose the attribute containing the actual codes.
|
In addition to the preconfigured filters, the search also supports querying by attribute name across all catalog items. In this case, the attribute is already selected for you on the Data Preview tab. 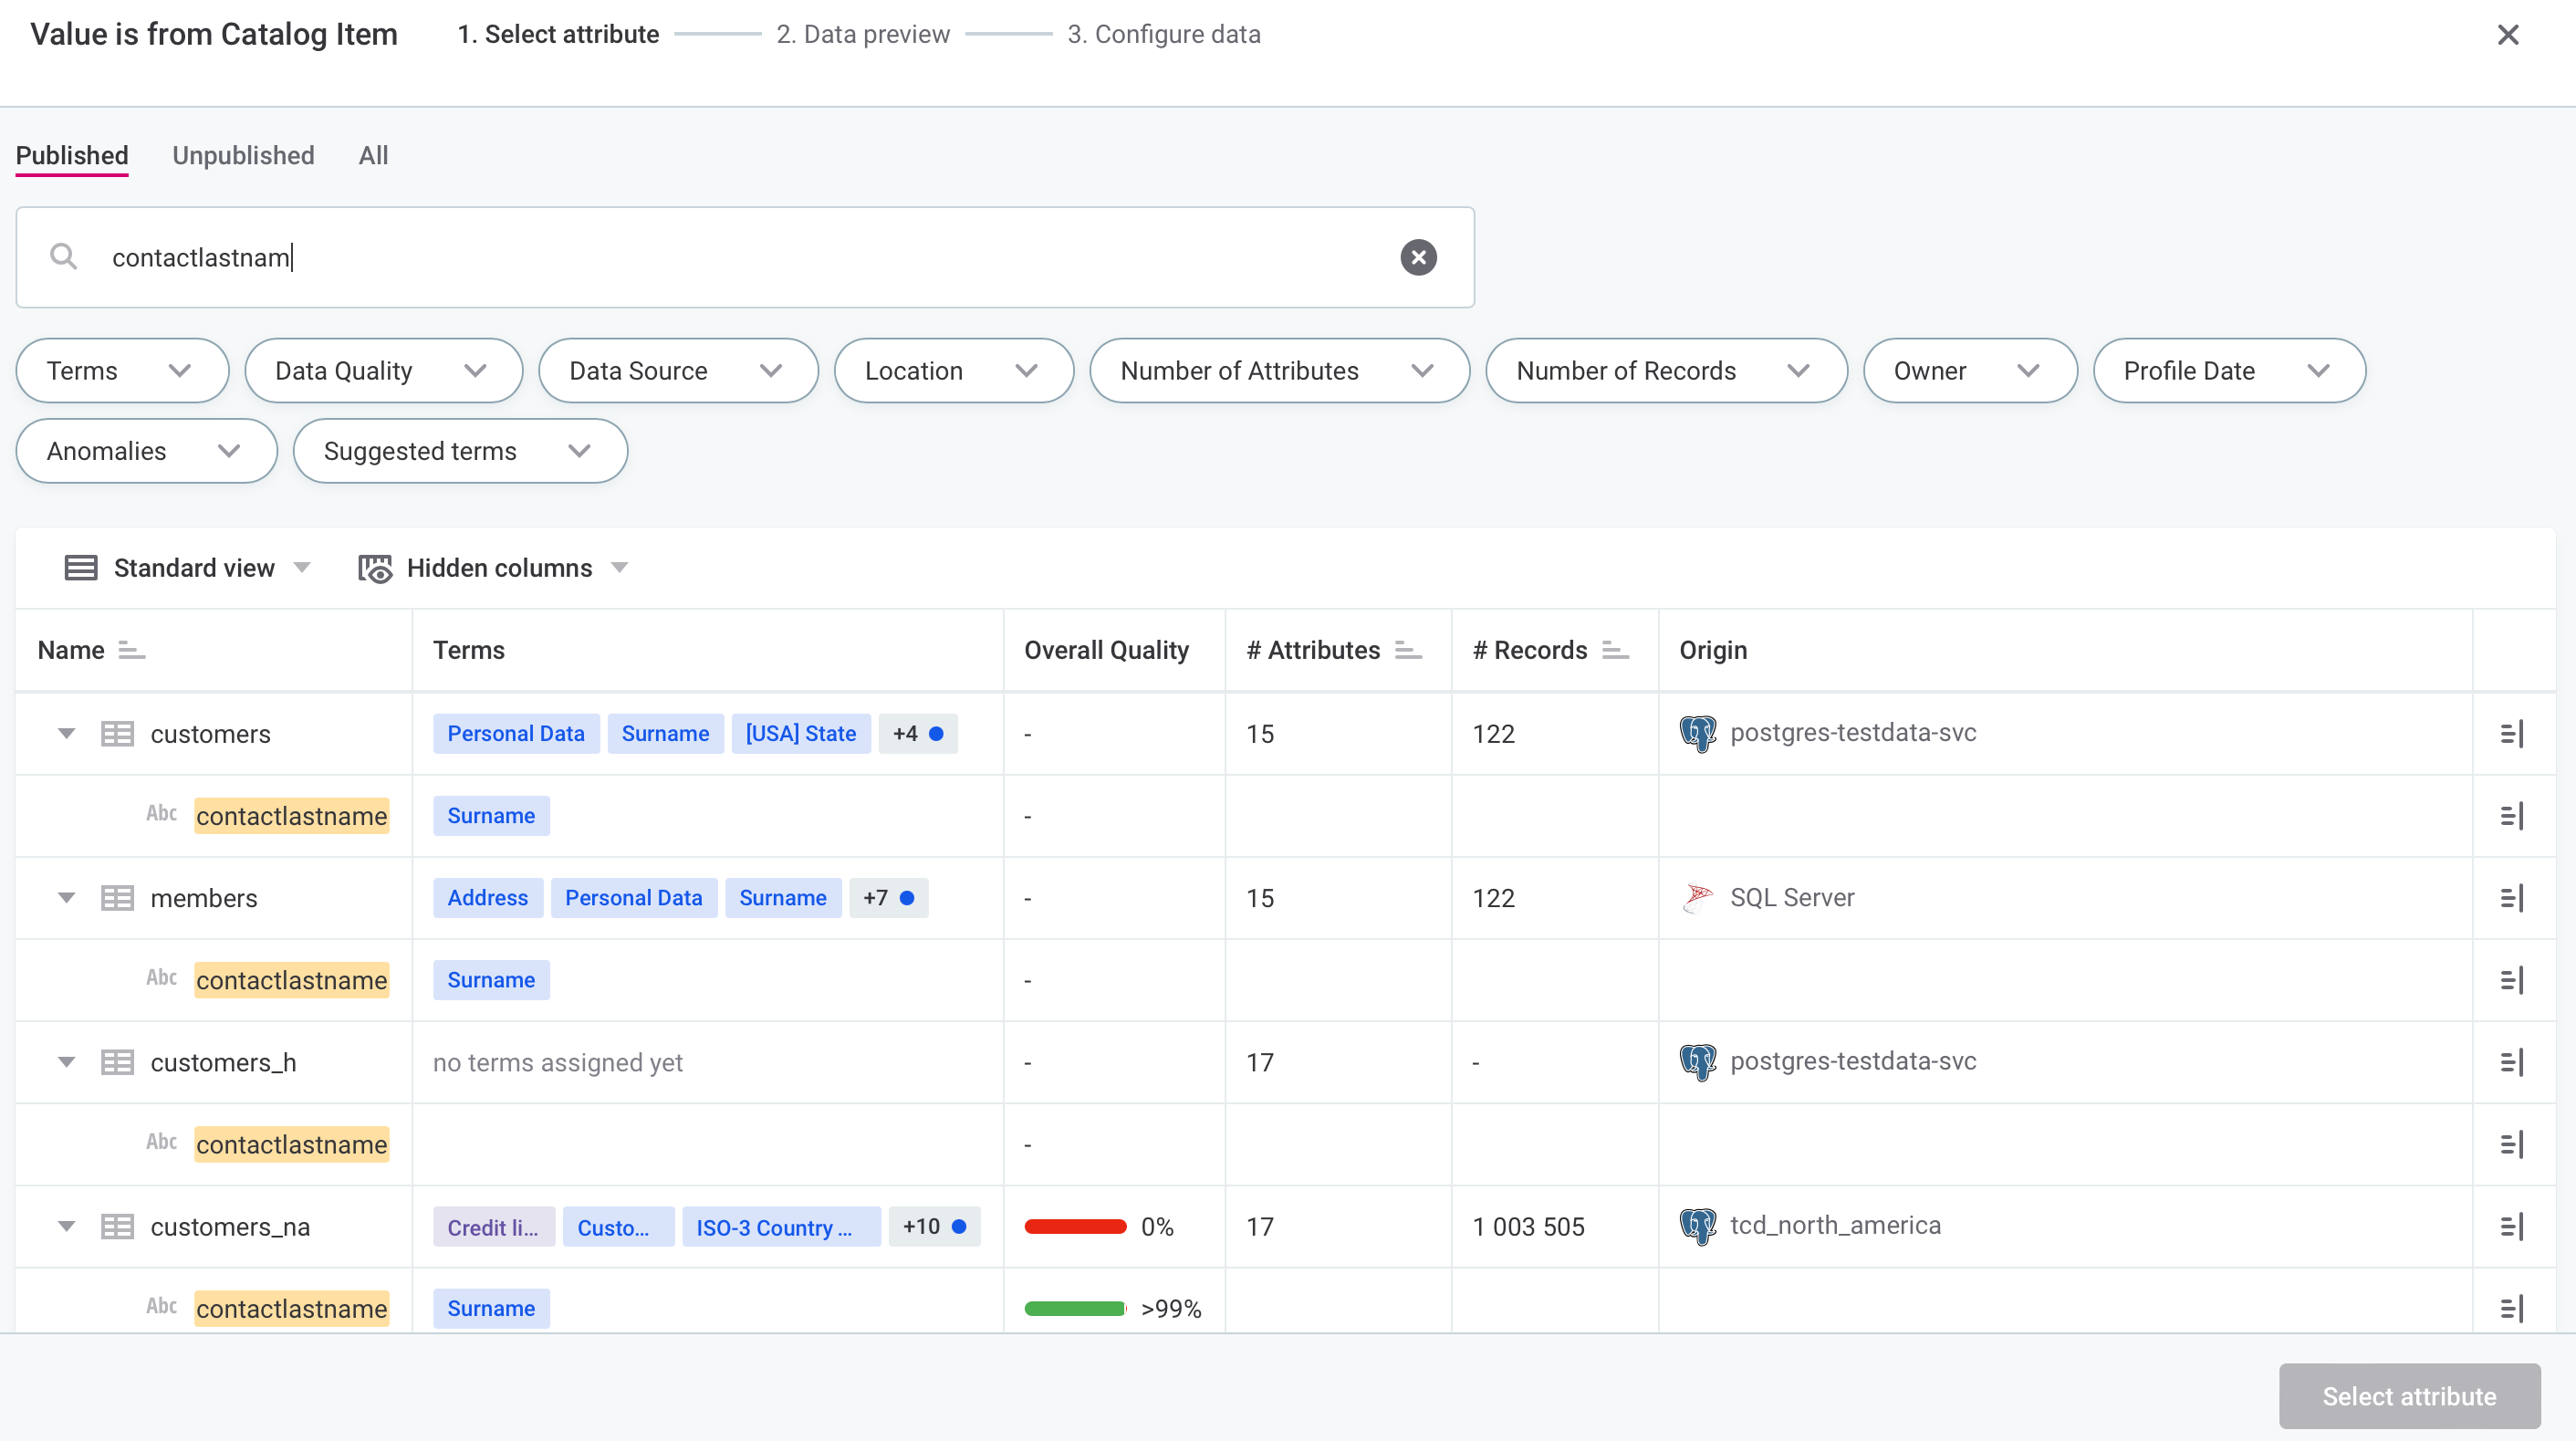
|
On the following tab, review your data. Here, you can also check Profile and DQ insights although in our case there won’t be any results available. Select Configure data.
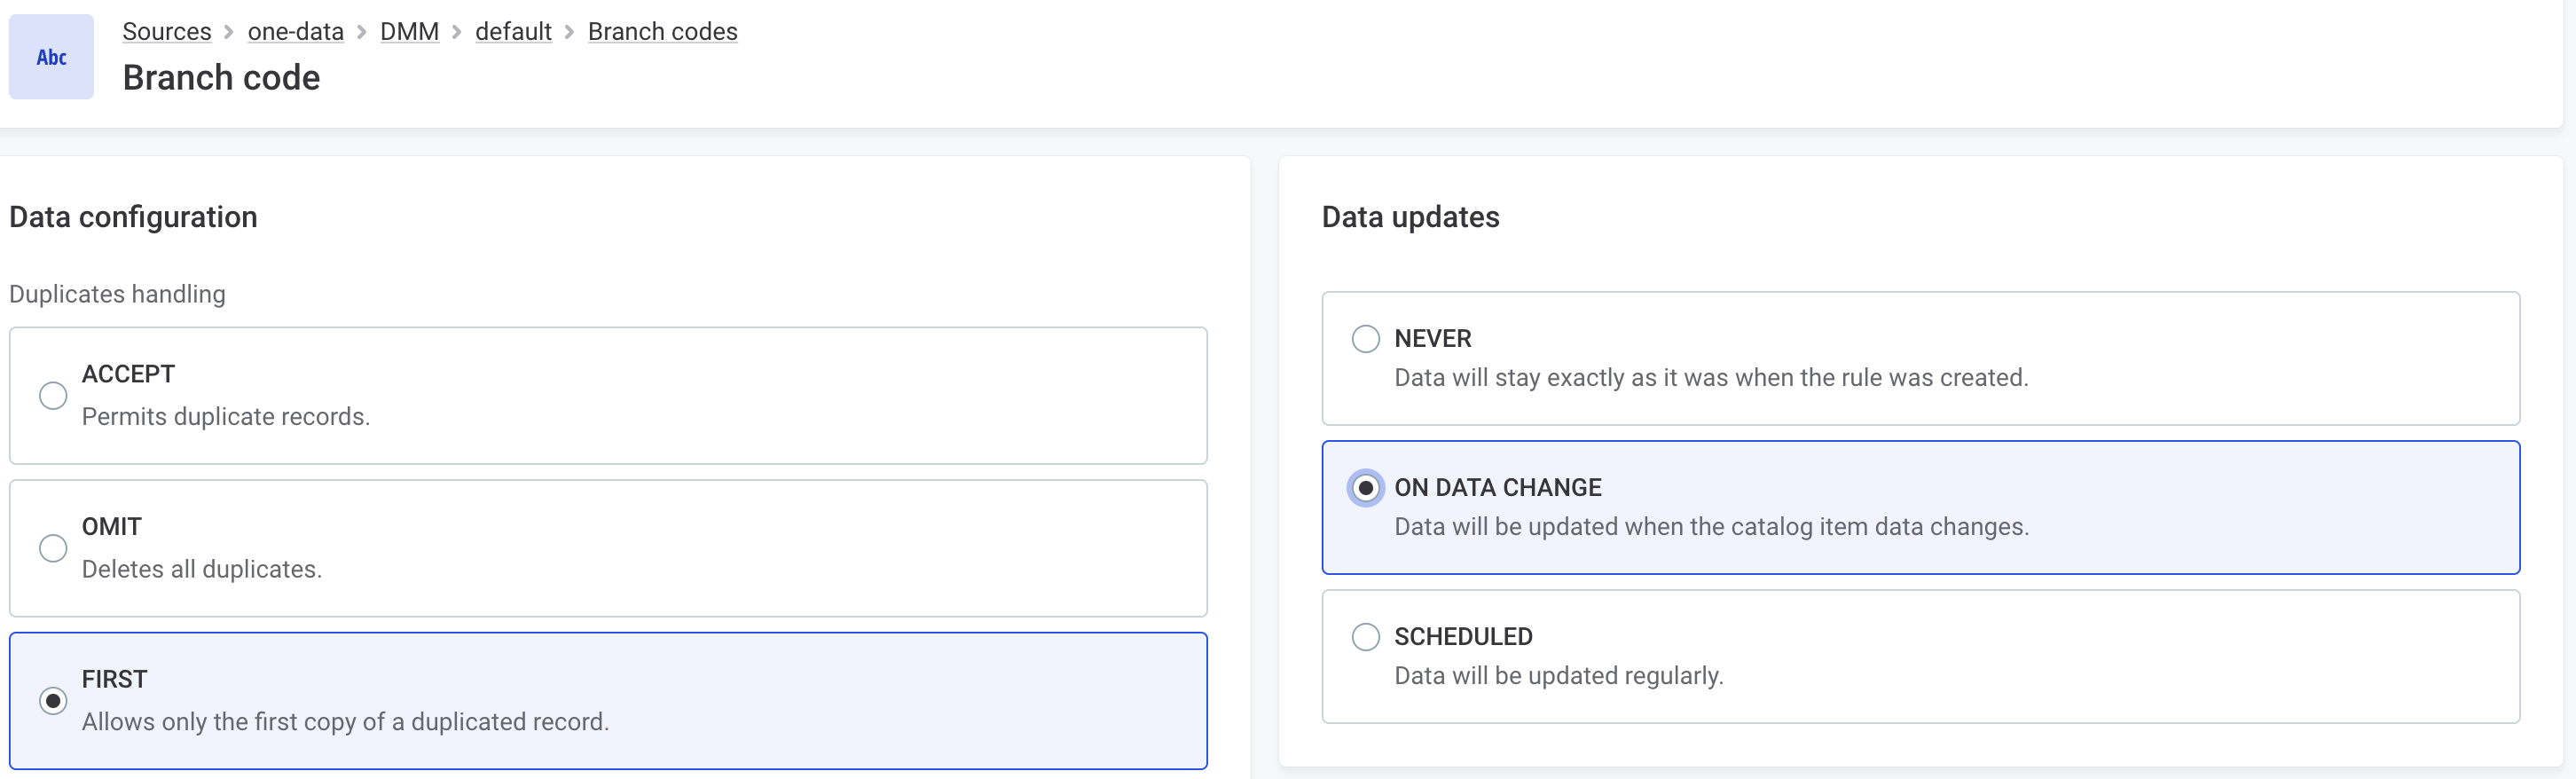
Here, we’re mainly interested in Data updates: set this option to On data change. Other possibilities are Never and Scheduled.
For most rules, we recommend choosing On data change as this helps make sure that your rules are synchronized with your reference data without any further user action. Choose Scheduled if you’re working with very large reference tables or reference data that gets reviewed only periodically.
For the purpose of this guide, we will use the default values for other parameters.
|
Customize how your data should be read in Data configuration. You can choose how duplicate values are handled and whether accents, repeated whitespaces and characters are removed. In addition, you can convert the data to capital letters or substitute specific characters. During configuration, use the Data preview widget to make sure all settings will work as expected. |
When you’re ready, select Confirm.
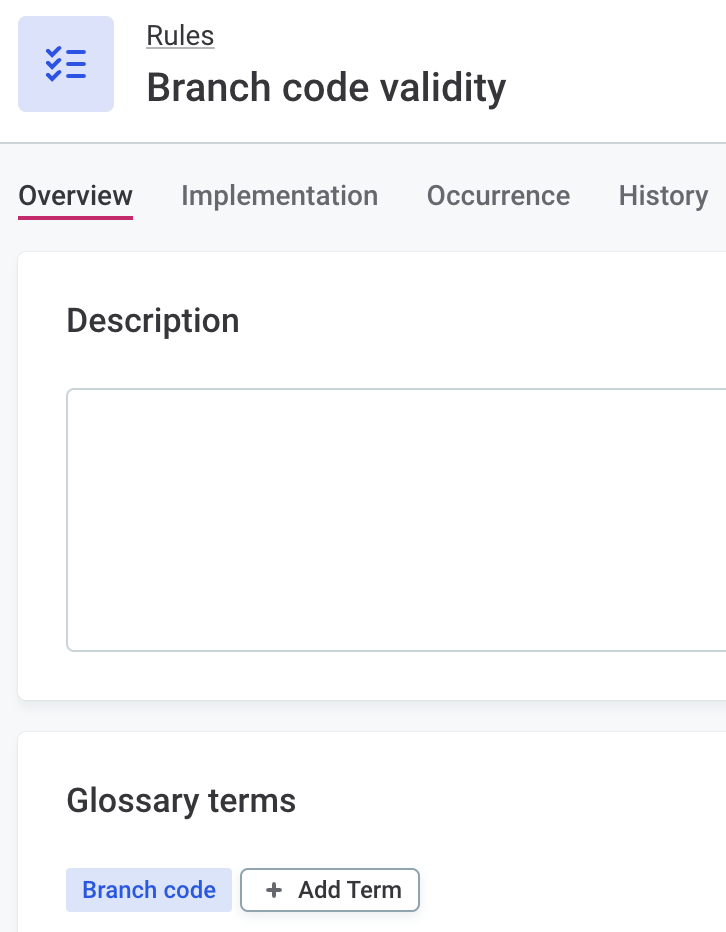
Finally, switch to the rule Overview tab and in Glossary terms, add the newly created Branch code term.
Once you’re finished, publish the changes.
| For more detailed instructions about how to create and configure rules, see Create DQ Evaluation Rule. |
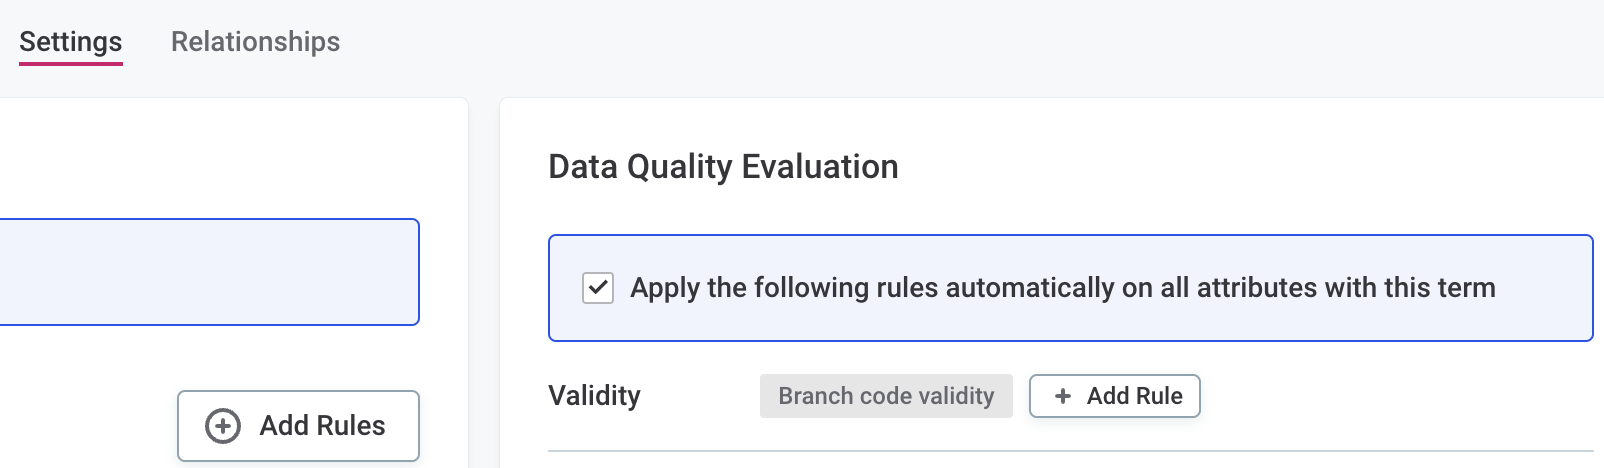
Enable DQ evaluation on term
After you mapped the term to the rule, you need to configure it so that it can be used for DQ evaluation. In Business Glossary, find the term and open the term Settings tab.
In Data Quality Evaluation, add the rule you created for the branch codes. Publish your changes again.
Add term and run DQ evaluation
See your new rule in action. In Knowledge Catalog, find a catalog item containing branch codes and add the new glossary term to the appropriate attribute, then run DQ evaluation (Data Quality > Evaluate or Full Profile & DQ Evaluation).
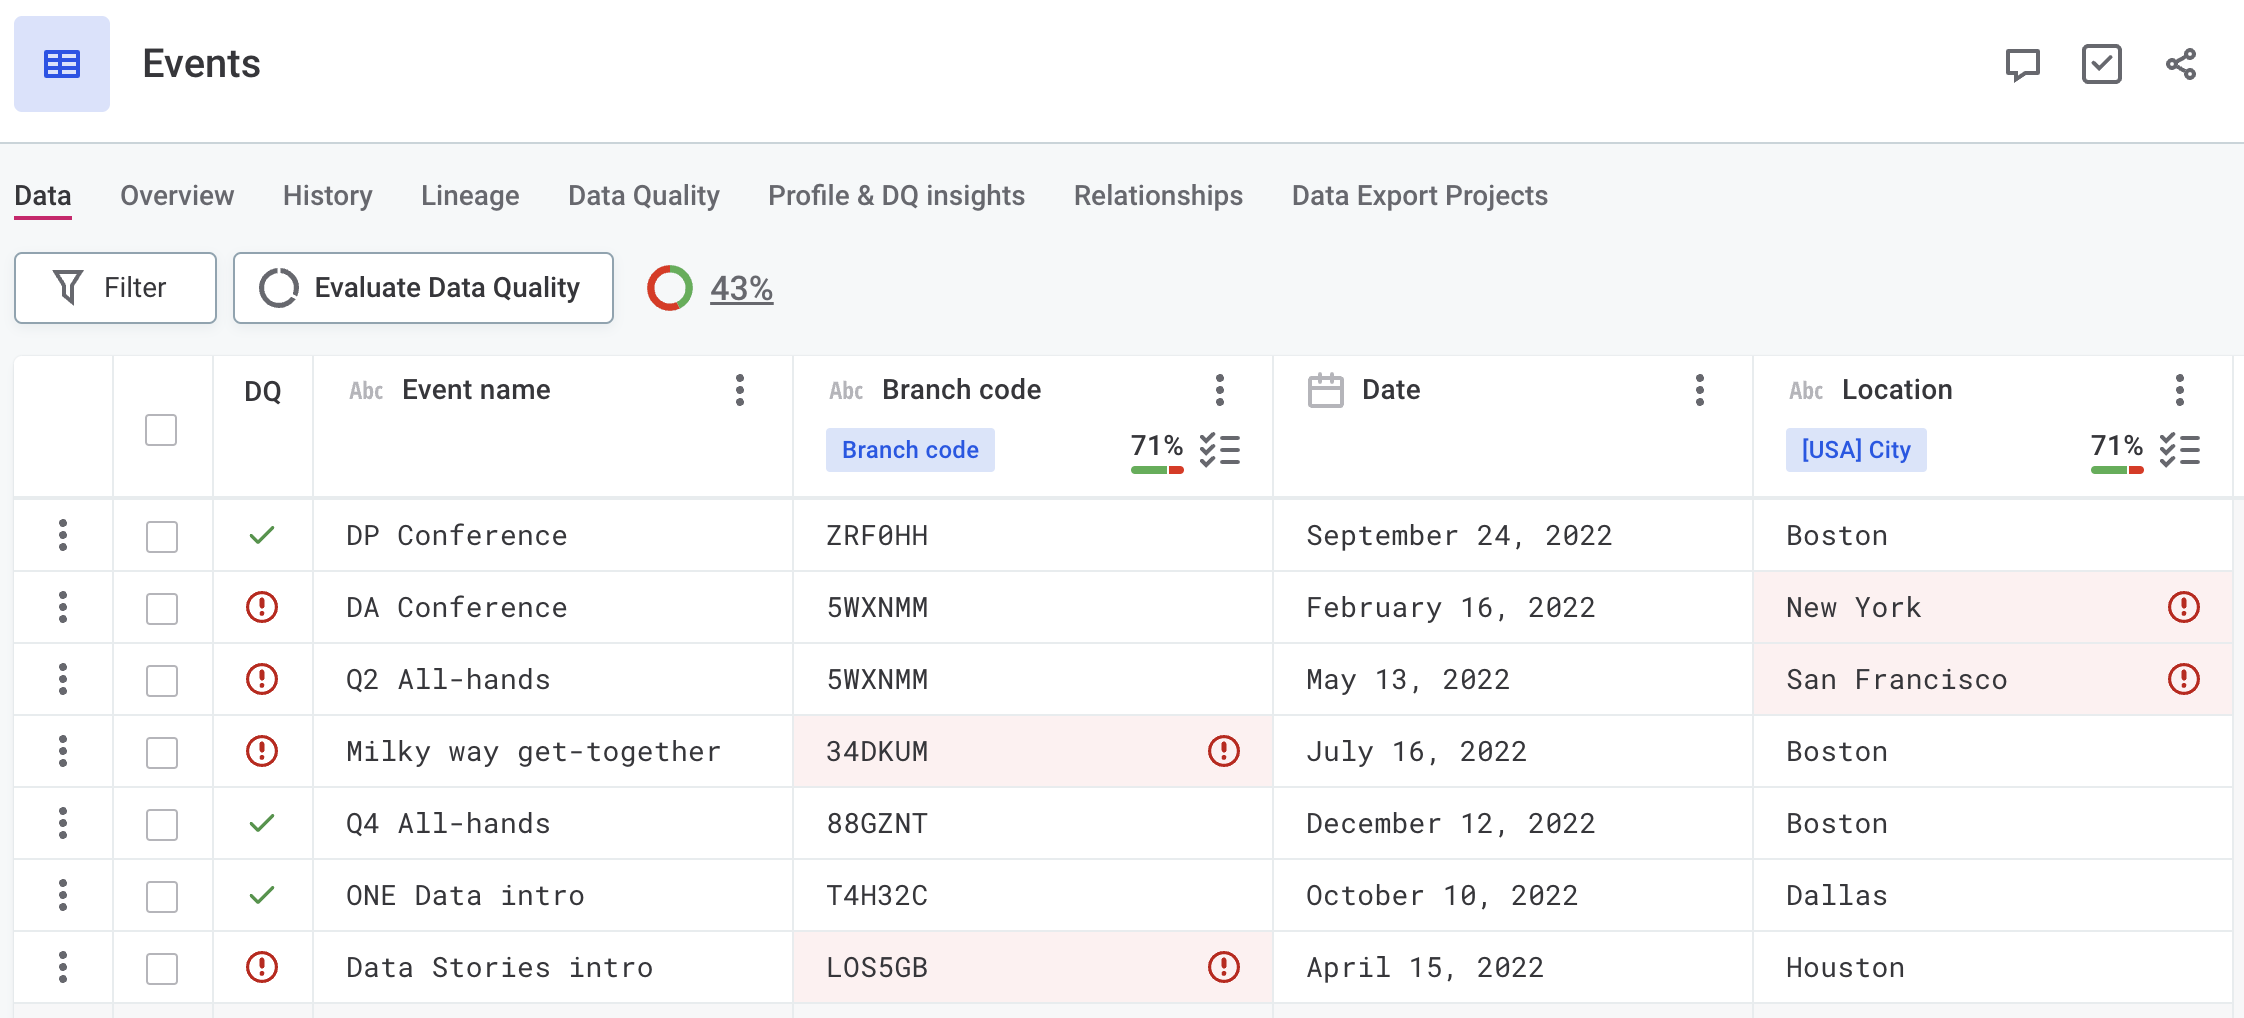
Once you have identified the invalid records, you can work with the data further. Fix the issue by importing the catalog item to ONE Data (see Data Remediation with ONE Data) or set up a monitoring project to track the quality of your data continuously (see Monitoring Projects).
You can also create a new detection rule using the same logic described here. This way, your new term will be automatically assigned once a branch code is detected in a catalog item. For more information, see Create Detection Rule.
|
In addition, starting from version 14.4.0, you can add any DQ rule directly to catalog item attributes from the table or the attribute details sidebar. This allows you to apply specific DQ rules on particular attributes without modifying the default rule configuration for any of the applied terms. To do this, expand the list of DQ rules on the attribute and select Add Rule, then choose all rules that you want applied. Alternatively, right-click the attribute name and select Open details. The Add Rule option is available under DQ Rules. If you change your mind or no longer want to use a manually applied rule, select the X icon next to it to remove it and publish the changes. For more detailed instructions, see Add DQ Rules to Attributes. 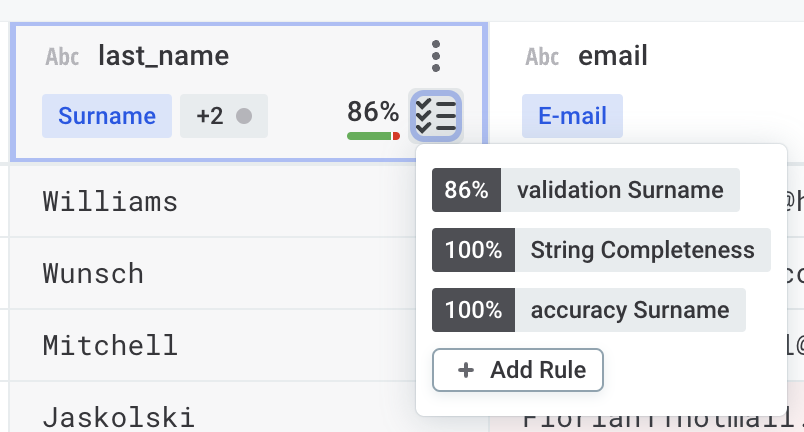
You can also pause applied rules either directly from the table or from the attribute details sidebar by clicking the pause icon. After you publish the change and rerun DQ evaluation, the rule is no longer used in evaluation until you reactivate it. 
|
Was this page useful?