
Left Navigation Menu
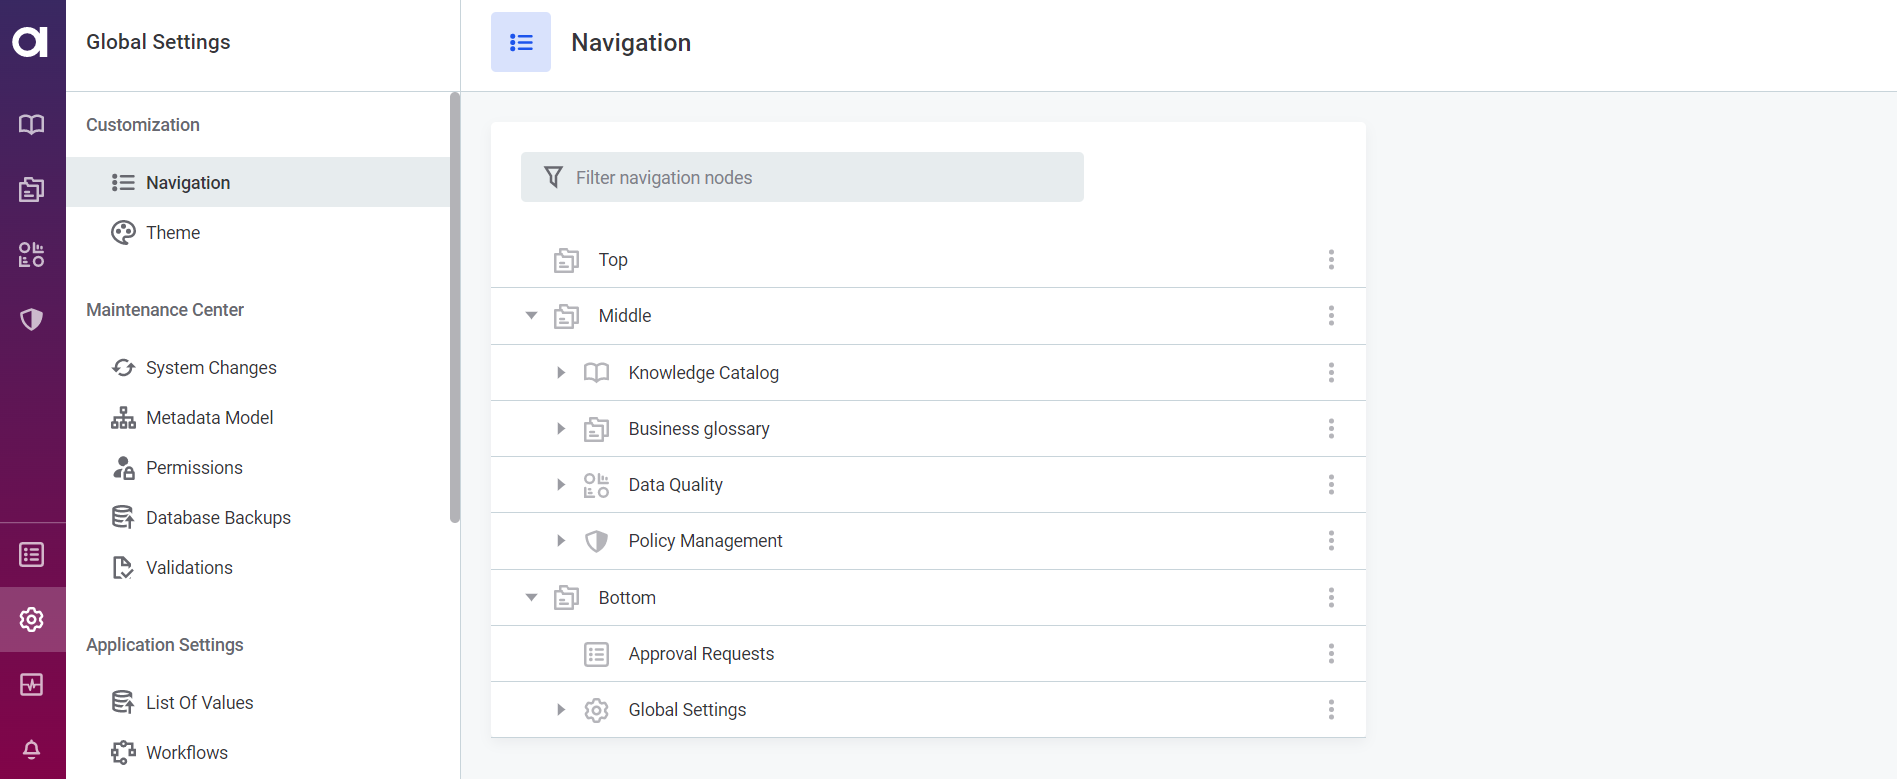
The navigation of the leftmost menu can be changed to better suit your needs. This is done from the Global Settings > Navigation tab.
The navigation bar is divided into three sections: Top, Middle, and Bottom. It is derived from entities within the Metadata Model that have been added to the Navigation entity, within those relevant sections.
| A common customization is to add an entity with additional filters. For more information, see Entity Screen Customization. |
Add a new navigation item
To add a new entity to the menu:
-
Go to Global Settings > Navigation.
-
Choose to which section of the toolbar the entity should be added (Top, Middle, or Bottom) and in the three dots menu select Add child.
-
Provide the following information:

-
Navigation item type:
-
Listing: Lists instances of the selected entity type (Listing Node), such as components or terms.
-
Section group: Used for grouping other navigation nodes (for example, Knowledge Catalog and Data Catalog nodes).
-
Custom item: For such items, a default screen layout is automatically provided and can be edited through Edit page > Layout menu available on the node listing page.
-
External link: The navigation displays an entity that redirects to an external page. The URL must be specified in External link property.
-
-
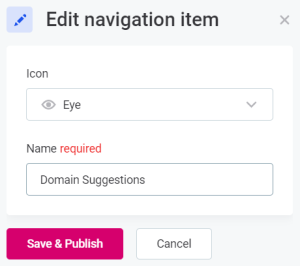
Icon: The icon that is shown in the toolbar. Choose from the list of available options.
-
Name: The name that is shown in the toolbar.
-
-
Select Save and publish. Saved changes are immediately applied.
Edit a navigation item
You can rename the entity display name and icon, adjust the position of navigation items, hide or delete them.
| When editing, you can save your changes at any point (Save and publish). Saved changes are immediately applied. |
To edit an entity in the navigation menu:
-
Go to . Go to Global Settings > Navigation.
-
Find the entity you want to work with and in the three dots menu select the appropriate option:
-
Edit: Here you can change the entity display name and the icon.
-
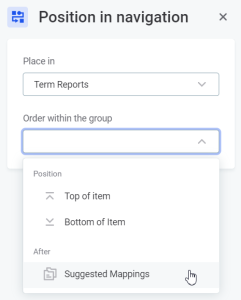
Change position: Choose in which navigation section the node is located (Place in) and define its position within that section (Order within the group). Available options are Top of item, Bottom of item, and After a specific entity, if the parent entity contains more than one child item.
-
Preview in new tab: Lets you visualize any node from the navigation editor without having to switch to another screen. This is especially useful for deeply embedded nodes or when working with complex custom screens. This way, you can keep the node hidden from the navigation until all changes are finalized while being able to access the updated layout when needed.
-
Hide: Hide or show the page in the left-side navigation menu.
This affects any child pages as well. -
Delete: This option is not available for system nodes.
This deletes any child items as well.
-
Was this page useful?