
Reports from Other BI Tools
ONE can help you document and keep all the relevant information about your data in one place. It is possible to manually document reports, sources, or datasets from BI tools other than Tableau, PowerBI, and Data Stories.
Limitations
Manually added datasets or reports from non-supported BI tools have the following limitations:
-
You cannot see the structure of the report.
-
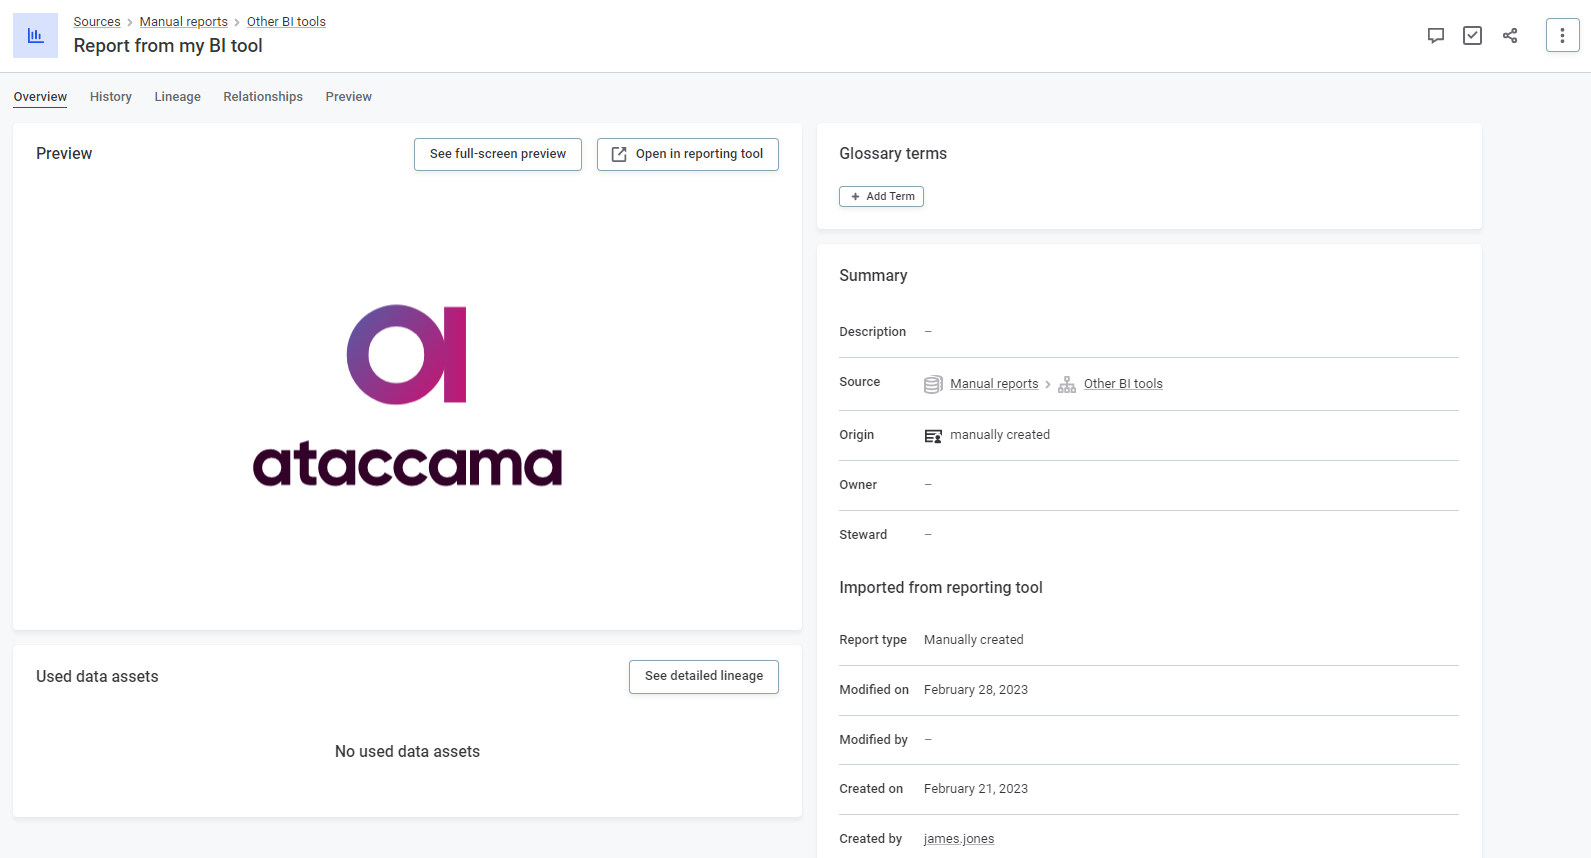
The preview of the report is not interactive.
-
You cannot import the lineage of the item. You can only add it manually via an API. For more information, see ONE API.
|
If your BI tool provides the necessary APIs, it is possible to automate the report import process. Contact Ataccama Professional Services for more information. |
Prerequisites
Before proceeding:
-
Make sure that the reports from your BI tool have static URLs.
-
Configure content security policy to enable report previews:
-
In ONE, configure your content security policy to enable thumbnails and previews for your reports. This requires admin permissions.
-
On your report server (if previews use iframe embedding), set the
frame-ancestorsdirective to allow your ONE domain:Content-Security-Policy: frame-ancestors 'self' https://your-one-domain;Do not use
X-Frame-Options: SAMEORIGINas it blocks cross-origin iframes.This configuration is not required if you use custom previews.
-
-
Ensure you have
Full,Edit, orView dataaccess rights in ONE:-
On sources to import reports from your BI tool.
-
On reports to manage the preview.
For more information, see Access Levels.
-
To work with reports from your BI tool, you need to set up a connection between the tool and ONE.
To do this, you can:
-
Create a report from any existing source.
-
Create a new source for your BI tool and its reports.
For more information, see Connect to a Source.
Add location
| You can skip this section and proceed to Add catalog items if there already is a Generic report location type that you can use. |
Before you can document and manage a report or source from your BI tool, you need to:
-
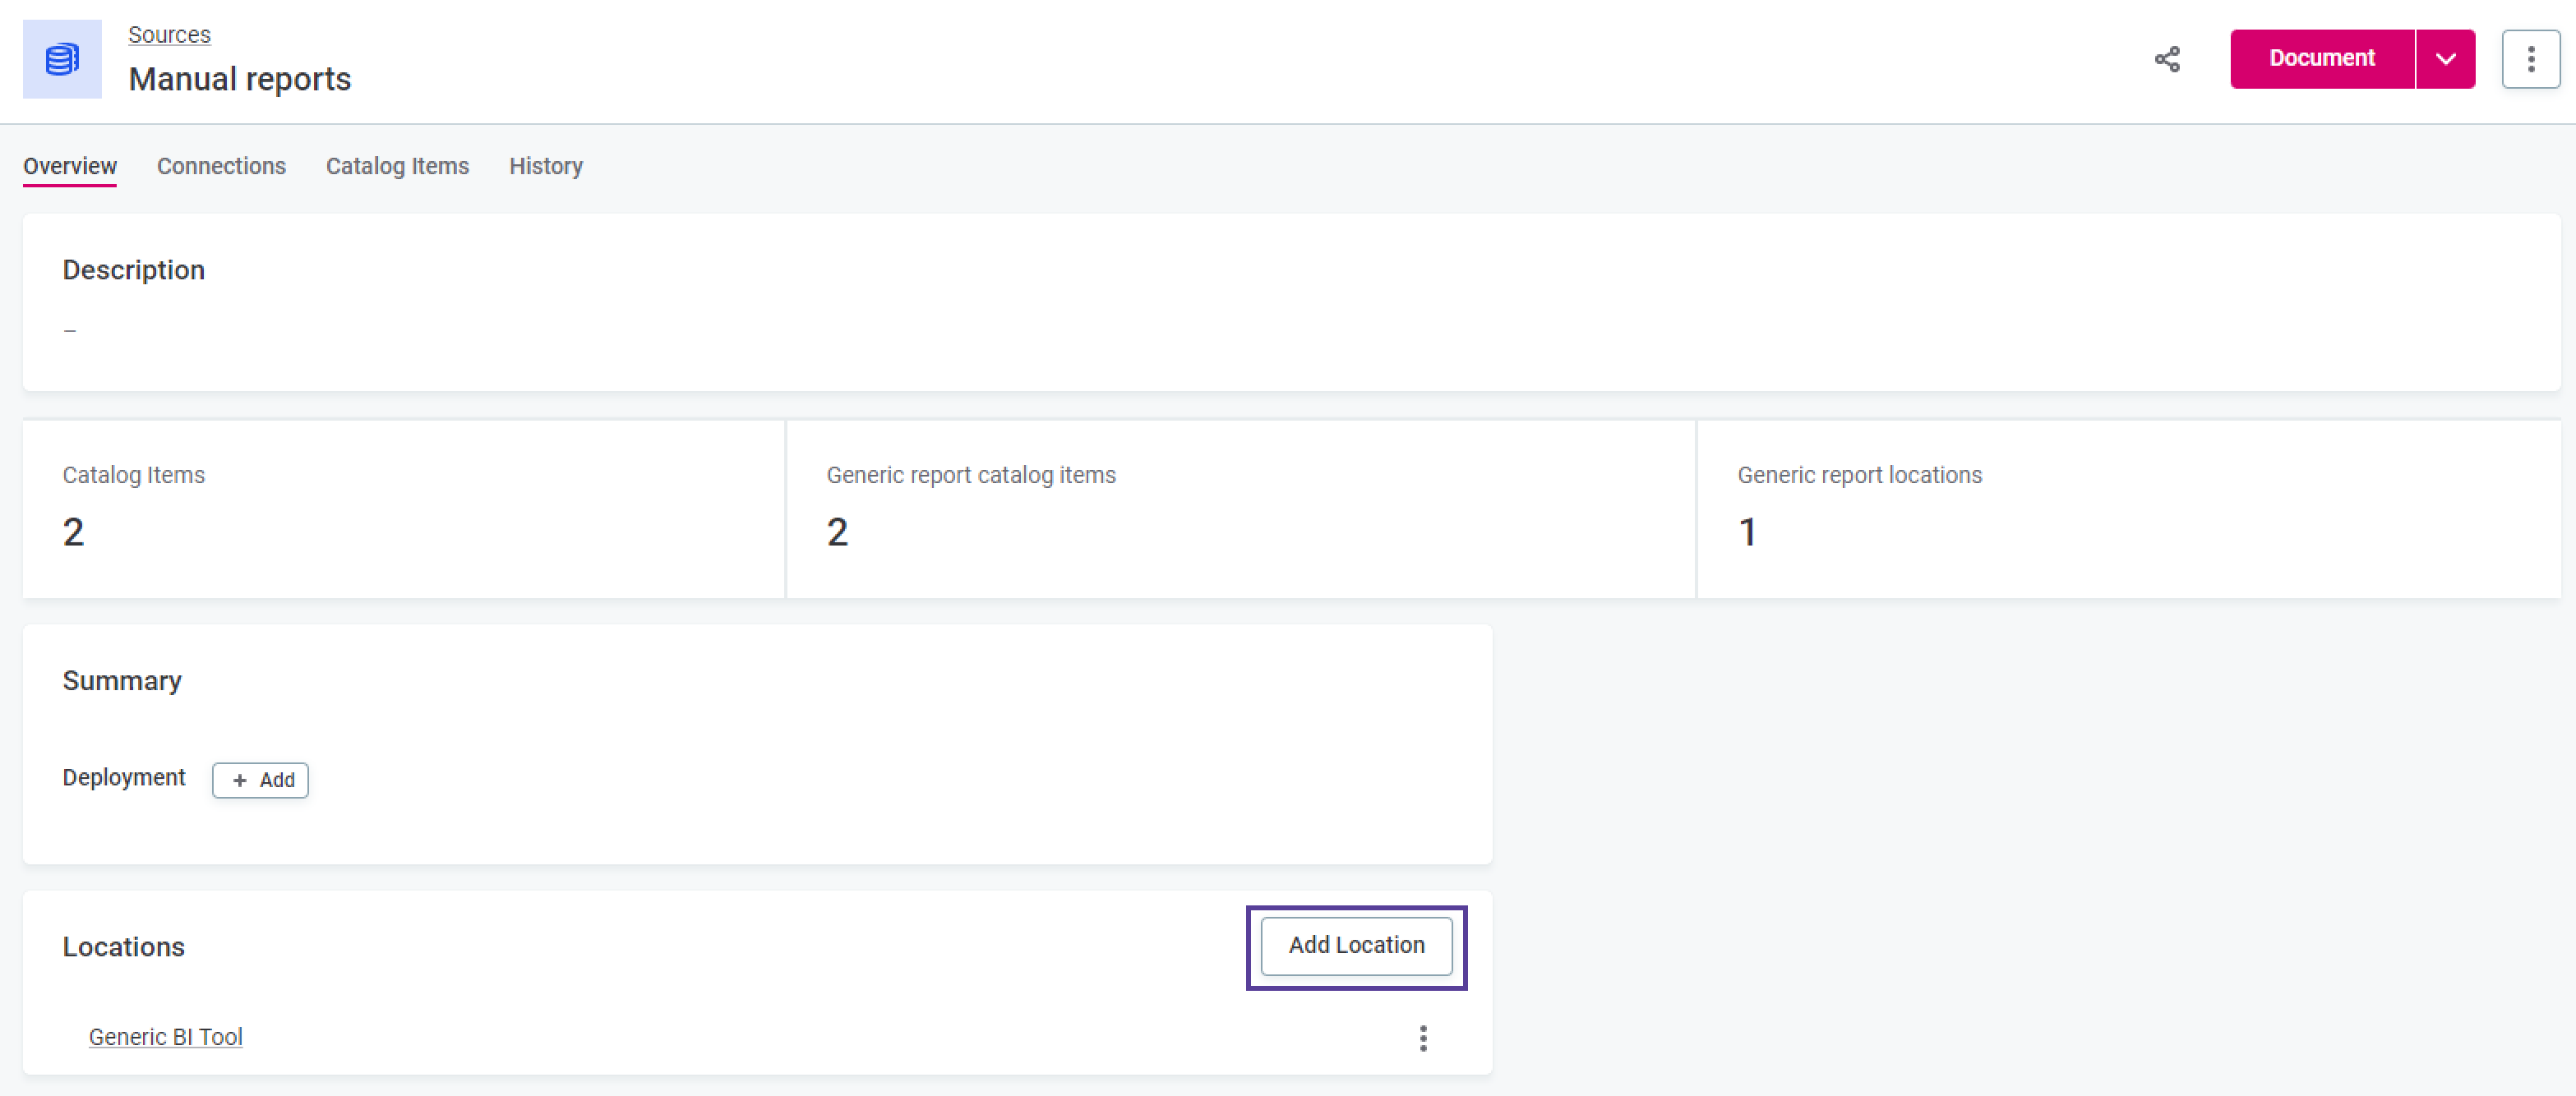
Go to the source you want to add reports to.
-
In Locations, select Add Locations.
-
Fill in the following information:
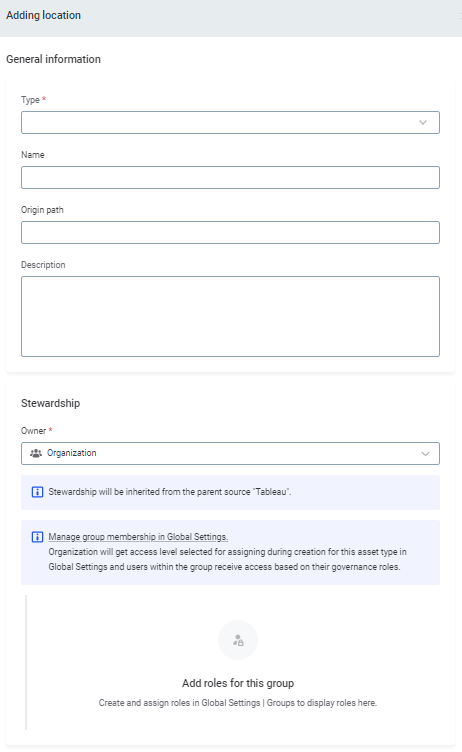
-
Type: Select the Generic report location type to indicate that the location contains the report items of the non-supported BI tool.
-
Name: Specify the name of the new location, which serves as a folder for the catalog items and reports.
-
Origin path: Leave the field empty unless you are writing automation for importing unsupported reports.
-
Description (Optional): Provide the description for the location.
-
Stewardship: Specify the asset owner and roles. For more information, see Stewardship.
-
-
(Optional) Select Add Locations to document the lower-level structure elements of your BI tool.
-
(Optional) Provide the information for the lower location.
Add catalog items
Next, you need to attach catalog items to your report.
To do this:
-
Select Add Catalog Item.
Alternatively, select Save and Publish changes, then click Add Catalog Items from the location Overview tab. -
Provide the following information:
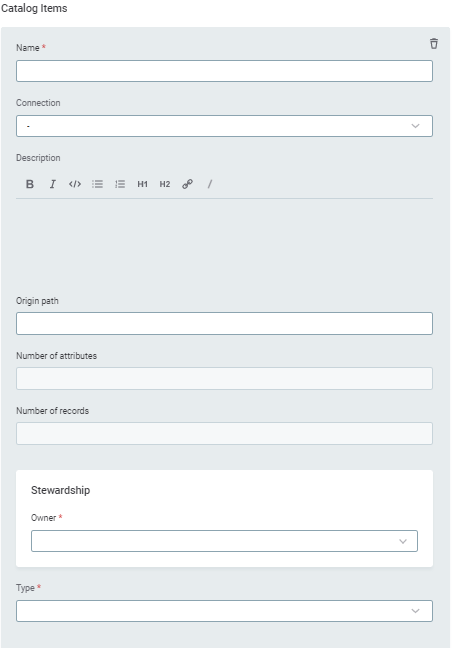
-
Name: A unique name for the report.
-
Connection: Review the existing connection name. We do not recommend changing it at this point.
-
Description: Optionally, provide a description of the report.
-
Origin path: If you’re documenting a dataset, provide a static URL for it. Otherwise, leave the field empty.
-
Number of attributes and Number of records: These fields cannot be manually changed.
-
Import path: The schema and table name for the catalog item.
-
Stewardship: Specify the asset owner and roles. For more information, see Stewardship.
-
Type: Select one of the following:
-
Generic report catalog item: To document a particular report.
-
Generic report dataset catalog item: To document a whole dataset that represents an additional level of the structure your BI tool provides.
-
-
-
If you selected Generic report catalog item as Type in step 2, provide the following information:

-
Origin ID: The ID or the name of the report as in your BI tool.
-
Origin type: The type of the BI tool element to be shown as a
report typeon the report Overview tab and on the reports listing, for example,dashboard,story,report.The input is capitalized and the underline (
_) is replaced by a space character.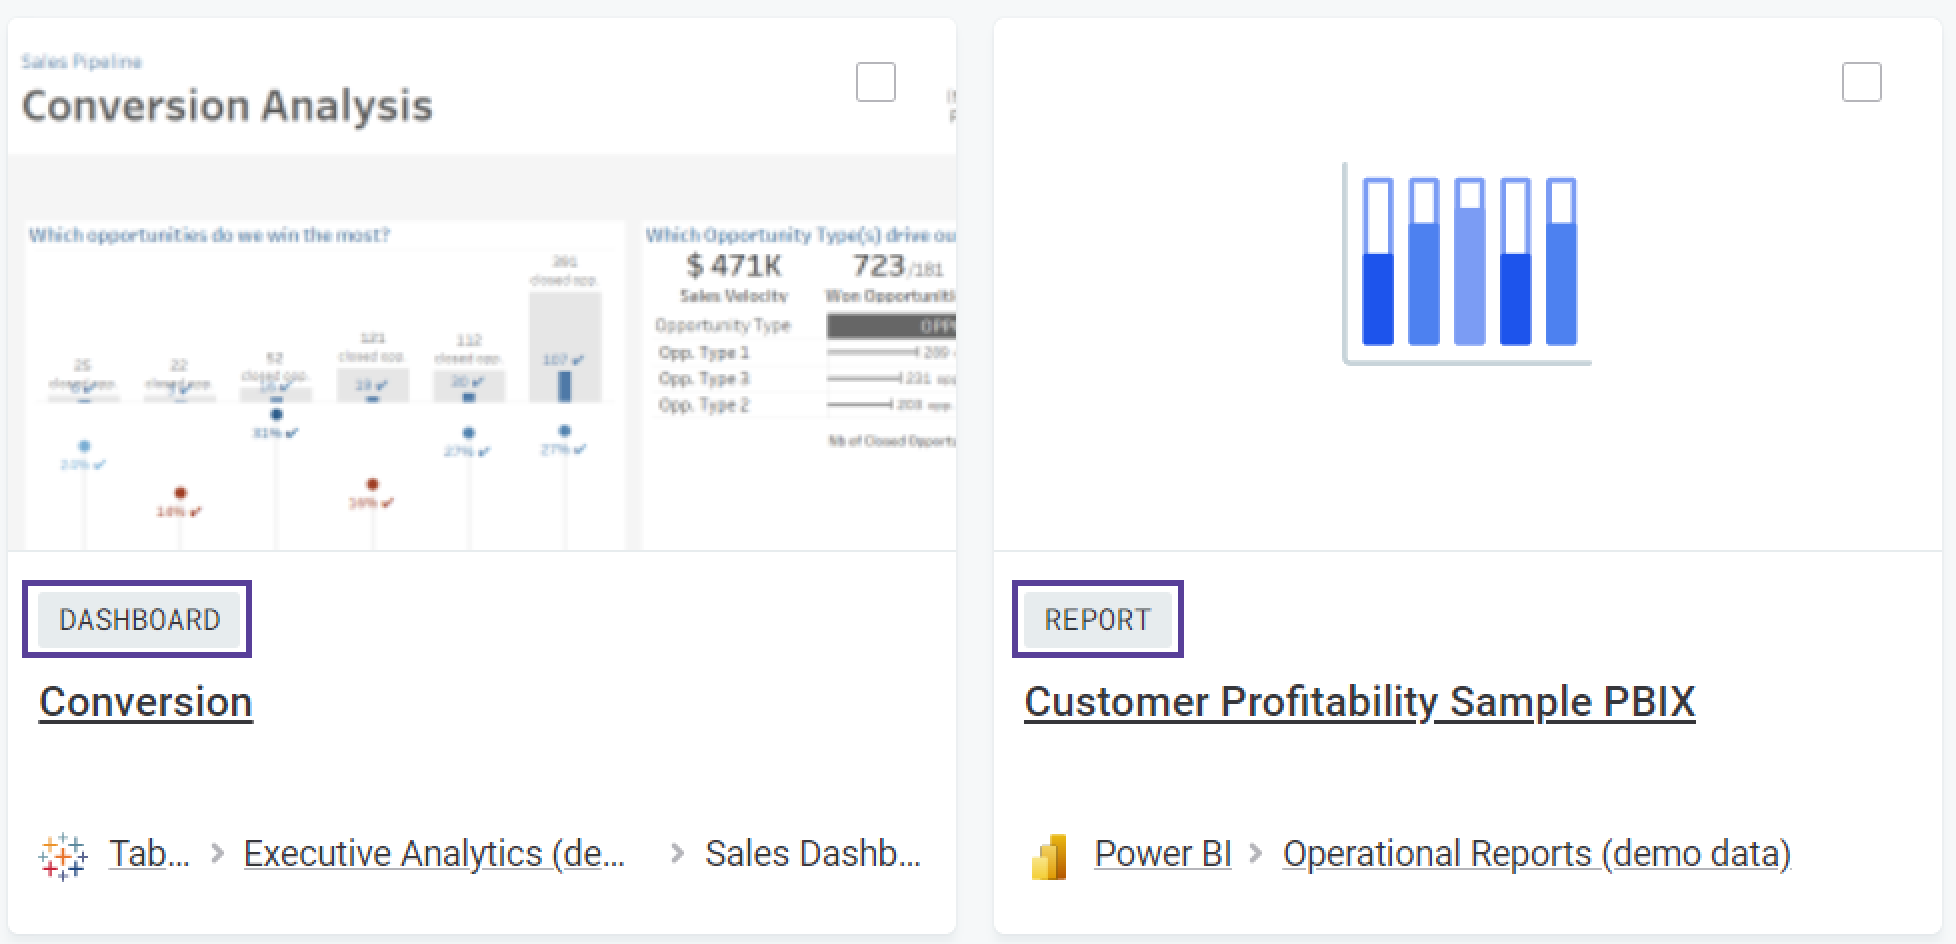
-
Created on: The date when this report was created.
-
Created by: The person who created this report.
-
Modified on: The date when this report was last modified.
-
Modified by: The person who last modified this report.
-
Origin link (Required): The URL of the report in your BI tool.
-
Preview link: A URL of the BI tool preview or of the static picture of this report from your file system.
-
Thumbnail: A URL to the static picture of the preview of this report that you want to be shown as a thumbnail. NOTE: Make sure that the Preview and Thumbnail URLs match those you provided when creating your Content Security Policy.
-
Lineage matching key: A unique identifier used to match this catalog item with lineage data extracted by external tools such as Manta, and for manually created Ataccama lineage. Enter the relevant portion of the fully qualified name (FQN) from your lineage tool.
For example, if the Manta FQN is
PowerBI//DWH_PBRS2/CRM/Daily Report/Acquisition, the lineage matching key would beCRM/Daily Report/Acquisition. If the matching key contains forward slashes/within the name itself (not as separators), escape them with a backslash\.
-
-
If you selected Generic report dataset catalog item as Type in step 2, provide the following information:
-
Dataset lineage matching key: A unique identifier used to match this catalog item with lineage data extracted by external tools such as Manta, and for manually created Ataccama lineage. Enter the relevant portion of the fully qualified name (FQN) from your lineage tool.
For example, if the Manta FQN is
PowerBI//DWH_PBRS2/CRM/Daily Report/Acquisition, the lineage matching key would beCRM/Daily Report/Acquisition. If the matching key contains forward slashes/within the name itself (not as separators), escape them with a backslash\
-
-
(Optional) You can specify the purpose of this report by selecting Add Purpose.
-
Select Save and publish the changes. Now your report or dataset is documented and available on the Reports and Catalog Items tabs.
You can use the links you have provided as your Origin Path and Origin Link to open the dataset or the report respectively in your BI tool. Optionally, you can proceed to Reports.
Was this page useful?