
Data Export
The data export feature allows you to generate a physical dataset from existing catalog items, giving you access to the data contained and enabling you to use it outside of ONE. You can export data to another database, a file, or to ONE Data.
| Data export is not supported on Spark data sources. |
The following guide explains how to configure and run data export.
Permissions
By default, users with Full, Edit, or View data access level are allowed to export data from corresponding data assets.
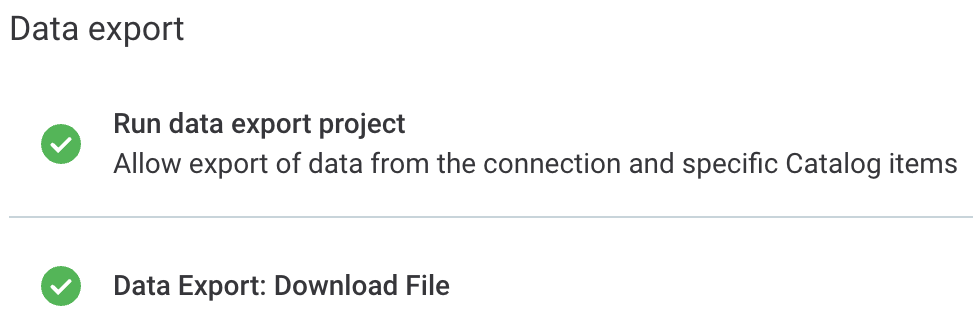
To limit this, modify the access levels for the entity catalogItem to remove the following plugin operations:
-
Run data export project.
-
Data export: Download file.
This is done from the Metadata Model in Global Settings. Find the node you want to edit, switch to the Access Levels tab, and select the name of the access level that needs to be restricted.
Next, select Edit and clear the Data Export operations before saving. For more detailed instructions, see Access Levels, section Configure access levels on entities.
Before you start
If you are exporting data to a database
Make sure these conditions are met before you proceed with step Configure data export.
- Target data source in ONE
-
-
The source and connection you want to export data to are configured in ONE.
-
Write credentials are configured and labeled for the selected connection.
If write credentials are not set, the connection is not shown when configuring the export. If your connection is not visible, verify whether the credentials are correctly set and labeled. See Credentials.
You can also test the connection from the same screen to make sure there are no issues with configuration.
-
- Source data source in ONE
-
-
Data export is allowed on the data source you’re exporting data from (option Enable exporting and loading of data in data source connection configuration). For more information, see the relevant article for your connection in section Connect to a Source.
-
- Target database permissions
-
-
You have the write permissions and credentials set up for the actual database you’re exporting data to. The following actions must be allowed:
-
Delete and insert data into the target table.
-
Create a new target table.
-
Modify the structure of the target table (allows exporting data to an existing table without a compatible structure).
-
-
If you are exporting data to ONE Data
Data export must be enabled on your ONE Data source (option Enable exporting and loading of data). For details, see ONE Data Connection.
Configure data export
To export data:
-
Go to Catalog Items and select a catalog item you want to work with.
-
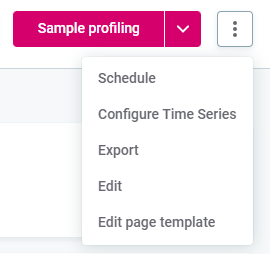
In the three dots menu for that asset, select Export.
-
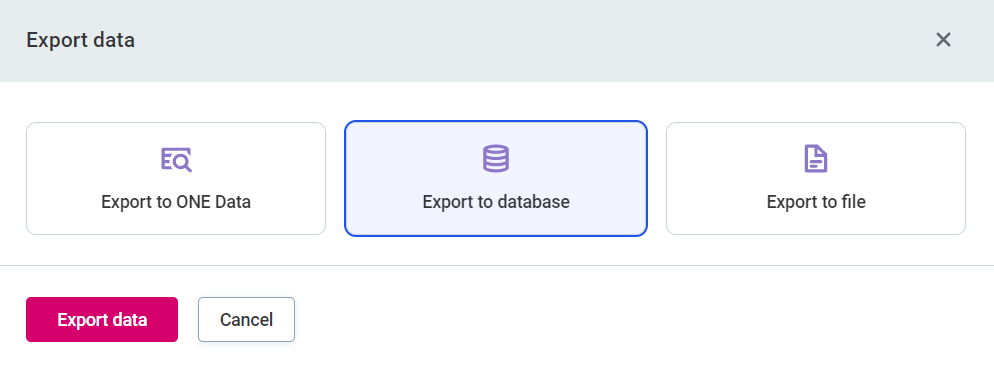
Choose from the following options and select Export data.
-
Export to ONE Data: Select this if you want to use your data in ONE Data. This creates a dataset that can be managed directly in ONE Data, within Ataccama ONE Platform, and used as reference data in DQ evaluation and detection rules.
For more information, see Import Data from a Catalog Item.
-
Export to database: Select this if you want to create a table in the source system that can be managed through the Data Catalog. In addition to this table that physically holds the data, this also creates a corresponding catalog item in ONE.
Next, continue with step Export data to database.
-
Export to file: Select this to export data to a file format and location of your choice. This way, you can process the exported data further.
Next, continue with step Export data to file.
-
| Alternatively, if you are creating your first data export, you can navigate to the Data export project tab of your selected catalog item, select Export data, and follow the procedure described in one of the following scenarios based on where you want the data to be exported. |
Export data to database
| Make sure all the necessary conditions for exporting to a database are fulfilled, as explained in Before you start. |
If you selected Export to database in the initial step:
-
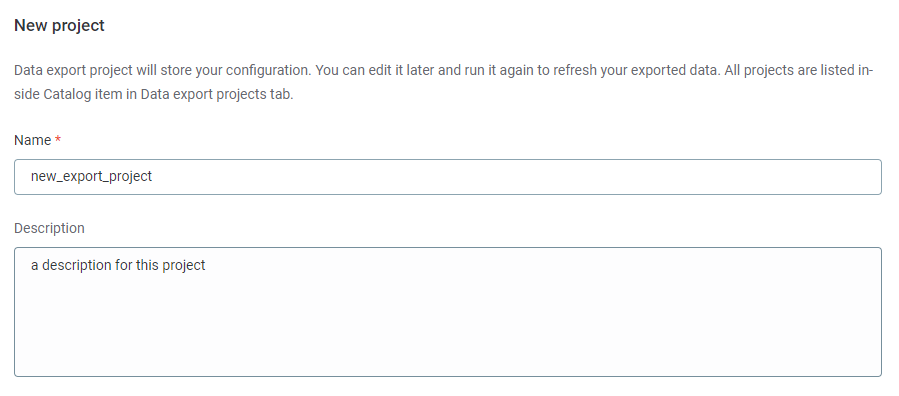
Create a new project and provide the following:
-
Name: A meaningful name for this data export.
-
Description (Optional): A short description of this data export, for example, which attributes it contains or what it is used for.
-
(Optional) To save the currently open project, select Save draft.
You can save the draft of your project at any point in the configuration. To see and edit drafts, navigate to Data Catalog > Catalog Items > Data export projects.
-
-
When you are finished editing, select Next.
-
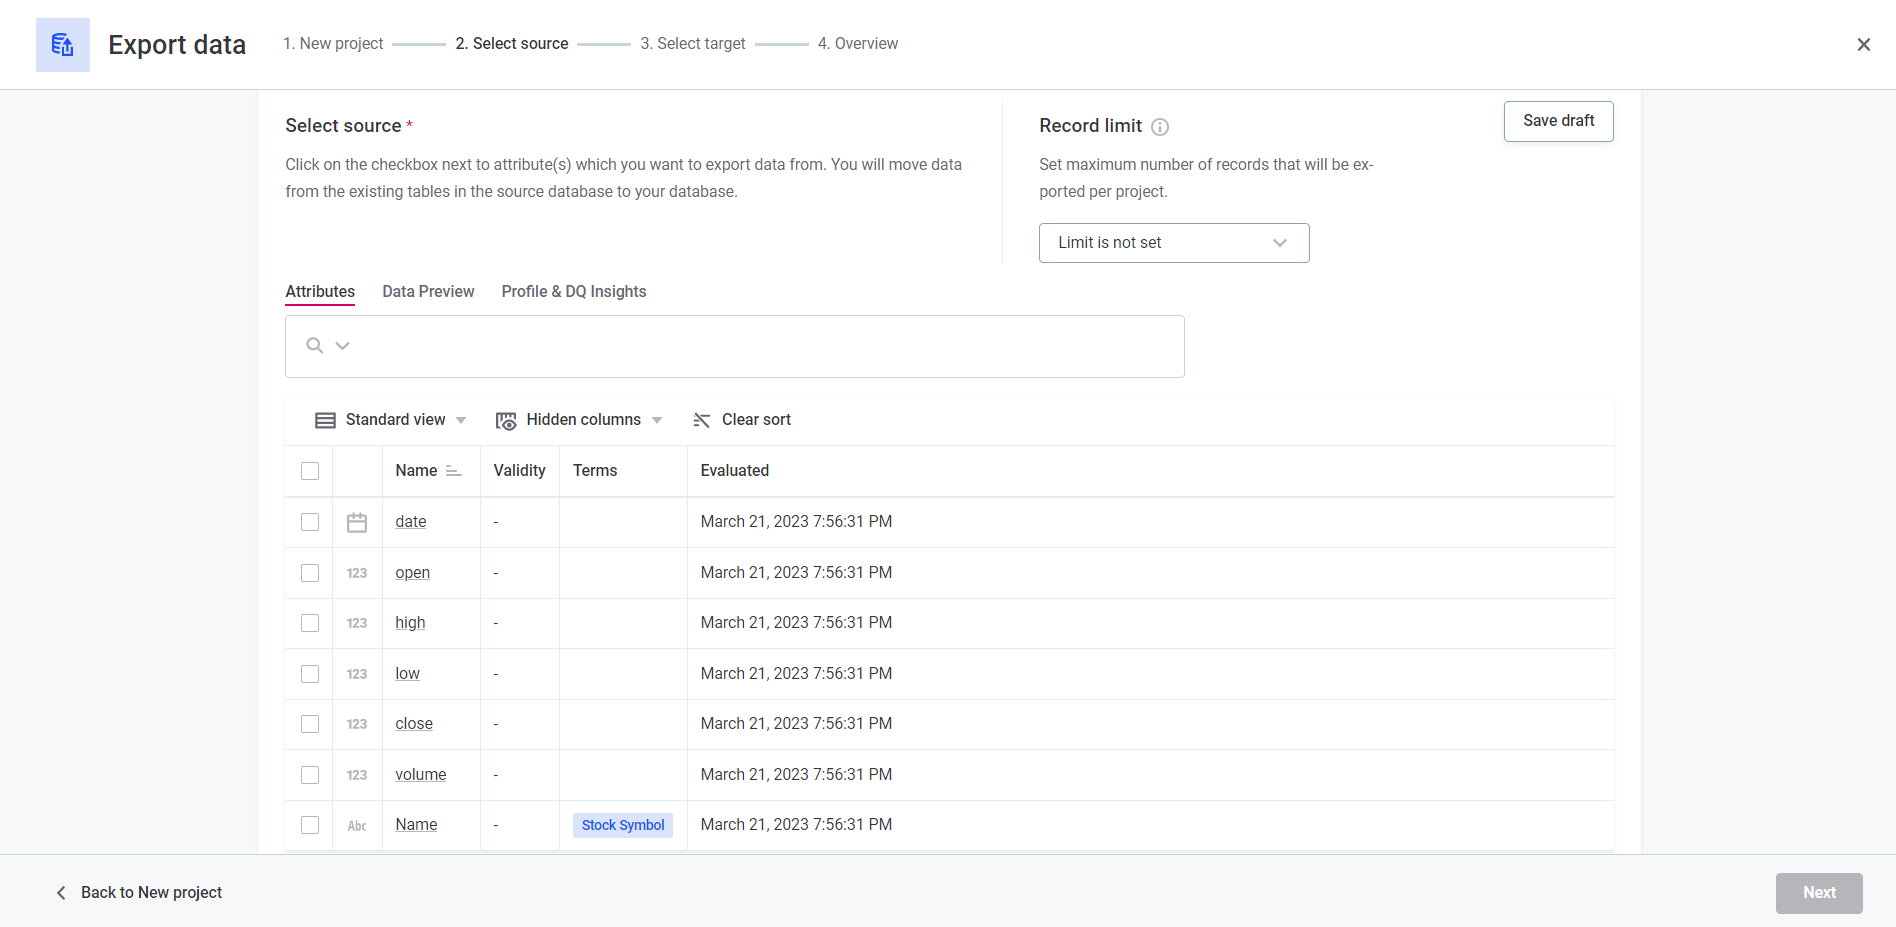
Select the export source.
-
Attributes: Select the attributes that you want to export from the catalog item. You can select all attributes or choose specific ones.
You can also use the ribbon above the table to switch between Standard and Compact views, or to hide specific columns by clicking Hidden columns and selecting the attributes you want to hide.
To remove default sorting and show all attributes, select Clear sort.
To view the data before selecting attributes, go to the Data preview tab.
To see the results of data quality evaluation, go to Profile & DQ insights tab. For more information, see Understand Profiling Results.
-
Record limit: To export a sample of data, set a maximum number of records to export from the original data source to this project. To do this, select a value from the dropdown.
By default, all records are exported.
-
-
When you are finished editing, select Next.
-
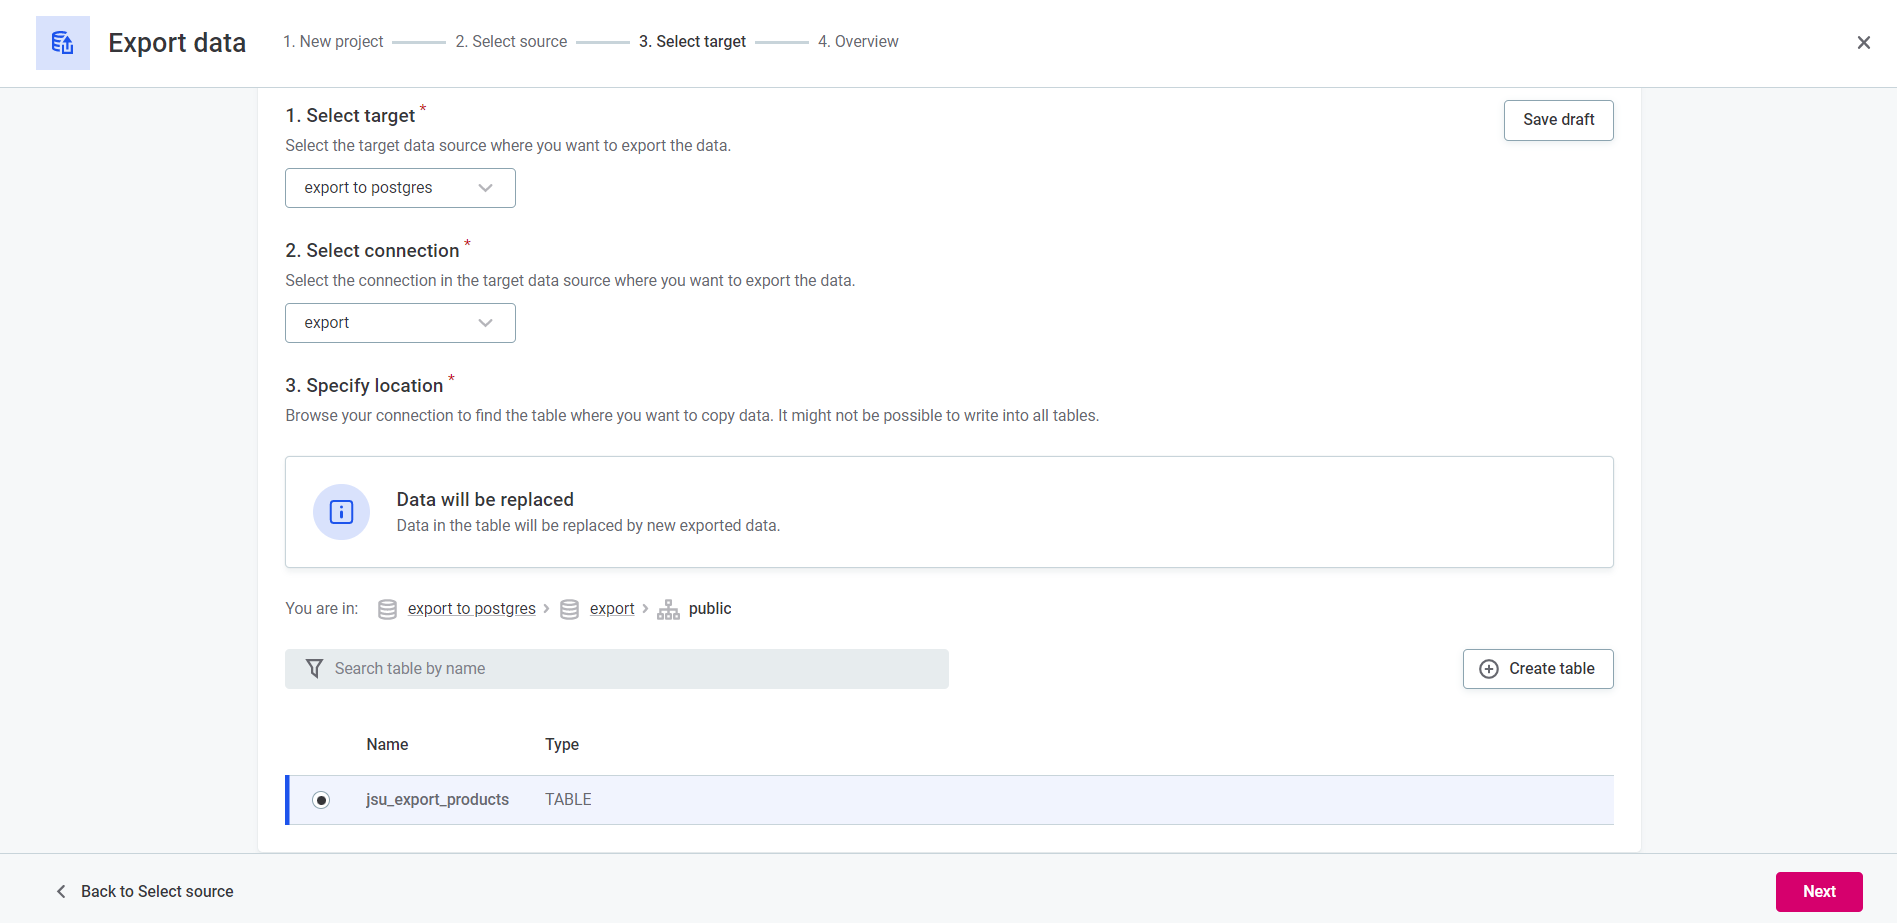
Select the export target.
-
Select target: Select the target data source and enable the connection to a specific database by selecting Manage Connections and establishing the correct connection if you have permissions to do so. If you don’t have the necessary permissions, you can select Create a task to request that your admin enables this for you.
For more information, see Tasks.
-
Select the connection: Choose the connection in the target data source where you want to export the data.
-
Specify location: Browse your connection to find the table where the data should be exported.
Choose one of the following options:
-
To overwrite the data in an existing table, select the schema and then the table.
In case you select an existing table, the entire content of this table will be replaced by the exported data.
-
To create a new table, select the schema and then Create table. Once the new table is created, it appears at the top of the list.
-
-
-
When you are finished editing, select Next.
-
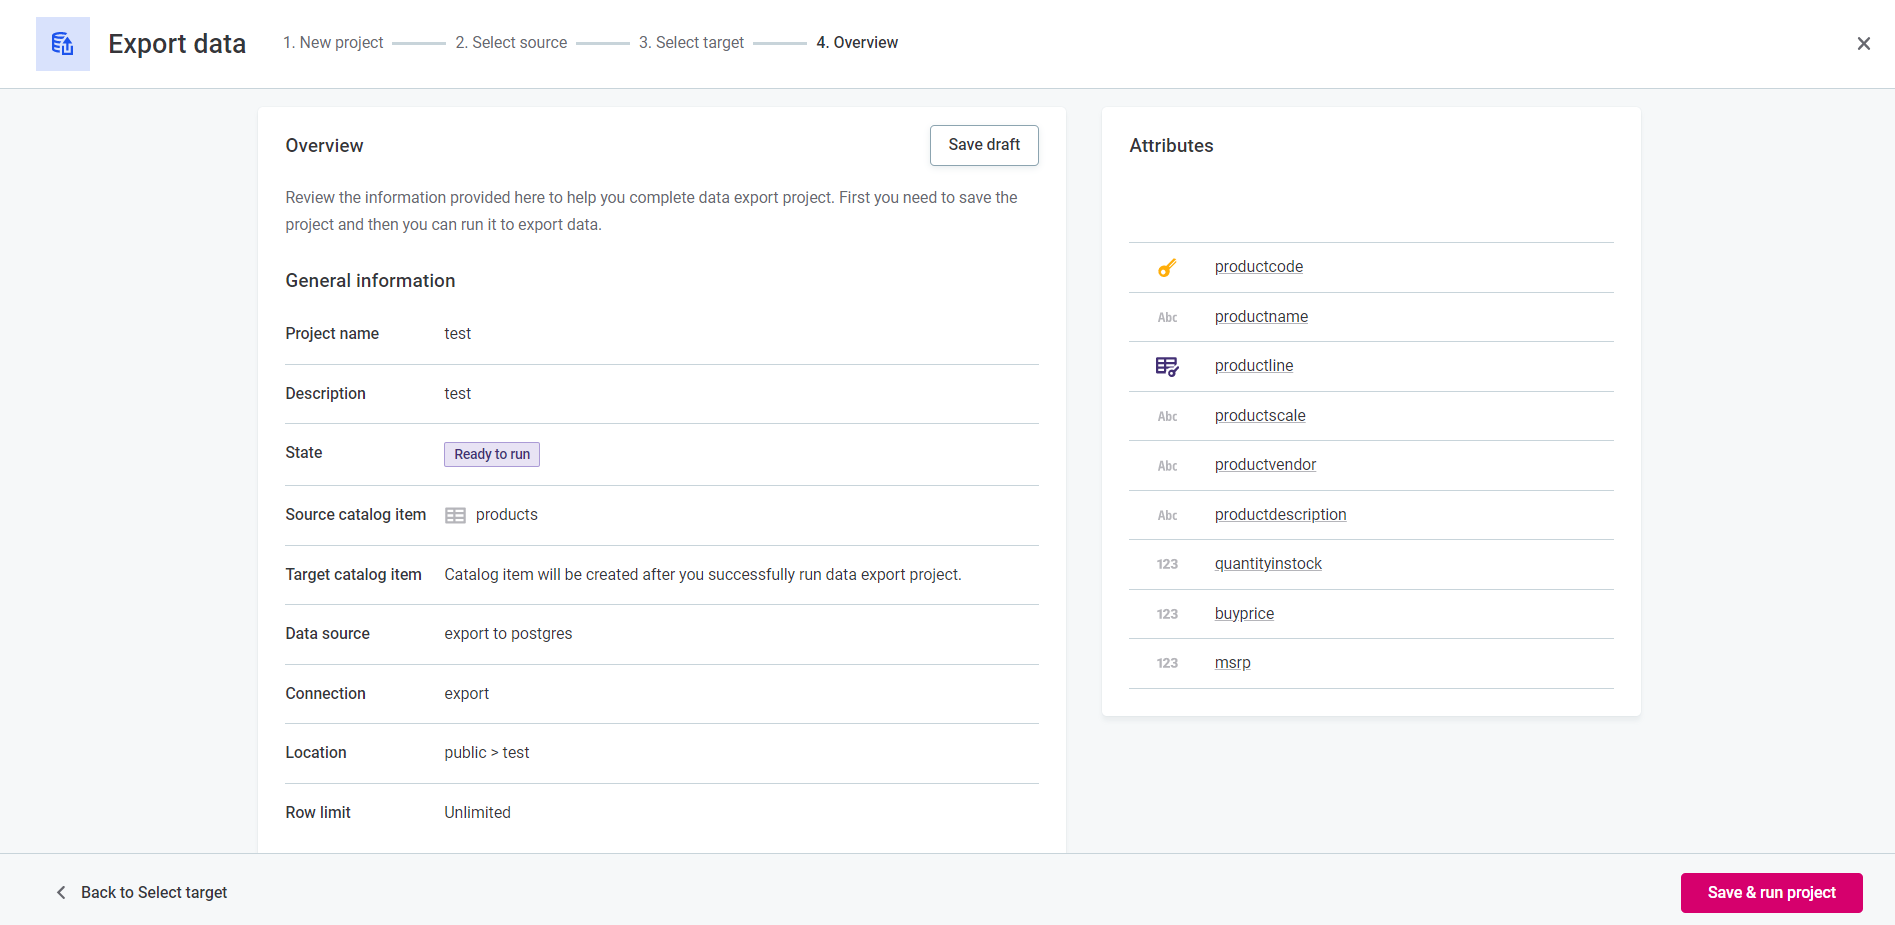
Check the parameters to make sure the project is correctly configured.
To save and run the project immediately, select Save & run project. This opens the data export project details screen.
Once the export finishes, you can start working with the new catalog item in ONE or use your table outside of the platform.
|
To see all data export projects created in ONE, navigate to Data Catalog > Catalog Items > Data export projects. To see the data export projects from a corresponding catalog item, open the catalog item and switch to the Data Export Project tab. |
Export data to file
If you selected Export to file in the initial step:
-
Select the export source.
-
Attributes: Select the attributes that you want to export from the catalog item. You can select all attributes or choose specific ones.
You can also use the ribbon above the table to switch between Standard and Compact views, or to hide specific columns by clicking Hidden columns and selecting the attributes you want to hide.
To remove default sorting and show all attributes, select Clear sort.
To view the data before selecting attributes, go to the Data preview tab.
To see the results of data quality evaluation, go to Profile & DQ insights tab. For more information, see Understand Profiling Results.

-
-
Keep or update the file name, and select the file type.
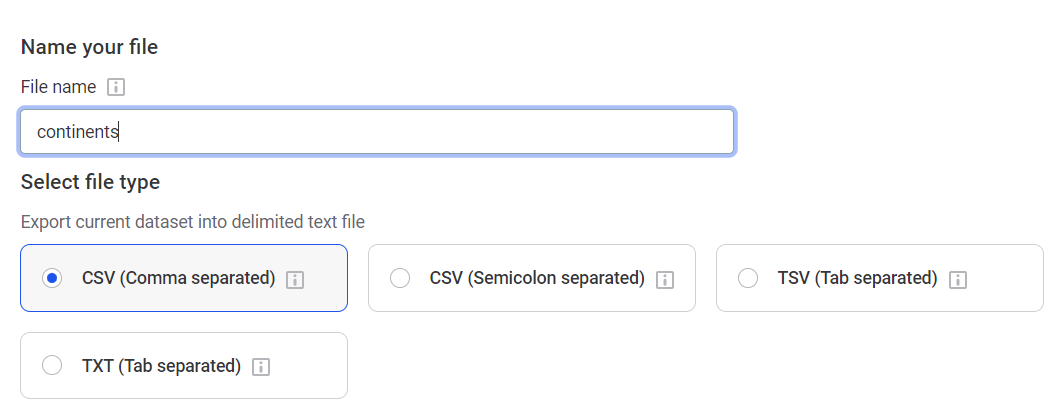
-
Select Export.
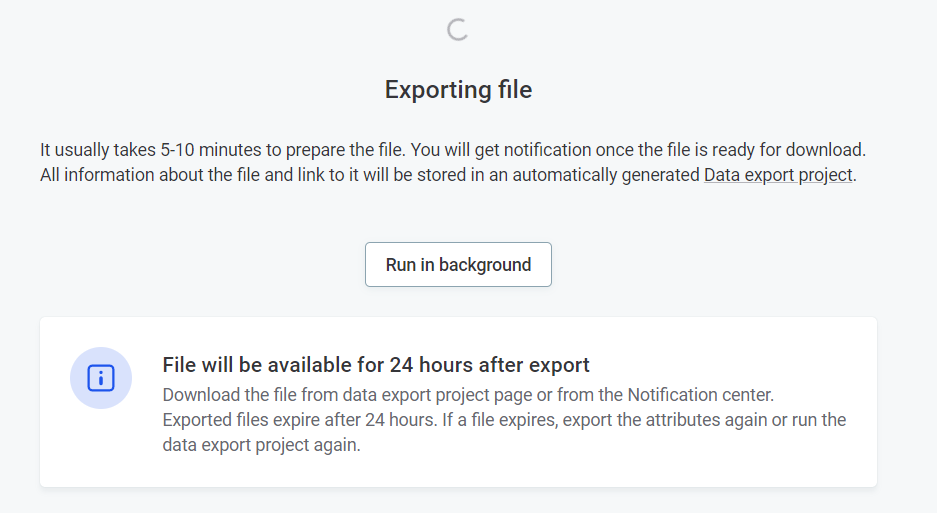
Exporting data takes a while to finish. Wait on the screen that opens or choose Run in background if you want to continue using ONE in the meantime.
-
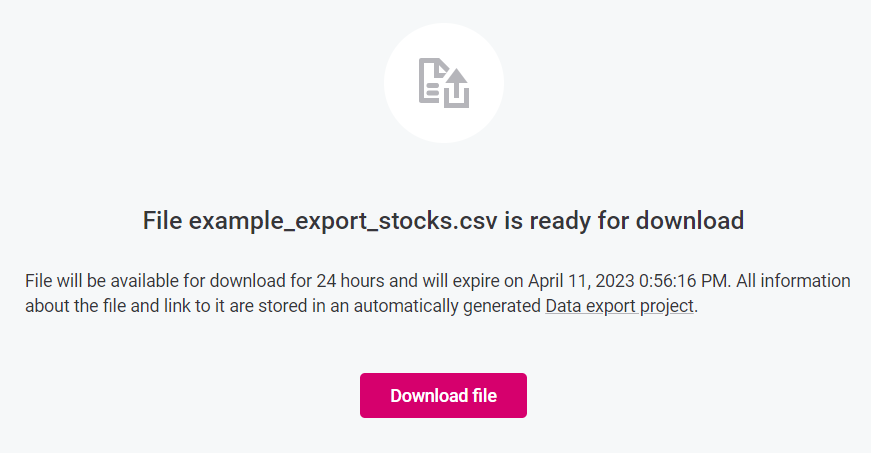
Once the export is finished, you can now download your file by selecting Download.
You can also download your file from the notification you received. Select the notification and choose the Download option from the details view.
Alternatively, you can download the file from the Catalog Items > Data export projects tab. Open your export from the list and select Download file.
|
You have 24 hours to download the exported file after the export is finished. Past this point, you need to rerun the export. To do this, go to your export project and select Run from the three dots menu. Once the export finishes successfully, the file is again available for download. |
| To view the details of previous exports, open the Notification Center. |
Troubleshooting
Data export configuration
In case you’re dealing with a more complicated data export use case, you might need to configure export properties manually.
For example, you can specify the type and sizing for each attribute and allow conditional type and size mapping. To do this, modify the JDBC properties.
For more information, see Data Sources Configuration.
Virtual catalog items
If you experience issues working with virtual catalog items due to the wrong size for exporting attributes records, you can do one of the following:
-
Increase the size of the column via the JDBC configuration. Keep in mind this affects all tables in this data source. For more information, see Data Sources Configuration
-
Modify the virtual catalog item and set the size for each attribute. For more information about the virtual catalog items, see Virtual Catalog Items.
Other issues
If you encounter any other errors during the export process, navigate to Data export projects page and locate the project with the error.
If the export failed, you will see Failed next to Last run result. Select the icon next to Failed to open the error log. From there, you can either copy the error to your clipboard or download it as a file to attach to your support request.
Was this page useful?