
Built-In Lineage Scanner
| This guide is intended for admin users. To make sure you have the necessary permissions to run the scanner, see Lineage Permissions. |
To retrieve lineage metadata using Ataccama built-in lineage scanner, you first need to create a scan plan and then execute it. Once the plan finishes successfully, your next step is to import lineage metadata to ONE.
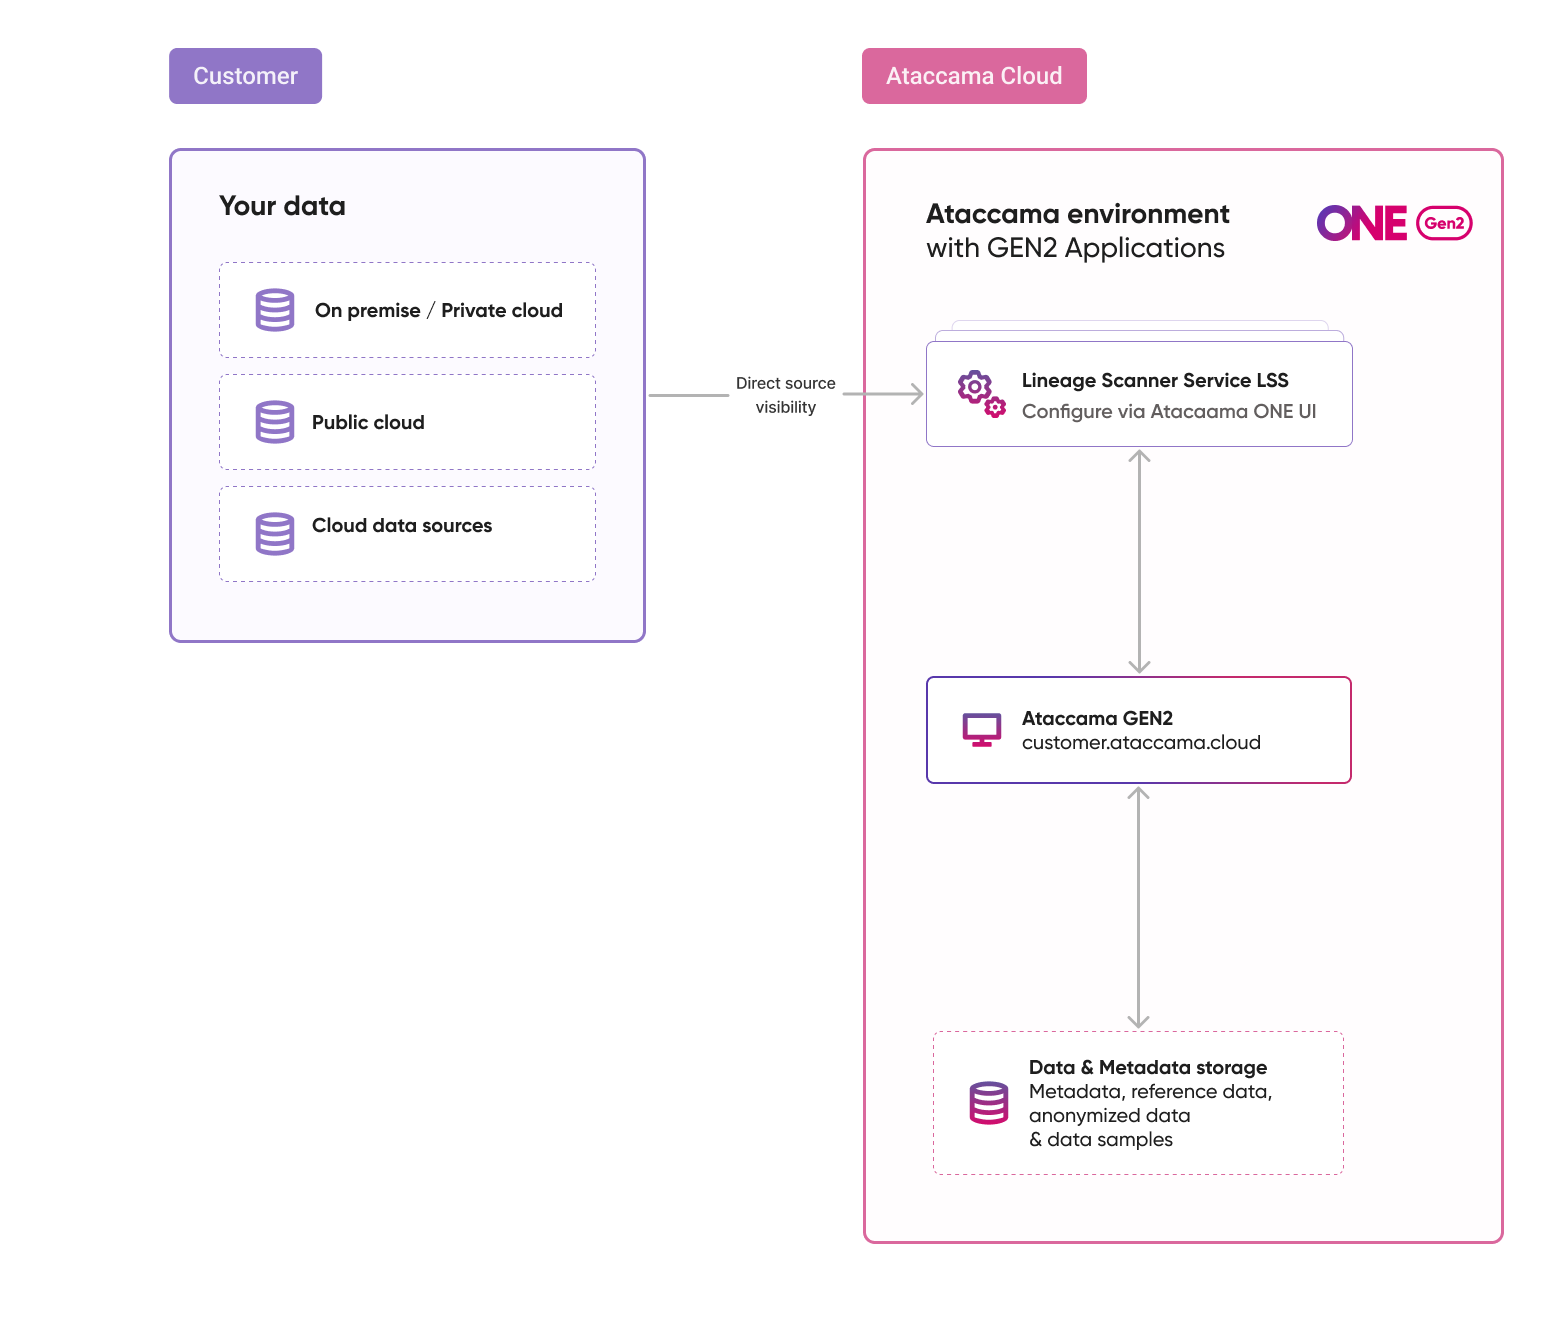
Architecture
The Lineage Scanner Service (LSS) is deployed as part of Ataccama ONE. The following diagram shows how the service integrates with the rest of the platform.
Prerequisites
-
You are using the built-in Ataccama lineage scanner.
-
You have a scan plan you want to use. A scan plan is a valid JSON file whose structure depends on the source technology.
For detailed instructions, see the relevant page under Scanner Configurations for your source technology.
Create scan plan
To add a new scan plan to ONE:
-
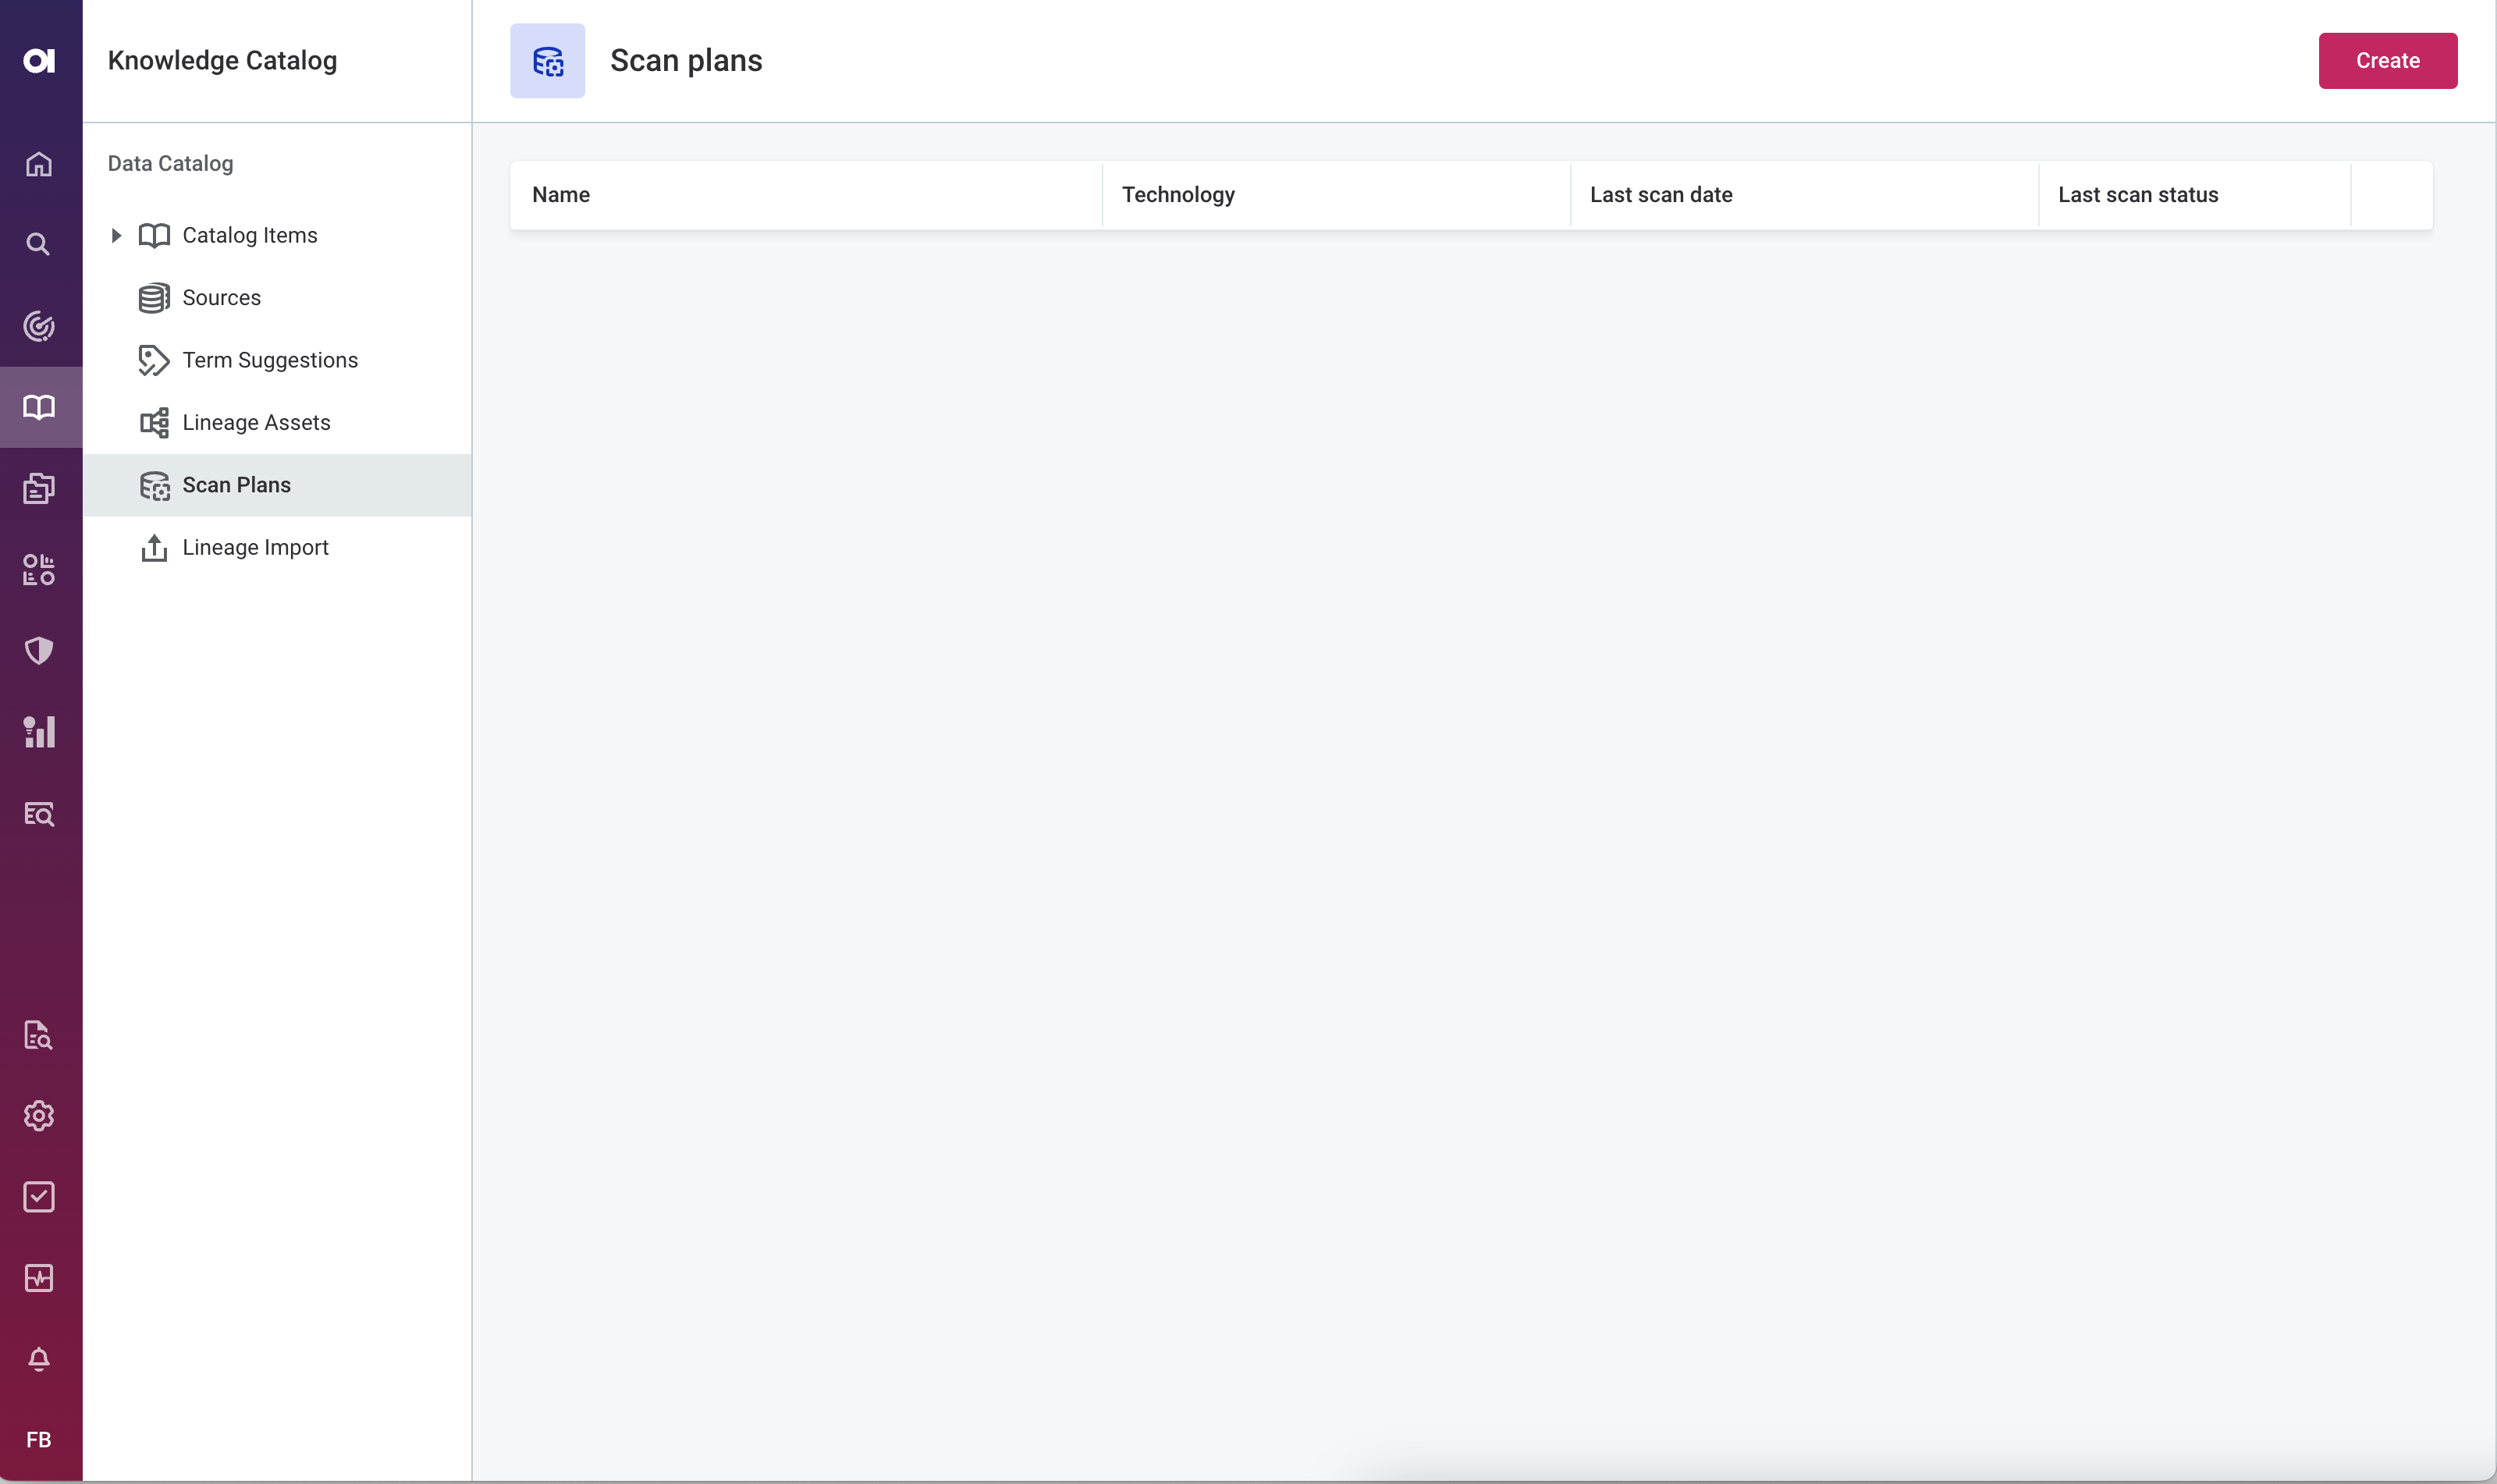
Go to Knowledge Catalog > Scan Plans.
-
Select Create.
-
Provide a name for the scan and paste the JSON file as instructed. The file must be in valid JSON format.
-
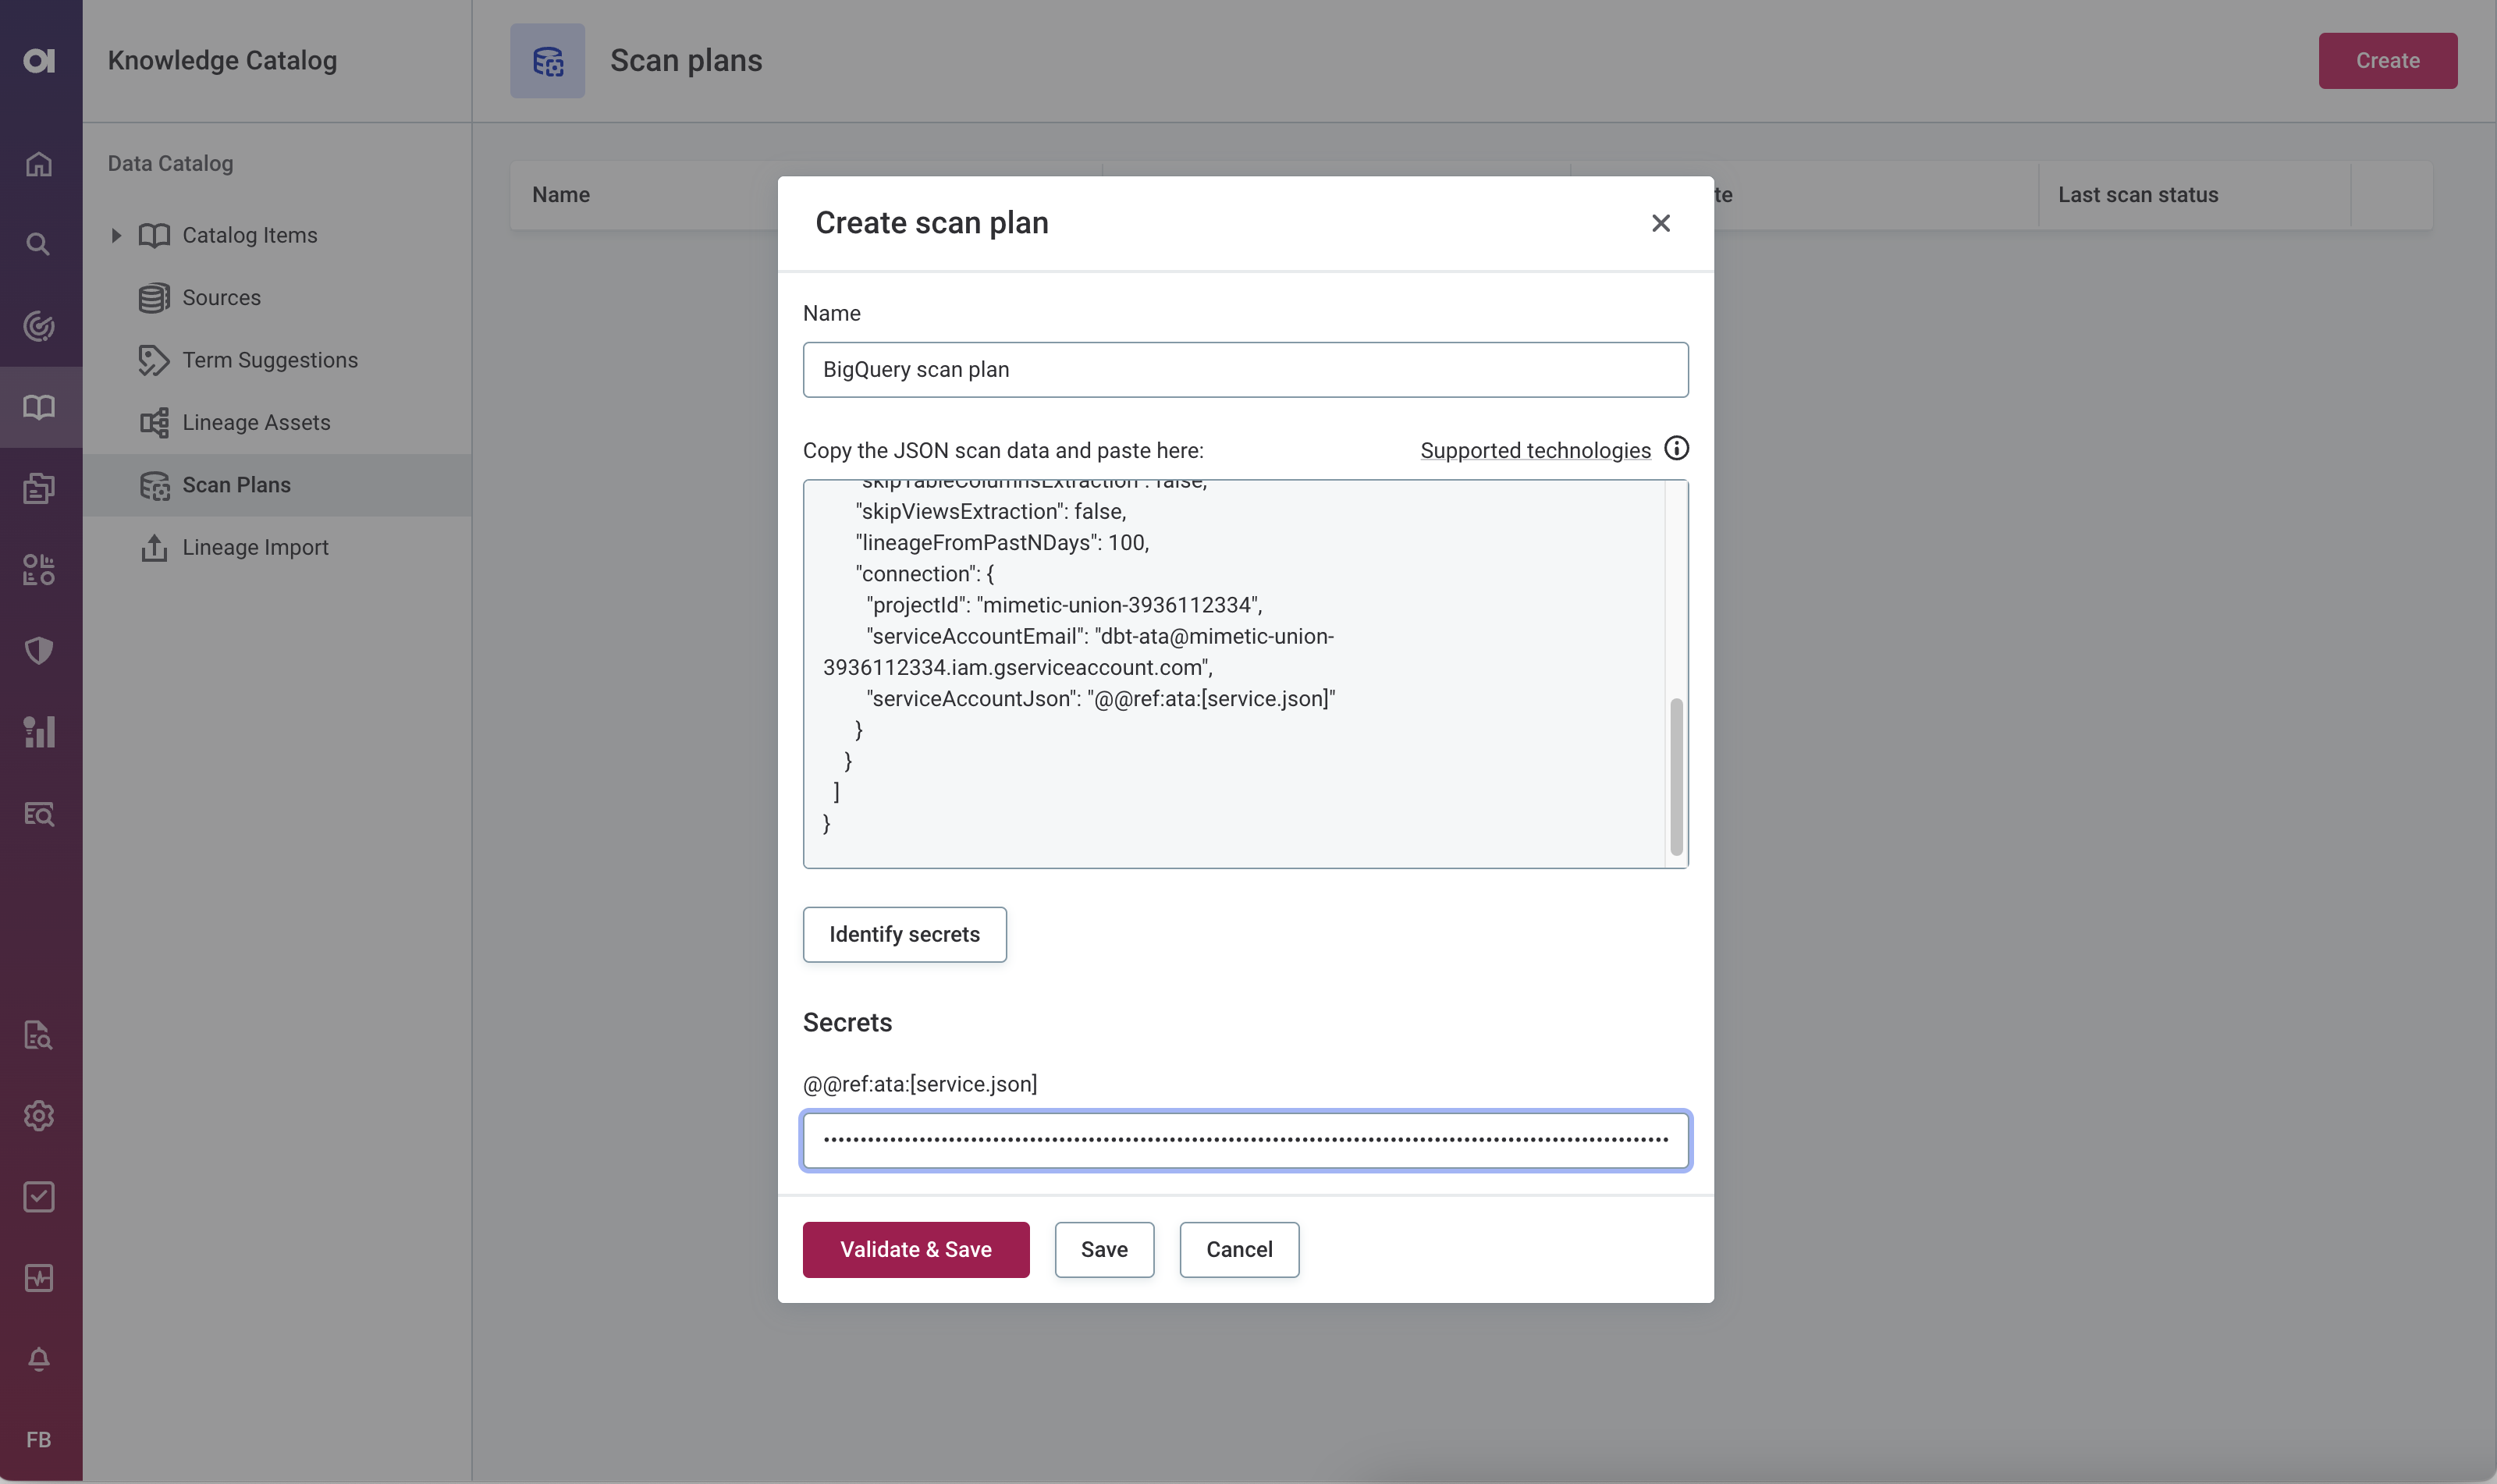
To provide missing secrets, select Identify secrets. If there is a secret with no value provided, enter the value for the secret.
See Configure scan plan secrets to learn how to safely handle sensitive information in plans. If you’re using Azure Key Vault secrets, see Configure Azure Key Vault. 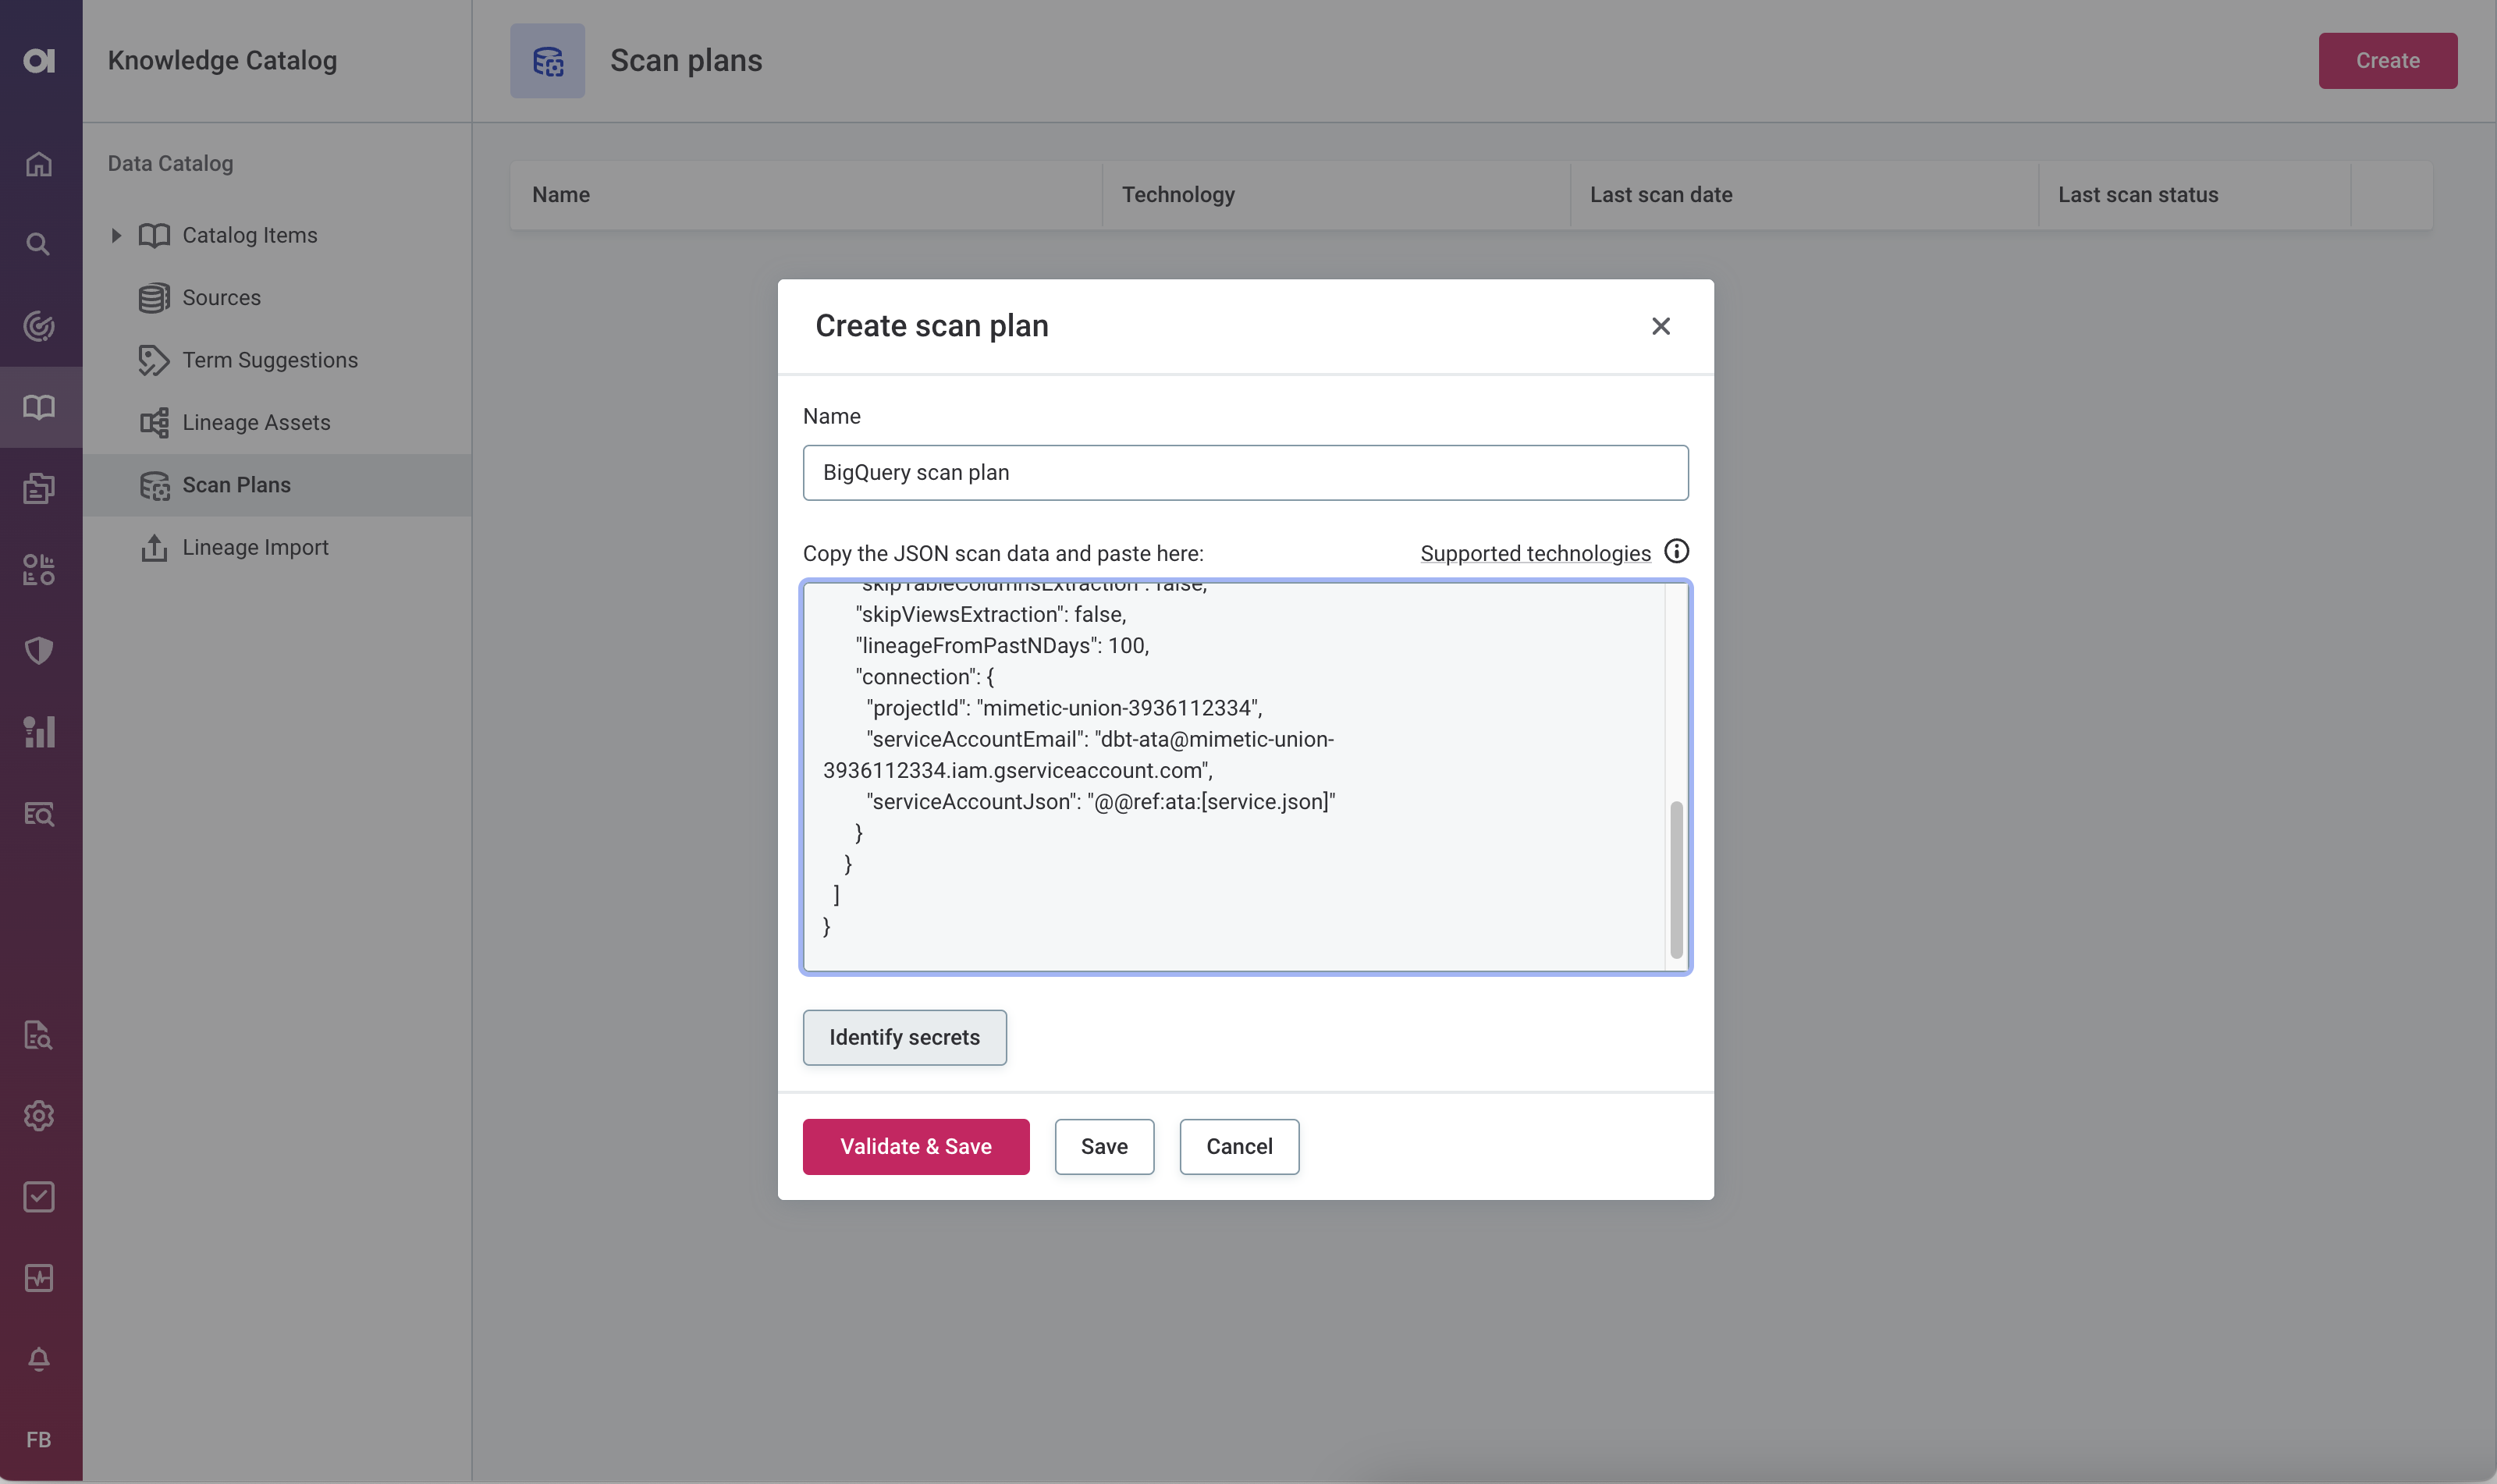
-
Select Validate & Save to check the file syntax again and save the plan. Alternatively, if you are confident your scan data is in valid JSON format, select Save instead.
You can now run your lineage scan.
| To edit your scan plan, on the Scan Plans screen, open the three-dot menu of the scan plan and select Edit scan plan. |
Configure scan plan secrets
We recommend encrypting any sensitive information such as passwords, secrets, and other credentials information. For this purpose, you can use secret placeholders that ensure actual values are safely stored in the encrypted form in the service.
The syntax for secret placeholders is as follows:
"@@ref:ata:[<secret-name>]"For example: "clientSecret" : "@@ref:ata:[powerbi.client.secret]".
The <secret-name> is a unique identifier of the secret across all scan plans.
The same secret can therefore be used in multiple scan plans.
|
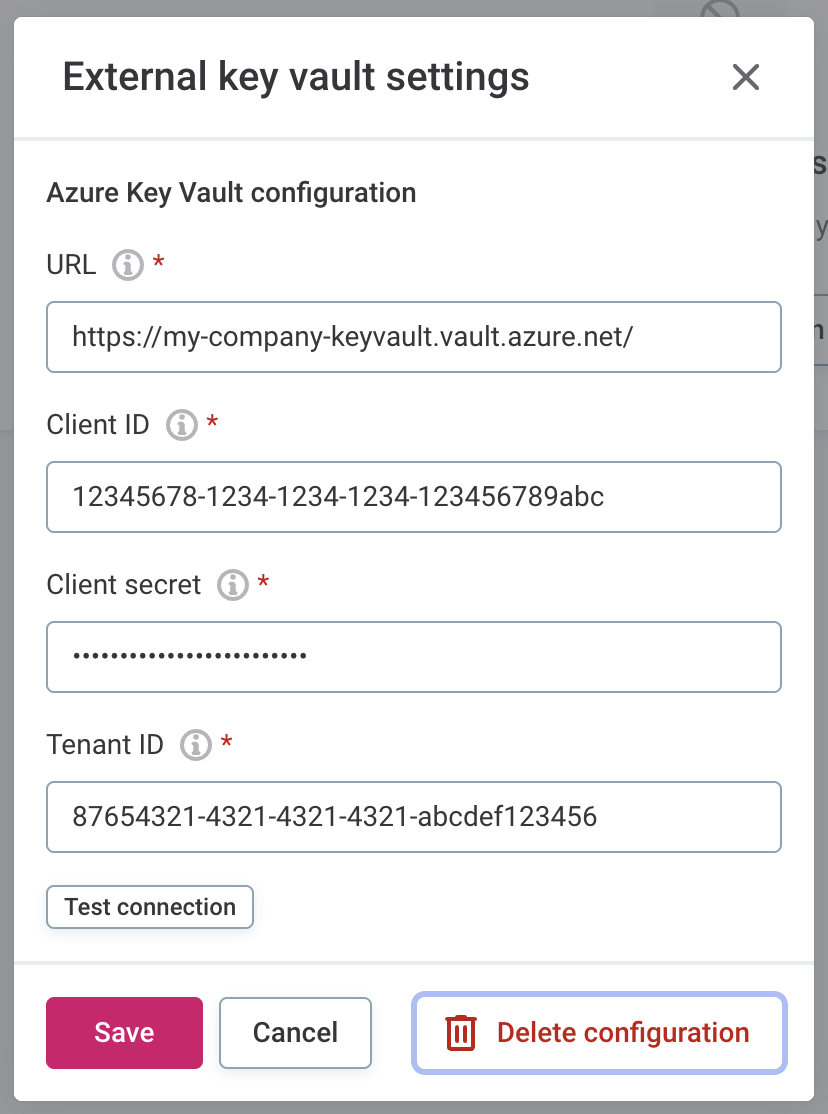
Configure Azure Key Vault
If your scan plan uses an Azure Key Vault for storing secrets (@@ref:akv:), configure the connection to Azure Key Vault before running the plan.
-
On the Scan Plans screen, select the key icon (next to Create scan plan option).
-
Fill in the following information:
-
URL: The full URL to your Azure Key Vault instance.
Available in the Azure Portal under your Key Vault > Overview > Vault URI.
-
Client ID: The application (client) ID of the Azure AD Service Principal (or managed identity) you’re using to authenticate.
Found in Azure Portal > Azure Active Directory > App registrations > [your app] > Overview.
-
Client secret: The password or secret associated with the client ID.
-
Tenant ID: The Azure Active Directory tenant ID that your app and Key Vault belong to.
-
-
Test the connection to verify the Azure Key Vault has been successfully configured. If the connection fails, review your settings and try again.
-
Save your changes. You can now run your lineage scan.
| To edit or delete the configured Azure Key Vault, select the key icon again. |
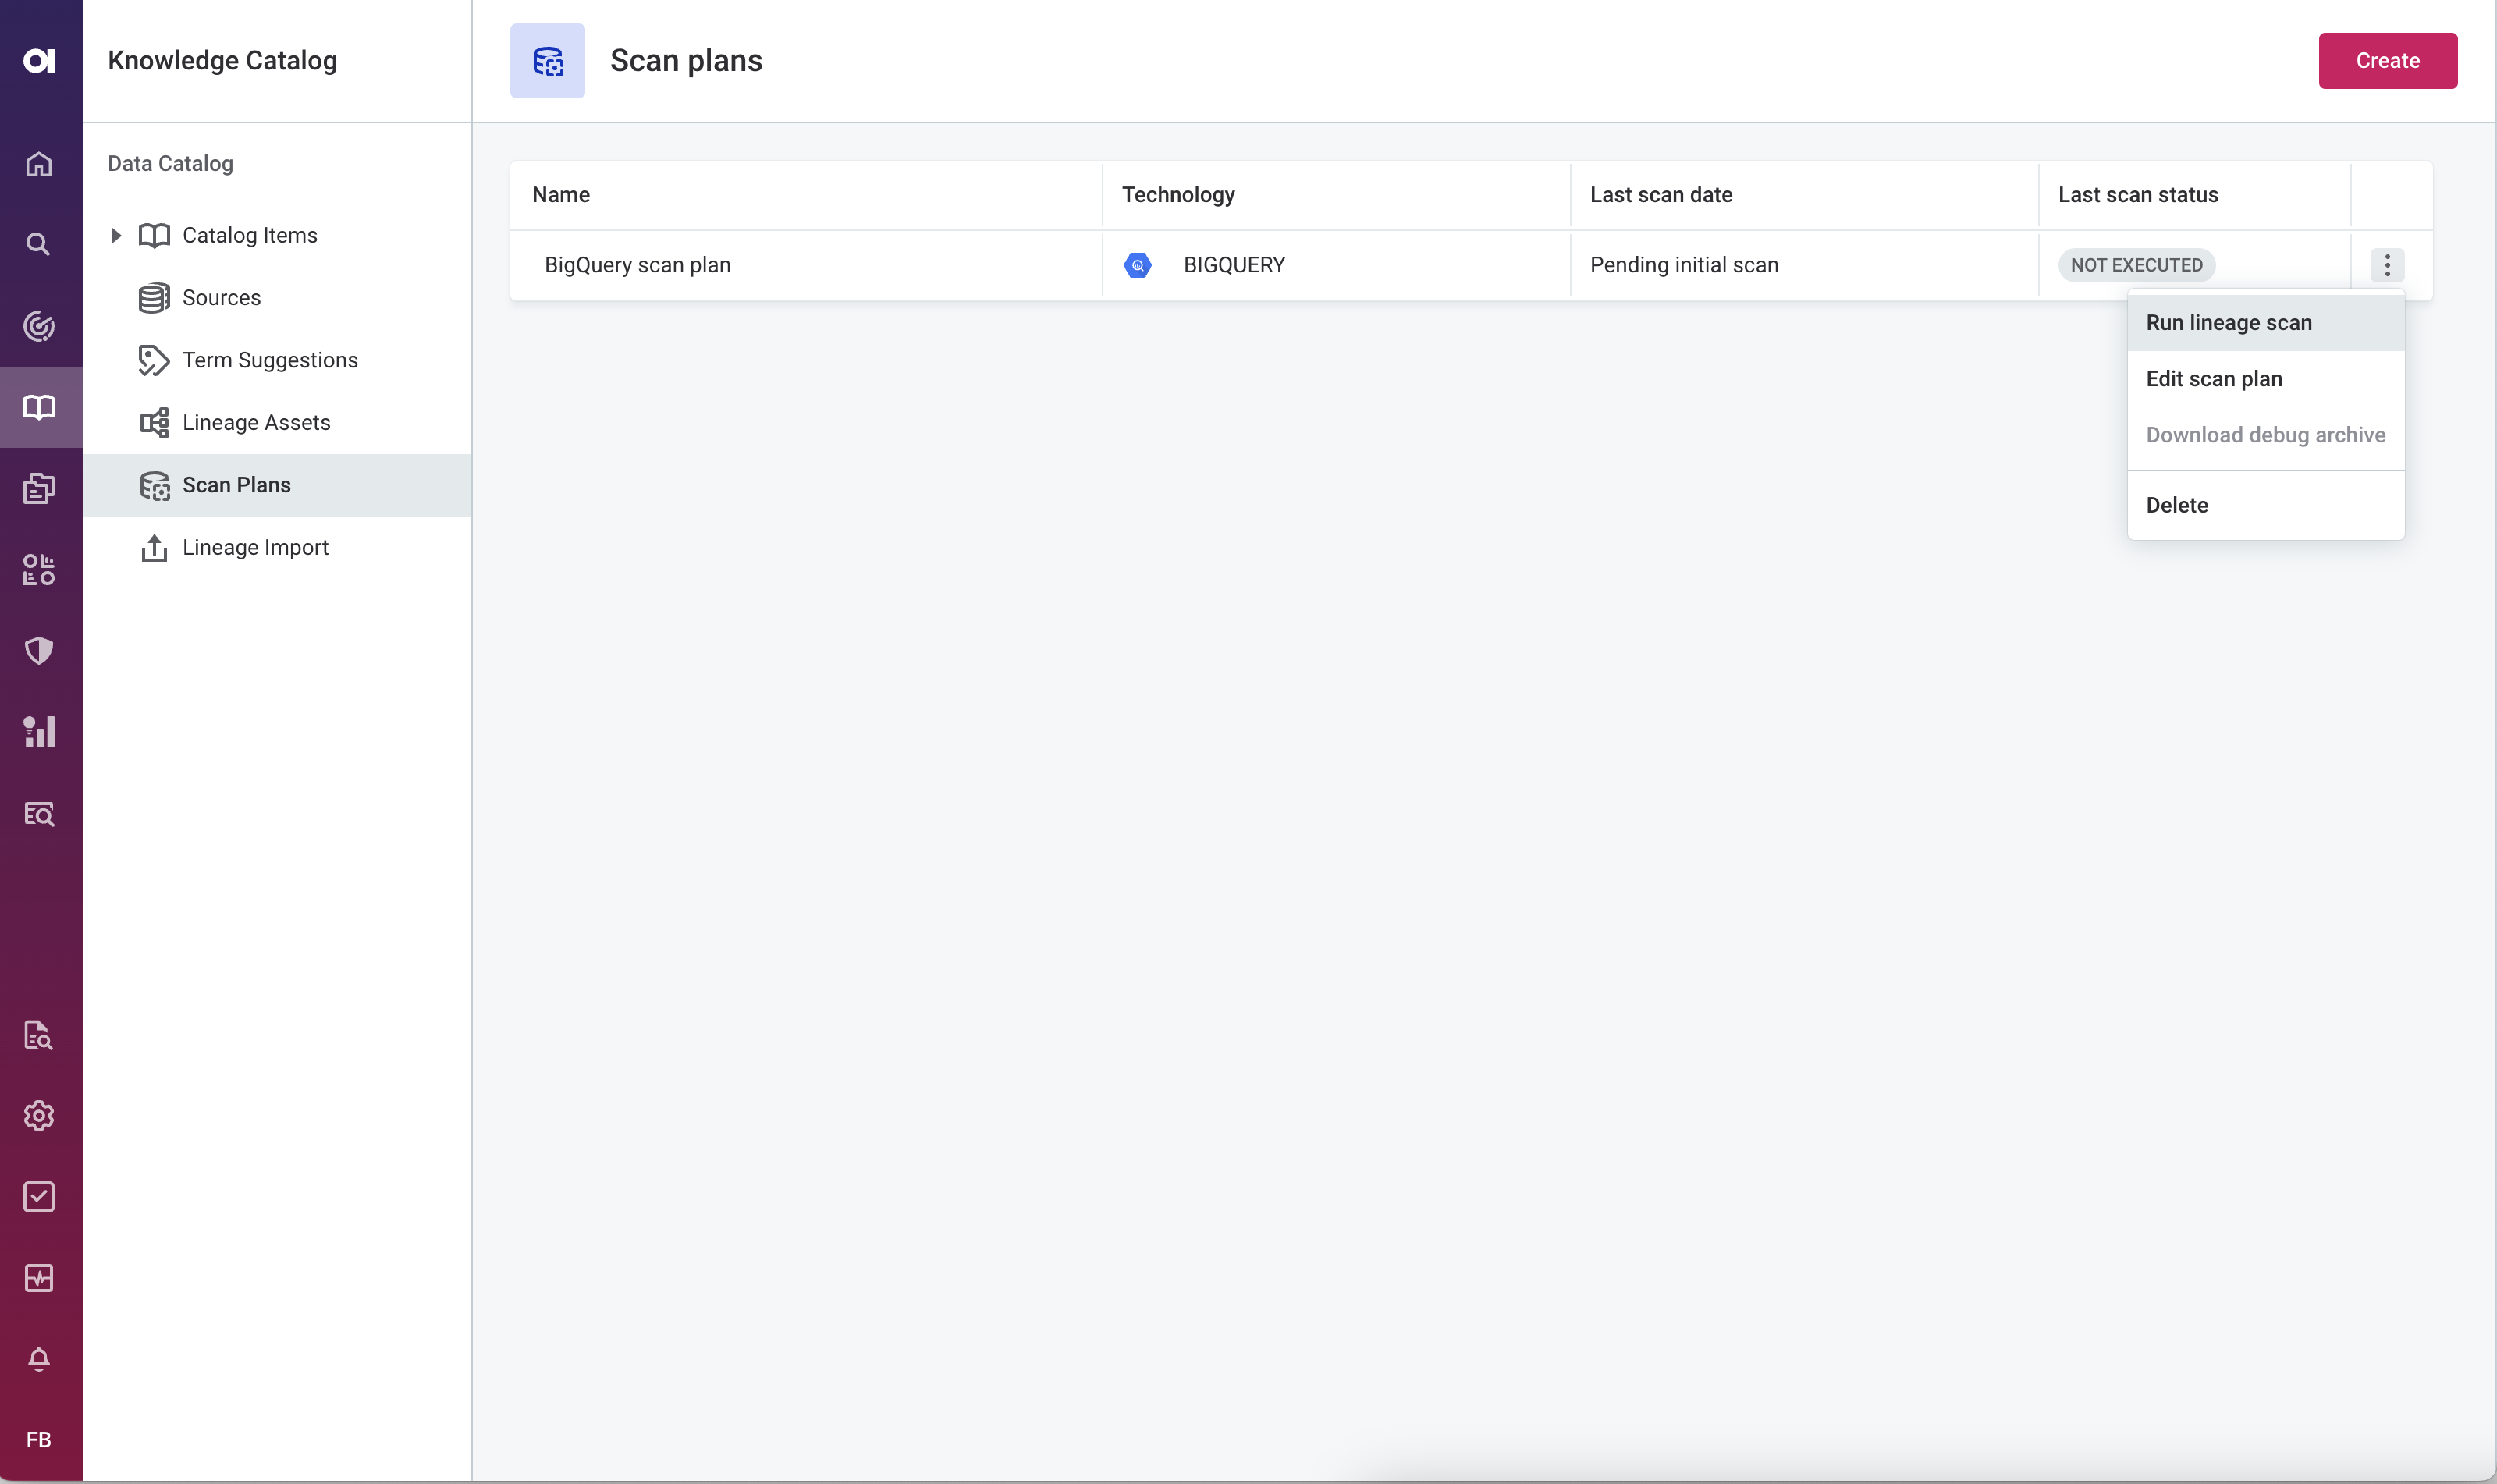
Run lineage scan
Once you have a scan plan ready, run it to retrieve lineage metadata from your source.
On the Scan Plans screen, open the three-dot menu of the plan you want to use and select Run lineage scan. This starts the scan and the scan status changes to Running.
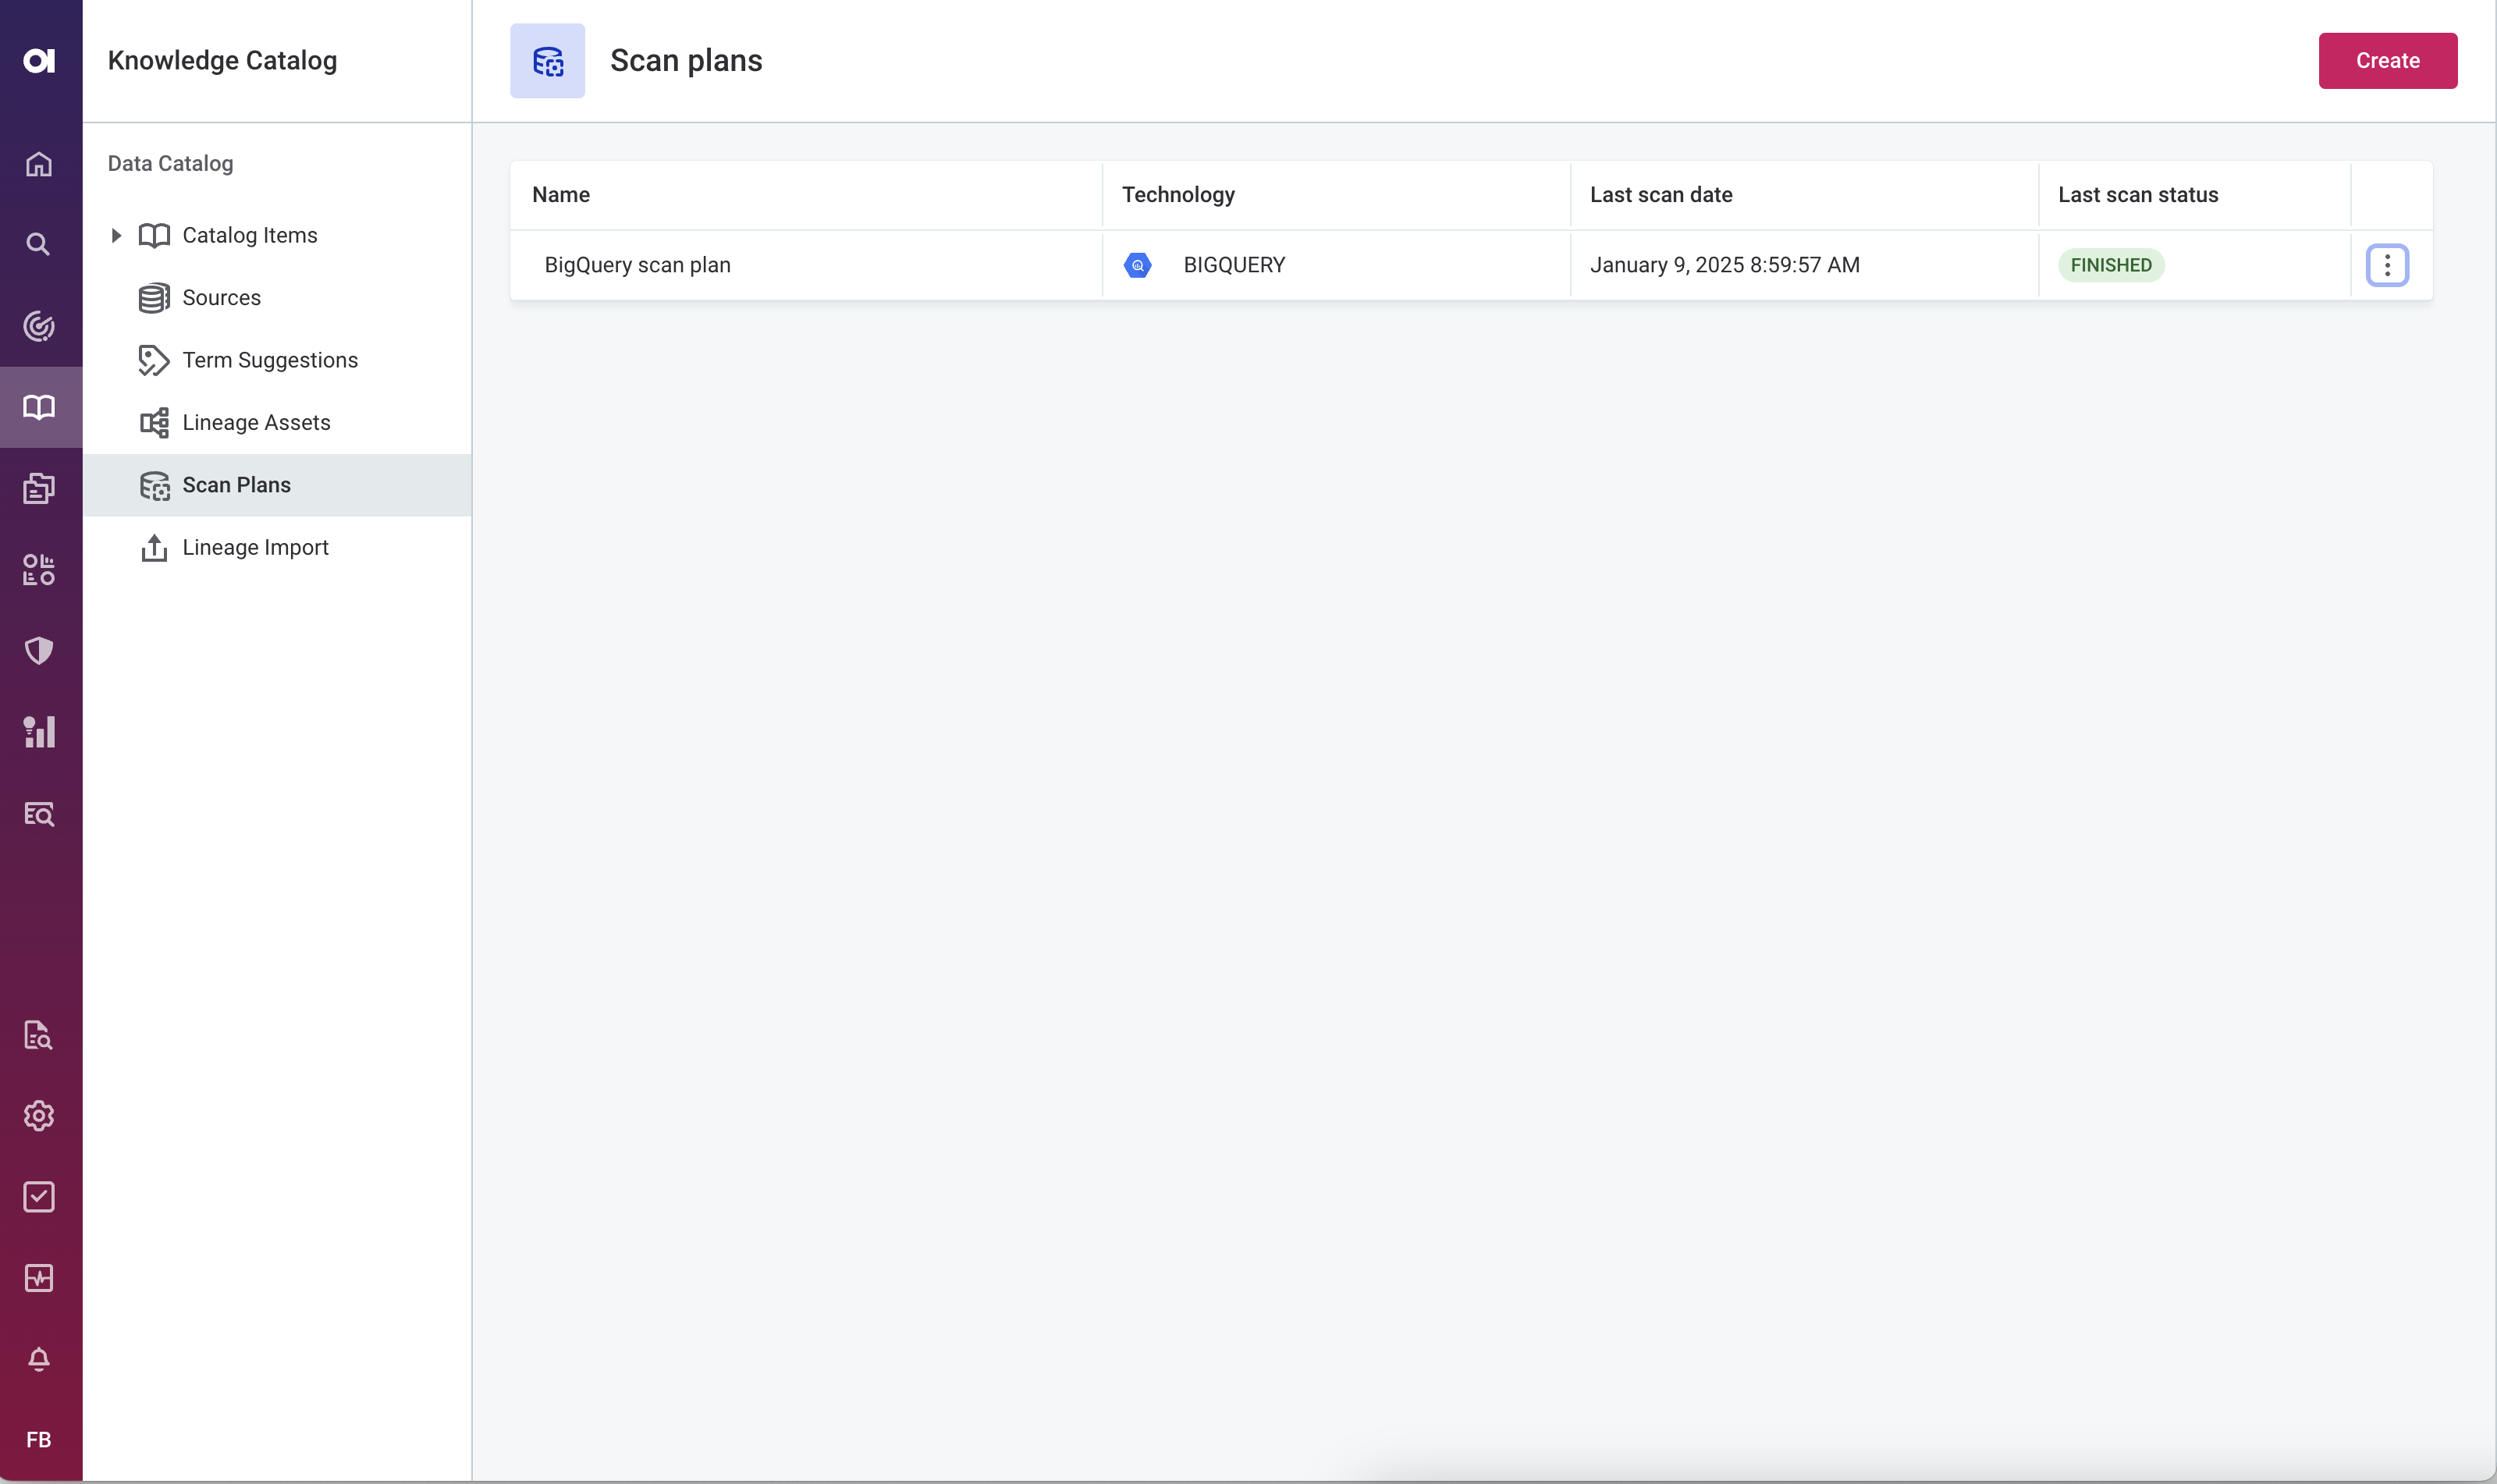
Once the scan finishes, you can import the scan results to ONE. See Next steps.
Schedule scan plan
Schedule scan plans to run automatically at defined intervals. This is useful for maintaining up-to-date lineage metadata without manual intervention.
For best results, start by importing lineage manually to familiarize yourself with the process and validate the results. Next, enable Automatic import to automate the scan and import process while still manually reviewing the extraction results before publishing.
Once you trust the results, enable Automatic publishing to fully automate the entire lineage update process.
To schedule a scan plan:
-
On the Scan Plans screen, open the three-dot menu of the scan plan you want to schedule.
-
Select Schedule.
-
Configure the schedule settings:
+ * Cron expression: Define when the scan should run.
+ TIP: To generate a valid cron expression, use the Cron Expression Generator.
+
-
Time zone: Select the time zone for the schedule.
-
Automatic import: Select to automatically import the scan results after the scan completes successfully.
When selected, the lineage import runs automatically and stops at the confirm import stage. You then need to manually review and publish the results (see Import Lineage).
-
Automatic publishing: Select to automatically publish the imported lineage metadata.
This option is only available when Automatic import is applied. When both options are selected, scan results are automatically published using the Expand mode. For details about write strategies, see Publish new lineage metadata.
-
-
Select Save Schedule to save the schedule configuration. The scan plan runs automatically at the defined time.
To exit without saving, select Cancel. Delete removes any previously saved schedule for this scan plan.
Delete scan plan schedule
To delete an existing schedule, on the Scan Plans screen, open the three-dot menu of the scan plan. Select Schedule and then Delete.
Scheduling limitations
When scheduling lineage scans, be aware of the following limitations:
-
Scheduled lineage imports should not be scheduled to run at the same time or at times where they might overlap.
-
Do not perform manual imports while a scheduled import is ongoing.
Overlapping imports can fail. If this happens with a scheduled import, you can either:
-
Run the import manually.
-
Wait for the next scheduled import to run.
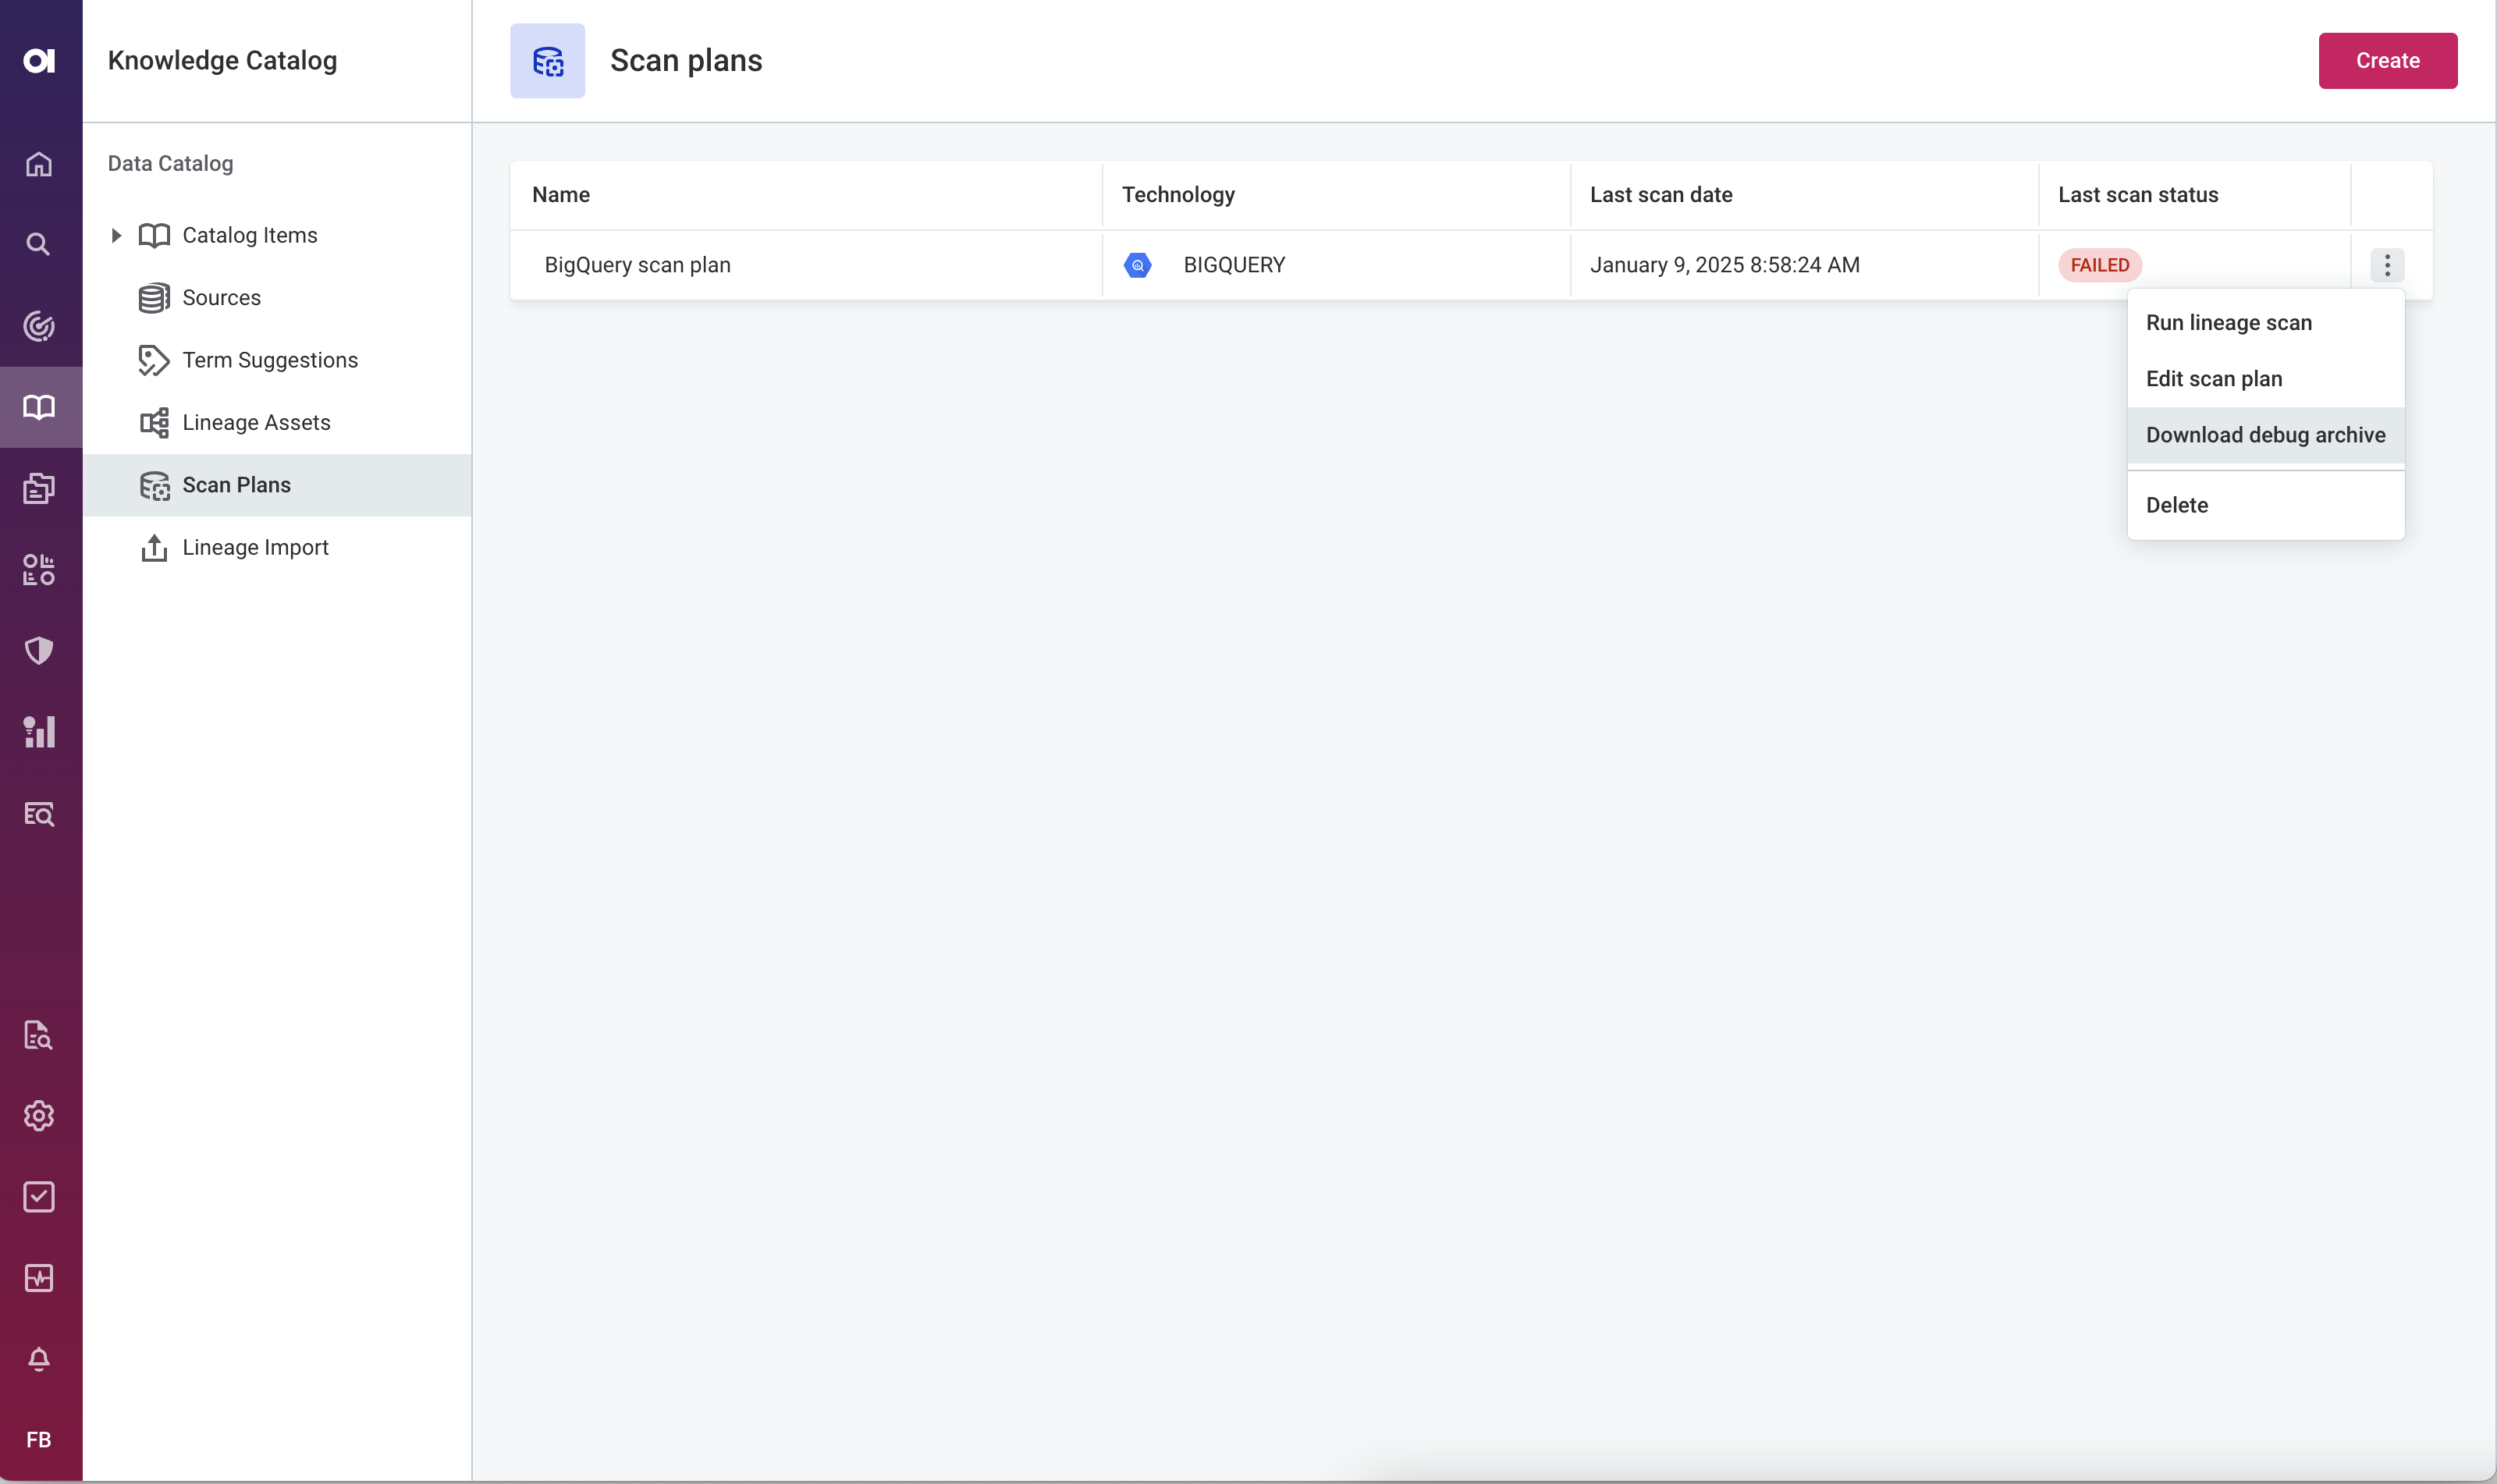
Troubleshooting the scan
If the scan finished with an error, download the scan debug archive and examine its content.
To access the debug archive, on the Scan Plans screen, open the three-dot menu of the plan and select Download debug archive.
Next steps
Once you generate the lineage file, upload it to ONE.
Was this page useful?