Local File System Connection
Prerequisites
The location of your file system must be declared in Data Processing Engine (DPE) configuration properties.
In self-managed, on-premise deployments, this is the /opt/ataccama/dpe/etc/application.properties configuration file.
In the property name, default refers to the name of the mount and can be replaced with another value.
If you need to use more than one local file system, specify the name of the new file system and its root path, as shown in the following example.
| The name of the file system must not include any space characters. |
dpe/etc/application.propertiesplugin.local-fs-datasource.ataccama.one.mounted.paths.default=/path/to/default/filesystem
plugin.local-fs-datasource.ataccama.one.mounted.paths.test=/path/to/test/filesystem| Keep in mind that the user under which DPE is running must have the write and access permissions for the directory where the local file system is rooted. Even though no content is modified at any point, this is required for DPE processes to function correctly. |
Create a source
To connect to a local file system:
-
Navigate to Data Catalog > Sources.
-
Select Create.
-
Provide the following:
-
Name: The source name.
-
Description: A description of the source.
-
Deployment (Optional): Choose the deployment type.
You can add new values if needed. See Lists of Values. -
Stewardship: The source owner and roles. For more information, see Stewardship.
-
| Alternatively, add a connection to an existing data source. See Connect to a Source. |
Add a connection
-
Select Add Connection.
-
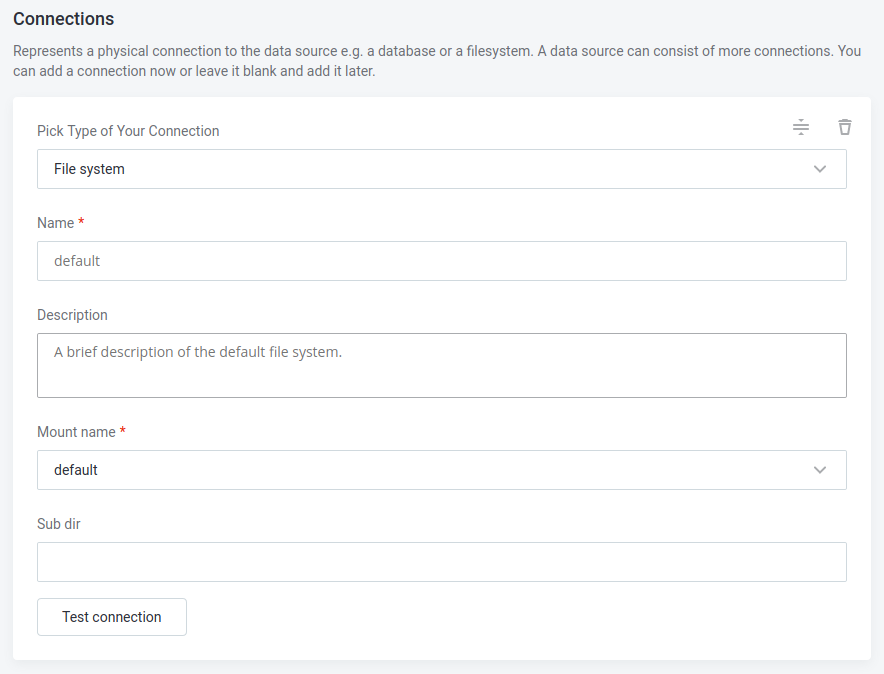
In Select connection type, choose File System > File system.
-
Provide the following:

-
Name: A meaningful name for your connection. This is used to indicate the location of catalog items.
-
Description (Optional): A short description of the connection.
-
Dpe label (Optional): Assign the processing of a data source to a particular data processing engine (DPE) by entering the DPE label assigned to the engine. For more information, see DPM and DPE Configuration in DPM Admin Console.
-
Mount name: The mount that should be used for this data source. You can choose only between the previously configured paths.
-
Sub dir (Optional): If your file system consists of multiple directories, you can select a specific directory from which catalog items should be sourced.
-
Test the connection
To test and verify whether the data source connection has been correctly configured, select Test Connection.
If the connection is successful, continue with the following step. Otherwise, verify that your configuration is correct and that the data source is running.
Save and publish
Once you have configured your connection, save and publish your changes. If you provided all the required information, the connection is now available for other users in the application.
In case your configuration is missing required fields, you can view a list of detected errors instead. Review your configuration and resolve the issues before continuing.
Next steps
You can now browse and profile assets from your local file system connection.
In Data Catalog > Sources, find and open the source you just configured. Switch to the Connections tab and select Document. Alternatively, opt for Import or Discover documentation flow.
Or, to import or profile only some assets, select Browse on the Connections tab. Choose the assets you want to analyze and then the appropriate profiling option.
Was this page useful?
