
Connect to a Source
Connect to a data source to import asset metadata and data, catalog and profile your assets, and monitor their data quality.
ONE can work with a number of sources. For a full list of supported options, see Supported Data Sources.
|
To be able to use a particular data source type, it must first be configured in Data Processing Engine (DPE). DPE needs to have suitable drivers for each data source and different instances of DPE can be configured to handle only jobs coming from a specific data source. If none of your DPE instances can work with a specific data source type, that type is not available when adding a new source in ONE. |
Sources and connections
View all sources
To view all connected sources, go to Data Catalog > Sources.
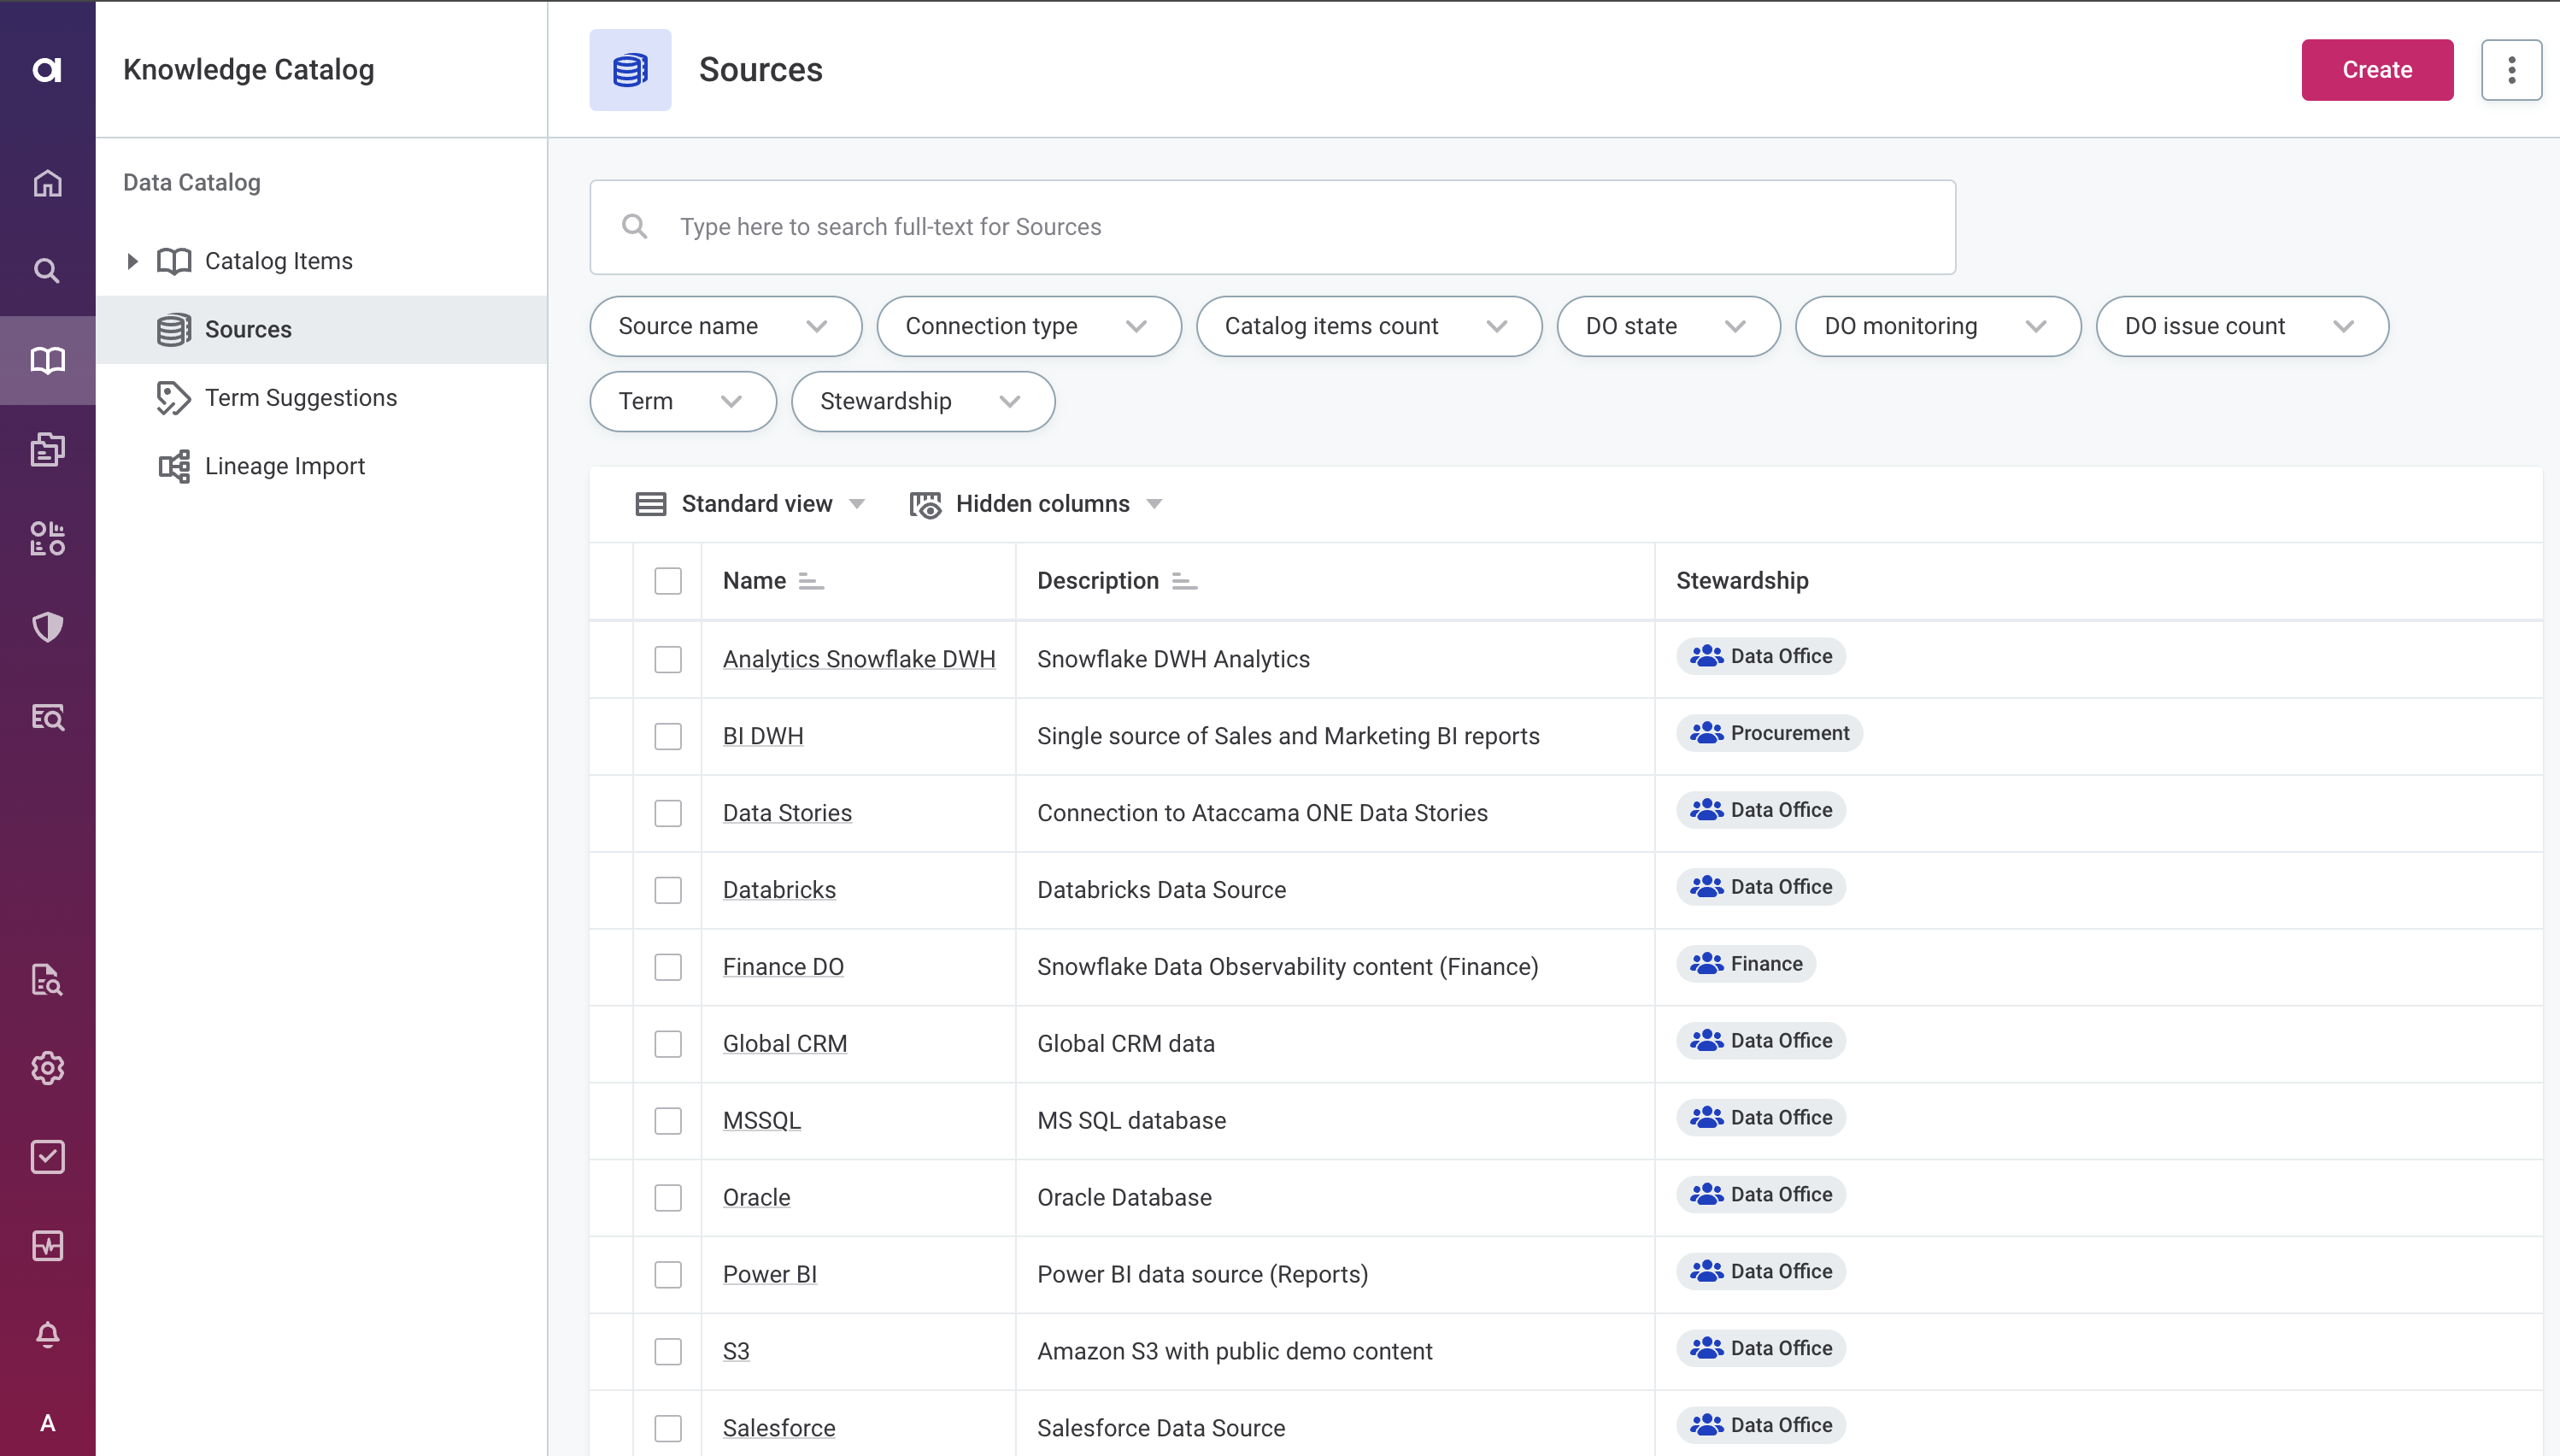
Here, you can also add new sources or edit existing ones.
How sources and connections relate
A data source must have at least one connection set up, but it is possible to have several connections for a single source. In that case, catalog items from all connections are grouped under that source.
| To add a new source and set up a connection, follow the corresponding guide for your source type in this section of the documentation. |
Browse and import catalog items
| If your metadata model defines required properties for catalog items and the imported metadata doesn’t provide values for all of them, catalog items are imported in the draft state. For details, see Required metadata fields and draft imports. |
Browse connection
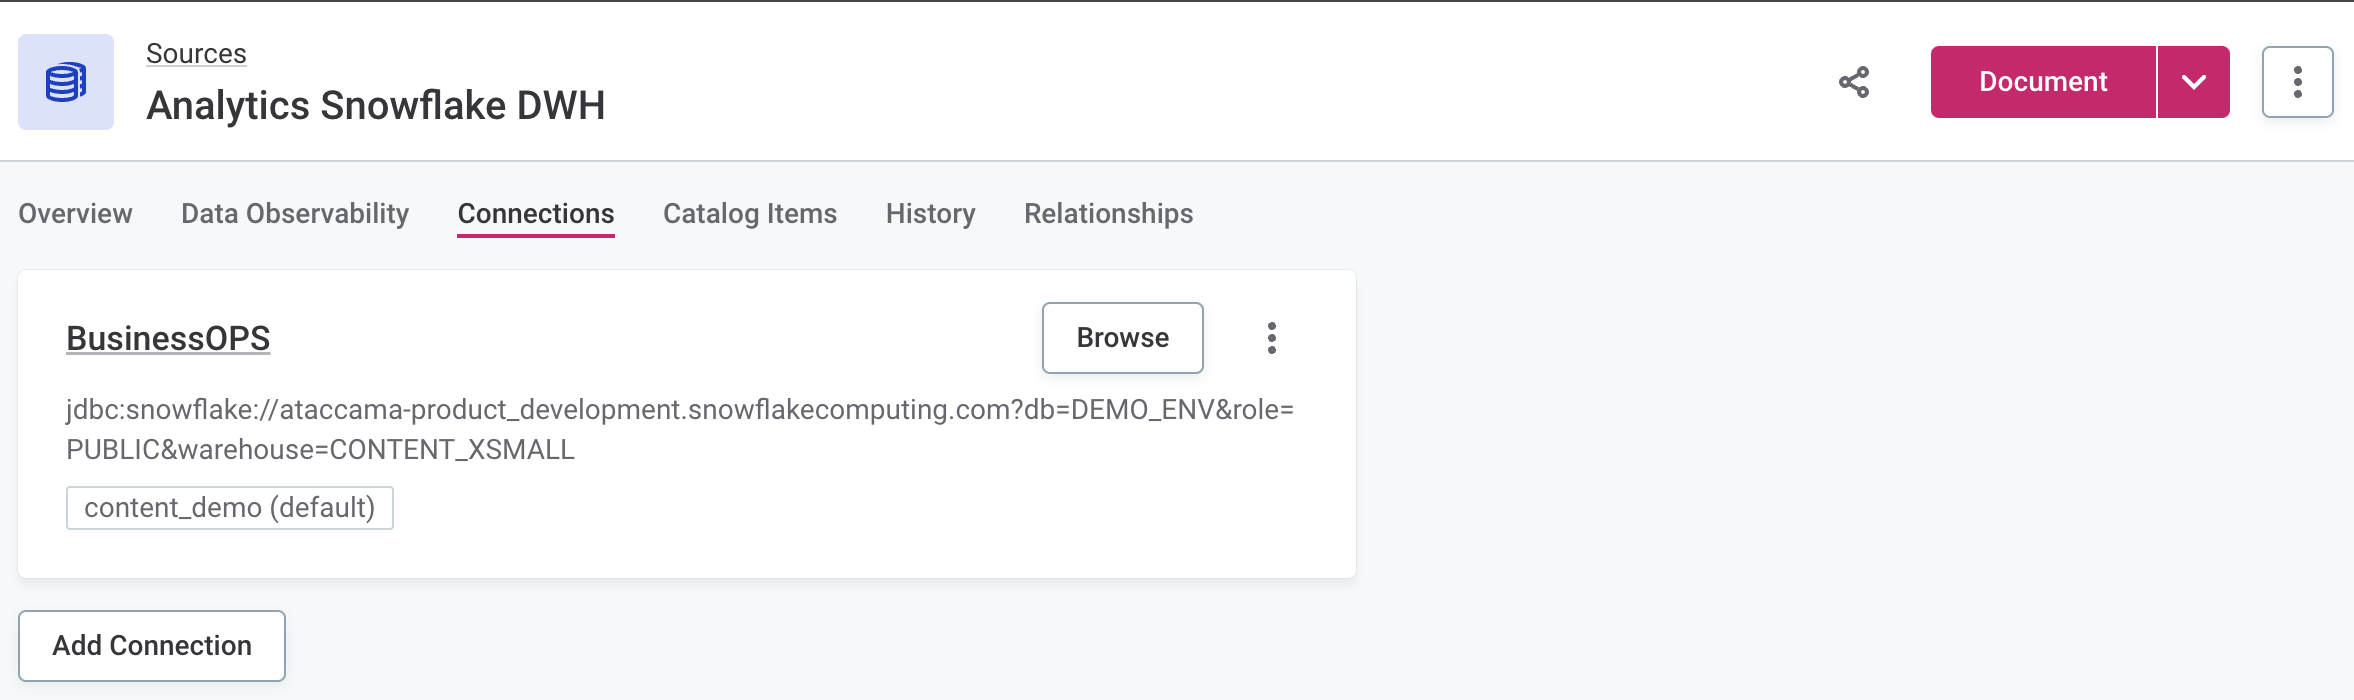
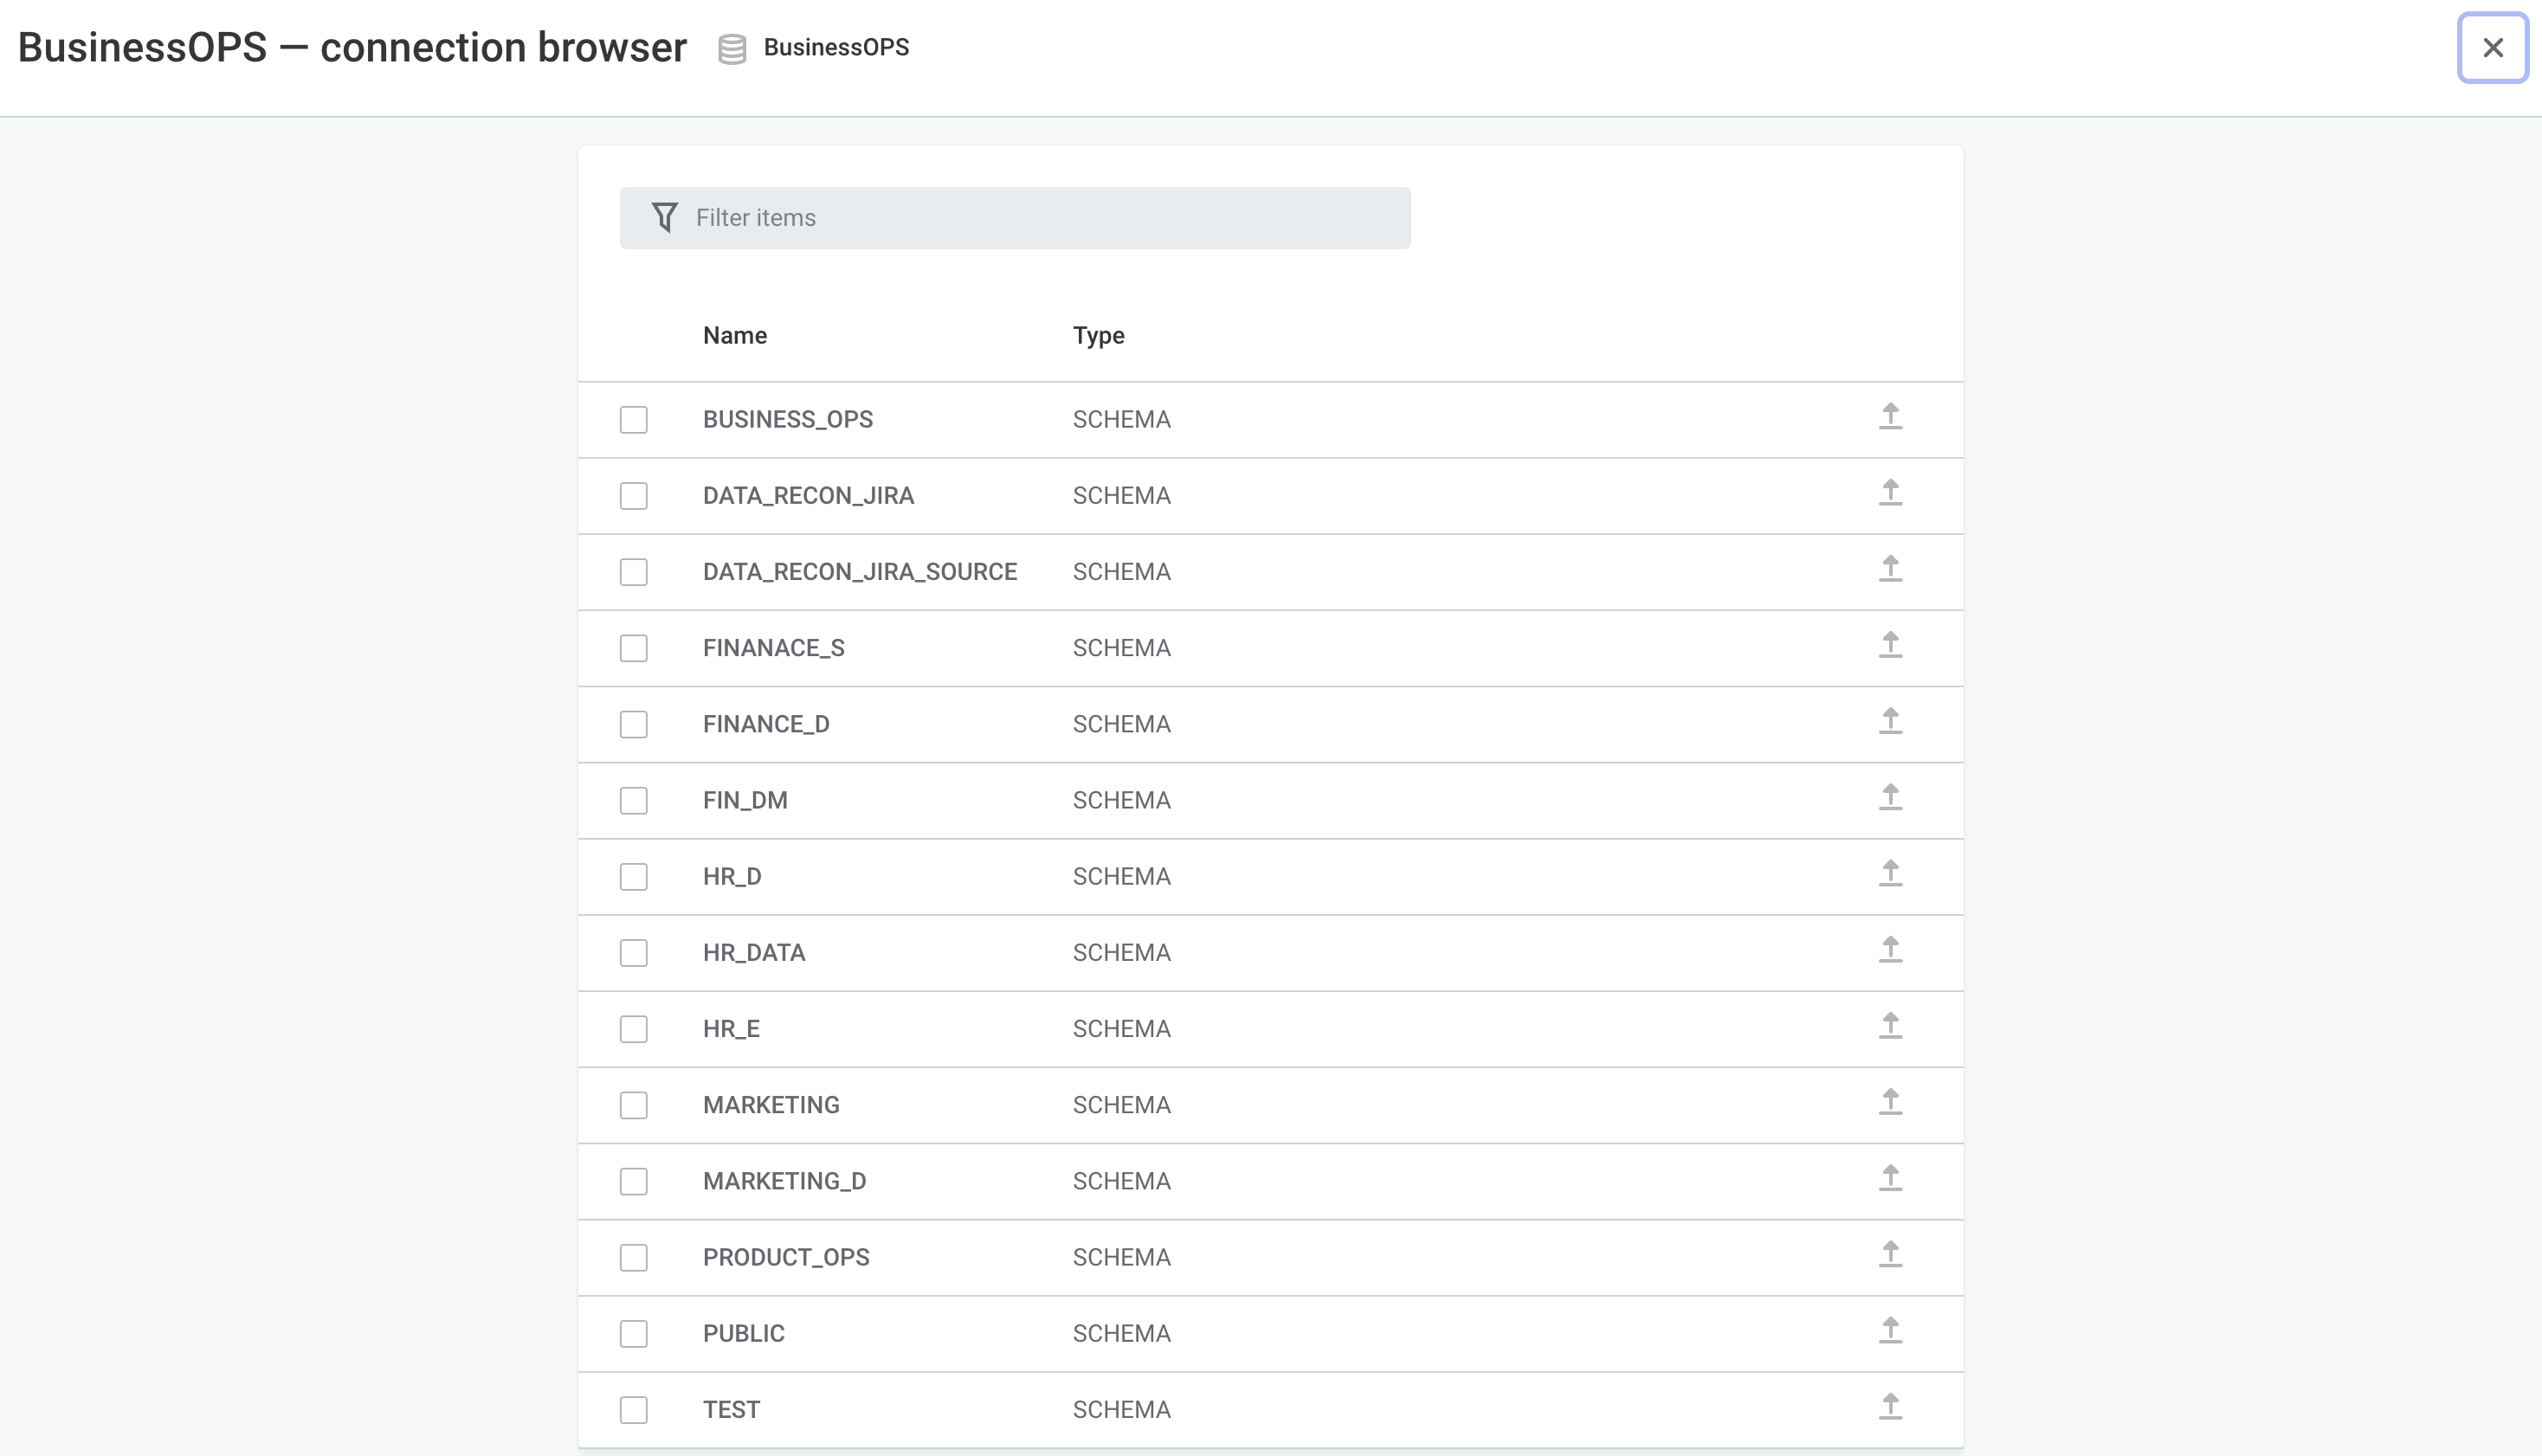
To browse the items that a connection contains, open the source Connections tab and expand the connection browser.
| In some cases, browsing can take a long time as not all data source types support metadata paging. For example, if there are thousands of tables in a schema, ONE has to read them all to display a single page. |
Here, you can:
-
Search for a particular item or use the filters provided. See Filter catalog items.
-
Preview the data (the eye icon).
-
Import the catalog item metadata one-by-one (the arrow icon) or in bulk. See Bulk-import catalog items.
-
Select one or more items and start profiling. To learn more about profiling options, see Run Profiling and Run Documentation Flow.
Filter catalog items
Search for specific catalog items using the search bar. The search supports these modes:
-
Legacy full-text search.
-
AQL search.
Supported on all sources, except the following: MDM, ONE Data, RDM, Salesforce, SAP RFC, SAP Safyr, and Tableau.
For details about these search modes, see How search works.
Supported AQL syntax
The filter supports a restricted subset of AQL expressions. You can filter by the Name and Type of catalog items, and combine conditions using the following operators:
-
like -
= -
and -
or -
not
Comparisons on Name and Type are case-insensitive.
In addition to standard AQL, the AQL search in connections supports the following wildcards with the like operator:
-
%matches any sequence of characters, including an empty one. -
_matches a single character.
#  All tables that contain "customer" in their name
name like '%customer%' and type = 'TABLE'

# All delimited files and spreadsheets with names starting with "customer"
name like 'customer%' and (type = 'DELIMITED_FILE' or type = 'SPREADSHEET')

# All directories
type = 'DIRECTORY'

# Exclude catalog items starting with 'tmp'
not name like 'tmp%'
Bulk-import catalog items
Import all catalog items from a connection at once, or use filters to import only those you need.
-
Open the connection browser. See Browse connection.
-
In the search bar, filter the catalog items.
Import All Filtered uses the filter results and ignores any items you select with the checkboxes. -
Select Import All Filtered to import all catalog items that match the filter. If you don’t apply a filter, all catalog items in the connection are imported.
-
A confirmation dialog shows the number of items to import. Confirm to start the import.
Manage sources
Edit source metadata
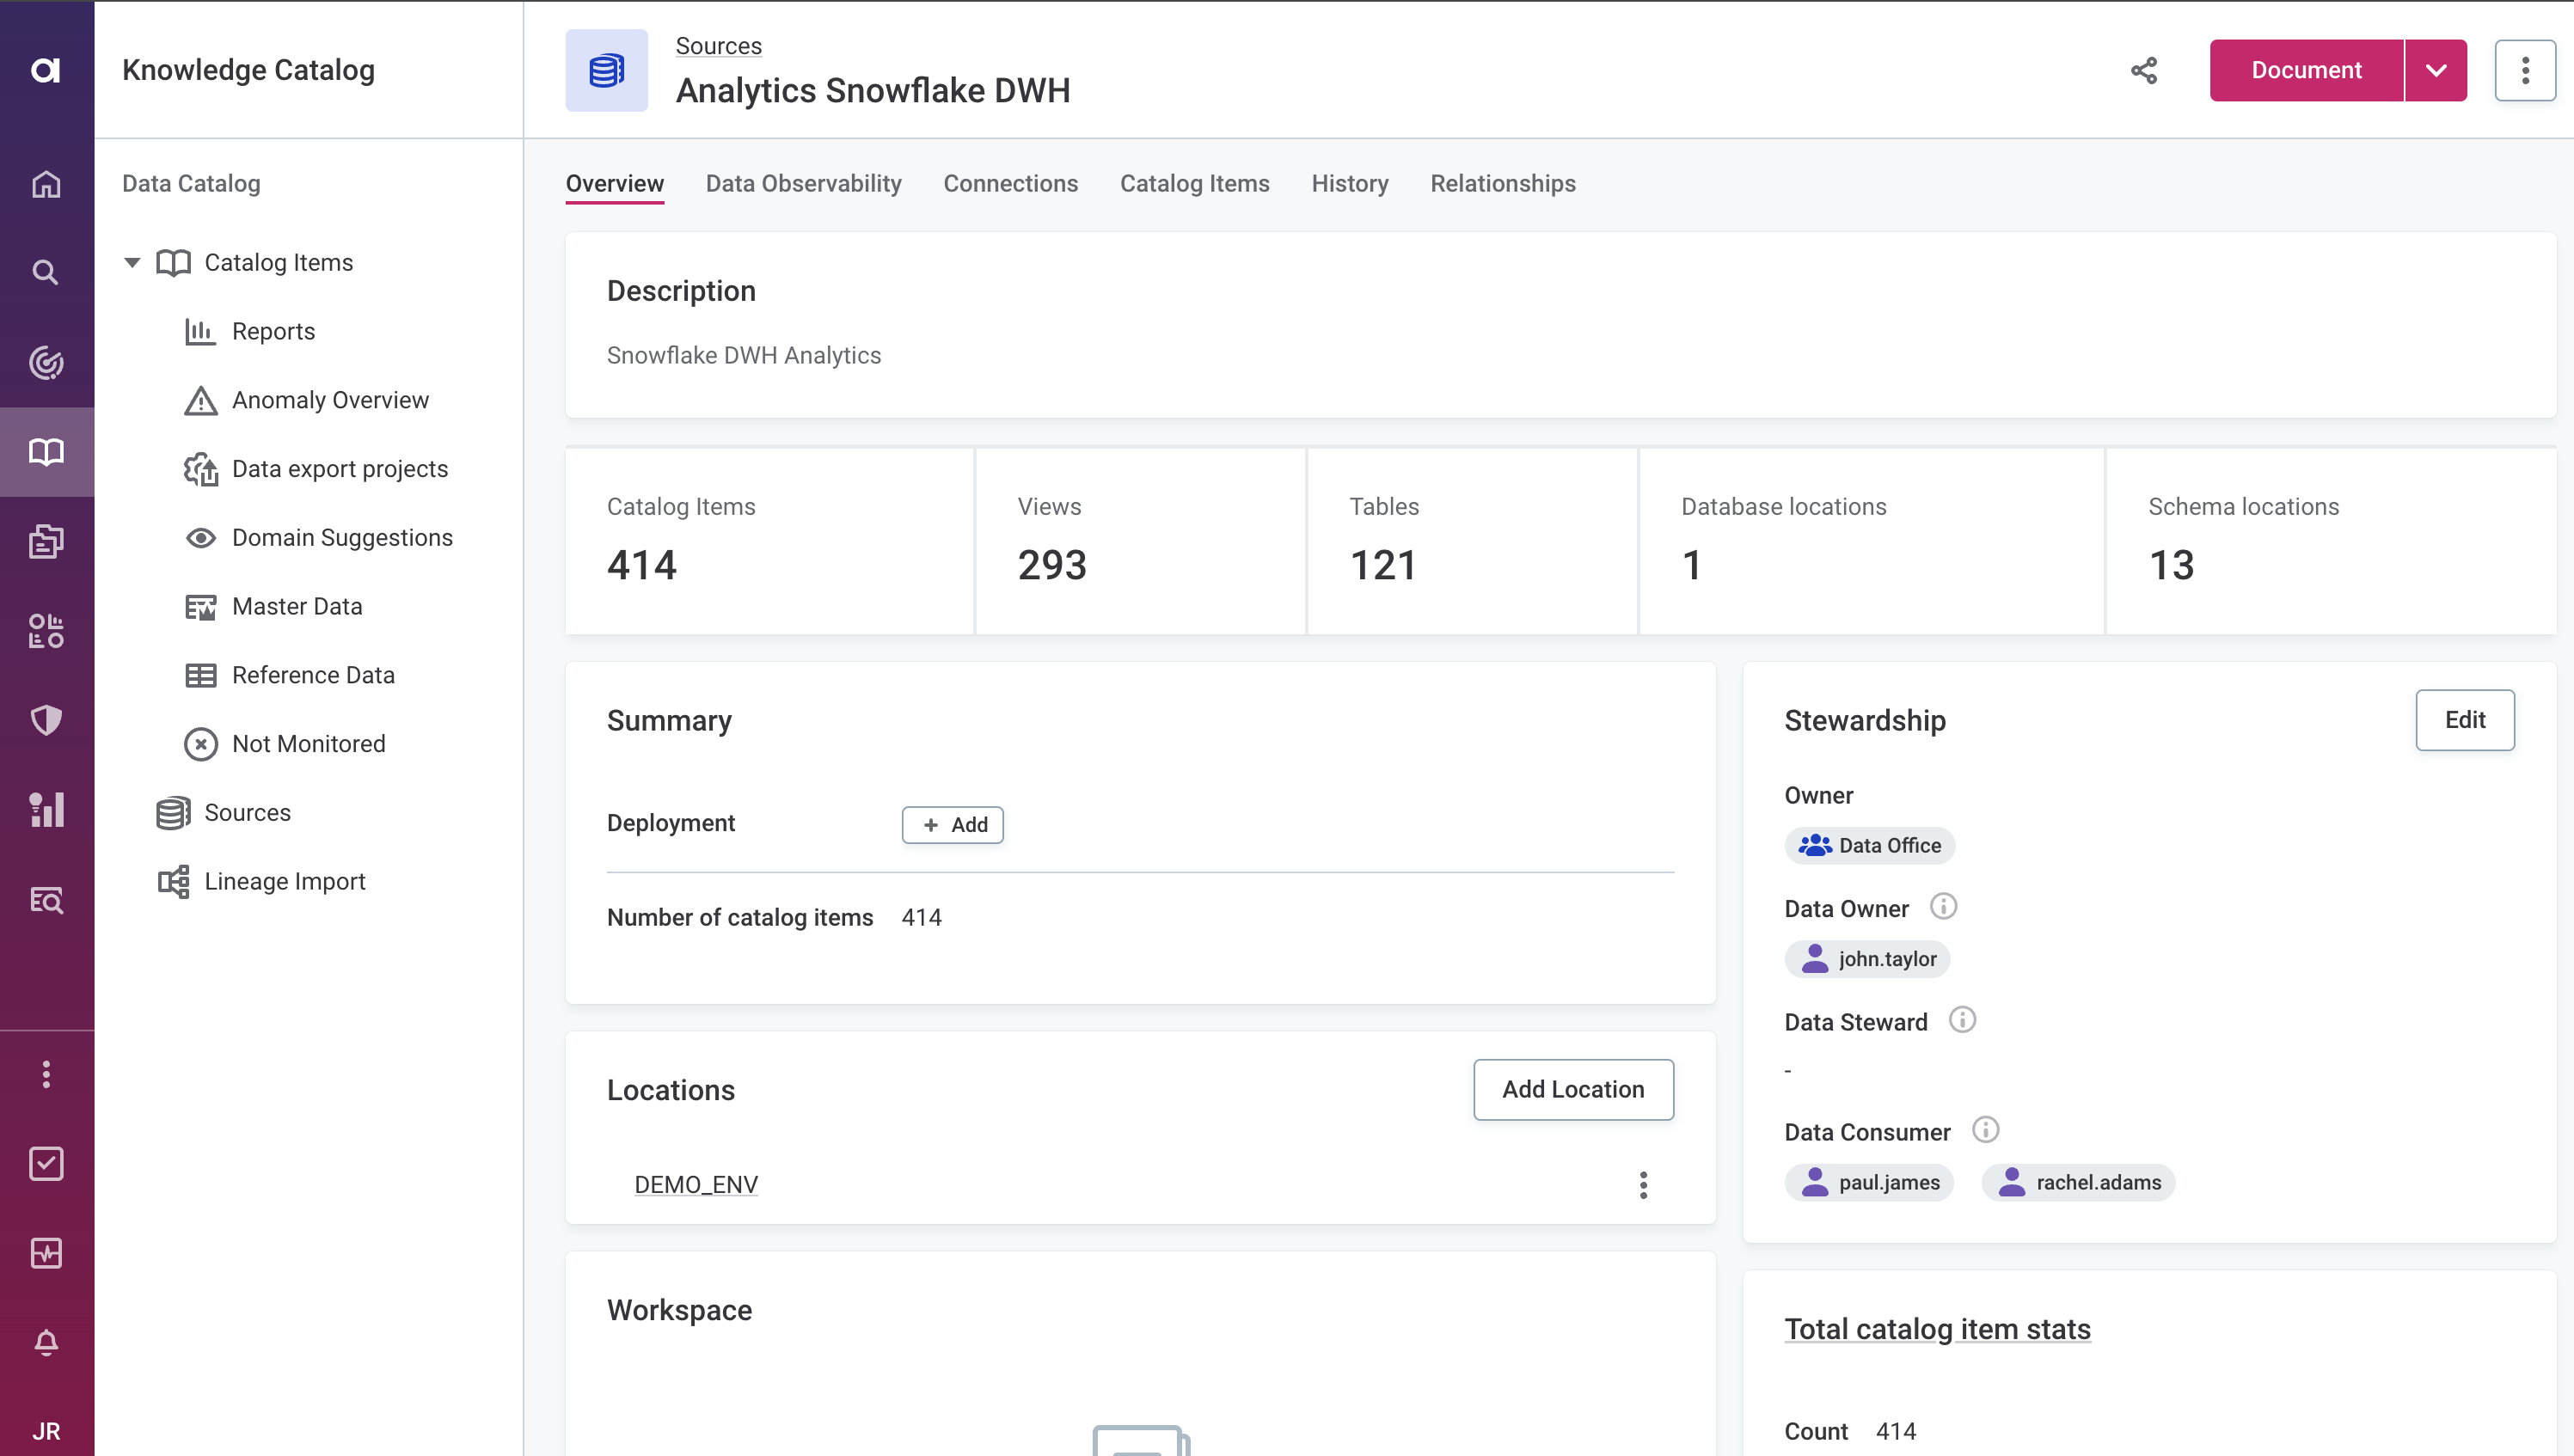
To change the source name, description, or the deployment tag, go to Data Catalog > Sources. Open the source you want to modify and in the three dots menu select Edit.
| You can add or remove deployment tags from the source Overview tab as well. |
Once you’re done editing, select Save and publish.
| In addition, you can change the source Location from the Overview tab. |
Create or edit location
Use locations to further categorize assets within the source. This is then used in the catalog item path (for example, Analytics Snowflake DWH [source] > DEMO_ENV [location] > BUSINESS_OPS [catalog item]).
| If needed, locations can be nested. To do this, open the location details and create a new location. |
To add a new location, select Add Location and enter the location type. Optionally, provide the location name, origin path, and description.
To modify an existing location, in the three dots menu select Edit.
| Select Show details in the location three dots menu to see which assets have this location assigned, as well the information about glossary terms and stewardship. |
| For more information about the Add Catalog item option on the location Overview tab, see Create or edit folders. In general, we do not recommend using this to create new catalog items. |
Create or edit folders
Folders in Workspace are intended for storing SQL Catalog Items and virtual catalog items (VCIs). For example, this might be useful when you want to manually document some assets within a source but don’t intend to profile them later.
However, we do not recommend creating new catalog items this way as it limits what you can do with such assets (for instance, you cannot add data to them). In addition, you currently cannot add existing catalog items to a folder.
To add a new folder, select Add Folder and enter a name and description. Select Save. Next, in the three dots menu of the folder, select Publish.
To modify an existing folder, in the three dots menu select Edit.
| If needed, folders can be nested. To do this, open the folder details and create a new folder. |
How to add a catalog item to a folder or a location
Use one of the following options:
-
On the source Overview tab, create or edit a folder or location, depending on your use case.
-
Select the folder or the location (or, in the three dots menu, select Show details) and then Add Catalog item.
-
Provide the following:
-
Name: A unique name of the catalog item.
-
Connection: Choose one from the list.
-
Description (Optional): A description of the catalog item.
-
Origin path (Optional): Specify this if you need to track the asset origin, for example, if you plan on uploading data to it from another catalog item later.
-
Owner: The asset owner. After you select a group, the list of users assigned to the governance roles within the selected group is displayed.
See Stewardship.
Number of attributes and Number of records fields are filled in later, once the catalog item data is loaded. -
Type: The type of catalog item. Choose one from the list provided. Depending on the selected type, further details might be required.
-
-
If available, select Add Attribute to define catalog item attributes.
-
Provide the following information:
-
Name: A unique name of the attribute.
-
Column type (Optional).
-
Data type (Optional): The data type of the attribute.
-
Supported: Select if the attribute should be included in profiling, DQ evaluation, and other analyses.
-
Order: The order of the attribute in the catalog item.
-
Type: Select one from the list depending on the selected catalog item type. For some attribute types you might have to provide further details.
-
-
Repeated steps 4 and 5 as many times as needed.
-
Select Save.
You can create as many catalog items as required. -
In the three dots menu of the new catalog item, select Publish to make the catalog item available to other users.
Manage connections
View connection details
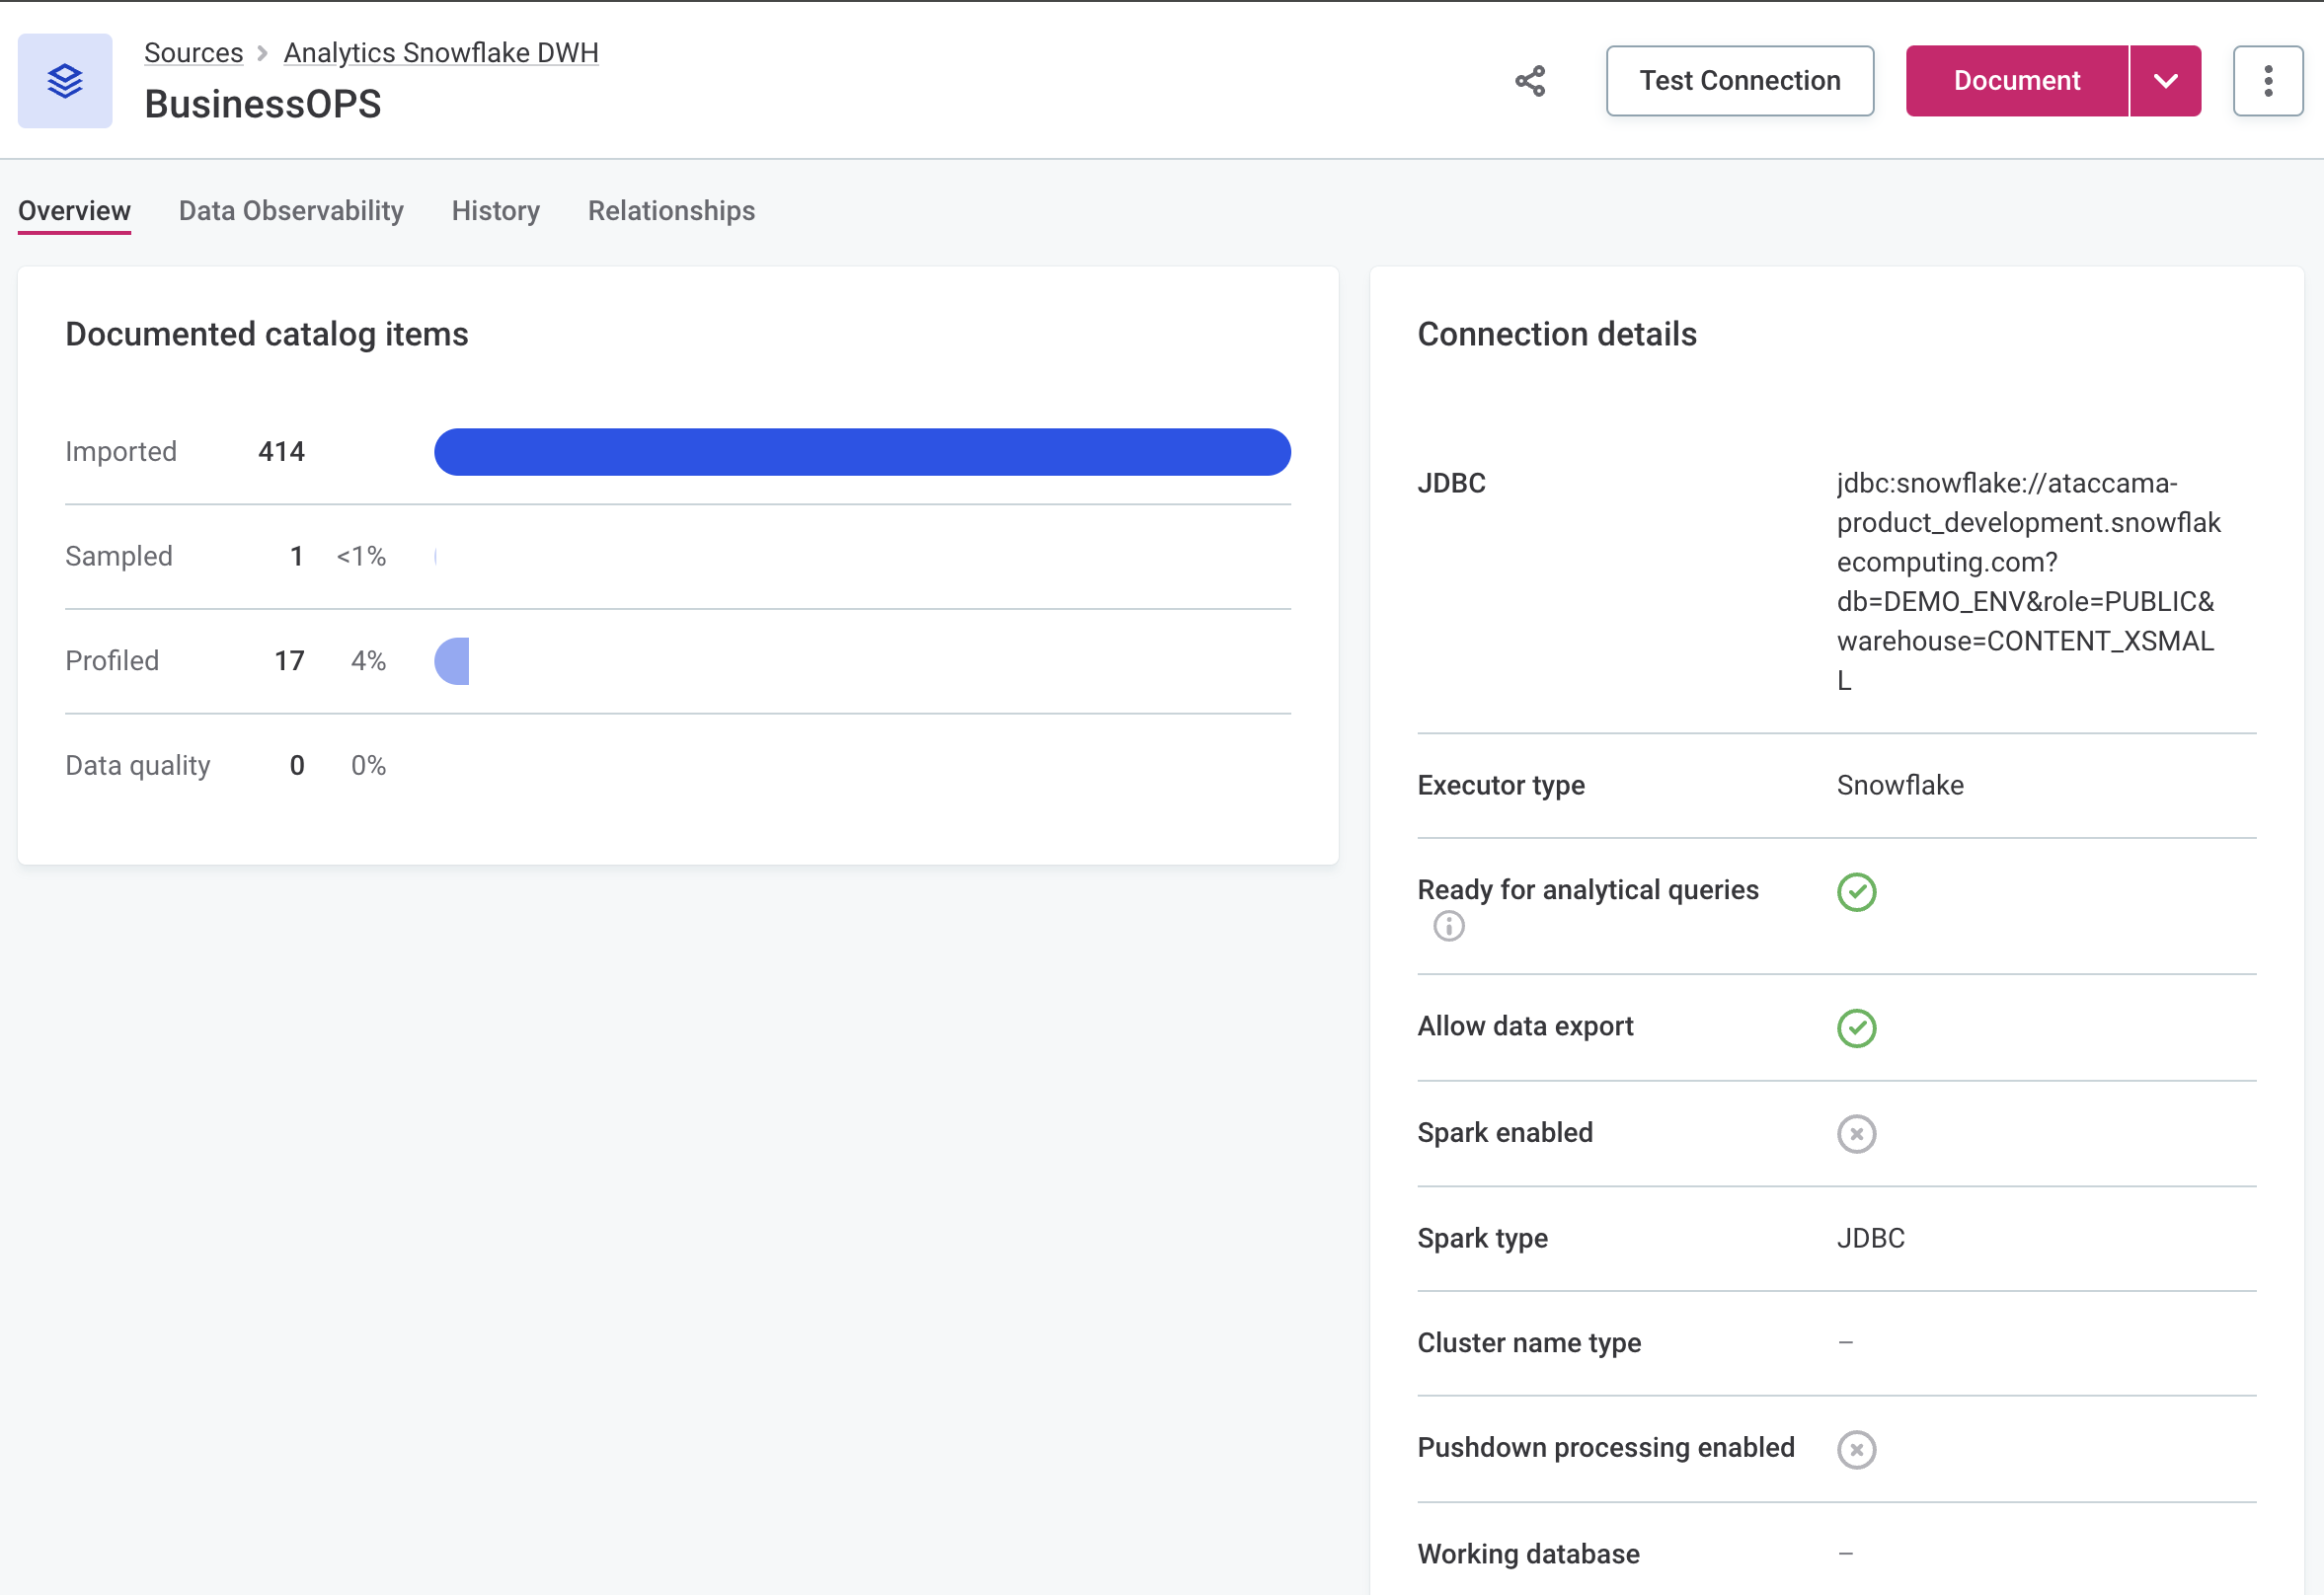
To view connection details, select the connection name (or, use the three dots menu) and then Show details. This displays:
-
The statistics about the documented catalog items, specifically the number of catalog items on which metadata import, sample or full profiling, or DQ evaluation were performed respectively.
-
Connection details.
-
The Test Connection option to verify that the connection is working.
Edit connection
To edit an existing connection, open the source and switch to the Connections tab. In the three dots menu for the connection you want to modify, select Edit.
Starting with version 17.1.0, to improve the security of stored credentials, the server address of an existing connection or secret management service integration can no longer be changed:
-
For relational database (JDBC) connections, the hostname and port in the connection string are locked once the connection is created. You can still edit other parts of the connection string, such as parameters and driver properties.
-
For Power BI, Amazon S3, SAP RFC, and Salesforce connections, and for secret management services (AWS Secrets Manager, Azure Key Vault, HashiCorp Vault, CyberArk Secrets Manager), the address or endpoint cannot be changed after creation.
-
Stored credentials cannot be reused on a different connection.
If you need to point a connection to a different server, create a new connection instead.
To add a connection to an existing source, on the source Connections tab select Add Connection.
| For more information about how to add or edit the connection for your source type, refer to the corresponding guide in this section of the documentation. |
Credentials
For each connection, you need to configure at least one set of credentials to access data from the source.
However, you can add as many sets as needed and use them for different tasks. This allows you to assign distinct credentials for interactive use and automated tasks, so your scheduled workflows continue running smoothly even when SSO-based credentials expire.
Each connection must have one set of credentials labeled as Default. Otherwise, all data processing operations fail. This includes monitoring, DQ evaluation, metadata import, profiling, data transformations, and more.
Without default credentials you can still browse connections, preview data, and export data, as long as you have Interactive credentials defined.
Which credentials are used for which task is determined using credential labels. Each label can be assigned to only one set of credentials per connection at a time.
There are four labels available:
- Default
-
Primary credentials for all read operations and jobs, and fallback credentials when interactive or operational credentials aren’t available. Won’t be used in place of missing write credentials.
- Interactive
-
Used for connection browsing, data preview, and data reading during data export.
- Write
-
Required for exporting data to the source (both scheduled and interactive operations).
- Operational
-
Used for BigQuery and Azure Synapse pushdown operations.
Which credentials are used
The following table maps which credentials are used for which task:
| Operation type | Primary credentials | Fallback | If neither exists |
|---|---|---|---|
Interactive read (browsing, preview) |
Interactive |
Default |
Error |
Interactive write (data export) |
Write |
None |
Error |
Scheduled read |
Default |
None |
Error |
Scheduled write |
Write |
None |
Error |
Pushdown (BigQuery/Synapse) |
Operational |
Default |
Error |
Testing connections
When testing a connection, which credentials are used depends on where you are testing the connection from:
-
From credentials details: Uses the specific credentials you’re viewing.
-
From the connection screen: Uses interactive credentials, falls back to default.
Write credentials and data export
Write credentials are required if you want to export data to this source. Without them, the connection won’t appear in data export configuration.
To configure write credentials, follow the steps in How to label credentials and assign the Write label to the appropriate credential set.
How to label credentials
-
Navigate to Data Catalog > Sources.
-
Find and open your source.
-
On the source Connections tab, in the three dots menu for your connection, select Show details.
-
In the Credentials section, expand the Usage type dropdown and select labels based on intended use.

In case you try to assign a label that is already used for another set of credentials, you need to confirm your choice.

Troubleshooting
Connectivity issues
- Problem
-
When trying to connect to your data source, it fails with either an
unknown hostortimeouterror. The cause might be in ONE, or on the infrastructure or network level. For example, DNS, VPN, firewall, or IP address allowlisting. - Possible solution
-
Use command line tools to determine if ONE is the cause of the problem. Depending on your platform, you can use either
curl,telnet,openssl, ornc, for example:-
curl -v telnet://<hostname>:<port> -
curl -v www.googleapis.com -
telnet <hostname> <port> -
openssl s_client -connect <hostname>:<port> -
nc <hostname> <port>
-
The curl command also displays some useful SSL handshake information, including the Subject and Issuer fields of the server SSL certificate.
|
Was this page useful?