
Power BI Connection
Power BI is an interactive data visualization tool that focuses primarily on business intelligence and is part of the Microsoft Power Platform.
Setting up a connection to Power BI is a prerequisite for importing Power BI reports to ONE. For more information, see Reports.
|
There is a separate connector for Power BI Report Server (on-premise solution), see Power BI Report Server Connection. |
This article explains how to configure the connection both in Power BI and in ONE.
Configure the API connection in Power BI
Start with Power BI and Azure Active Directory (AD) configuration. To enable the report preview, workspace structure, and browsing for reports in ONE, you need to ensure the API connection for Power BI is correctly set and that the service principal is added to your workspace in Power BI.
|
If the service principal is not assigned, the following error message appears when trying to preview a report: 
|
The following section serves as a checklist rather than as a tutorial so that you don’t miss any important step in the procedure.
-
Open your Azure AD and make the following changes:
-
Make sure you have an Azure application created with at least one security group. For the purpose of this tutorial, we created an application called
Dev-PowerBI.
-
Make sure your Ataccama application (
Dev-PowerBI) is added as a member of the selected security group.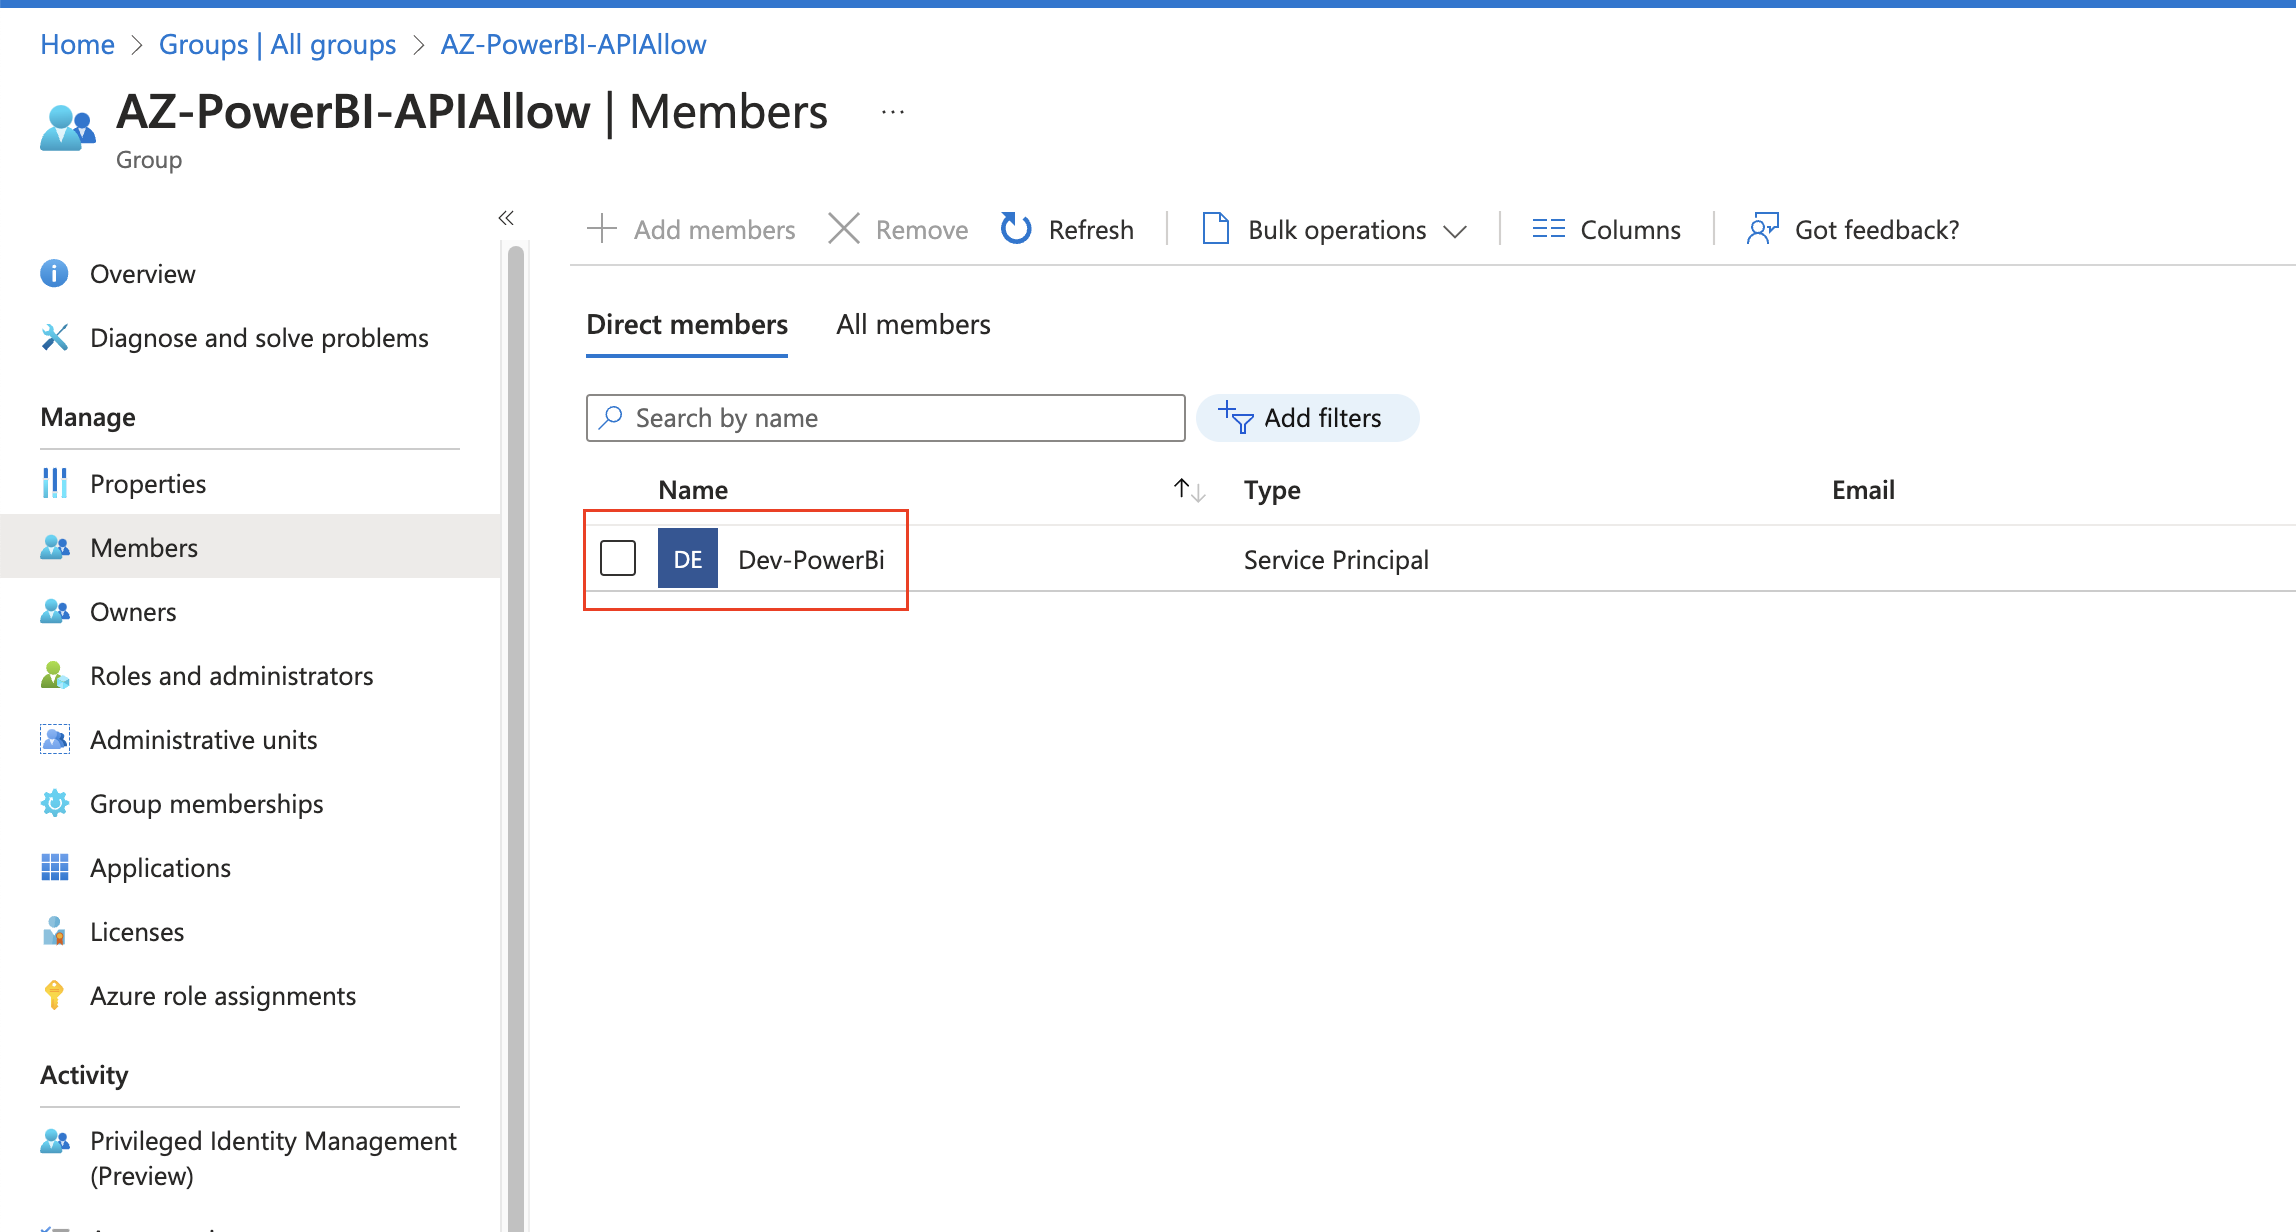
-
-
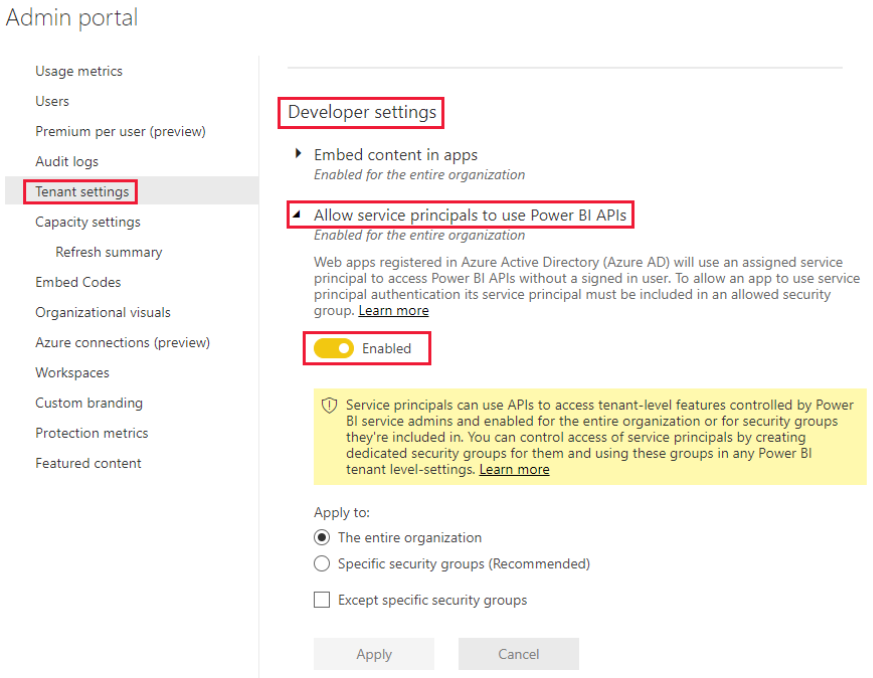
Open your Power BI Admin portal and go to Tenant settings.
-
Enable the option Service principals can use Fabric APIs on the workspace as a member or admin and select the security groups.
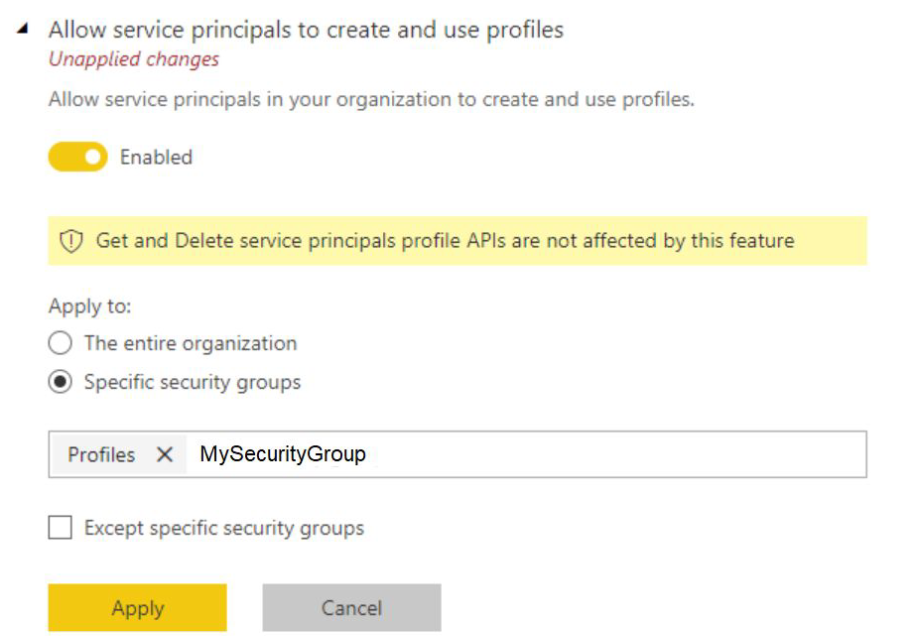
-
Enable the option Allow service principals to create and use profiles and select the security groups. To learn more, see the official Microsoft documentation, starting from the article Developer tenant settings.
-
Enable the option Allow service principals to use read-only Power BI admin APIs. To learn more, see the official Microsoft documentation, articles Enable service principal authentication for read-only admin APIs and Automation with service principals, section Enable service principals.

-
-
Finally, add your service principal to the workspace as a member or admin following the instructions in the official Microsoft documentation, article Embed using service principal, section Add a service principal or security group manually.
Create a source
To connect to Power BI:
-
Navigate to Data Catalog > Sources.
-
Select Create.
-
Provide the following:
-
Name: The source name.
-
Description: A description of the source.
-
Deployment (Optional): Choose the deployment type.
You can add new values if needed. See Lists of Values. -
Stewardship: The source owner and roles. For more information, see Stewardship.
-
| Alternatively, add a connection to an existing data source. See Connect to a Source. |
Add a connection
-
Select Add Connection.
-
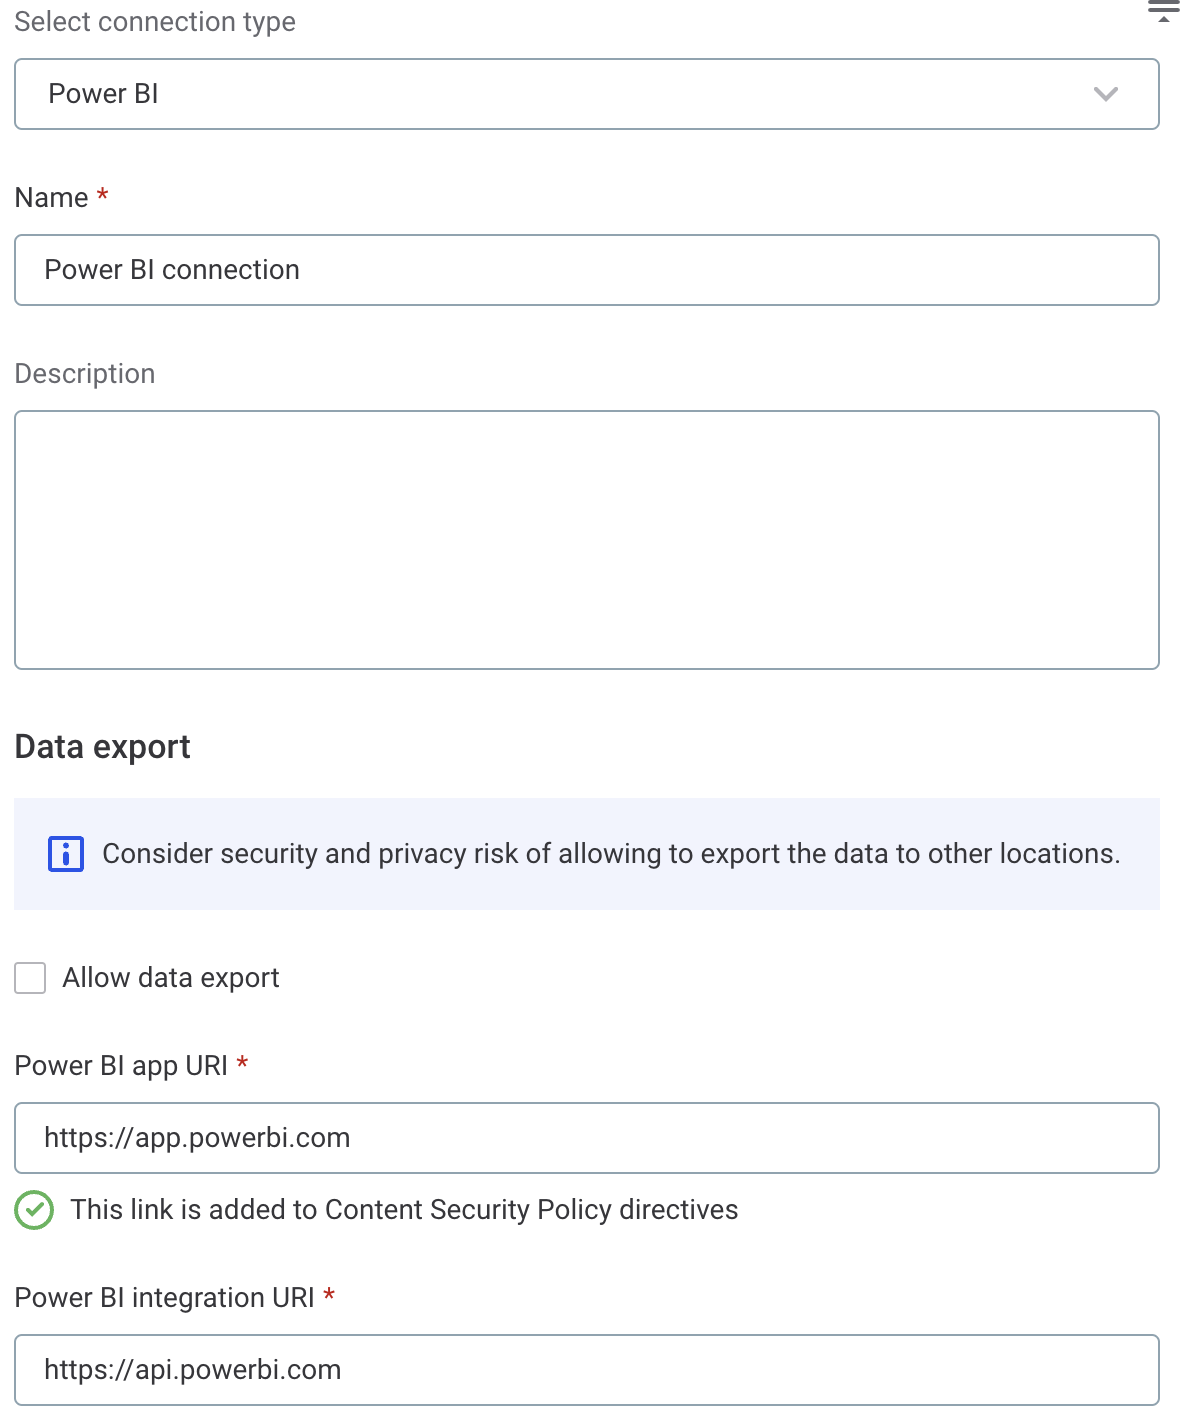
In Select connection type, choose Reporting tools > Power BI.
-
Provide the following:
-
Name: A meaningful name for your connection. This is used to indicate the location of catalog items.
-
Description (Optional): A short description of the connection.
-
Dpe label (Optional): Assign the processing of a data source to a particular Data Processing Engine (DPE) by entering the DPE label assigned to the engine. For more information, see DPM and DPE Configuration in DPM Admin Console.
-
Override catalog item name: Select this option if you want metadata imports to overwrite the names of existing catalog items with the latest names from the data source.
If the option is not selected, catalog item names you set in ONE are preserved when metadata is reimported. See Edit catalog item metadata.
-
Power BI app URI: The URL of the Power BI portal. For example:
app.powerbi.com.A task is automatically created for adding the URL to Content Security Policy directives in ONE. See step Configure the Content Security Policy. -
Power BI integration URI: The URL of the Power BI backend APIs. For example: api.powerbi.com.
-
-
In Additional settings, select Enable exporting and loading of data if you want to export data from this connection and use it in ONE Data or outside of ONE.
If you want to export data to this source, you also need to configure write credentials. See Connection credentials.
Consider the security and privacy risks of allowing the export of data to other locations.
Add credentials
Different sets of credentials can be used for different tasks. One set of credentials must be set as default for each connection.
To determine whether you need to configure more than a single set of credentials, see Connection credentials.
-
Select Add Credentials.
-
Provide the following:
-
Name (Optional): Enter a name for this set of credentials.
-
Description (Optional): Provide a description for this set of credentials.
-
Select a secret management service (optional): If you want to use a secret management service to provide values for the following fields, specify which secret management service should be used. After you select the service, you can enable the Use secret management service toggle and provide instead the names the values are stored under in your key vault. For more information, see Secret Management Service.
-
Client ID: The unique identifier of your Power BI instance in your Azure subscription. You can find the
Application (client) IDin the Overview pane of your registered app in Azure.For more information, see the official Microsoft documentation, Register an application. Alternatively, enable Use secret management service and provide the name this value is stored under in your selected secret management service.
-
Client Secret: provide the value of the secret key. Alternatively, enable Use secret management service and provide the name this value is stored under in your selected secret management service.
If you are not using the secret management service, Client Secret is the Value of the secret in your Azure Portal, not the Secret ID.
-
-
-
If you want to use this set of credentials by default when connecting to the data source, select Set as default.
See also Connection credentials.
-
Proceed with Test the connection.
Test the connection
To test and verify whether the data source connection has been correctly configured, select Test Connection.
If the connection is successful, continue with the following step. Otherwise, verify that your configuration is correct and that the data source is running.
Save and publish
Once you have configured your connection, save and publish your changes. If you provided all the required information, the connection is now available for other users in the application.
In case your configuration is missing some required fields, you can view a list of detected errors instead. Review your configuration and resolve the issues before continuing.
Finish setting up the connection
Configure the Content Security Policy
To see the reports preview of your Power BI reports in ONE, admins need to configure the content security policy. It is sufficient to add the Power BI web portal URL in the Frame src field.
To do this, go to Global Settings > Content Security Policy and select Create. Provide a name and a description and select the policy owner.
Next, in the Frame src field enter the HTTP directive that specifies valid sources for nested browsing contexts loading using elements such as <frame> and <iframe>.
In our case, this is the URL of the Power BI web portal.
To add more than one value for the directive, select Add.
Select Save and publish your changes.
|
Thumbnails for Power BI are not available and are replaced by the default picture. However, after the privacy policy is configured, you can see the report preview when you open the report details. 
|
|
Make sure you work with either Power BI Embedded or Power BI Premium to avoid the trial banner on your reports preview: 
In case you work with a trial version of Power BI, you might exceed the number of the available previews ONE can retrieve from it. This results in the following error message:
|
Manage access rights
Make sure you have the corresponding Full, Edit, or View data access rights in ONE:
-
On sources to import reports from your BI tool.
-
On reports to manage their preview.
For more information, see Share Access to Assets
Configure HTTP proxy server for hybrid DPE
If you are running DPE in hybrid mode, you can specify an HTTP proxy server to connect to Power BI.
This typically requires configuration in two locations: hybrid DPE systemd service file and its application.properties.
The following details need to be provided for the proxy server:
-
Host:
{proxyHost} -
Port:
{proxyPort} -
User (optional, used for Basic authentication):
{proxyUser} -
Password (optional, used for Basic authentication):
{proxyPassword}
| After you provide the proxy server details, restart DPE to apply the changes. |
Configure systemd service (Required)
Configure the Java proxy settings in the DPE systemd service file at /etc/systemd/system/dpe.service.d/dpe.conf.
Add or update the JAVA_OPTS environment variable to include the proxy settings:
Environment="JAVA_OPTS=... -Dhttp.proxyHost={proxyHost} -Dhttp.proxyPort={proxyPort} -Dhttps.proxyHost={proxyHost} -Dhttps.proxyPort={proxyPort} -Dhttp.nonProxyHosts='{nonProxyHosts}'"Replace the placeholders {proxyHost}, {proxyPort}, {nonProxyHosts} with actual values.
nonProxyHosts is a pipe-delimited (|) list of hosts that should bypass the proxy and must always be enclosed in single quotes (for example, '.internal.domain|host2|host3'). You can use as a wildcard, but the value must be quoted with single quotation marks.
Environment="JAVA_OPTS=-Xmx4g -Dhttp.proxyHost=proxy.ataccama.example -Dhttp.proxyPort=3128 -Dhttps.proxyHost=proxy.ataccama.example -Dhttps.proxyPort=3128 -Dhttp.nonProxyHosts='*.internal.ataccama.example'"After updating the file, reload the systemd daemon and restart DPE:
sudo systemctl daemon-reload
sudo systemctl restart dpe
Configure application properties
In addition to the systemd configuration, define the following properties in the dpe/etc/application.properties file of your hybrid DPE.
com.ataccama.dpe.plugin.dataconnect.powerbi.proxyHost={proxyHost}
com.ataccama.dpe.plugin.dataconnect.powerbi.proxyPort={proxyPort}
com.ataccama.dpe.plugin.dataconnect.powerbi.proxyUser={proxyUser}
com.ataccama.dpe.plugin.dataconnect.powerbi.proxyPassword={proxyPassword}
Make sure to provide actual values instead of placeholders.
Next steps
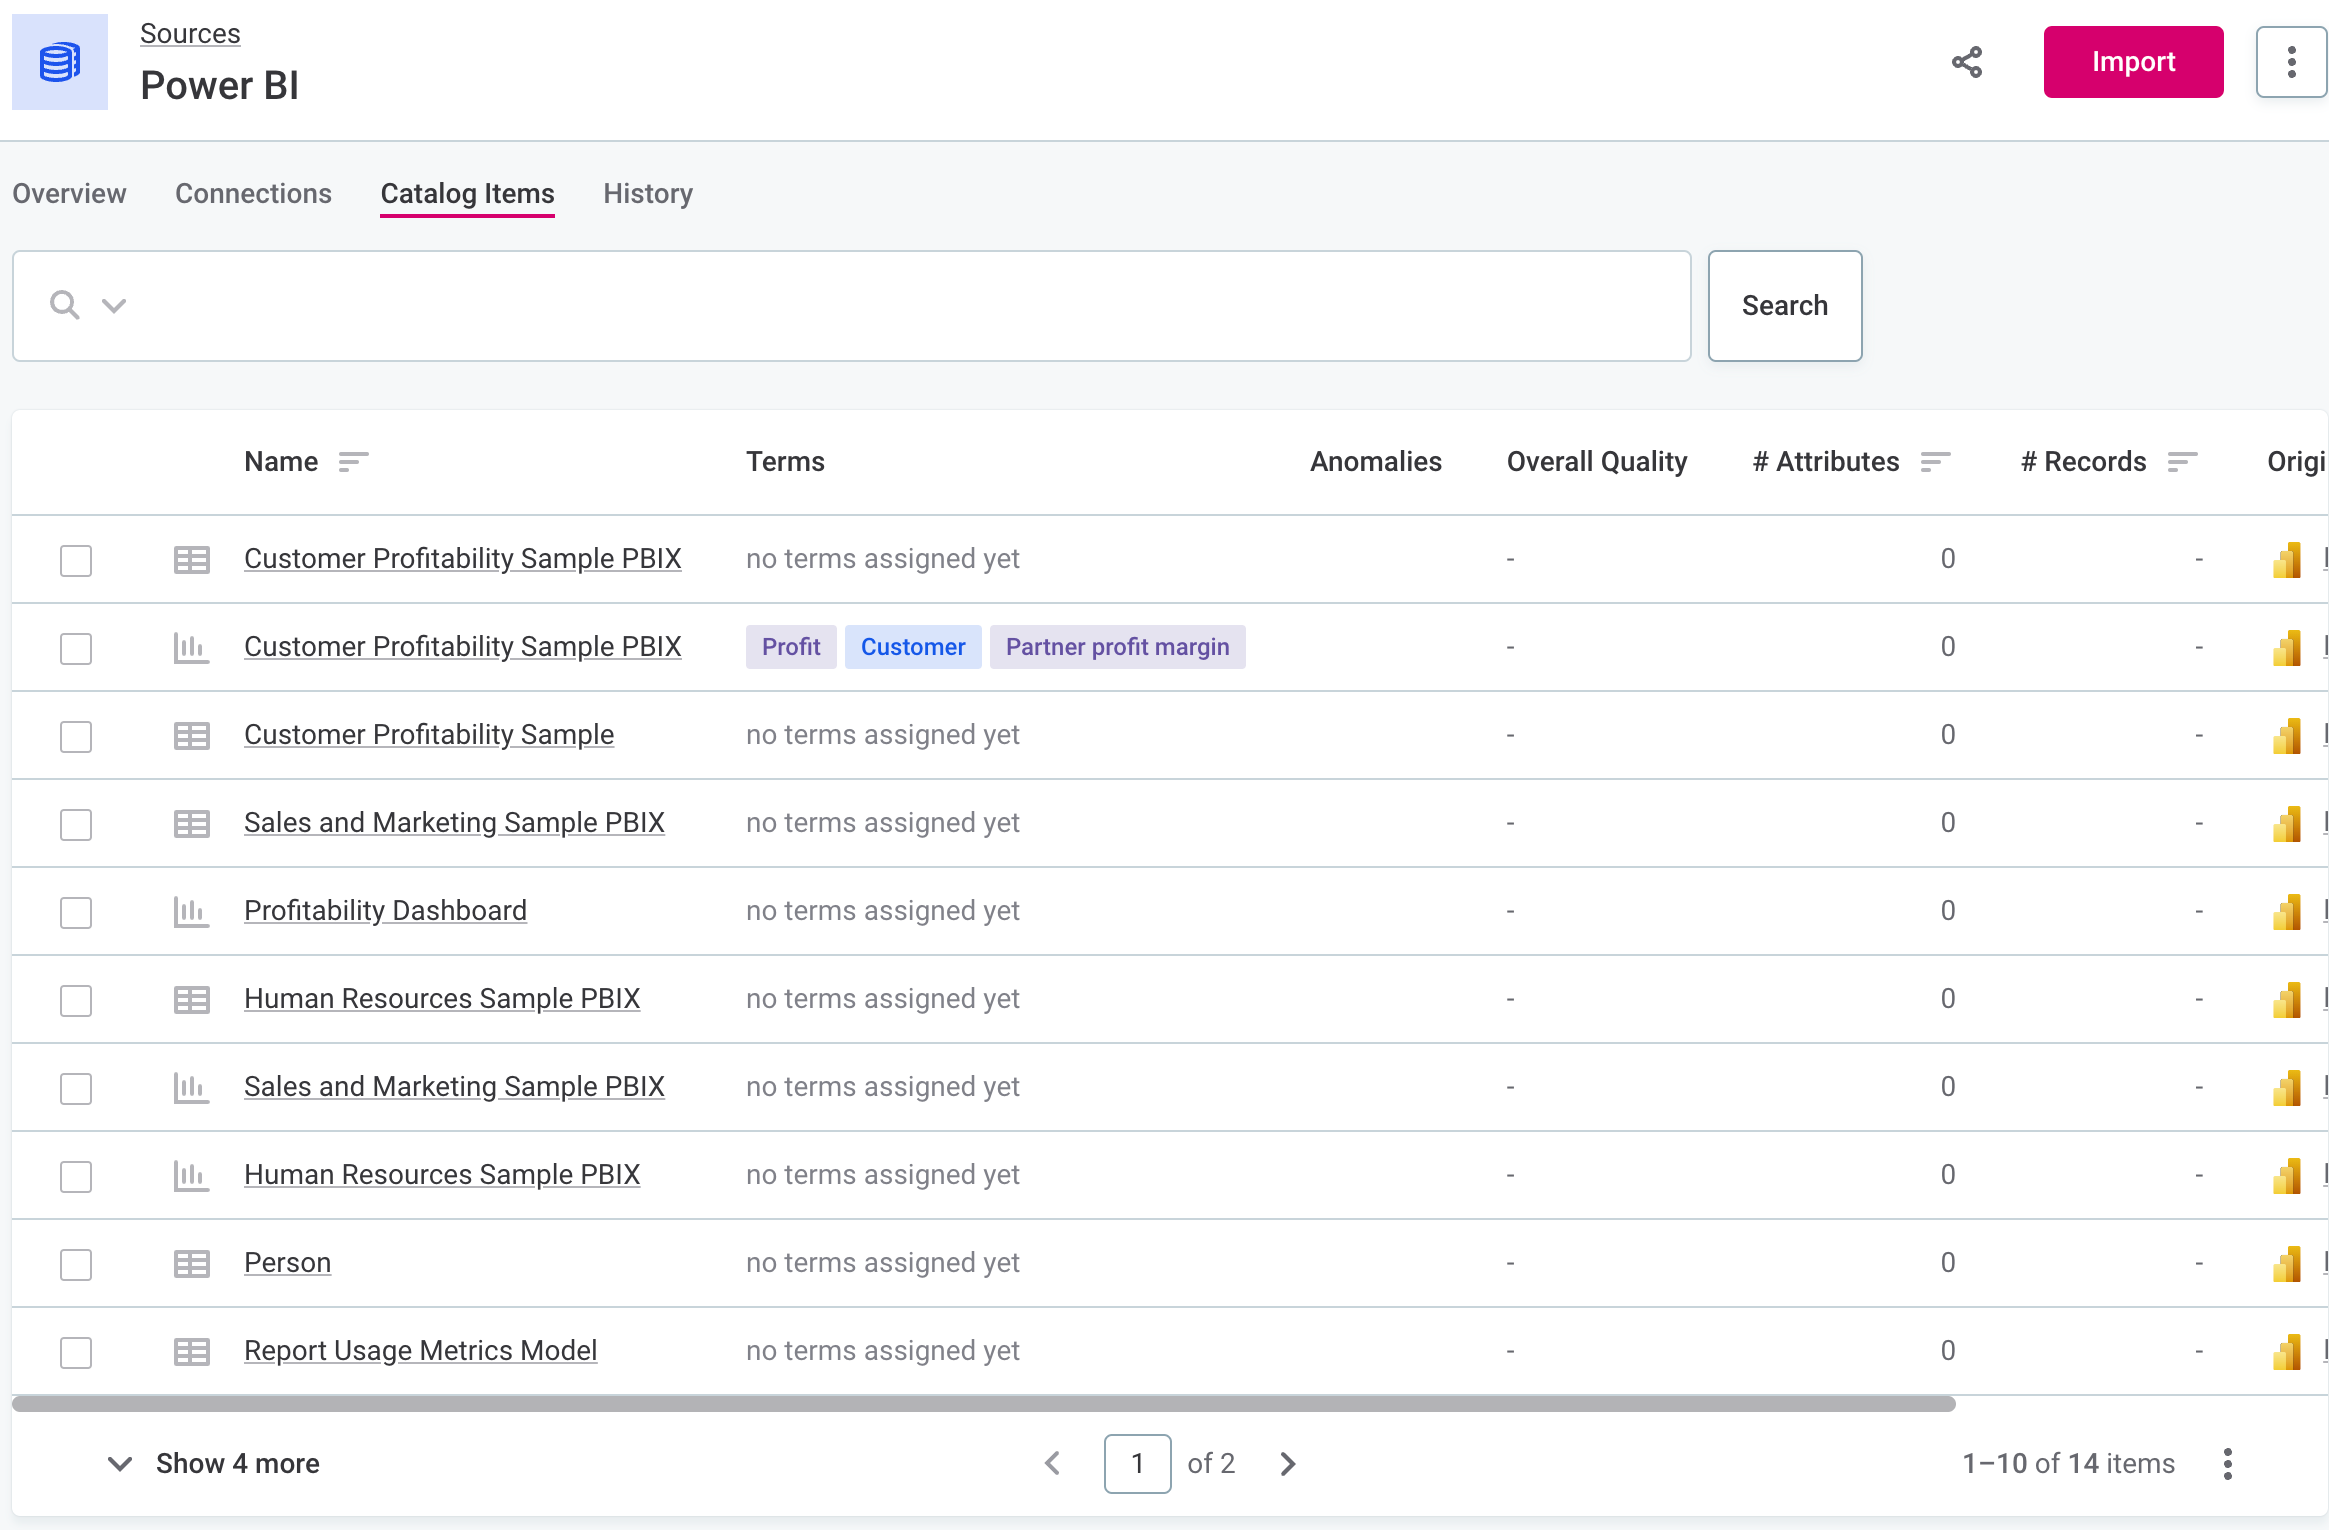
You can now import your Power BI reports to ONE.
In Data Catalog > Sources, find and open the source you just configured. Switch to the Connections tab and select Import Alternatively, opt for Discover or Discover documentation flow.
Or, to import only some assets, select Browse on the Connections tab. Choose the assets you want to analyze and then the appropriate importing or profiling option.
To learn more about reports in ONE, see Reports and Reports from Power BI.
Was this page useful?