
Post-Processing Plans
Results of DQ evaluation can be sent to ONE Desktop and used there as an input for plans consisting of multiple post-processing steps that adapt your data to the desired form. Or, you can export these records into ONE Data, an external database, or a custom business intelligence tool.
|
When using the JDBC Writer step as an output in your post-processing plan, it is possible to write to the following locations:
|
|
If any of the catalog item attribute names (column names) present in a monitoring project is a duplicate of the system input names, then the post-processing plan for that catalog item fails. The names that must be avoided are: |
Prerequisites
-
Editing server details, such as the server name, after the catalog item has been created can later cause issues during profiling. In that case, the recommended approach is to specify additional parameters, for example, the new server name, through the global runtime configuration.
This configuration is provided as a base64-encoded string to the Data Processing Module (DPM) configuration. For more information, see DPM Configuration > Global runtime.
-
A preconfigured monitoring project with rules applied.
Create a post-processing plan
-
In ONE Desktop, navigate to Monitoring Projects.
-
Find the required project and right-click the project name.
-
Select New > Post processing plan.
-
In Create a new post processing plan, enter the following:

-
Name: For the purpose of our example, we are using My Post Processing Plan.
-
Catalog Item: The catalog item in the monitoring project for which you want to create the post-processing plan.
-
Output Location: The output location for CSV files produced from post-processing plans. For example,
export/${date}/${catalogItemName}/.
-
-
Click Finish.
-
Navigate to Components.
-
Right-click the newly-created component and select Edit component.
-
Remove the Trash step and replace it with the Text File Writer step.
-
Configure the Text File Writer step:
-
File Name:
Output.csv -
Encoding:
UTF-8 -
Compression:
NONE -
Line Separator:
\r\n -
Field Separator:
; -
String Qualifier:
" -
String Qualifier Escape:
" -
Write Header:
enabled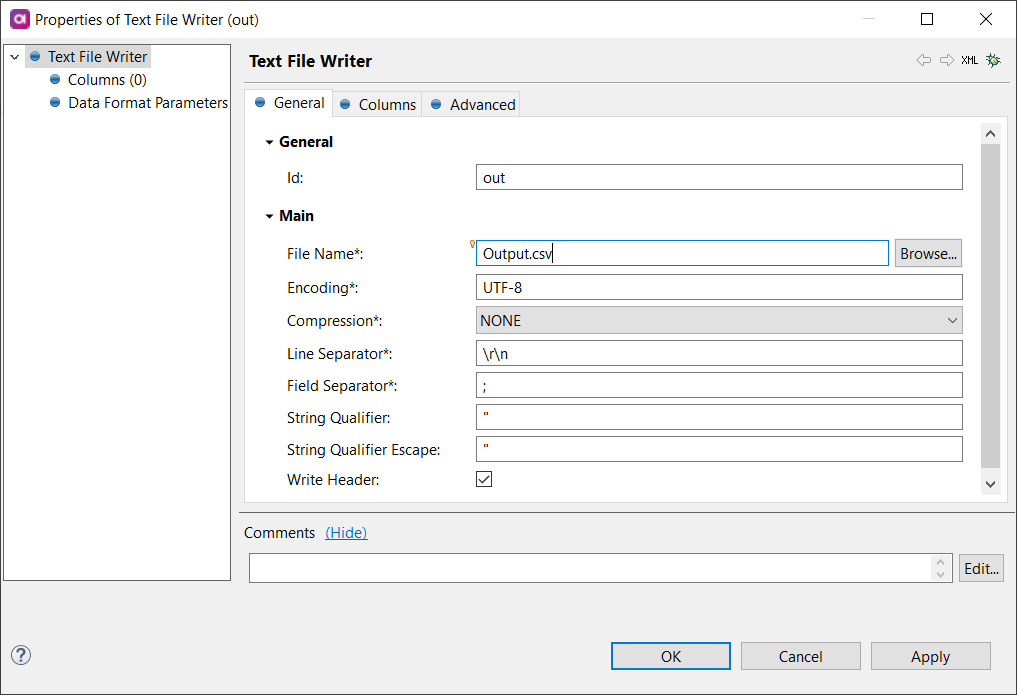
It is not possible to use variables in the Text File Writer for File Name as variables are not supported in post-processing plans.
-
-
Select OK
-
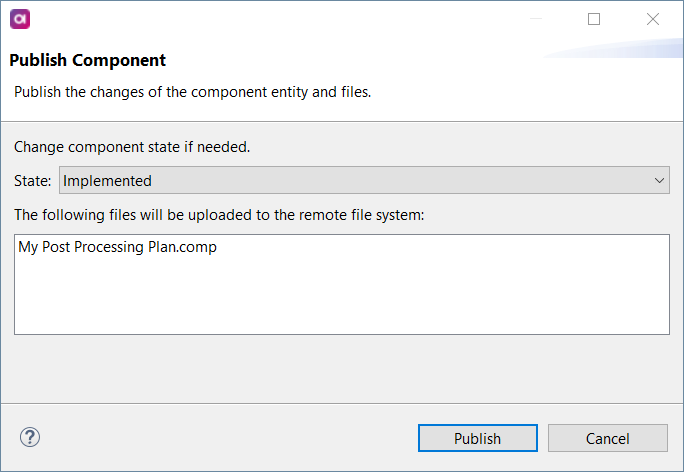
Right-click the component and select Publish.
-
In Publish Component, change the State to Implemented.
-
Select Publish.
-
Return to ONE and run monitoring for the respective monitoring project.
-
Navigate to the Export tab.
-
Download the exported report (
Output.csv).
Result columns
All monitoring project rule instances are present in post-processing plans, assigned to a column according to the result type of the dimension result:
-
Pass results go to the
valid_rulescolumn. -
Fail results go to the
invalid_rulescolumn. -
Not applicable results go to the
not_applicable_rulescolumn.
For more information about result types, see Not applicable results.
Whether or not a dimension contributes to overall quality does not impact whether it is shown in invalid samples.
The invalid_rules_explanation column contains only the failed results.


Was this page useful?