
ONE Metadata Model Tutorial
|
Configuration tutorial
Throughout this guide we will include an example configuration which will result in an entity called Certifications. This entity will be located in a custom Policy Management section of the application. On the main overview screen of the entity, you will see listings of the certifications, and the following information: 'Name', 'About', and 'External Links'. Click here to expand.
If you select one of the rows containing the certifications, a sidebar opens, with the properties: 'Description', 'General information', and 'Policies'. Click here to expand.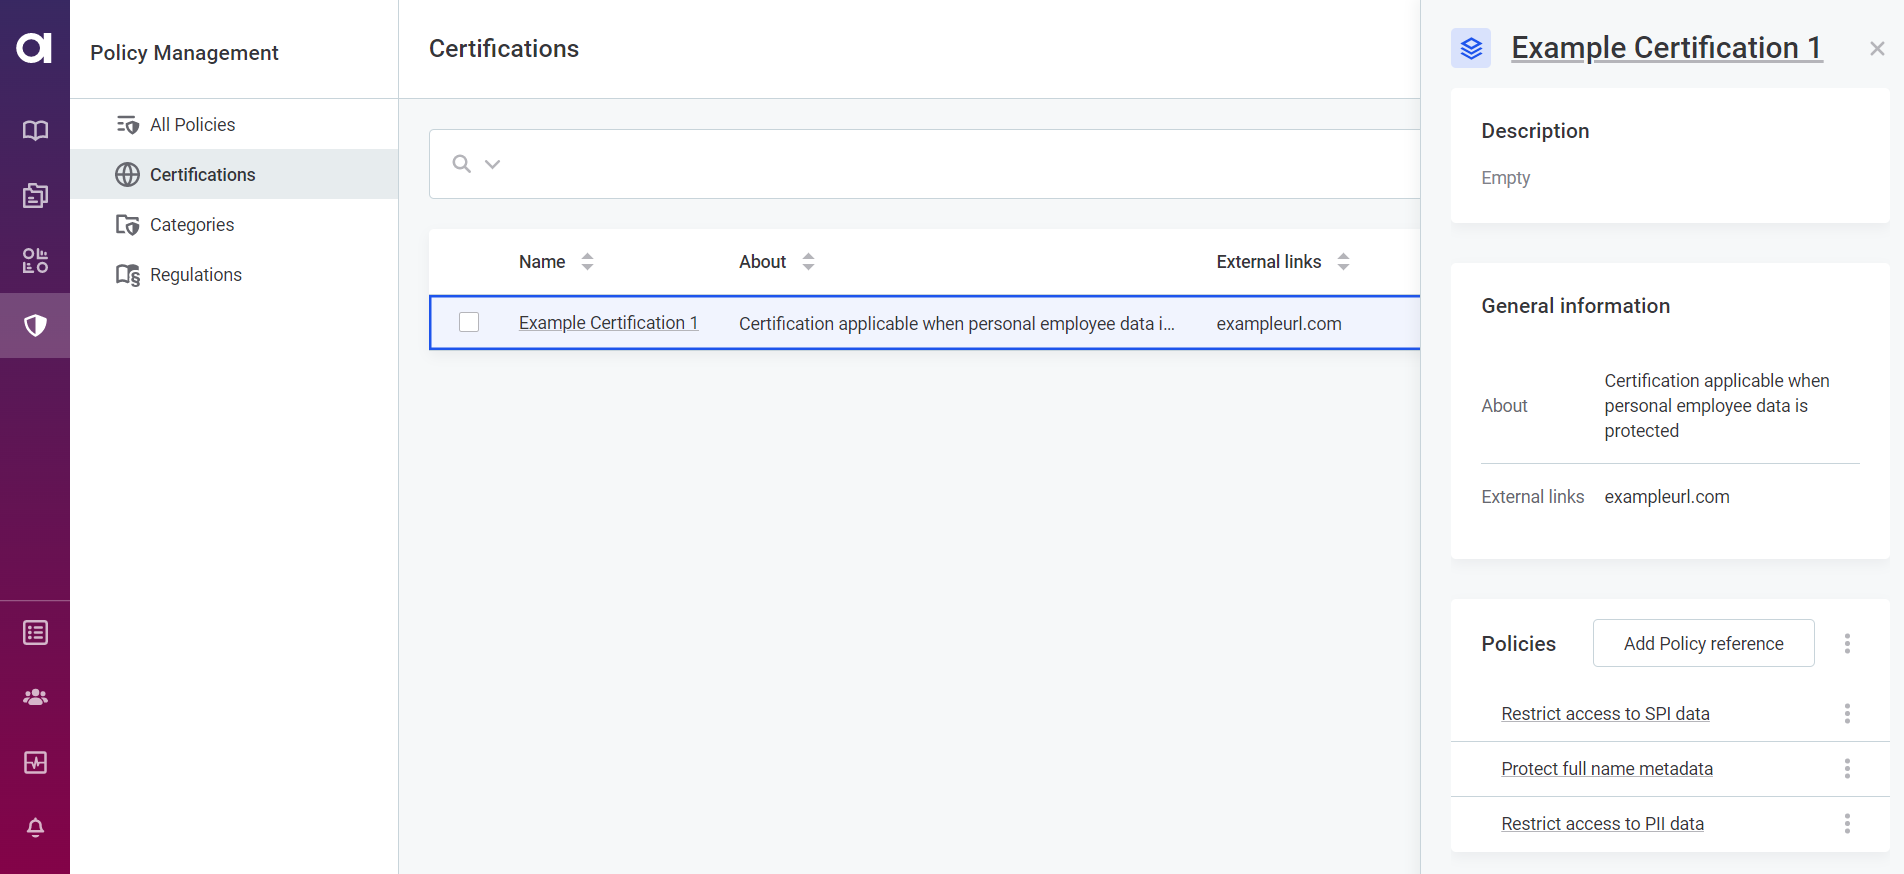
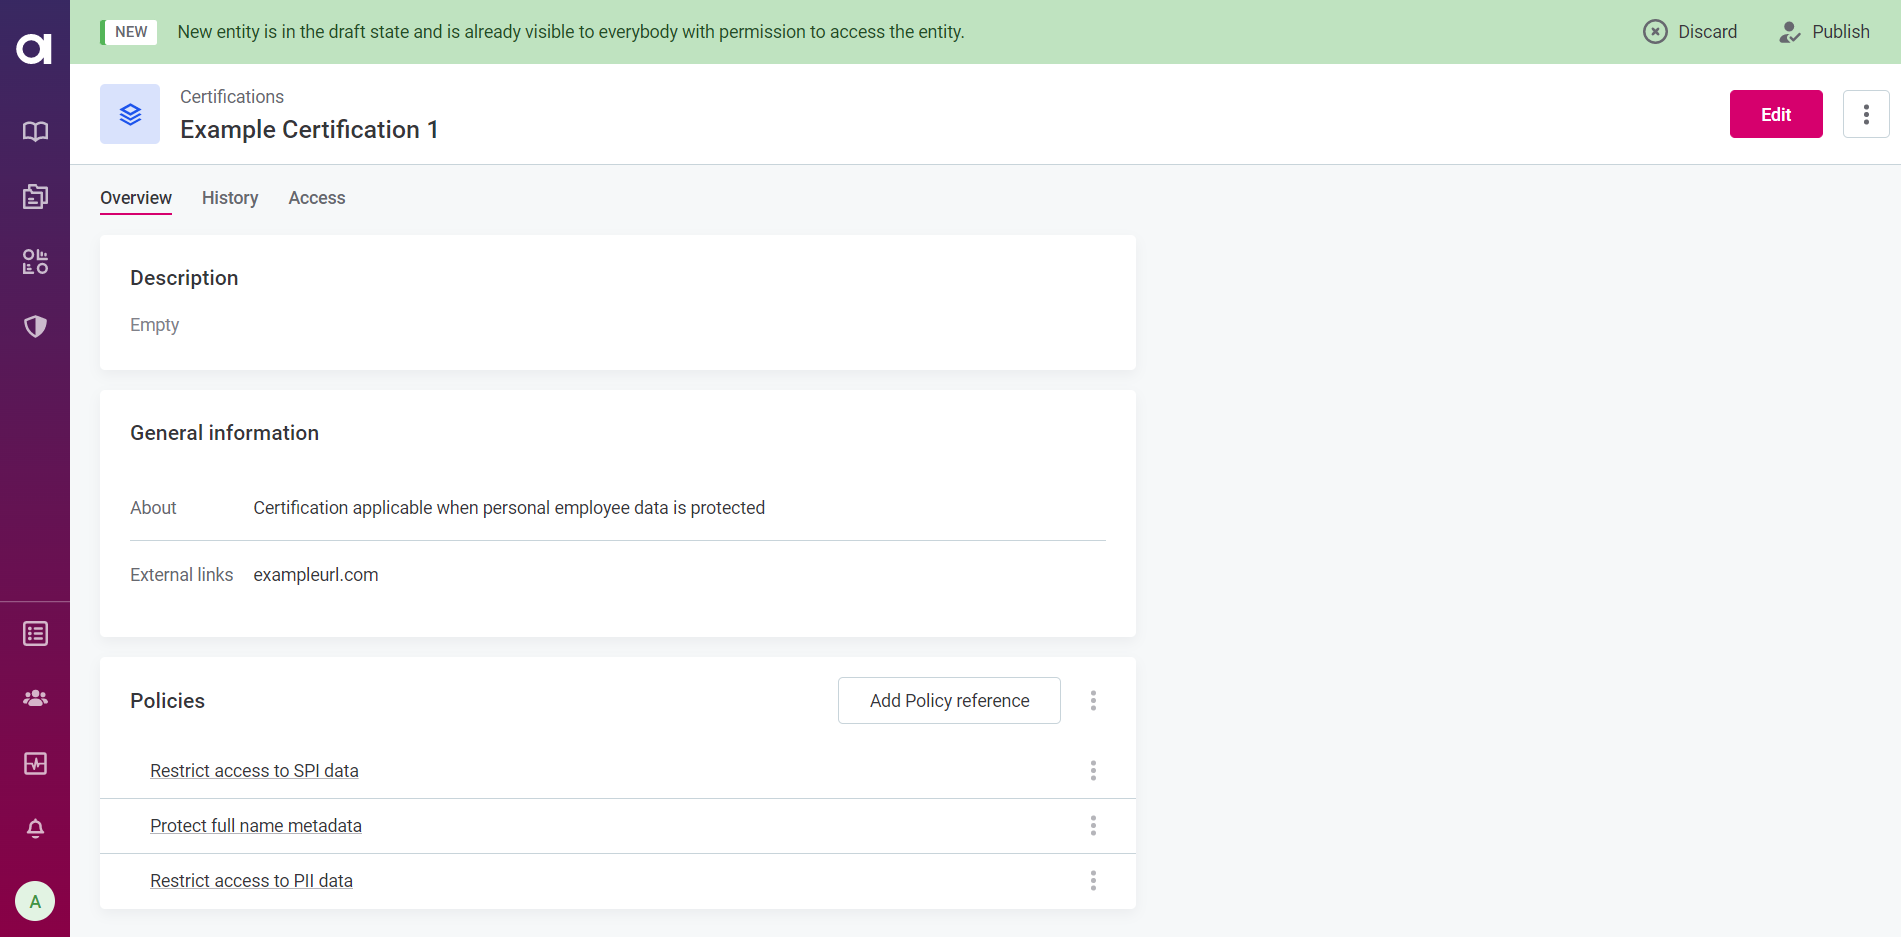
If you select one of the certifications (by clicking the name), you see 3 tabs: the Overview tab which, like the sidebar, contains 'Description', 'General information', and 'Policies', the History tab, which contains the entity’s previous versions, and the Access tab, from where access permissions are handled. Click here to expand.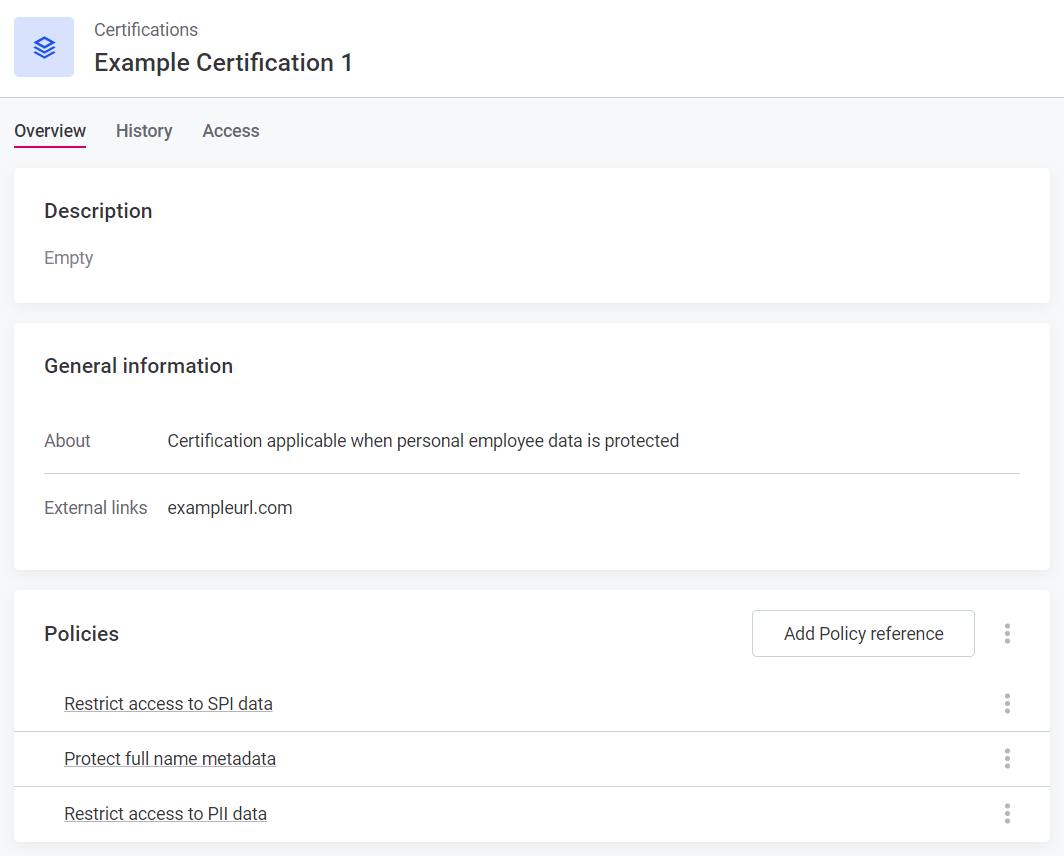
You can find other configuration examples on this page in other Configuration tutorial call-outs. |
Overview
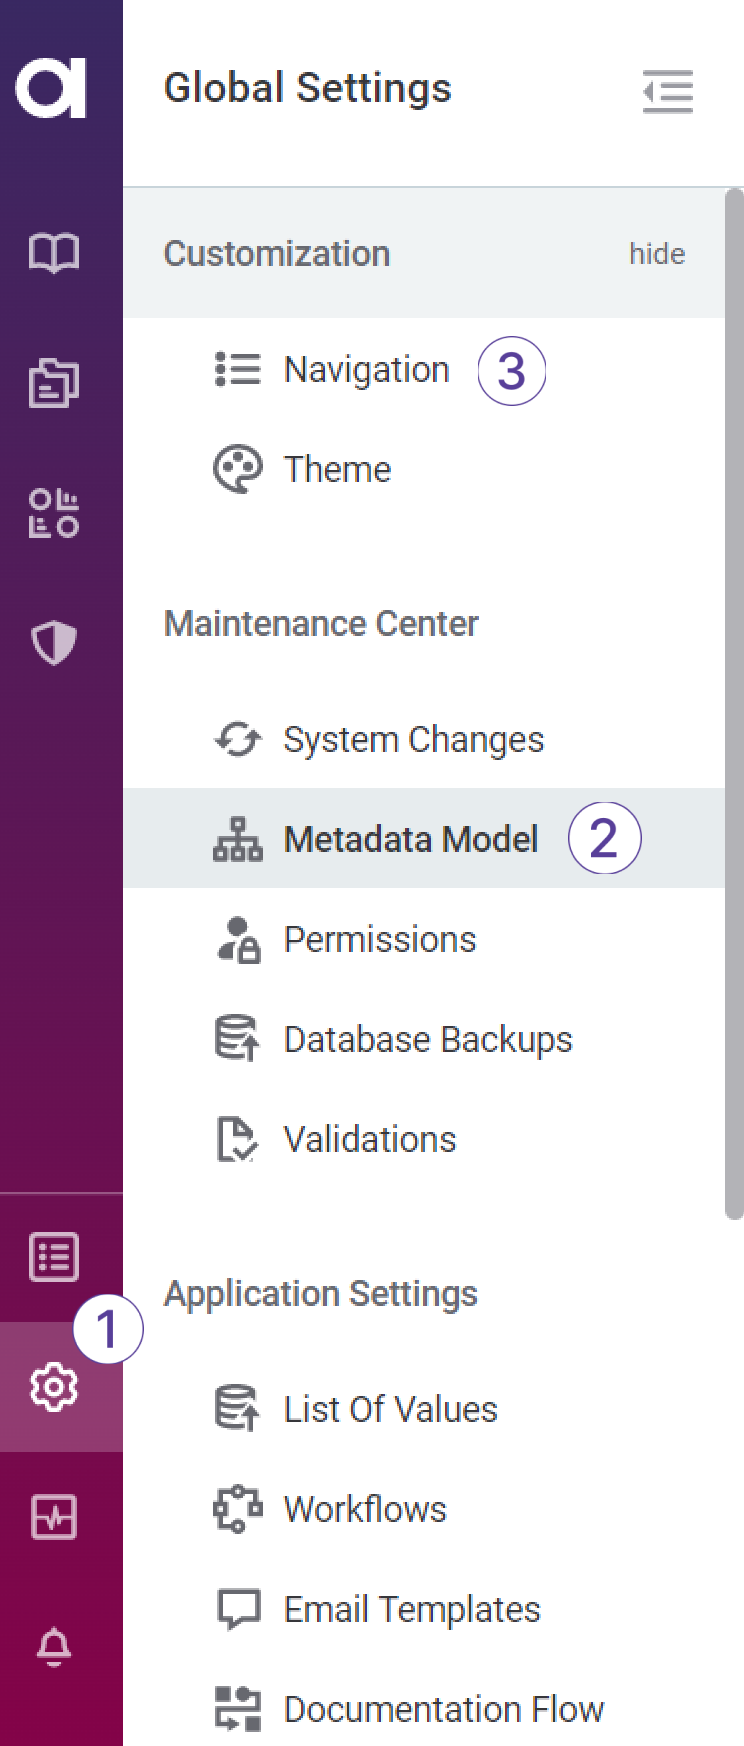
Creating an entity in ONE strictly means defining a new entity type. This is done from the Global Settings (1) > Metadata Model (2). Each entity defines a section (or node) in the web application. Where it is displayed depends on its position within Navigation (3).
| If you are creating an entity using the user interface, you must add it as a property of the root entity metadata, and then publish the changes. See the following tutorial for details. |
Create the Entity
-
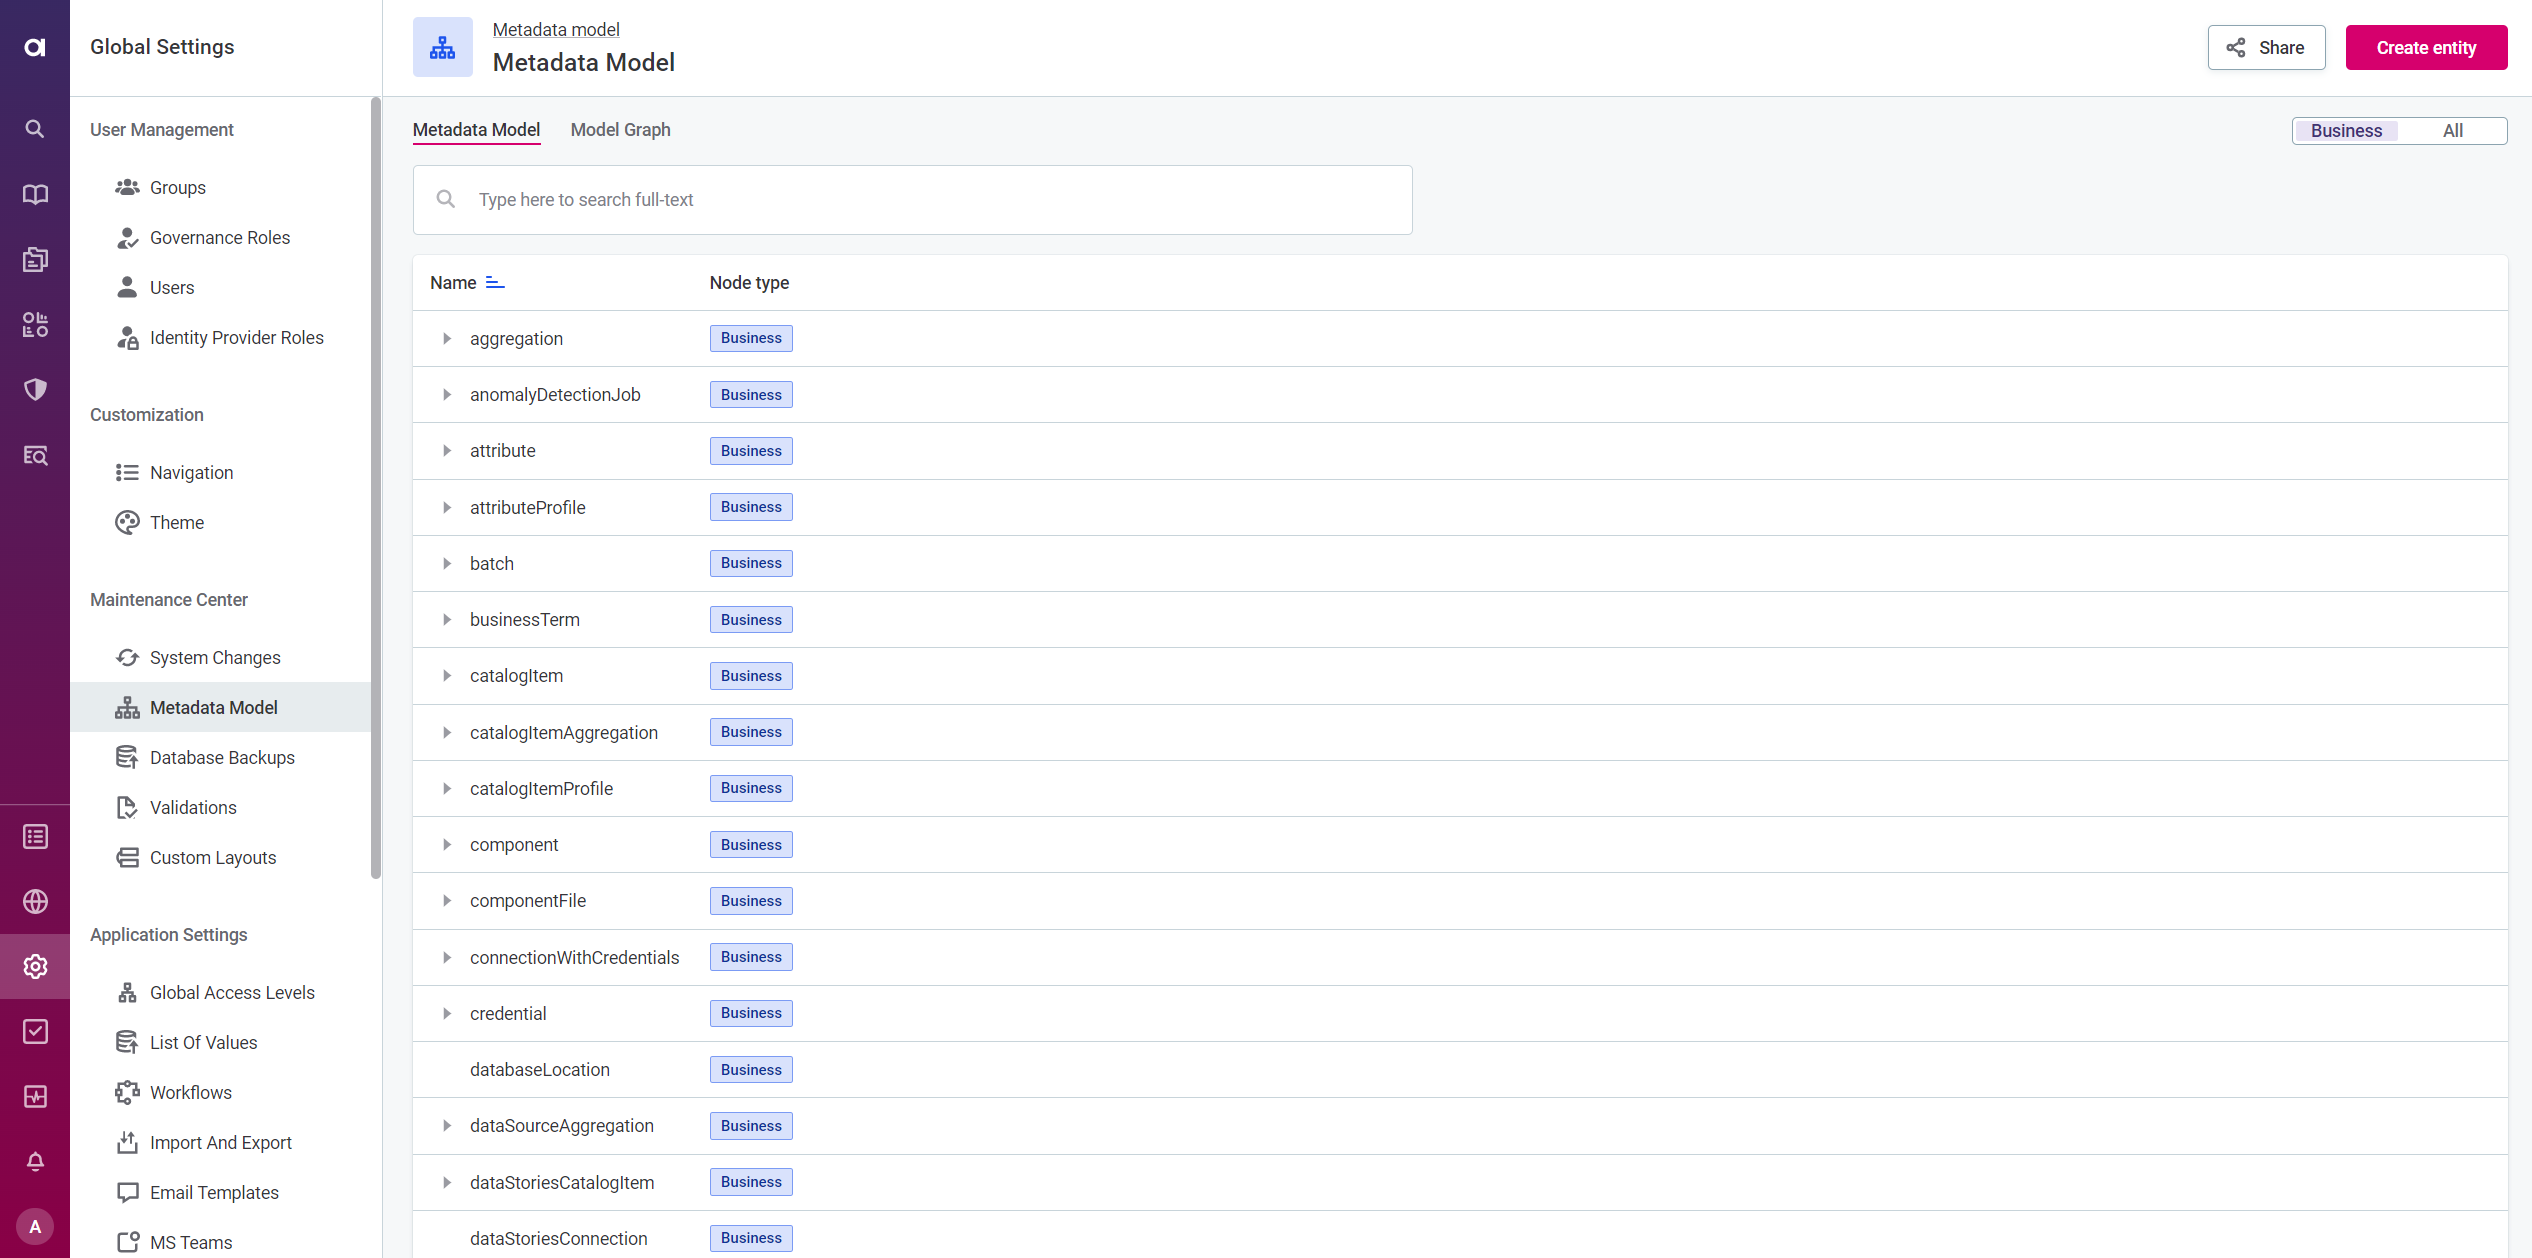
Go to Global Settings > Metadata Model.
-
Select Create Entity and add the General information as follows:
-
Name: Name of the entity.
Whatever you add here will be pluralized after the entity has been published.
Use compound naming, always starting with lower case, and capitalize new words. For example:
certificationExamplewould display asCertification example.However, you can also change how the name is displayed by editing it in the Navigation section (see steps 14-16).
-
Extends: (Optional) Select from the dropdown list available to define Extends for the entity. Doing so extends a node property with additional properties inherited from another node.
Choose an entity from the list available. The properties of the entity specified here will be added to the entity you are creating, resulting in a so-called superentity. The extended entity inherits all characteristics (properties and traits) from the superentity, in addition to its own.
Inherited properties can not be edited or removed, but new properties can be added.
-
Properties: These define the input fields available in the web application.
-
Name: property name displayed in the web application.
-
Type: select a Simple (scalar) or an Object type property.
Simple (scalar) property types describe properties that relate to the defined entity and entities that extend it. Object properties define relationships between entities in the web application.
For information about available property types, see Metadata Property References.
-
Description: (Optional) Add a description explaining what the property is for. Available for custom Simple (scalar) properties. The description is shown as a tooltip on the information icon next to the field label when you create or edit an instance of the entity in the web application.
-
Required: select to make the property mandatory.
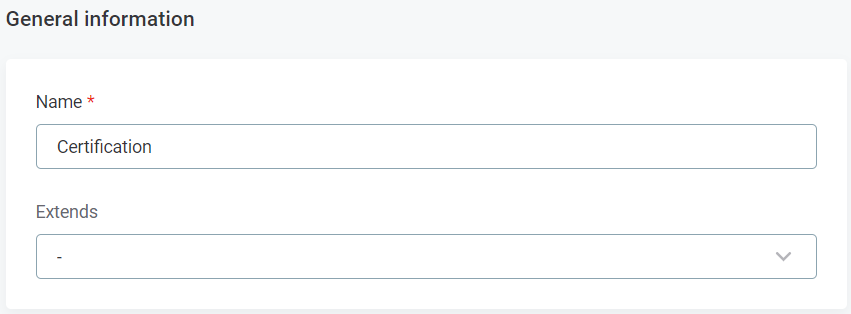
If a catalog item property is required but metadata imports from a source don’t provide its value, the import creates the catalog items as drafts instead of failing. For details, see Required metadata fields and draft imports. Configuration tutorialName: 'Certification'
Extends: none
Certifications entity general information configuration
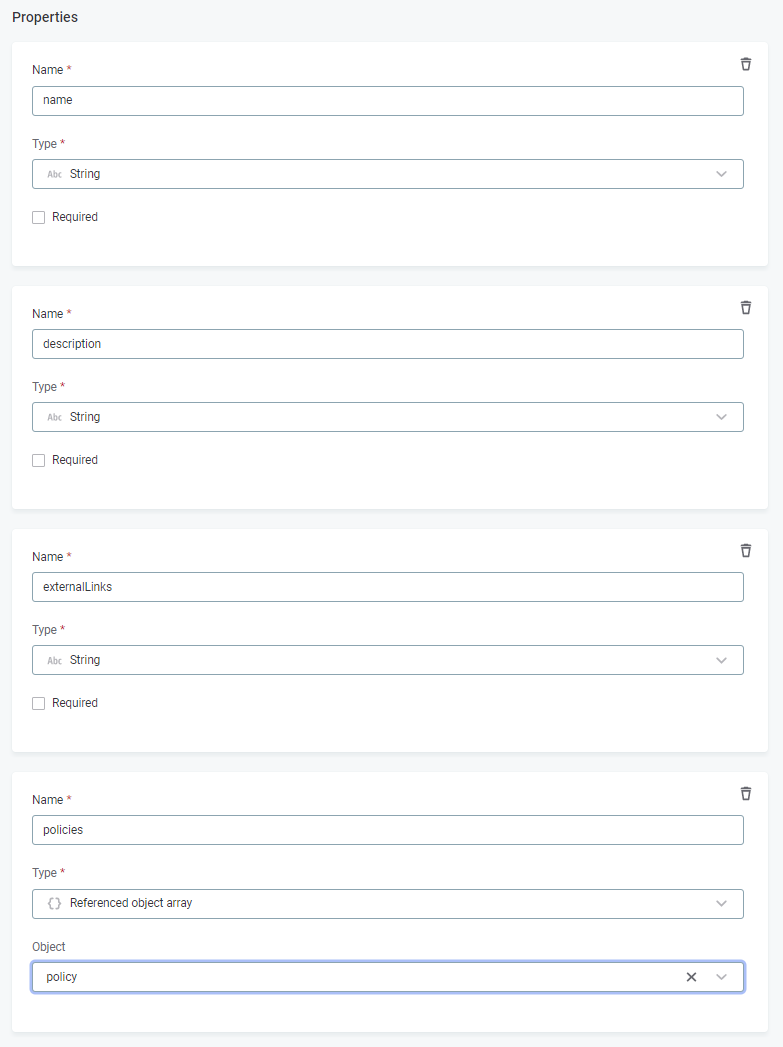
Properties:
Name: 'name', Type: String Name: 'description', Type: String Name: 'externalLinks', Type: String Name: 'policies', Type: Referenced object array, Object: policy
You can use the Referenced object array property to refer to multiple instances of a referenced entity. In this case, we refer to the policy entity which will enable us to refer to multiple policies from our Certification entity. Certifications entity properties configuration
-
-
-
Select Save.
-
(Optional) Add Traits as required. Traits are properties that are defined by plugins and add additional functionality or change the appearance of the entity.
For more information, Traits. Configuration tutorialNo traits are required.
-
You will now see the draft bar at the top of the screen. Before publishing, the entity needs to be added as property of the metadata model. Otherwise, publishing results in an error.
-
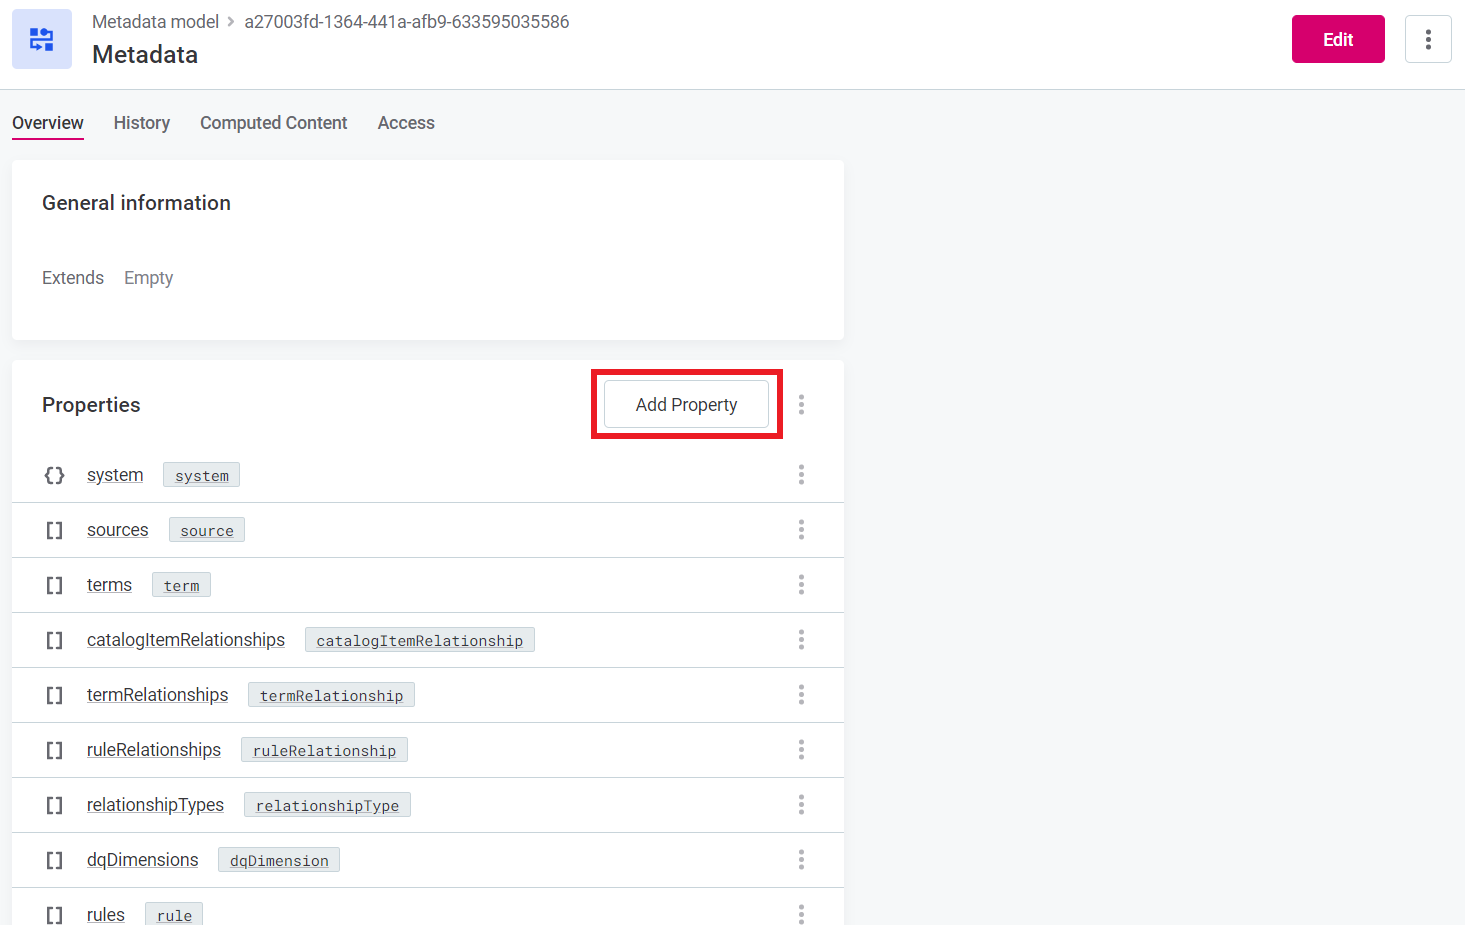
To add your new entity as a property of the main metadata model, in the Metadata Model, search for and select metadata.
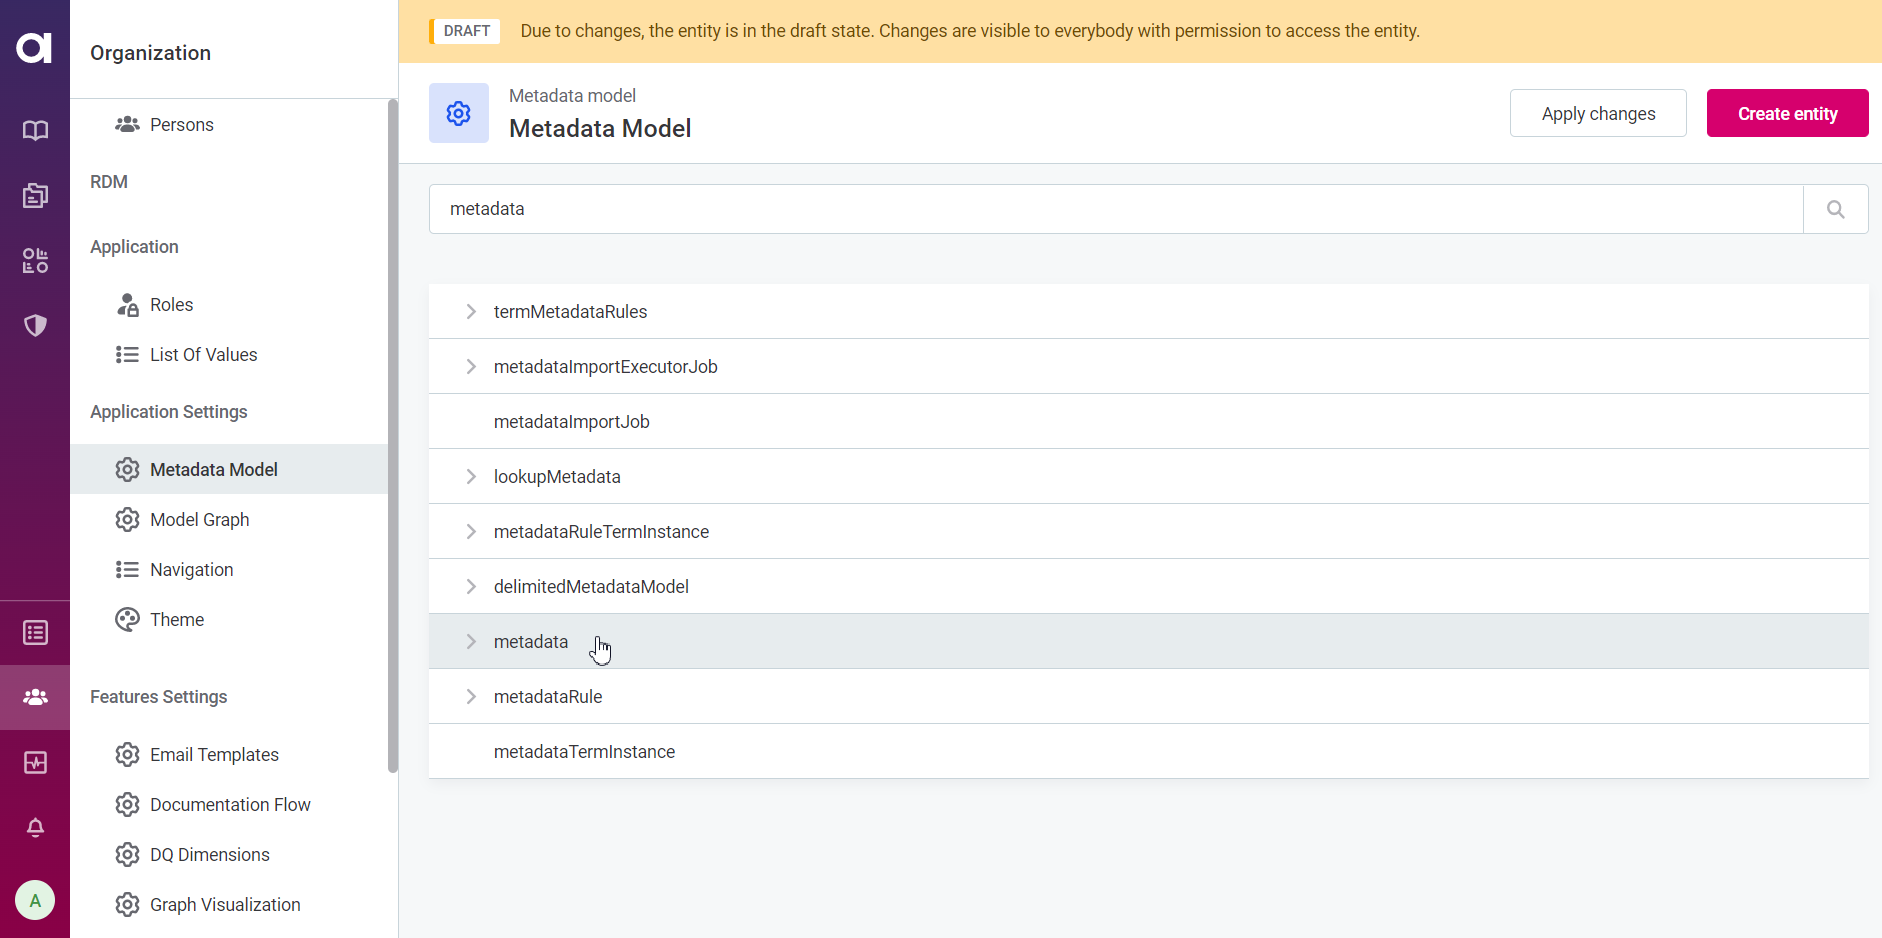
-
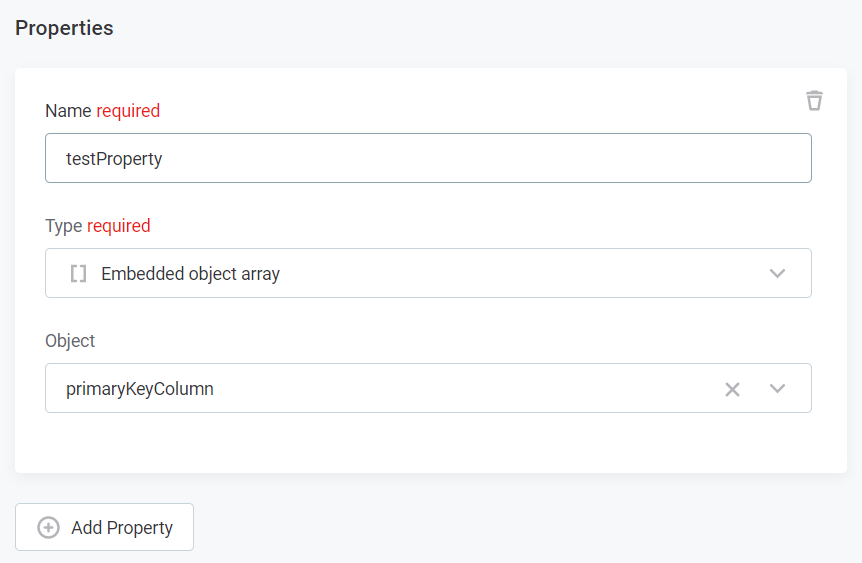
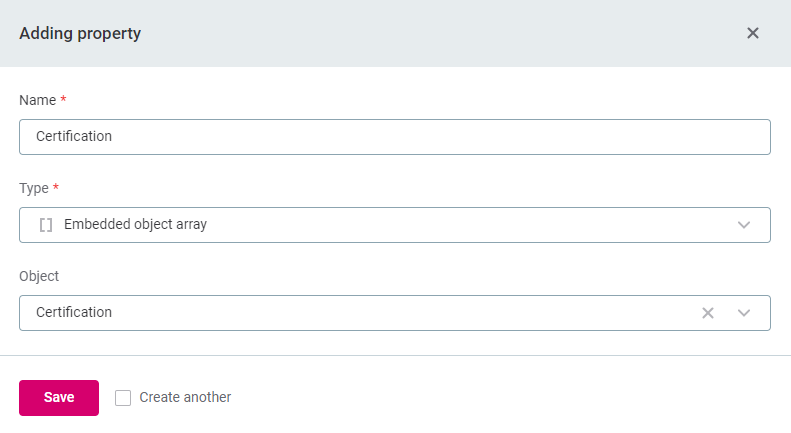
Select Add Property. Name is case sensitive and must match the name of your new entity.
-
Name: 'entity name'
-
Type: Embedded object array
-
Object: (use the search bar to search for your newly created entity)
Configuration tutorialName: 'certification' Type: Embedded object array Object: (use the search bar to search for your newly created entity) certification
-
-
Select Save. You should now be able to see your entity in the list of Properties for metadata.
-
Go back to the Metadata Model and click Apply changes.

-
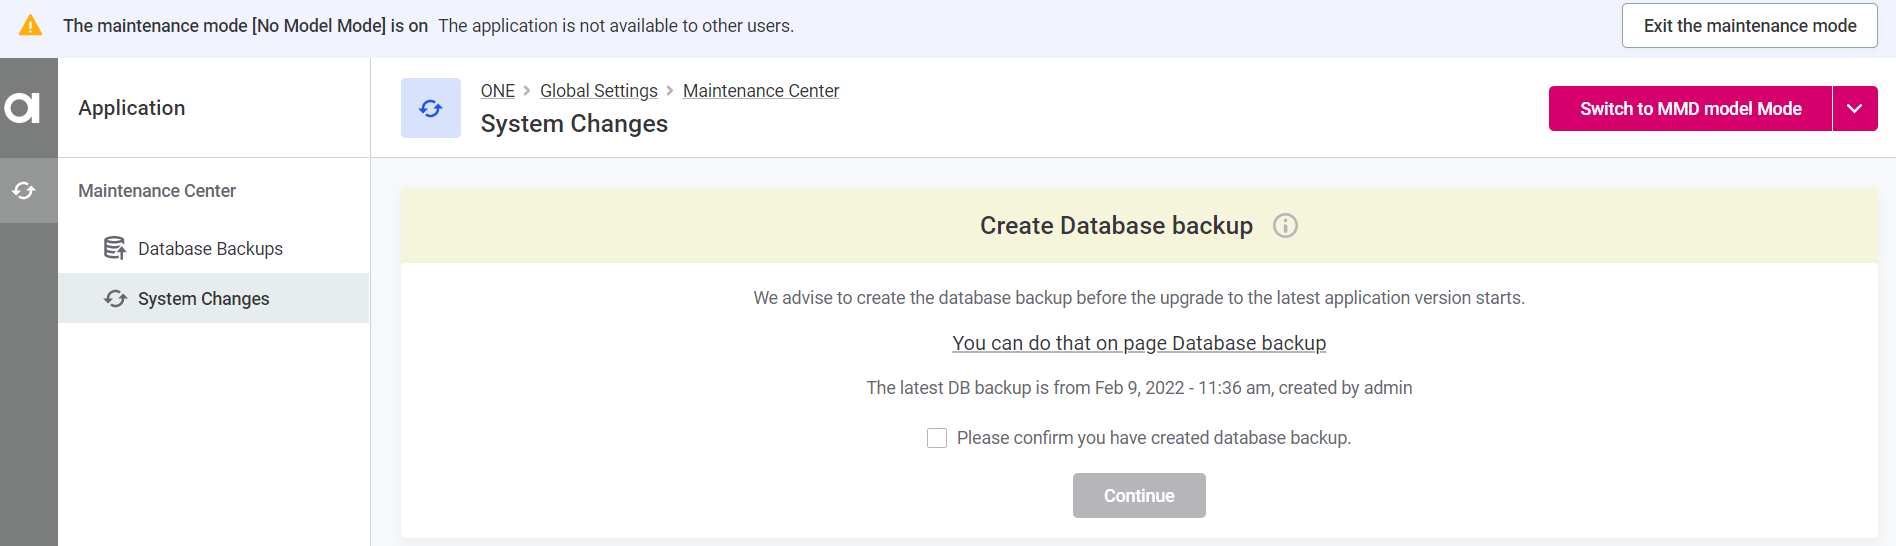
The application switches to the maintenance mode (No Model Mode) and you are prompted to create a database backup before continuing.
-
As instructed, go to Database Backups and select Create a snapshot.

For more information, see Metadata Backup, Create a snapshot section. -
Once the snapshot is ready, return to System Changes. Confirm that you have created a database snapshot and select Continue.
-
The progress of the upgrade is shown under Pending Changes. Once the changes are successfully applied, the application automatically switches back to the Application Mode.
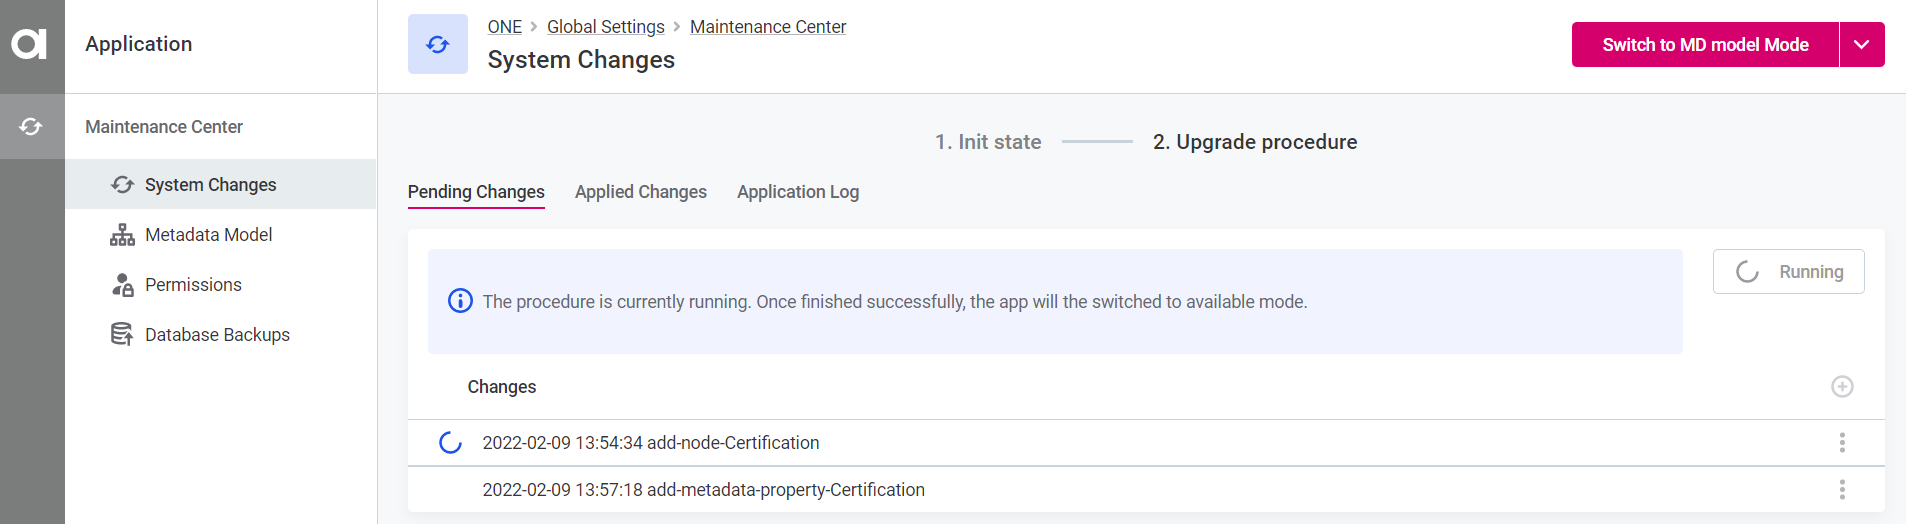
If an error occurs, refer to System Changes, section Running the Upgrade for more information. -
Go to Global Settings > Navigation and find your newly created entity.
Newly created entities that have been added as a property of metadata will appear automatically in the Middle section. 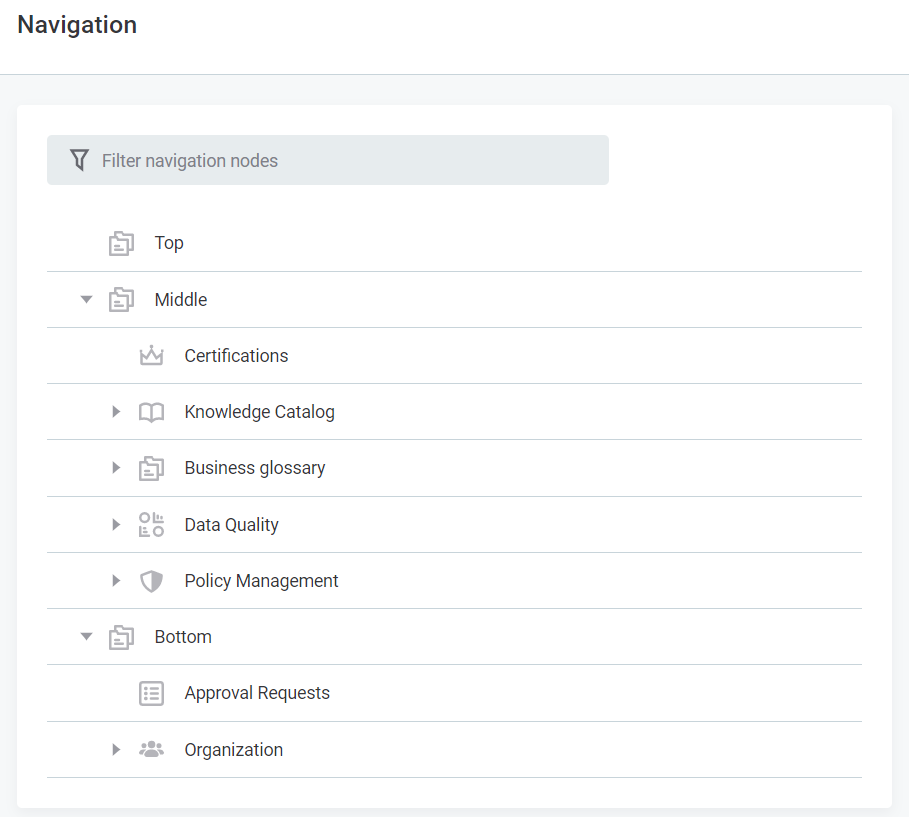
-
Selecting the entity provides the following options:
-
Edit: Here you can change the entity display name (Name) or change the entity icon (Icon).
For example, for the purpose of this guide we have changed the name from Certification to Certifications. -
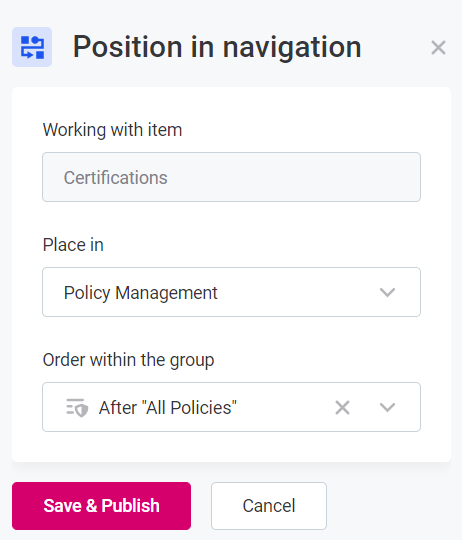
Change position: You can select in which section (Place in) and in which order (Order within the group) the entity appears. The Place in field can also serve to define a parent entity if needed.
For example, for the purpose of this guide we have changed the place to Policy Management section. -
Add child: Used for defining more complex navigation subtrees. To do this, you need to select how the child item is shown (Navigation item type), its type (Listing Node), icon (Icon), and name (Name).
-
Hide: Hides the entity from the navigation. Changes are applied immediately and the hidden node is grayed out.
 Configuration Tutorial
In this tutorial, we are changing only the placement of the entity and the icon. Other changes are optional.
To change the icon, select the entity and then Edit. In Icon, choose one of the available options, for example, Globus. The change is applied immediately after saving.
To modify the node placement, select the entity and then Change position. Set the following: Place in: Policy Management Order within the group: After > All Policies
-
-
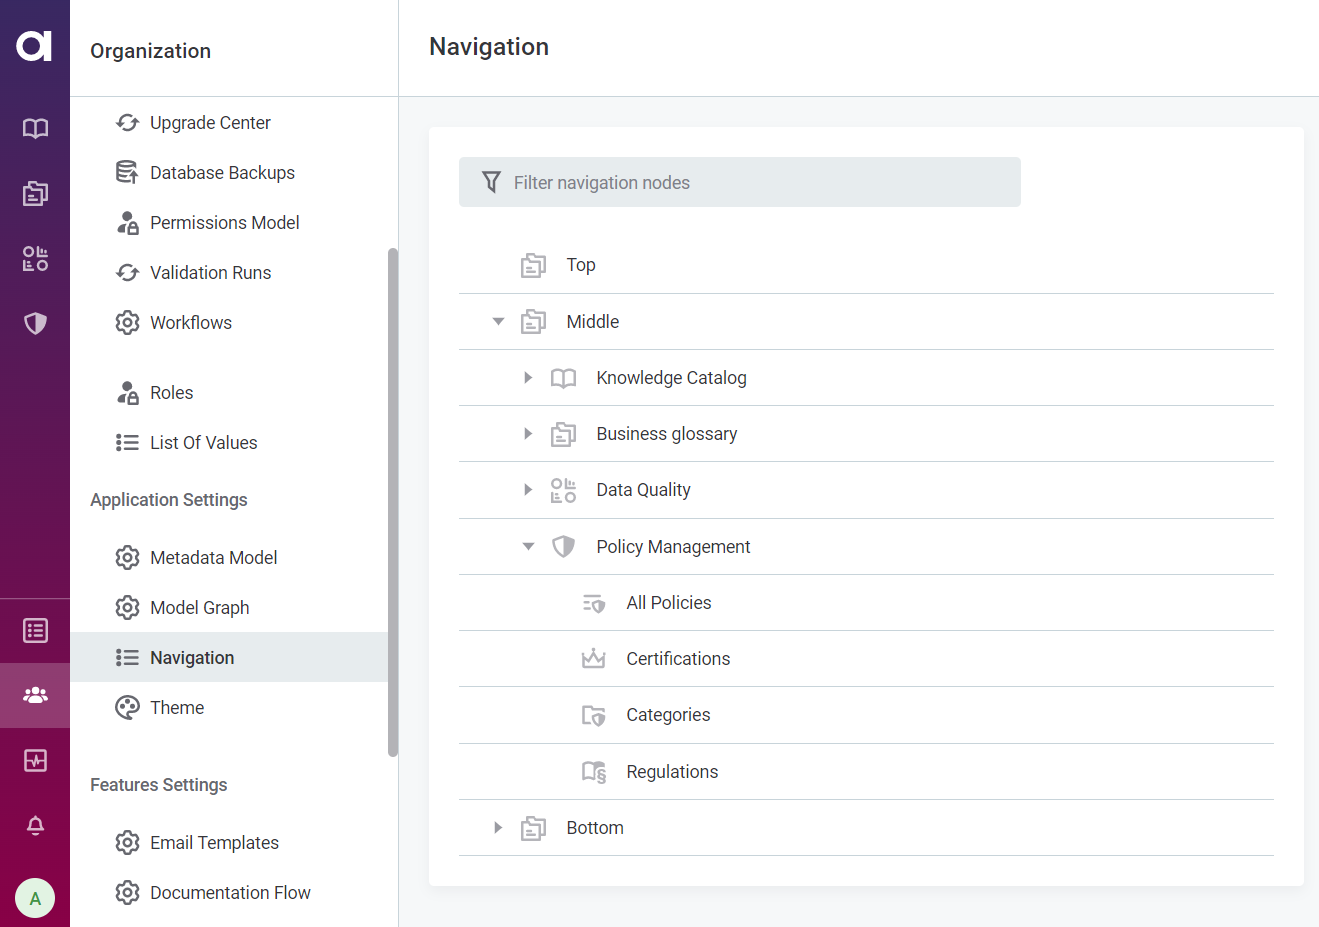
Select Save & Publish. You should now see the entity in Organization > Navigation > Middle > Policy Management.
-
Go to the defined location. Your entity should now be available.
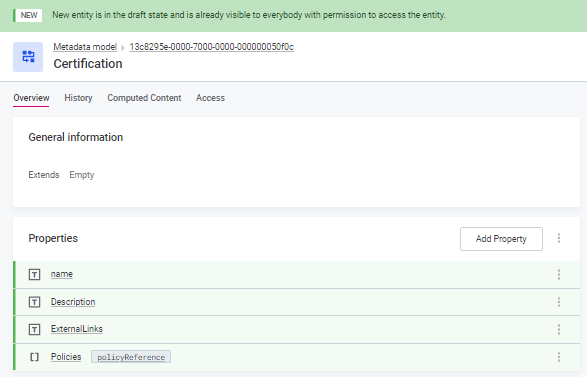
Configuration TutorialGo to Policy Management and select Certifications. The screen should look like the following screenshot.
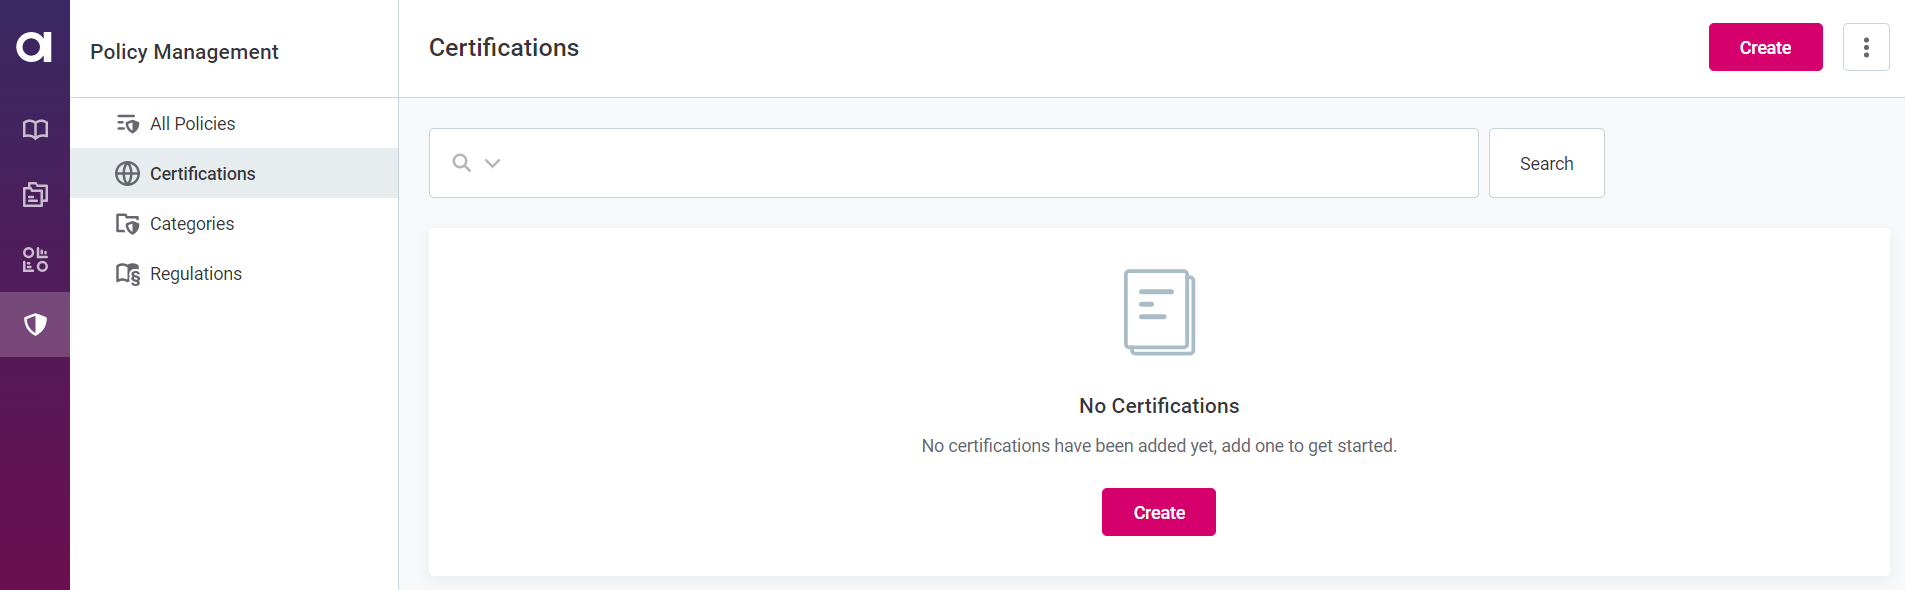
Select Create and enter details as desired (from here on entries in this example are purely illustrative). Select Save and then Publish. Confirm your choice when prompted.
Click here to view more screenshots.
Your new certification will be listed in the Certifications section.


Creating Delegated Properties
You can create delegated properties in metadata in order to connect two properties in a specific way. For example, there are groups of students in University, and a group need to be assigned to each student. To create a delegated property, follow these steps:
-
Go to Global Settings > Metadata Model and click Create entity.
-
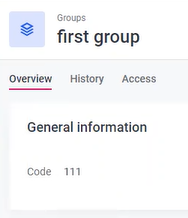
For the new entity, specify the name of the entity (
group) and its properties (nameandcode, with the same data typeString). For more instructions, refer to steps 2-4 in the section Creating the Entity.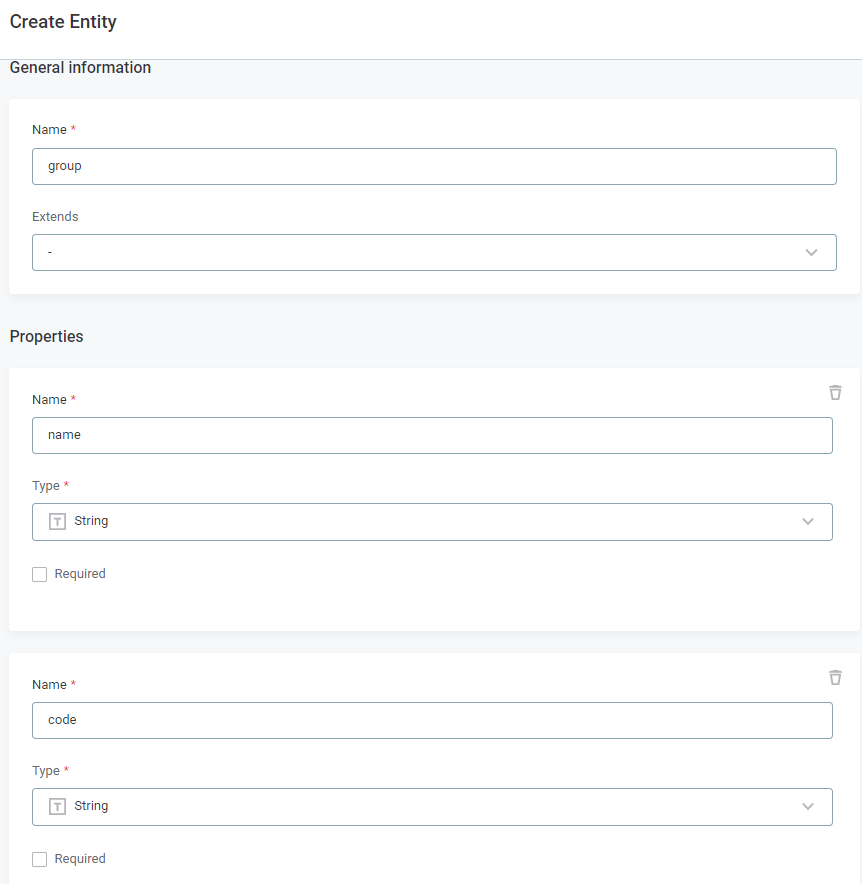
-
Click Save.
-
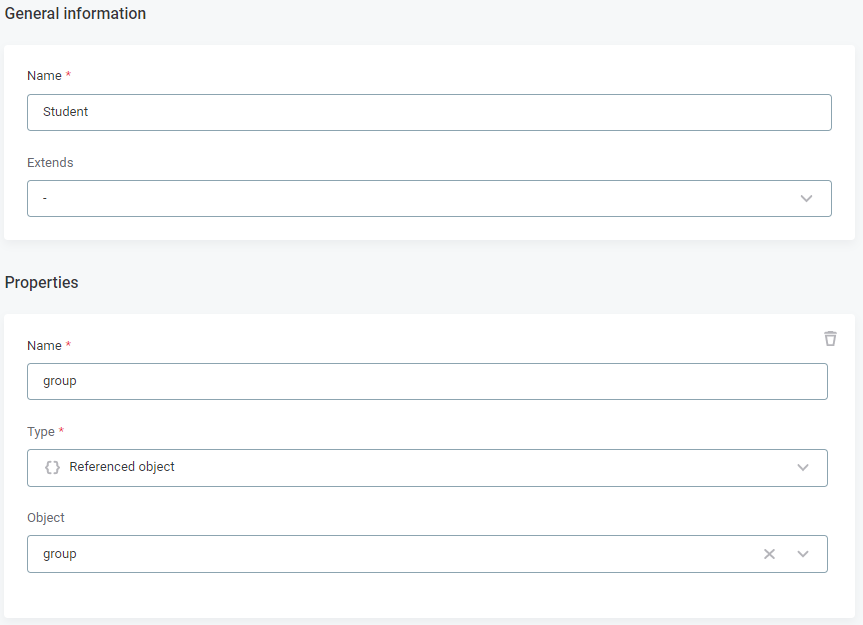
Go to (or create) another entity, which should reference the first one. For the purpose of this tutorial, we have created a new entity 'student'.
-
Set its first property as a Referenced object, aiming at the other entity.
-
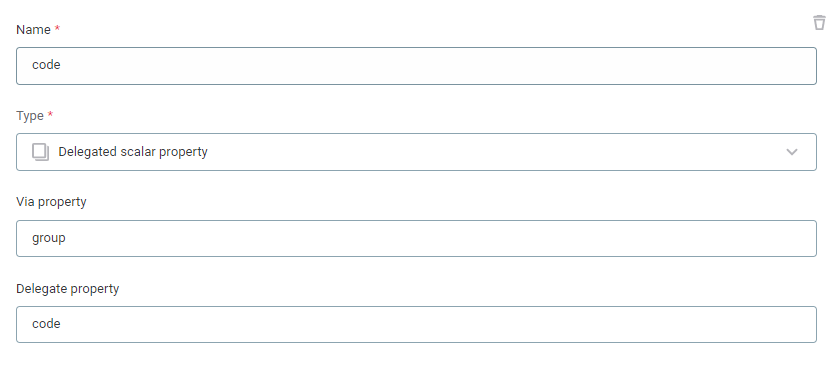
Set a second property, the delegated scalar property via the referenced property. This delegates the property from another entity.
-
-
Go to the
metadataentity in the Metadata Model. -
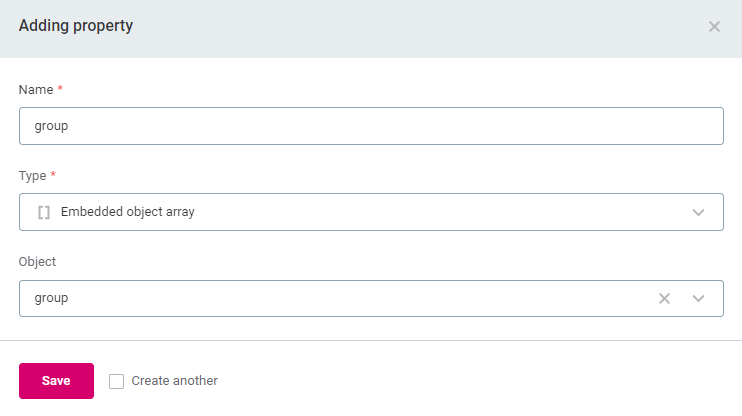
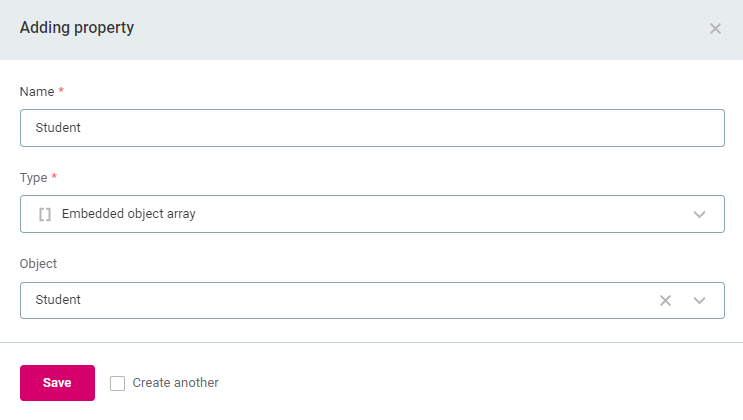
Click Add property and add both the entities created earlier:
-
Set the property names, set the property types as Embedded object array, and point to the newly created entities. Click Save.
-
Go to System Changes and apply the changes. This includes switching to the maintenance mode, creating a database backup, and resolving any potential conflicts.
For more information, refer to steps 9-13 in the section Creating the Entity. Alternatively, refer to the System Changes documentation, specifically the Running the Upgrade section. -
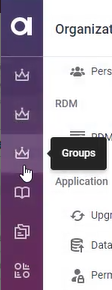
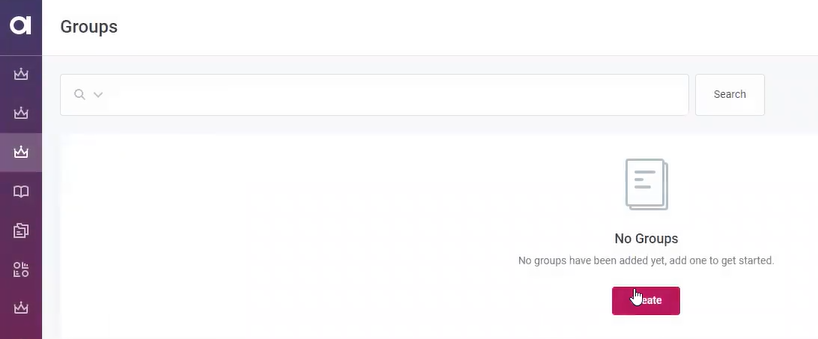
After the metadata migration is finished and the application has switched back to the Application Mode, the new tabs appear in the left navigation menu, where it is possible to create new items:
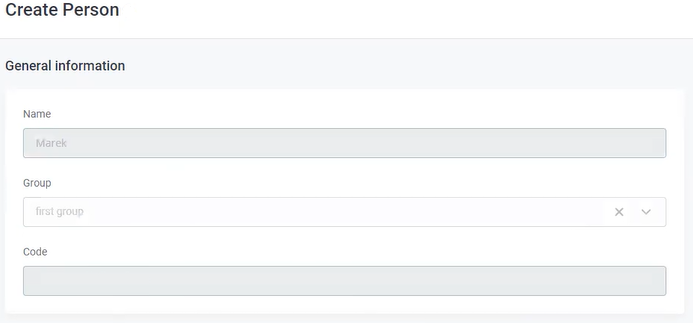
It is now possible to delegate the property to another one:
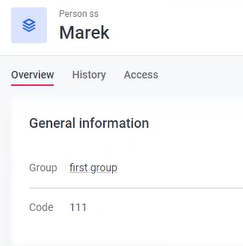
So the student will have an assigned group:
Was this page useful?