
Databricks on AWS
This guide explains how to configure Ataccama ONE to work with AWS Databricks clusters for large-scale data processing. You’ll set up the necessary connections between your Ataccama ONE deployment, Databricks cluster, and Amazon S3 storage.
By following this guide, you’ll be able to:
-
Process large datasets using Databricks compute resources
-
Leverage Spark processing capabilities within Ataccama ONE
-
Securely connect to your AWS Databricks workspace
-
Optionally enable Unity Catalog for enhanced data governance
This configuration is suitable for hybrid deployments, self-managed environments, and Custom Ataccama Cloud deployments that need to process data at scale using AWS Databricks.
|
This configuration guide covers Spark integration with Databricks on AWS, which requires a Spark processing license. If you do not have a Spark processing license or prefer a simpler setup, use the standard JDBC connection instead. For JDBC connection setup, see Databricks JDBC. |
Step 1: Configure access to metadata
Add the following metastore properties to /opt/ataccama/one/dpe/etc/application.properties:
# Databricks as data source configuration
plugin.metastoredatasource.ataccama.one.cluster.databricks.name={ CLUSTER_NAME }
plugin.metastoredatasource.ataccama.one.cluster.databricks.driver-class=com.databricks.client.jdbc.Driver
plugin.metastoredatasource.ataccama.one.cluster.databricks.driver-class-path={ ATACCAMA_ONE_HOME }/dpe/lib/jdbc/DatabricksJDBC42.jar
plugin.metastoredatasource.ataccama.one.cluster.databricks.url={ DBR_JDBC_STRING }
plugin.metastoredatasource.ataccama.one.cluster.databricks.authentication=TOKEN
plugin.metastoredatasource.ataccama.one.cluster.databricks.databricksUrl={ WORKSPACE_URL }
plugin.metastoredatasource.ataccama.one.cluster.databricks.timeout=15m
plugin.metastoredatasource.ataccama.one.cluster.databricks.profiling-sample-limit=100000
plugin.metastoredatasource.ataccama.one.cluster.databricks.full-select-query-pattern=SELECT {columns} FROM {table}
plugin.metastoredatasource.ataccama.one.cluster.databricks.preview-query-pattern=SELECT {columns} FROM {table} LIMIT {previewLimit}
plugin.metastoredatasource.ataccama.one.cluster.databricks.row-count-query-pattern=SELECT COUNT(*) FROM {table}
plugin.metastoredatasource.ataccama.one.cluster.databricks.sampling-query-pattern=SELECT {columns} FROM {table} LIMIT {limit}
plugin.metastoredatasource.ataccama.one.cluster.databricks.dsl-query-preview-query-pattern=SELECT * FROM ({dslQuery}) dslQuery LIMIT {previewLimit}
plugin.metastoredatasource.ataccama.one.cluster.databricks.dsl-query-import-metadata-query-pattern=SELECT * FROM ({dslQuery}) dslQuery LIMIT 0
Replace all placeholder values in { } with your actual configuration values.
|
Additional Unity Catalog configuration
Unity Catalog provides a unified approach to governing your data and AI assets across Databricks workspaces, along with centralized access control, auditing, lineage, and data discovery capabilities. In Unity Catalog, data assets are organized in three levels, starting from the highest: Catalog > Schema > Table, allowing you to work with multiple catalogs at once.
If you are using Unity Catalog, add the following additional properties to the metastore configuration in /opt/ataccama/one/dpe/etc/application.properties:
# Unity Catalog enabled configuration (add to existing properties above)
plugin.metastoredatasource.ataccama.one.cluster.databricks.unity-catalog-enabled=true
plugin.metastoredatasource.ataccama.one.cluster.databricks.catalog-exclude-pattern=^(SAMPLES)|(samples)|(main)$
Use plugin.metastoredatasource.ataccama.one.cluster.databricks.catalog-exclude-pattern to specify catalogs as technical and prevent them from being imported to ONE.
The value should be a regular expression matching the catalog items that you don’t want to import.
|
|
We only support Unity Catalog with Dedicated access mode enabled, not with Standard. For more information about what this means for your Databricks configuration, see the official Databricks documentation, article Create clusters & SQL warehouses with Unity Catalog access. |
Step 2: Configure job submission to Databricks cluster
Spark processing basic settings
Add the following properties to /opt/ataccama/one/dpe/etc/application.properties:
# Setup launch script for Spark (specify .sh script for Linux, .bat script for Windows)
plugin.executor-launch-model.ataccama.one.launch-type-properties.SPARK.exec=bin/databricks/exec_databricks.sh

# Enable debugging if needed:
#plugin.executor-launch-model.ataccama.one.launch-type-properties.SPARK.debug=true
Libraries and classpath configuration
Add the following properties to /opt/ataccama/one/dpe/etc/application.properties:
# Relative to temp/jobs/${jobId} from repository root directory
plugin.executor-launch-model.ataccama.one.launch-type-properties.SPARK.cpdelim=;
plugin.executor-launch-model.ataccama.one.launch-type-properties.SPARK.cp.runtime=../../../lib/runtime/*;../../../lib/jdbc/*;../../../lib/jdbc_ext/*;../../../lib/runtime/ext/*;../../../lib/runtime/extra/*
plugin.executor-launch-model.ataccama.one.launch-type-properties.SPARK.cp.ovr=../../../lib/ovr/*.jar
plugin.executor-launch-model.ataccama.one.launch-type-properties.SPARK.cp.databricks=../../../lib/runtime/databricks/*
plugin.executor-launch-model.ataccama.one.launch-type-properties.SPARK.cp.!exclude=!kryo-*.jar;!scala.jar;!cif-dtdb.jar;!dropbox*.jar;!gdrive*.jar;!onedrive*.jar;!poi-.jar;!salesforce.jar;!saprfc*.jar;!keycloak.jar;!swagger*.jar;!apollo*.jar;!sso*.jar;!microsoft*.jar;!kotlin*.jar;!jsch.jar;!tomcat-embed*.jar;!jboss*.jar;!janino*.jar;!dremio-jdbc*.jar;!CassandraJDBC*.jar;!GoogleBigQueryJDBC*.jar;!HiveJDBC*.jar;!cdata.jdbc.redis.jar;!ngdbc*.jar;!google*.jar;!gcs*.jar;!gax*.jar;!google-cloud.jar;!googleapis.jar;!jexcelapi*.jar;!msoffice*.jar;!grpc*;!opencensus*;!dppapi*;!dpm*;!cometd*;!netty*;!dmm*;!jetty*;!authentication-keycloak-*.jar
plugin.executor-launch-model.ataccama.one.launch-type-properties.SPARK.lcp.!exclude=!guava-11*

# Hadoop 3 library path
plugin.executor-launch-model.ataccama.one.launch-type-properties.SPARK.lcp.ext=../../../lib/runtime/hadoop3/*
General cluster settings
Add the following properties to /opt/ataccama/one/dpe/etc/application.properties:
# Cluster ID or name (uses newest cluster if not specified)
plugin.executor-launch-model.ataccama.one.launch-type-properties.SPARK.dbr.cluster={ CLUSTER_NAME }

# Number of concurrent job runs
plugin.executor-launch-model.ataccama.one.launch-type-properties.SPARK.dbr.job.max_concurrent_runs=150

# Force file copying regardless of modification time
plugin.executor-launch-model.ataccama.one.launch-type-properties.SPARK.fsc.force=false
Authentication configuration
Add the following properties to /opt/ataccama/one/dpe/etc/application.properties:
# Databricks platform access
plugin.executor-launch-model.ataccama.one.launch-type-properties.SPARK.dbr.url={ WORKSPACE_URL }
plugin.executor-launch-model.ataccama.one.launch-type-properties.SPARK.dbr.authType=PERSONAL_TOKEN
plugin.executor-launch-model.ataccama.one.launch-type-properties.SPARK.dbr.token={ DBR_TOKEN }
Amazon Web Services configuration
Add the following properties to /opt/ataccama/one/dpe/etc/application.properties:
# S3 folder for storing libraries and files
# Mount point in DBFS:
plugin.executor-launch-model.ataccama.one.launch-type-properties.SPARK.mount.point=/mnt/ataccama

# S3 mount URL:
plugin.executor-launch-model.ataccama.one.launch-type-properties.SPARK.mount.url=s3a://{ BUCKET_NAME }/{ CLUSTER_NAME }/tmp/dbr

# User account for mounting filesystem
plugin.executor-launch-model.ataccama.one.launch-type-properties.SPARK.mount.conf.fs.s3n.awsAccessKeyId={ ACCESS_KEY_ID }
plugin.executor-launch-model.ataccama.one.launch-type-properties.SPARK.mount.conf.fs.s3n.awsSecretAccessKey={ SECRET_ACCESS_KEY }

# User account for Ataccama job configuration
plugin.executor-launch-model.ataccama.one.launch-type-properties.SPARK.conf.fs.s3a.access.key={ ACCESS_KEY_ID }
plugin.executor-launch-model.ataccama.one.launch-type-properties.SPARK.conf.fs.s3a.secret.key={ SECRET_ACCESS_KEY }

# Alternative authentication method (IAM role-based) - use in place of the four properties above:
#plugin.executor-launch-model.ataccama.one.launch-type-properties.SPARK.mount.conf.fs.s3n.aws.credentials.provider=com.amazonaws.auth.InstanceProfileCredentialsProvider
#plugin.executor-launch-model.ataccama.one.launch-type-properties.SPARK.conf.fs.s3a.aws.credentials.provider=com.amazonaws.auth.InstanceProfileCredentialsProvider

# AWS-specific optimizations
plugin.executor-launch-model.ataccama.one.launch-type-properties.SPARK.conf.fs.s3a.fast.upload=true
plugin.executor-launch-model.ataccama.one.launch-type-properties.SPARK.conf.fs.s3a.fast.upload.buffer=bytebuffer

# Keystore options for Spark via JAVA_OPTS
plugin.executor-launch-model.ataccama.one.launch-type-properties.SPARK.env.JAVA_OPTS=-Dproperties.encryption.keystore=../../../etc/one-encryption.jceks -Dproperties.encryption.keystore.passwordFile=../../../etc/one-encryption.passwd -Dinternal.encryption.keystore=../../../etc/one-encryption.jceks -Dinternal.encryption.keystore.passwordFile=../../../etc/one-encryption.passwd
Replace all placeholder values enclosed in { } with your actual configuration values.
|
Driver configuration
This guide assumes the use of DatabricksJDBC42.jar.
If you are using SparkJDBC42.jar, you need to modify the following property values in your configurations:
Using SparkJDBC42.jar
Replace these properties in /opt/ataccama/one/dpe/etc/application.properties:
# Replace this:
plugin.metastoredatasource.ataccama.one.cluster.databricks.url=jdbc:databricks://{ DBR_JDBC_STRING }
plugin.metastoredatasource.ataccama.one.cluster.databricks.driver-class=com.databricks.client.jdbc.Driver

# With this:
plugin.metastoredatasource.ataccama.one.cluster.databricks.url=jdbc:spark://{ DBR_JDBC_STRING }
plugin.metastoredatasource.ataccama.one.cluster.databricks.driver-class=com.simba.spark.jdbc.Driver
Browsing Databricks connections
| Applies to environments without Unity Catalog. |
From version 17.0.0, the connection browser doesn’t show any catalog items when browsing schemas. For details about how to resolve this, see DQ&C 17.0.0 Upgrade Notes.
Step 3: Restart DPE and test the connection
After completing the configuration, restart DPE:
systemctl restart dpeConfigure the connection in ONE
After completing the configuration steps above, you’re now ready to add the Databricks connection in ONE.
Create a source
To create a Databricks source in ONE:
-
Navigate to Data Catalog > Sources.
-
Select Create.
-
Provide the following:
-
Name: The source name.
-
Description: A description of the source.
-
Deployment (Optional): Choose the deployment type.
You can add new values if needed. See Lists of Values. -
Stewardship: The source owner and roles. For more information, see Stewardship.
-
| Alternatively, add a connection to an existing data source. See Connect to a Source. |
Add a connection
-
Select Add Connection.
-
In Select connection type, choose Metastore and select your configured Databricks cluster from the dropdown.
-
Provide the following:
-
Name: A meaningful name for your connection. This is used to indicate the location of catalog items.
-
Description (Optional): A short description of the connection.
-
Dpe label (Optional): Assign the processing of a data source to a particular data processing engine (DPE) by entering the DPE label assigned to the engine. For more information, see DPM and DPE Configuration in DPM Admin Console.
-
Override catalog item name: Select this option if you want metadata imports to overwrite the names of existing catalog items with the latest names from the data source.
If the option is not selected, catalog item names you set in ONE are preserved when metadata is reimported. See Edit catalog item metadata.
-
-
Select Spark enabled.
-
In Additional settings, select Enable exporting and loading of data if you want to export data from this connection and use it in ONE Data or outside of ONE.
If you want to export data to this source, you also need to configure write credentials. See Connection credentials.
Add credentials
Different sets of credentials can be used for different tasks. One set of credentials must be set as default for each connection.
To determine whether you need to configure more than a single set of credentials, see Connection credentials.
-
Select Add Credentials.
-
In Credential type, select Token credentials.
-
Provide the following:
-
Select a secret management service (optional): If you want to use a secret management service to provide values for the following fields, specify which secret management service should be used. After you select the service, you can enable the Use secret management service toggle and provide instead the names the values are stored under in your key vault. For more information, see Secret Management Service.
-
Token: The access token for Databricks. For more information, see the official Databricks documentation. Alternatively, enable Use secret management service and provide the name this value is stored under in your selected secret management service.
-
-
If you want to use this set of credentials by default when connecting to the data source, select Set as default.
See also Connection credentials.
Test the connection
To test and verify whether the data source connection has been correctly configured, select Test Connection.
If the connection is successful, continue with the following step. Otherwise, verify that your configuration is correct and that the data source is running.
-
Test the profiling functionality:
-
Select Sources and then the source relating to { CLUSTER_NAME }.
-
In the Connections tab, expand the connection browser.
-
Select a table to profile.
-
Select Profile in the bottom-right corner.
-
Save and publish
Once you have configured your connection, save and publish your changes. If you provided all the required information, the connection is now available for other users in the application.
In case your configuration is missing required fields, you can view a list of detected errors instead. Review your configuration and resolve the issues before continuing.
Next steps
You can now browse and profile assets from your Databricks connection.
In Data Catalog > Sources, find and open the source you just configured. Switch to the Connections tab and select Document. Alternatively, opt for Import or Discover documentation flow.
Or, to import or profile only some assets, select Browse on the Connections tab. Choose the assets you want to analyze and then the appropriate profiling option.
| As your Databricks cluster can shut down when idle, it sometimes takes a bit of time before it is ready again for requests. If you try to browse the cluster during this period, you receive a timeout error. |
|
If you are using Unity Catalog you can see the three catalog levels in the Source field when viewing catalog item details. Use this in the Location filter to narrow down the catalog items you’re looking for. 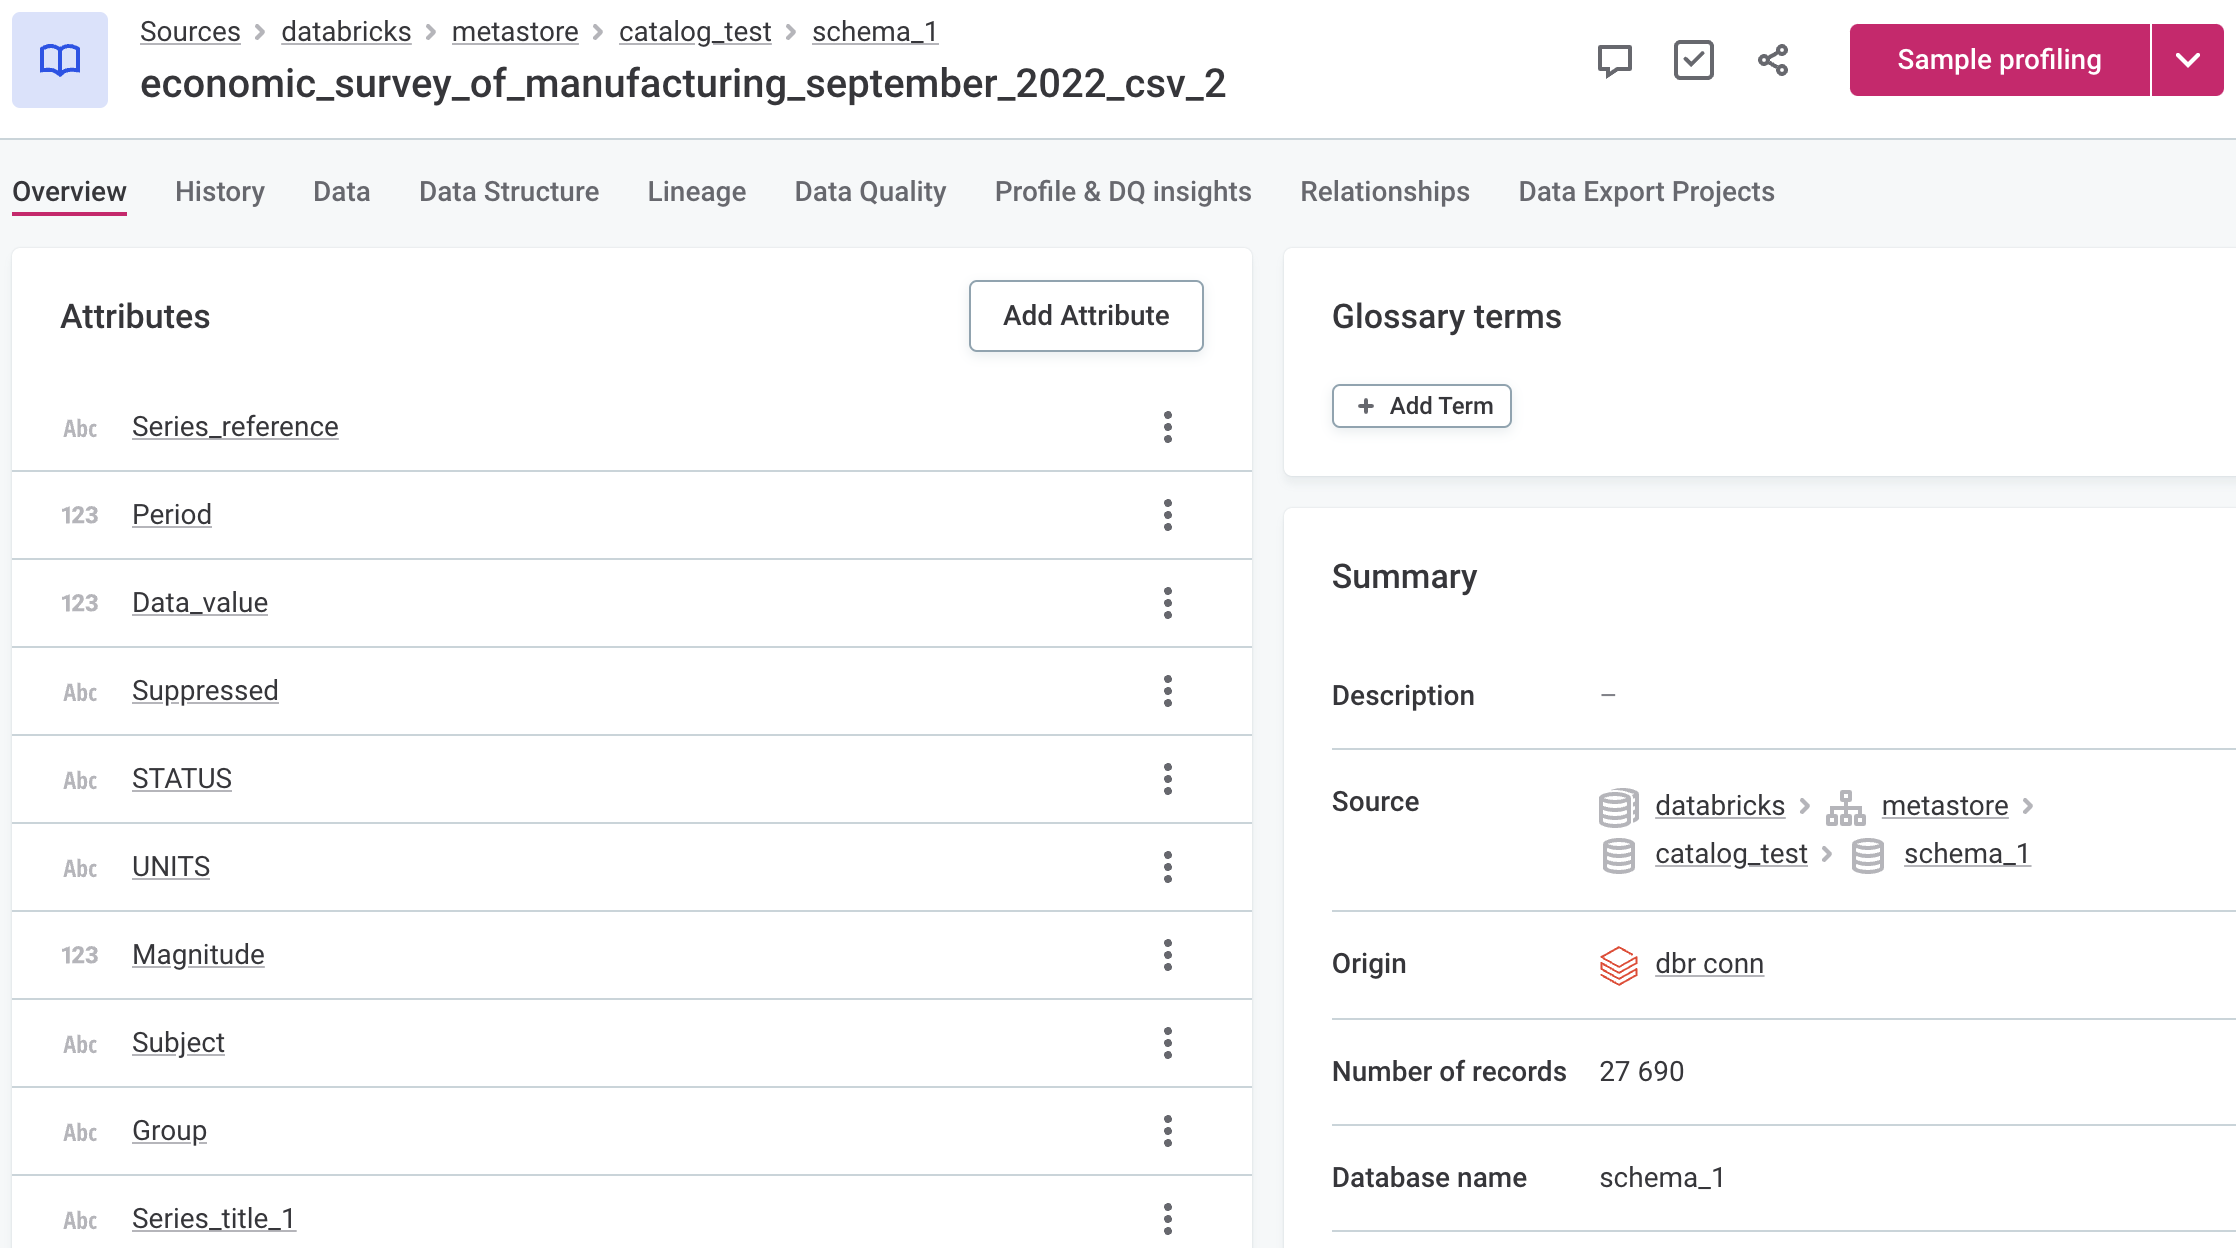
|
Was this page useful?