
Configure Instance Layer Matching
This article provides step-by-step instructions for configuring matching at the instance layer level, which is the standard approach for most MDM implementations.
Before you start
Matching configuration involves two distinct levels:
-
Entity metadata configuration: Enable matching and map matching columns on your entities.
-
Matching plan configuration: Configure the actual matching logic and rules that will be applied to your data. You can think of a matching plan as a data flow that gets automatically generated when you configure matching on your entity.
Configure the entities on which you want to apply matching before configuring and running the matching plan.
Configure matching on the entity
In ONE Desktop, open your MDM project and navigate to Logical Model > Instance Layer. Find and double-click your entity.
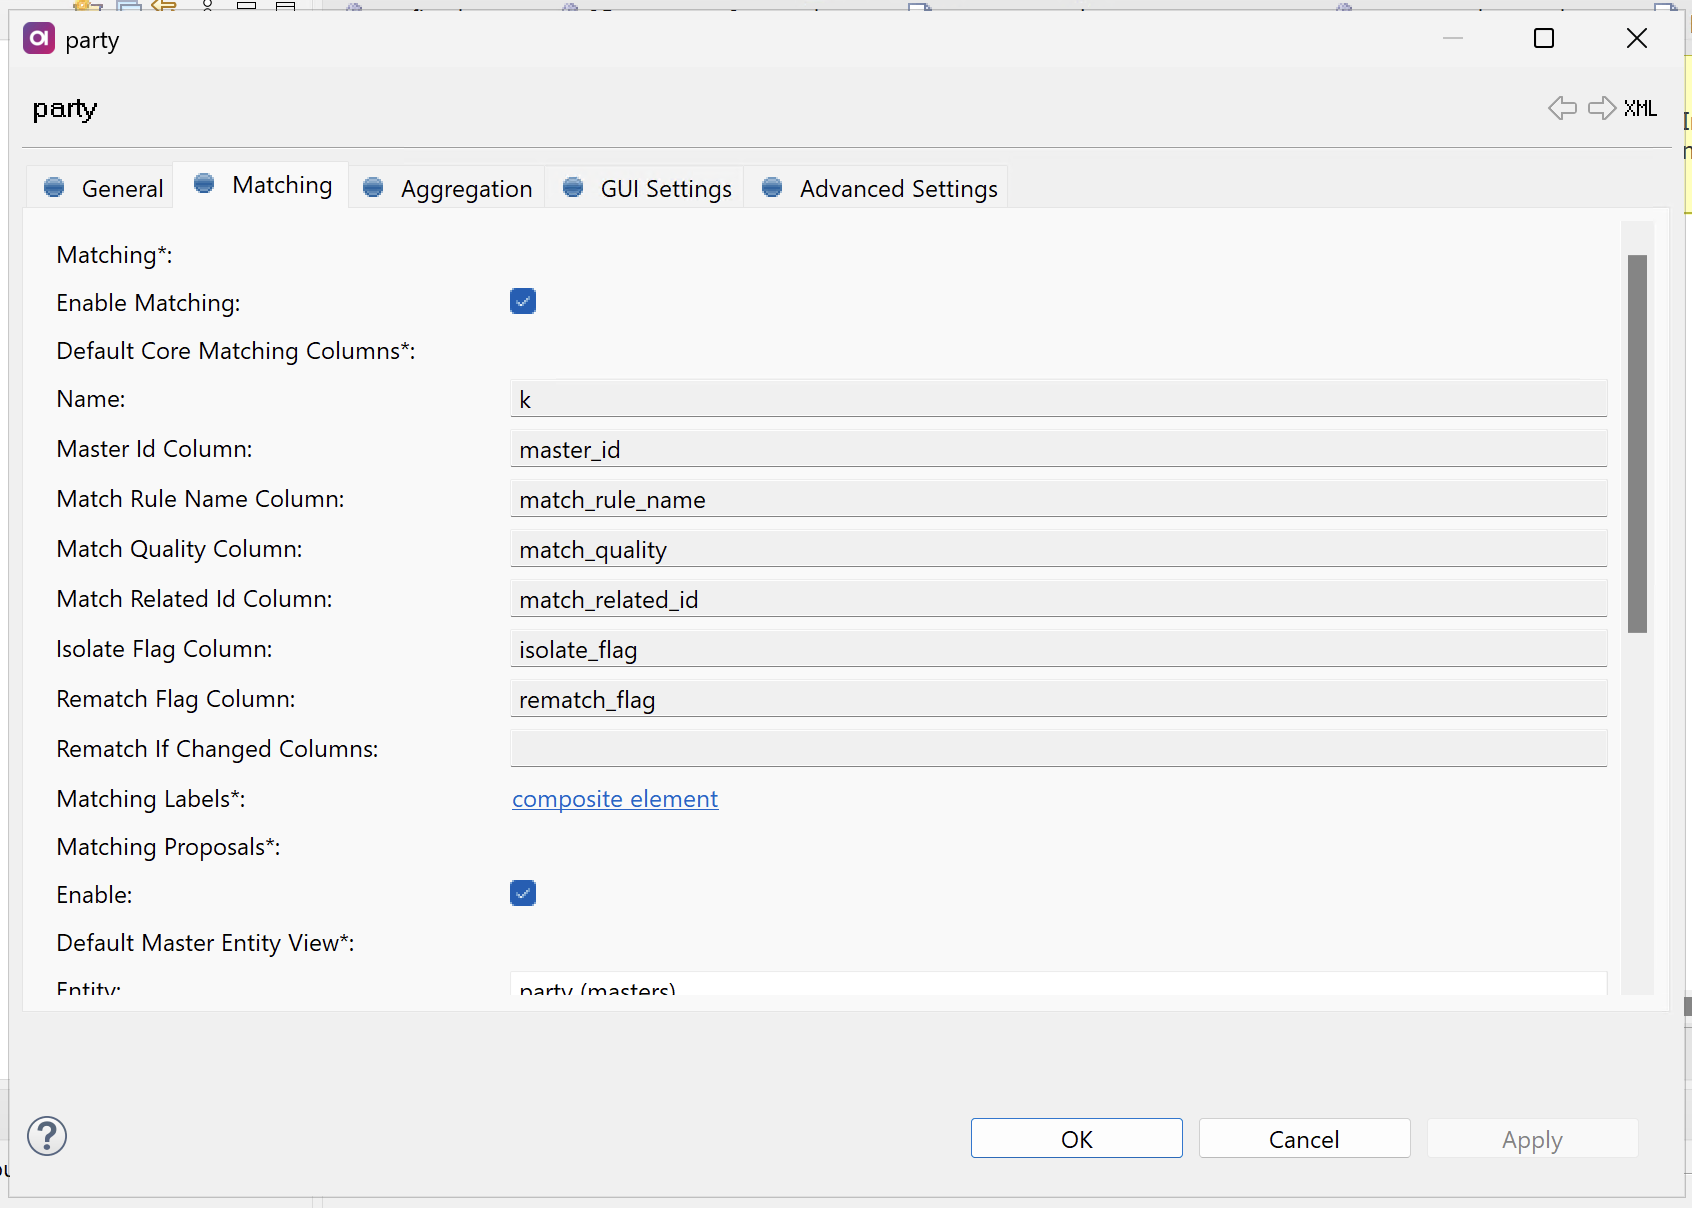
In the entity properties, switch to the Matching tab. This is where all the following options are configured from.
| Repeat the following steps for all entities you want to use in the matching process. |
Enable matching
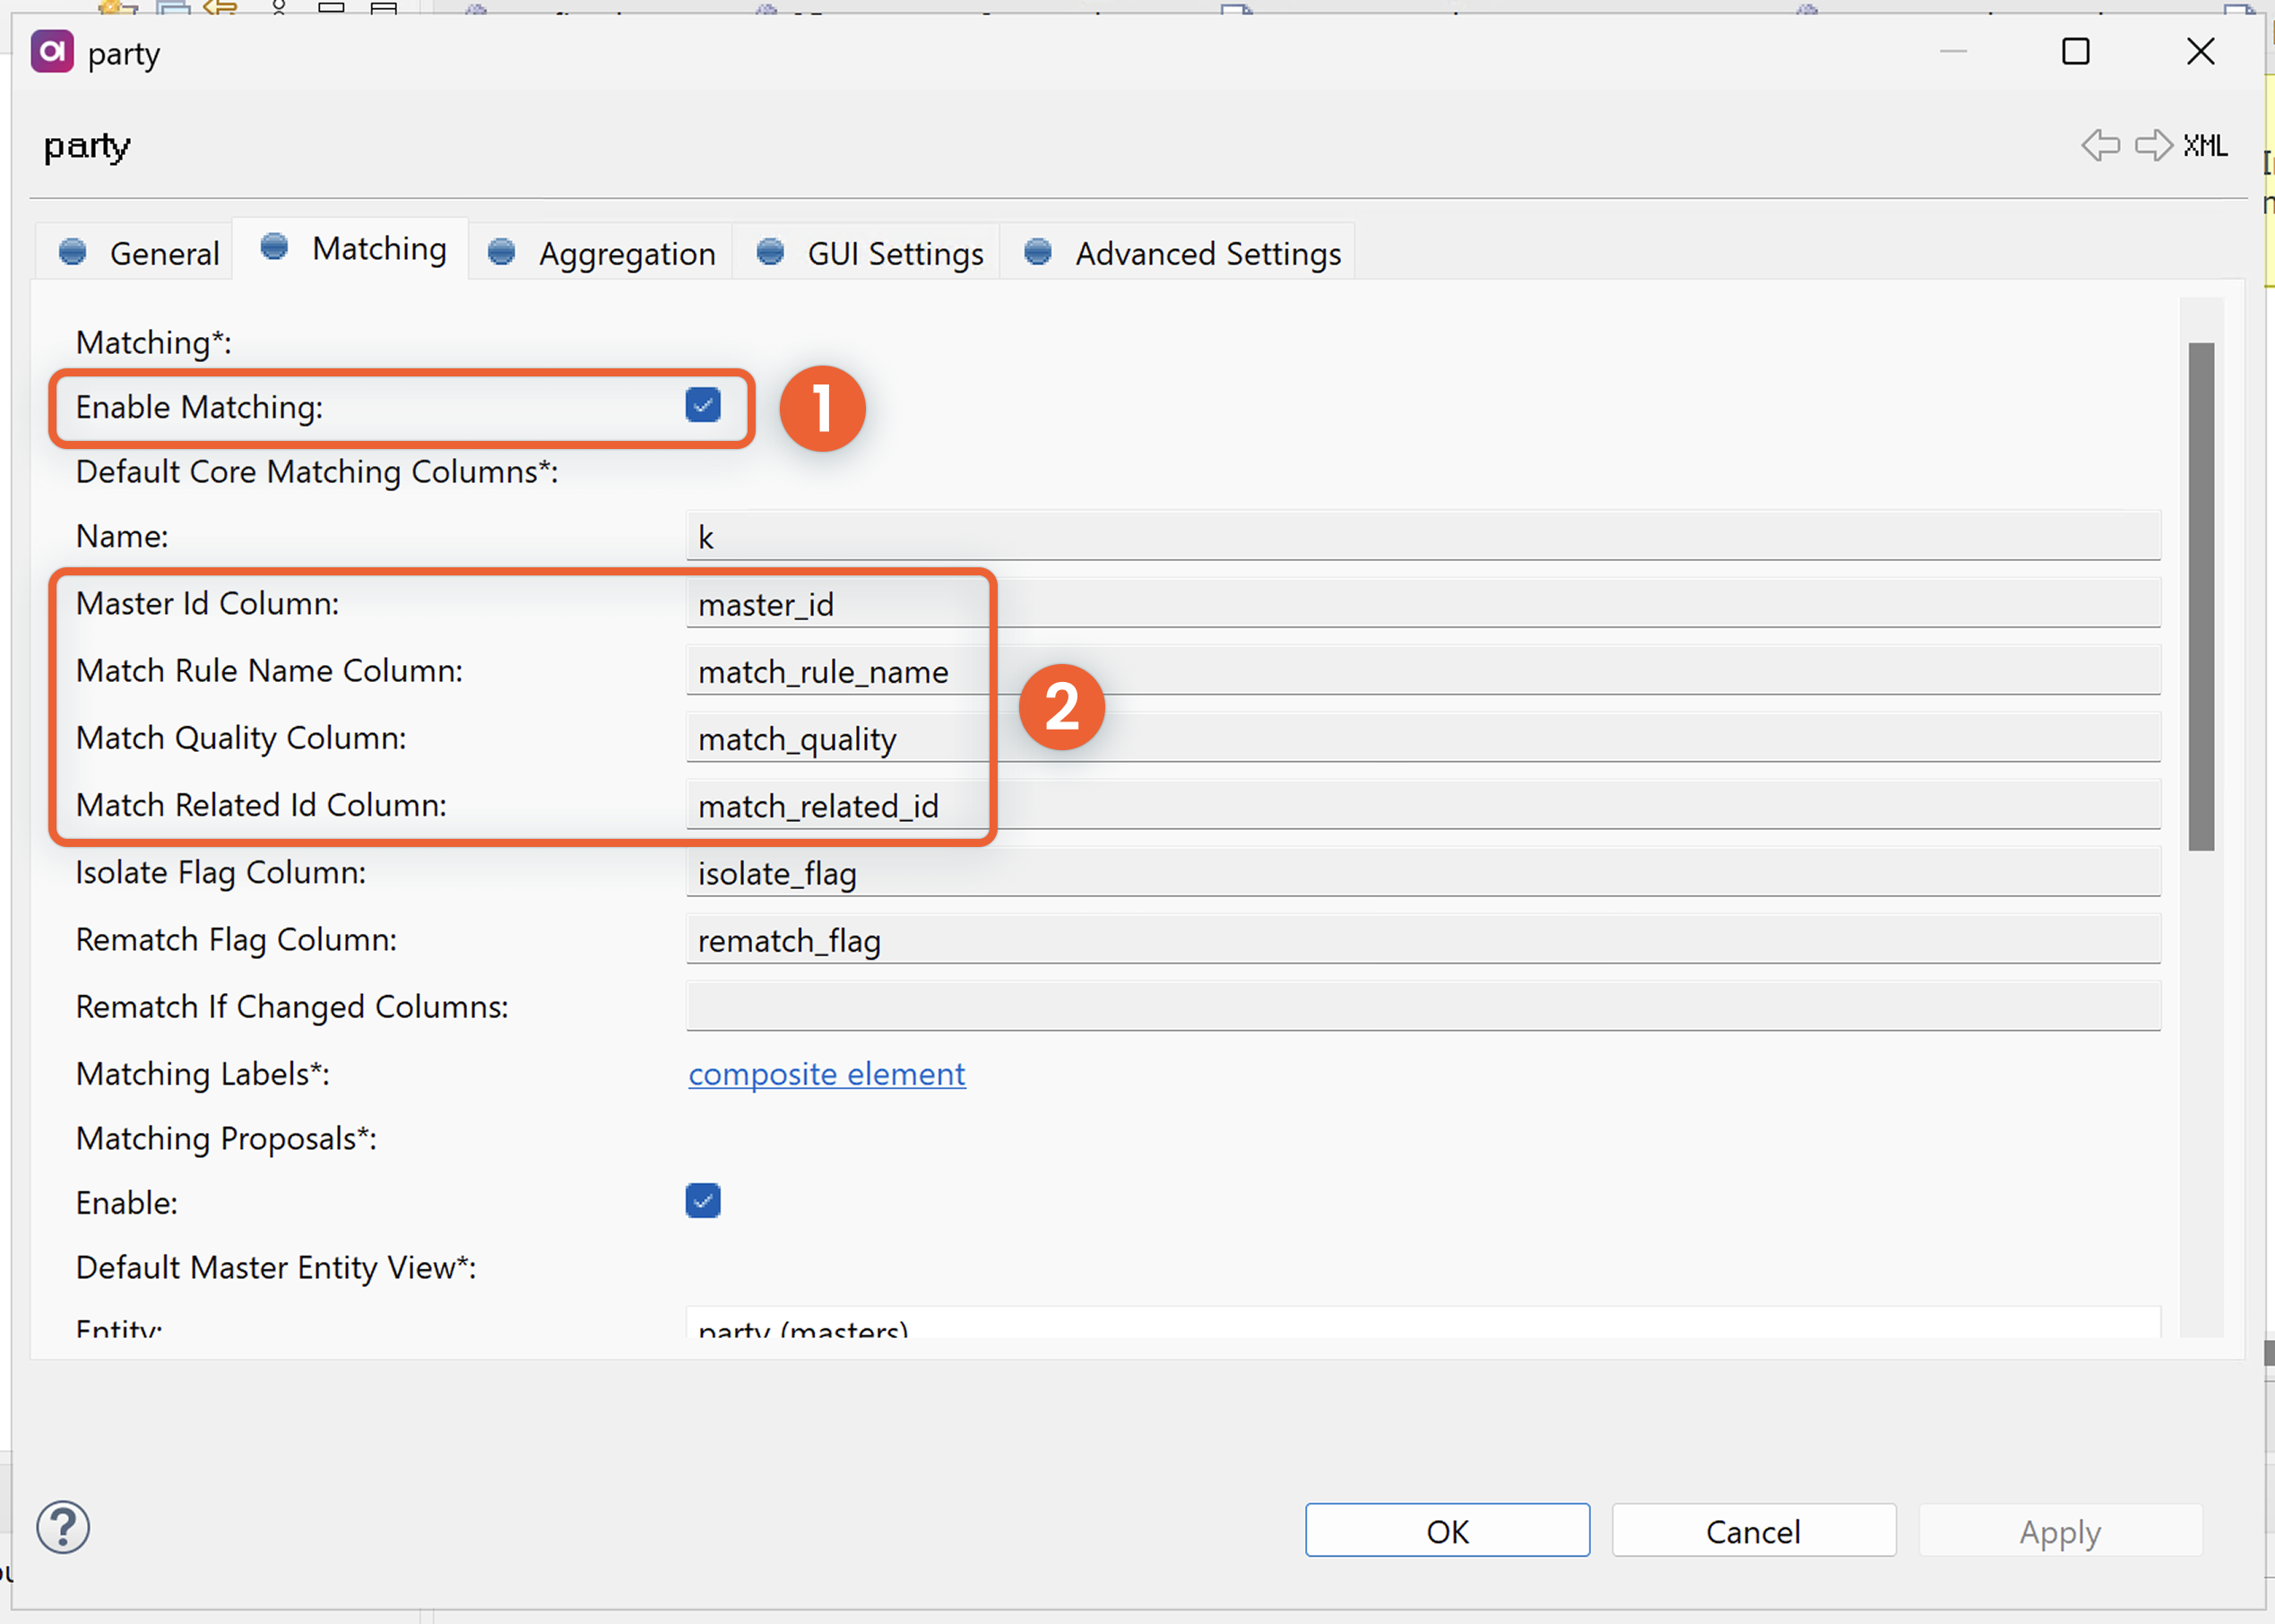
Make sure the Enable Matching option is selected (1). If this is not the case, the entity is excluded from the matching process.
Define columns for matching output and metadata
This section is provided only for information purposes.
We do not recommend changing these default values (2 in the previous screenshot) unless you are defining multiple matching configurations (for example, in the case of hierarchical or independent matching scenarios for different departments within your organization, such as Risk and Marketing).
The default configuration is as follows:
-
Master ID Column:
master_id -
Match Rule Name Column:
match_rule_name -
Match Quality Column:
match_quality -
Match Related Id Column:
match_related_id
Define columns for transformed matching values
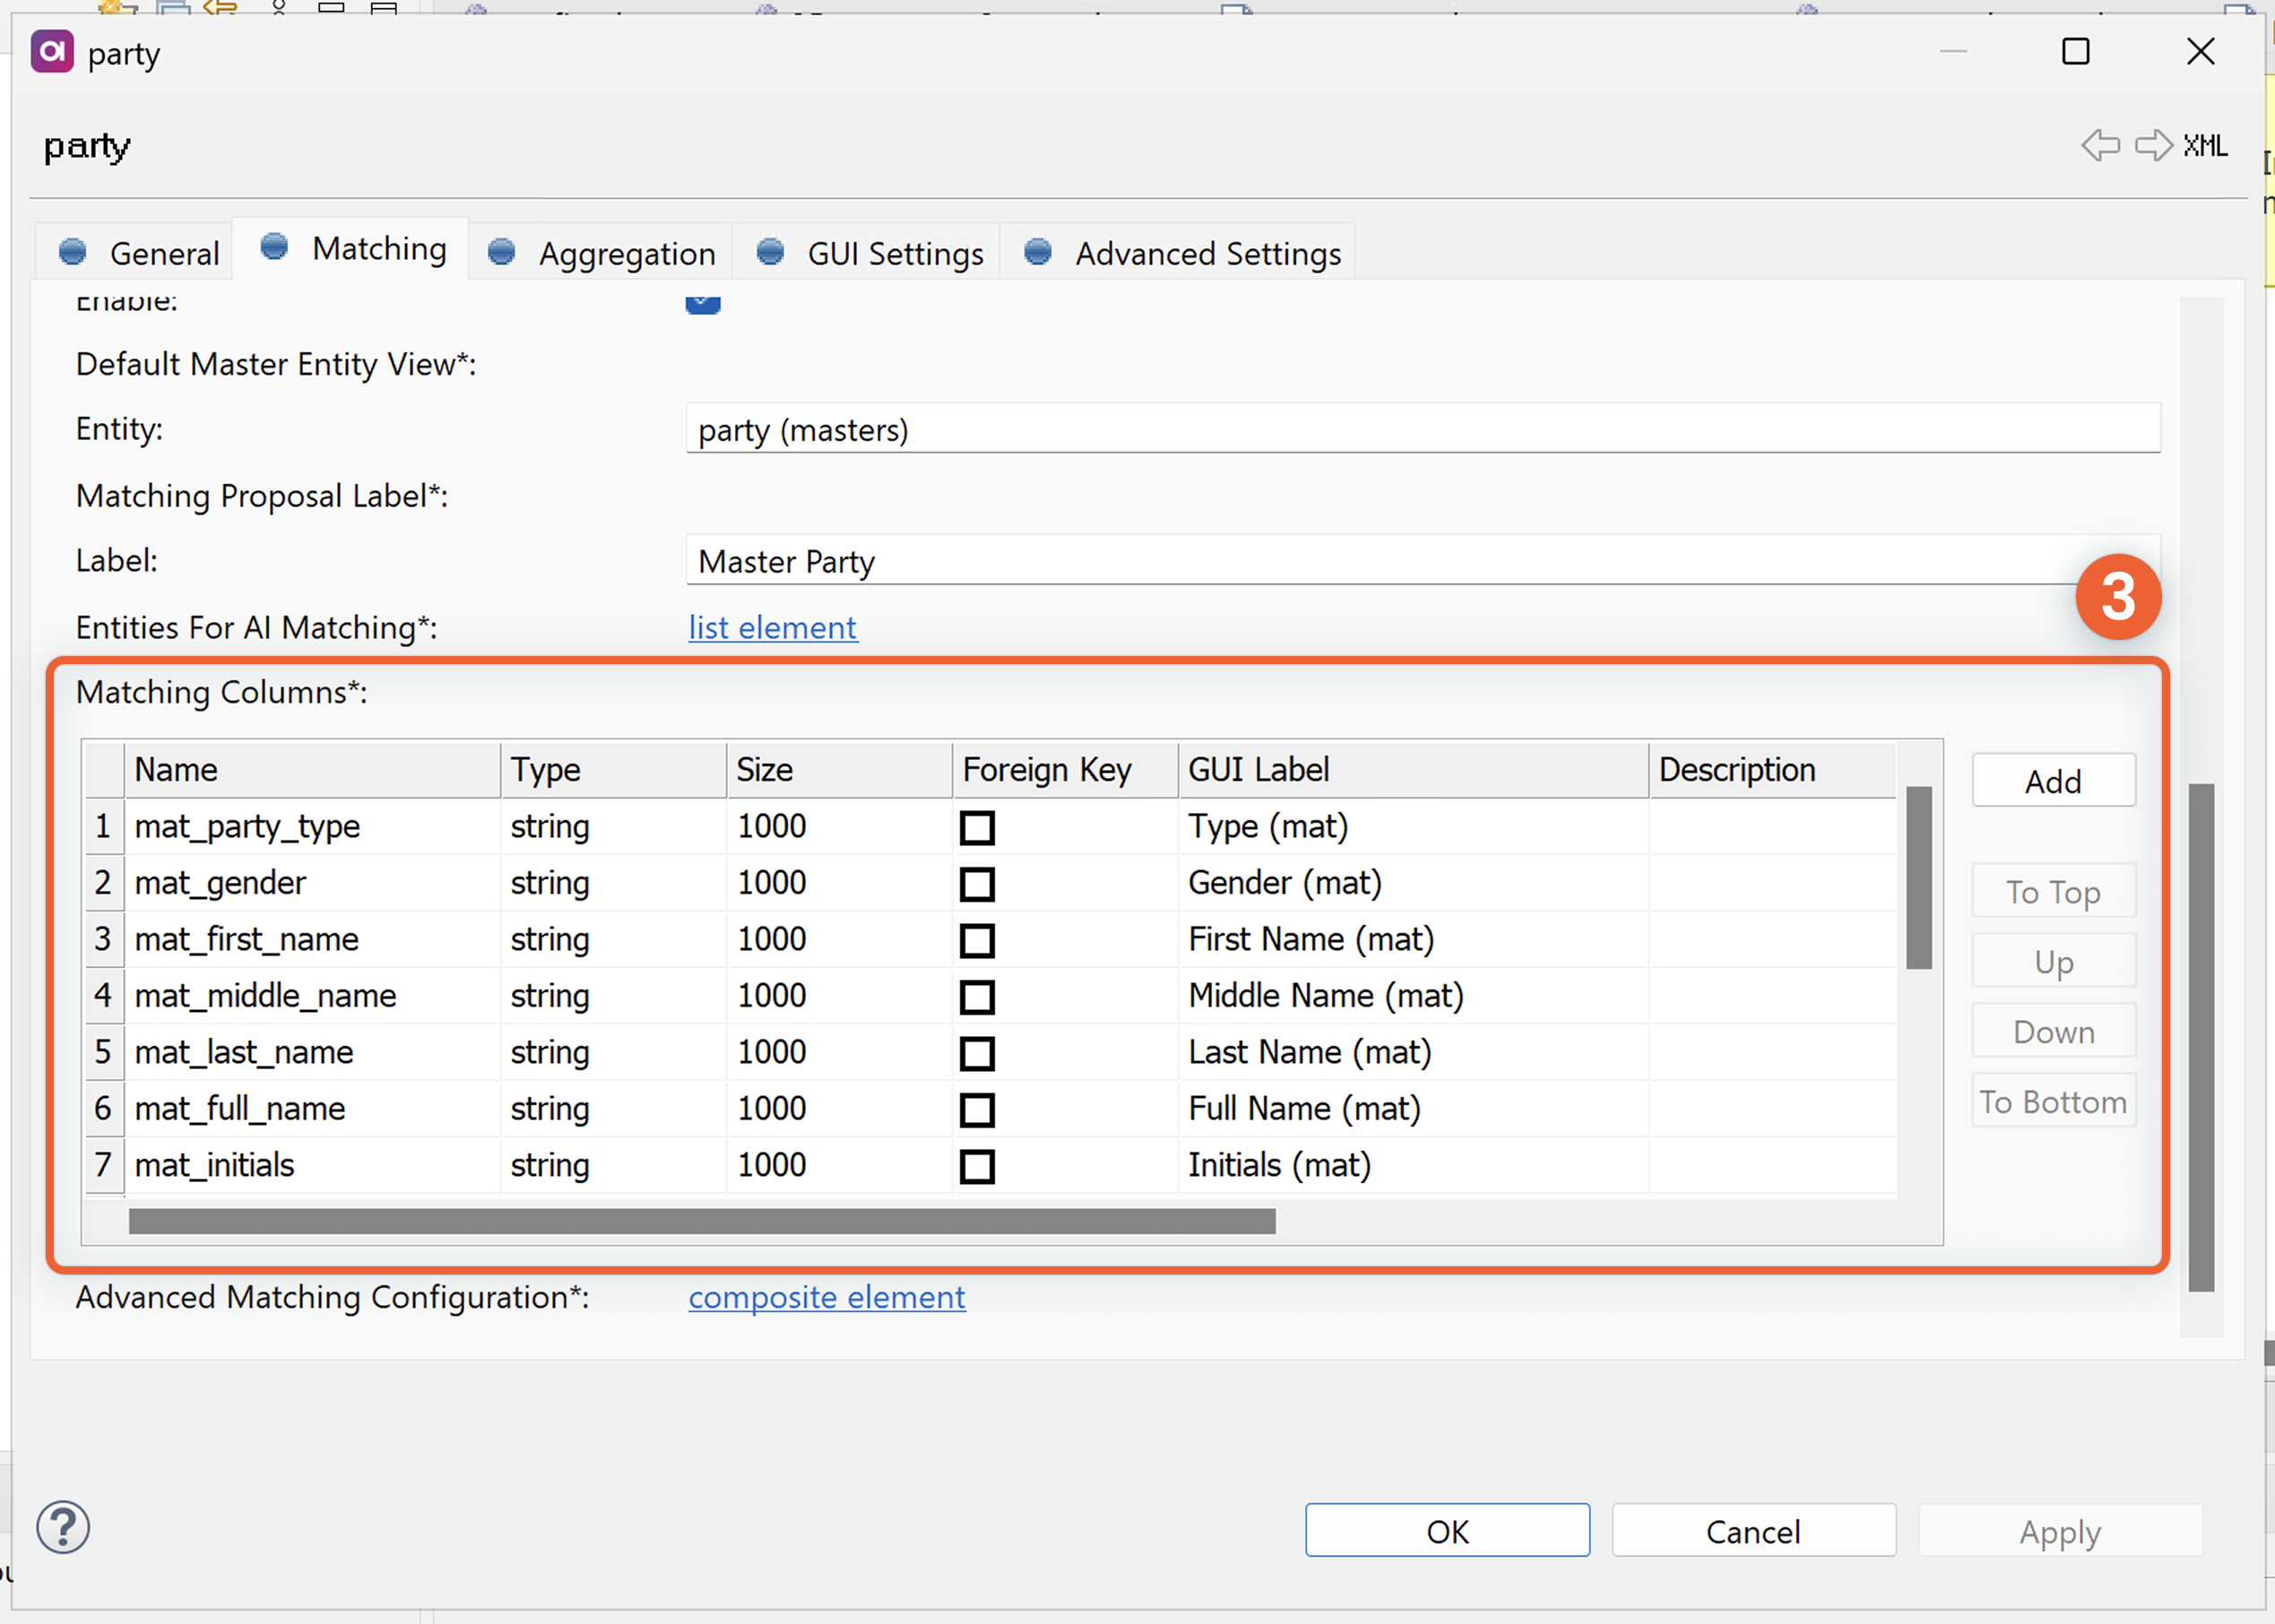
Scroll down to Matching Columns (3) and configure the columns for storing optimized versions of your input data for matching comparison.
We recommend using the format mat_<column_name>, which follows Ataccama best practice naming convention.
These columns contain standardized values (typically from STD or CIO attributes) with additional transformations applied to reduce comparison complexity and improve matching consistency.
Such transformations include:
-
Converting text to uppercase.
-
Removing accents and diacritics.
-
Compressing whitespace.
-
Selecting attributes based on data quality scores. For example, use
cio_birth_datefor matching only when the quality score is below the invalid threshold (set at 10,000, as an Ataccama convention): ifsco_birth_date < 10000, mapcio_birth_datetomat_birth_date, otherwise leavemat_birth_dateas NULL.
Keep in mind that mat_ attributes should be large enough to store transformed values.
For example, if you’re creating a mat_full_name attribute from concatenating two attributes of up to 50 characters each (std_first_name and std_last_name), the mat_full_name should be of same data type (STRING) and limited to 101 or more characters as needed (mat_full_name := std_first_name + " " + std_last_name).
| Matching values transformation is a key preparation step before running matching as it addresses common data quality issues like inconsistent case, accents, double spaces, and formatting variations. For details, see Configure the Matching Values step and Matching Performance Best Practices. |
Configure matching proposals
Matching proposals are uncertain matches that require additional verification from data stewards. They are generated using proposal rules during matching and sent to the Matching step Proposals output.
While configuration is optional, we recommend it for finer control over how matching proposals are generated.
Under Matching Proposals, select Enable (4).
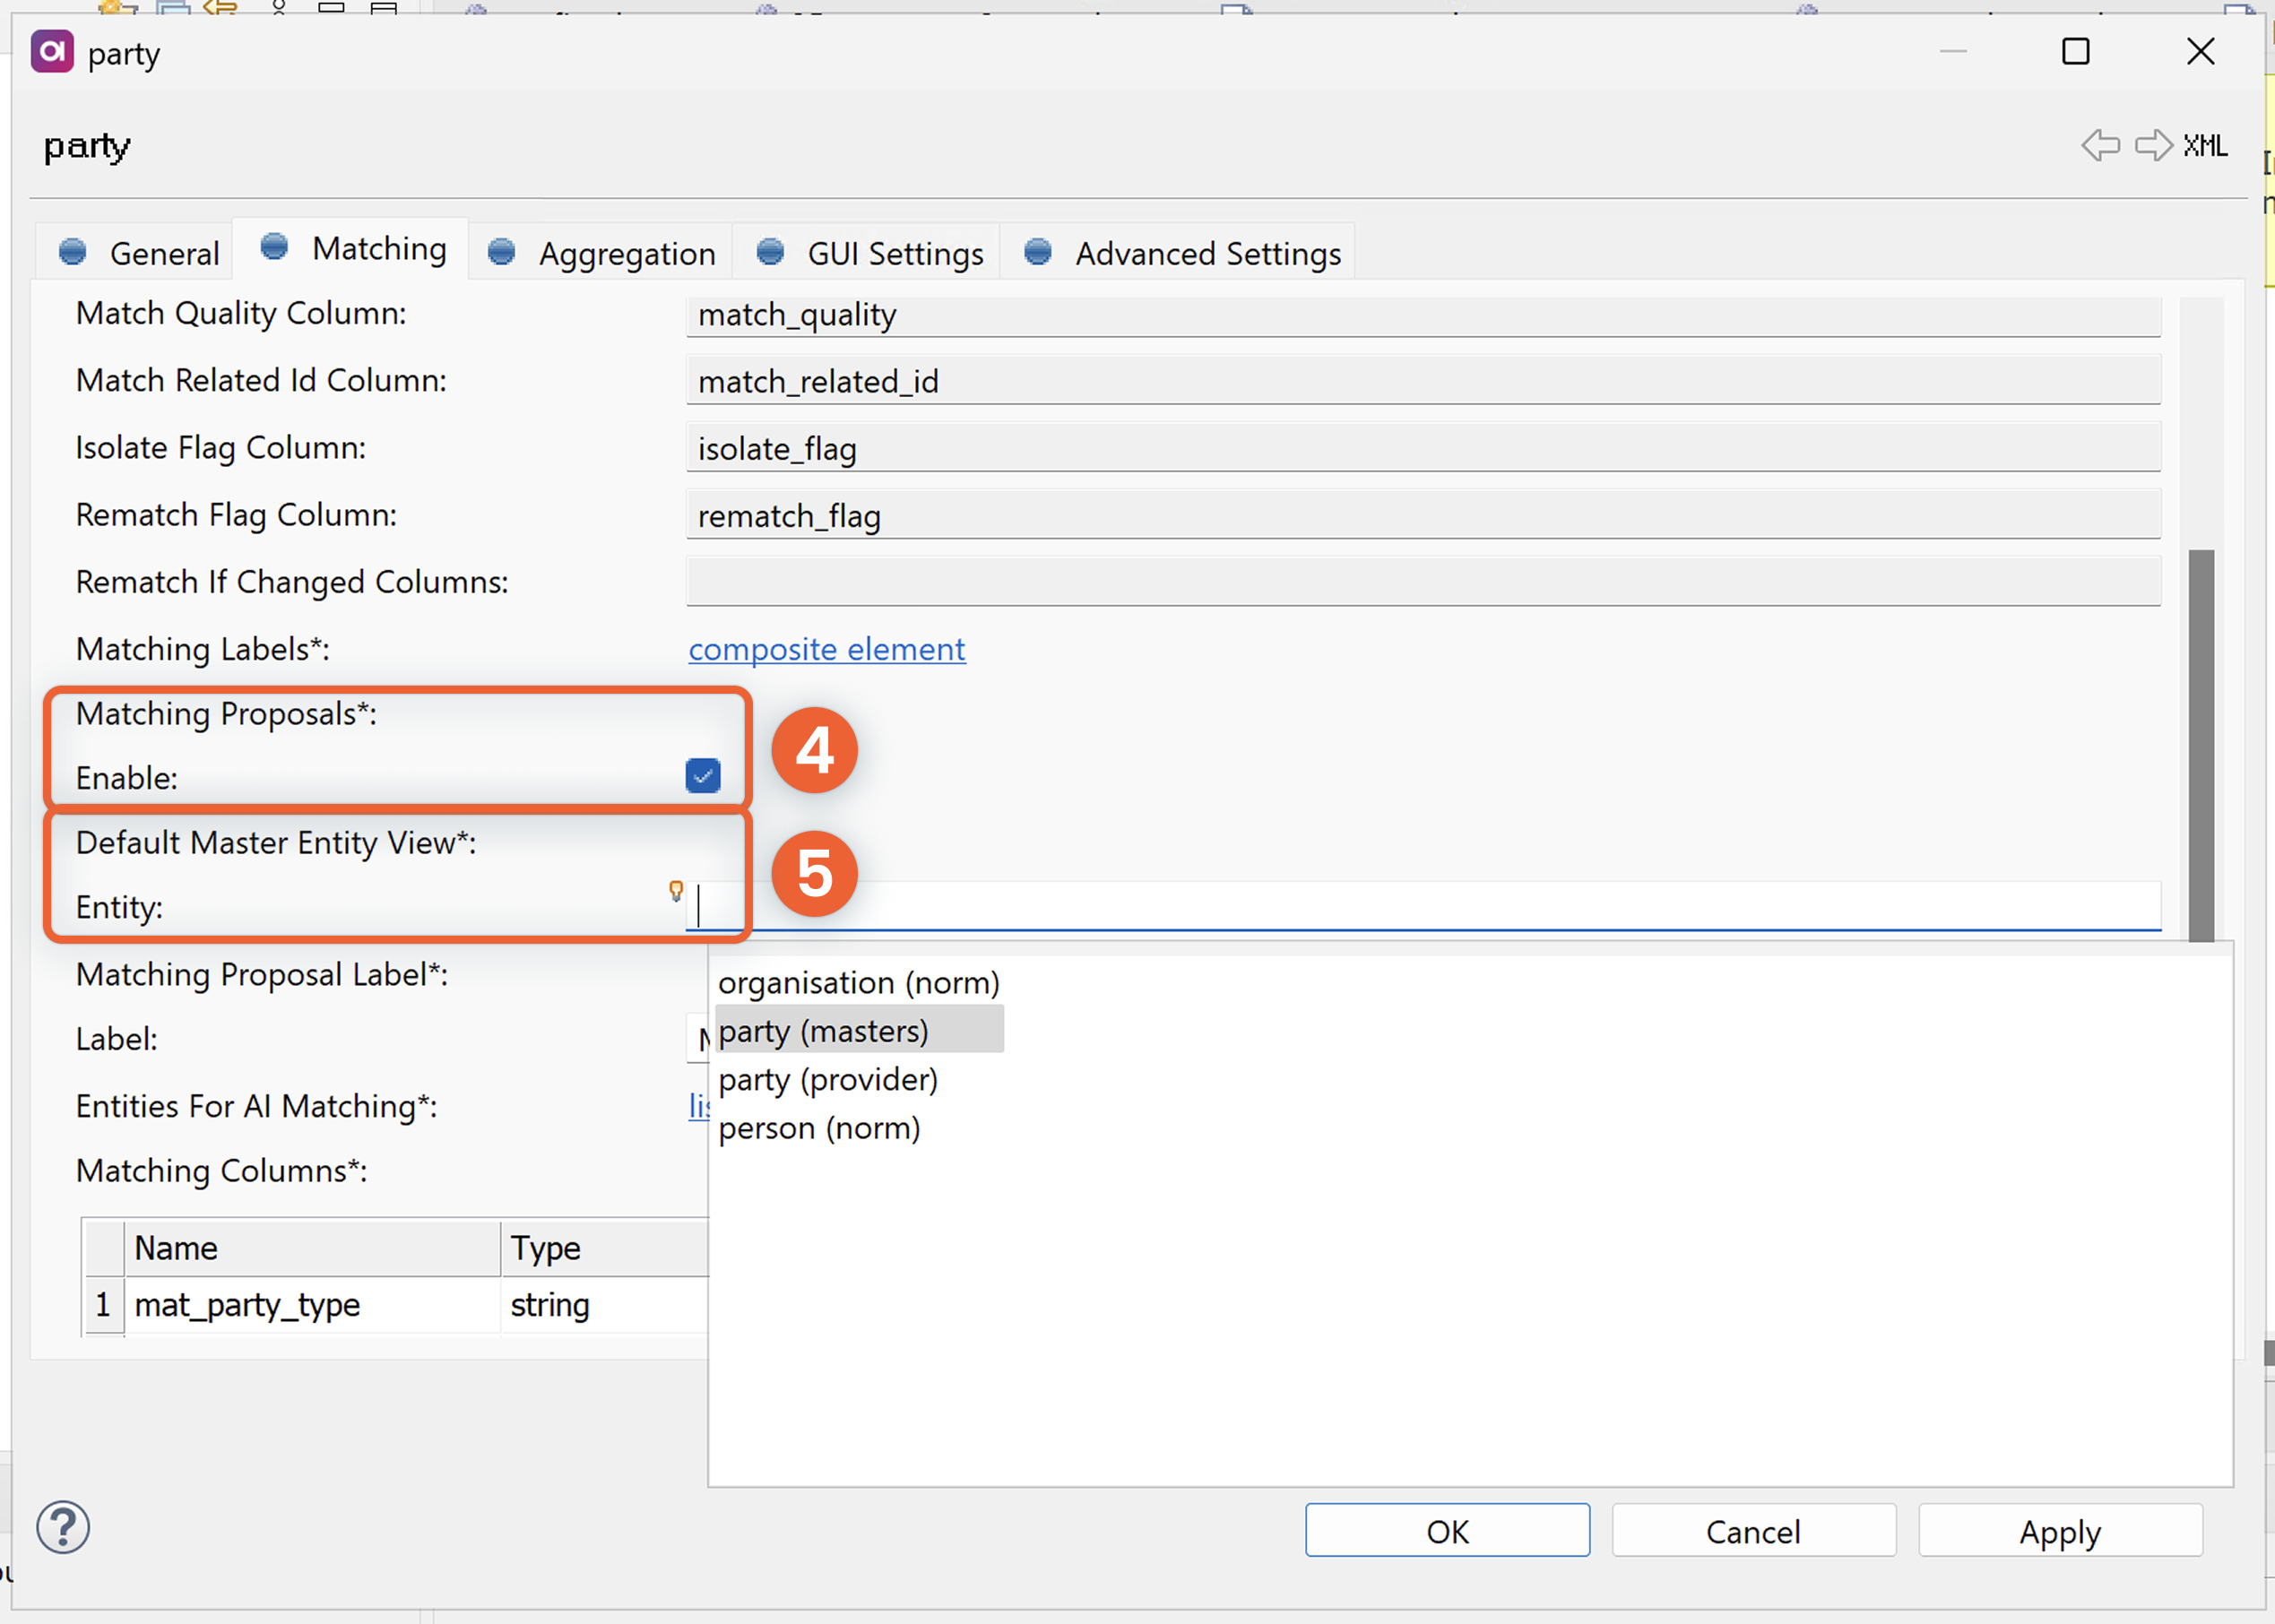
Define Default Master Entity View in Entity (5). Use Ctrl+Space to choose from the list of available entities. If left empty, the Matching proposals listing is not shown in the navigation panel in the MDM Web Application.
Optionally, define:
-
Label - If skipped, Default Master Entity View label is used.
| Entities for AI Matching parameter is an advanced option used for training AI Matching. We recommend not editing this value even if you are using AI Matching. |
| To learn how to set permissions for matching proposals, see MDM Web App Permissions. |
Update matching plan
Once you are finished configuring the Matching tab for your entity, select OK.
| If you want to save your changes without exiting the configuration, select Apply instead. |
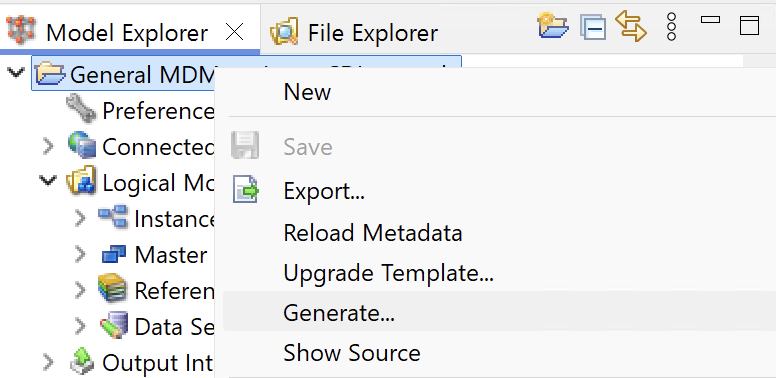
Next, right-click your project and select Generate.
This updates the project with the new configuration and updates the matching plan. The matching plan can be found in your MDM project: look for Transformations > <entity_name> > <entity_name>_match (for example, Transformations > party > party_match).
If matching proposals are enabled, an Integration Output step is also added into the corresponding matching plan.
When you configure your matching plan, you will need to connect this Integration Output step to the proposal_out endpoint of the Matching step.
Next steps
After configuring matching on your entities, configure your matching plan.
| For guidance about how to optimize your implementation, see Matching Performance Best Practices. |
Was this page useful?