
Full Instance Export
Full instance export operation is designed to export all instance records, optionally limiting the exported records to a particular source system. To configure a full instance export, perform the following steps.
Add the export operation definition
-
Open the MDM project in ONE Desktop.
-
Open Output Interfaces > Export Operations (right-click) and select New Export Operation.
-
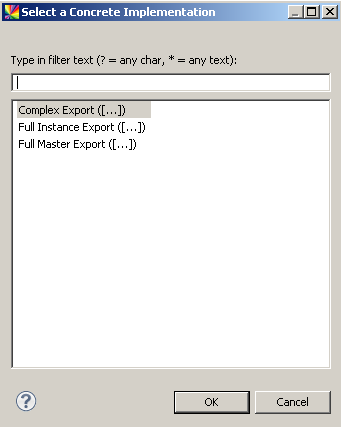
Choose Full Instance Export.
-
Configure export operation properties:
-
Operation Name - Unique export identifier displayed in the MDM Web App Admin Center.
-
Scope - Export scope. Can be inherited from global Preferences or overridden.
-
Source System Filter (optional) - Only Rrecords from the selected source system are exported.
-
All Entities - Select if you want the export to use all entities.
-
Selected Entities - If the All Entities option is not selected, specify which entities should be exported (you can also specify columns).
-
-
If you wish to export only a few attributes for some entity, double-click the entity. Clear the Export All Columns option and choose columns manually.
-
Right-click the newly added export operation in the Model Explorer and select Generate.
Once you have defined the export operation interface, you can configure the generated plan.
Configure the export plan
The plan generated based on the definition in step Add the export operation definition contains the input step for each exported entity. It is necessary to add output steps and, optionally, custom logic for filtering or dividing data into multiple flows.
-
Right-click the newly added export operation in the Model Explorer and select Open Plan File.
-
Add some logic and output steps according to your needs.
Was this page useful?