Autocorrects
Depending on specific types of autocorrects needed, you can use expressions or plans.
-
Expression Provider: We recommend using this provider for simple transformations (for example, to capitalize first letters in names).
-
Plan Provider: Generates a plan with Integration Input and Output steps, where you define the autocorrect behavior.
Plans can return multiple values so more than one value can be suggested in the application along with the one that is being edited. We recommend using plan providers for complex transformations (for example, multiple variants for a company name: capitalized or uppercase).
To configure autocorrects, you need to:
-
Define autocorrects.
-
Configure plans if used.
-
Map autocorrects to specific entities and columns.
Define autocorrect
You can define autocorrects in GUI Configuration on the Enrichments and Autocorrects tab.
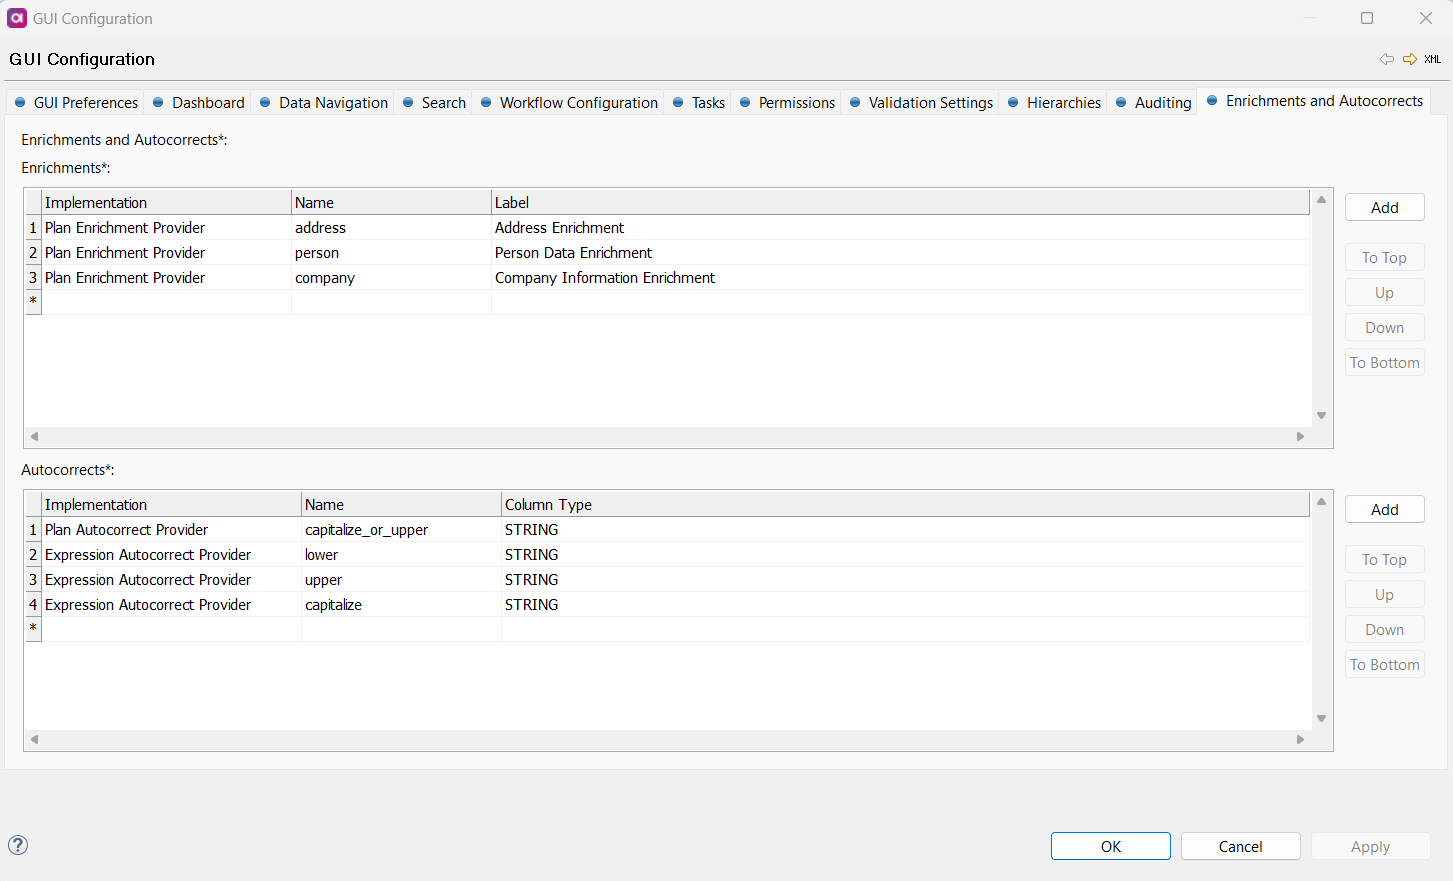
To define an autocorrect:
-
Under GUI Configuration > Enrichments and Autocorrects > Autocorrects, select Add to add a row. Alternatively, double-click the asterisk (
*).
-
Choose the autocorrect provider type.
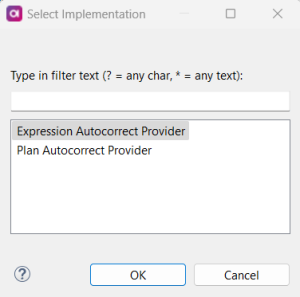
-
A new row is now added. Double-click the number of the row and specify the following parameters depending on the provider type:
-
For a plan provider:
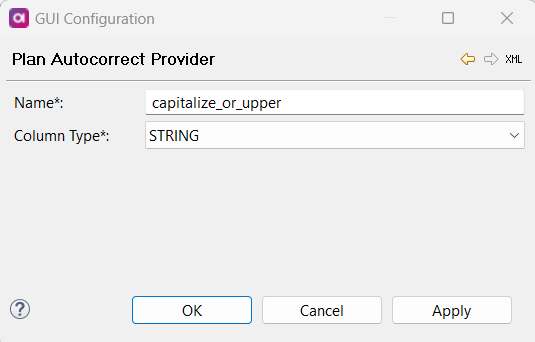
-
Name: Unique name of the autocorrect.
-
Column Type: Autocorrect output data type. Possible values are FLOAT, INTEGER, LONG, STRING.
-
-
For an expression provider:
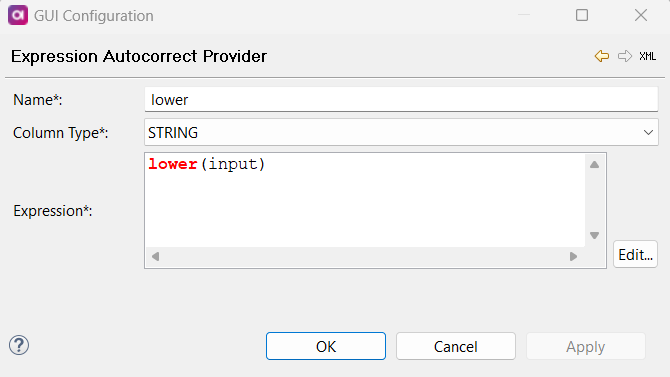
-
Name: Unique name of the autocorrect.
-
Column Type: Autocorrect output data type. Possible values are
FLOAT,INTEGER,LONG,STRING. -
Expression: ONE expression that evaluates the autocorrect. Input is the value that will be autocorrected. In some expressions, input is not required, for example,
today().
-
-
-
Select OK to confirm. Repeat steps 1-3 for all autocorrect providers needed.
-
Once the list is complete, confirm by selecting OK on the Enrichment and Autocorrects tab.
-
Right-click GUI Configuration and select Generate. This updates the
nme-enrichments.gen.xmlfile with the new configuration and generates the plans if defined.
Configure autocorrect plan
If you defined a plan provider for an autocorrect, you now need to configure an autocorrect plan.
To do so:
-
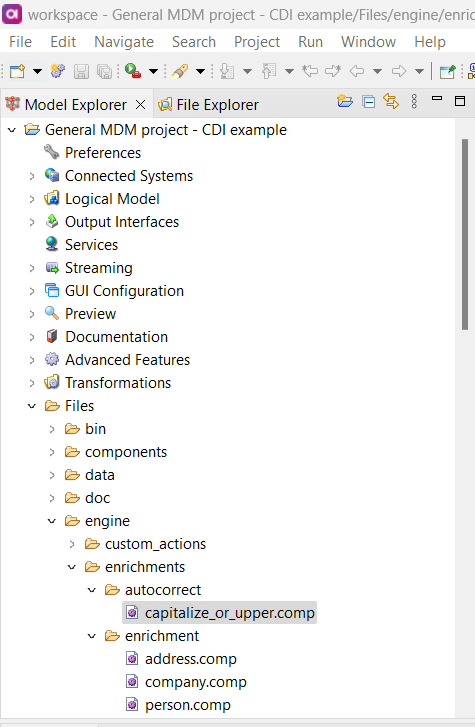
Under Files > engine > enrichments > autocorrect, double-click the name of the plan you defined in the previous step.
-
Complete the plan by adding steps as needed. For example, a completed
capitalize_or_upperplan might look as follows: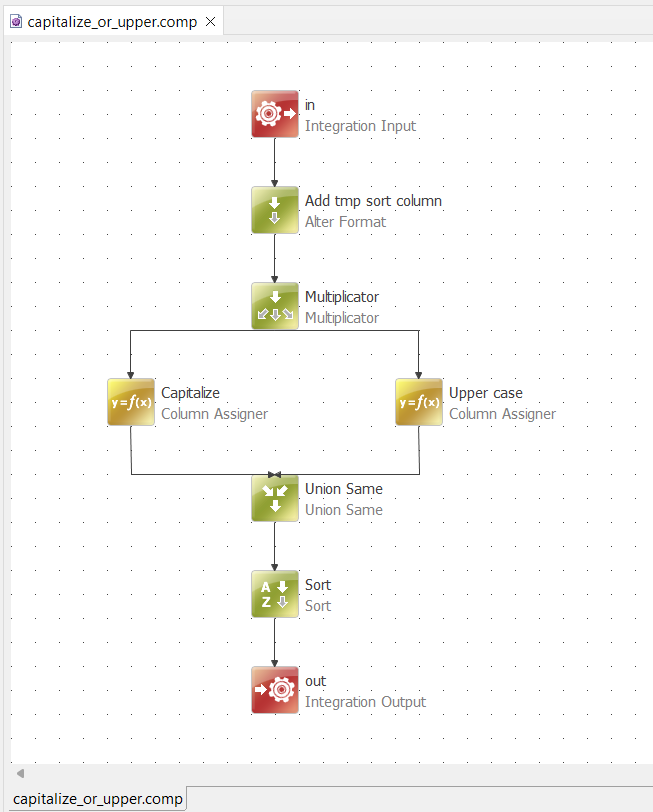
Map autocorrect to columns
To map the defined autocorrect to a specific column:
-
In the Logical model, select the entity.
-
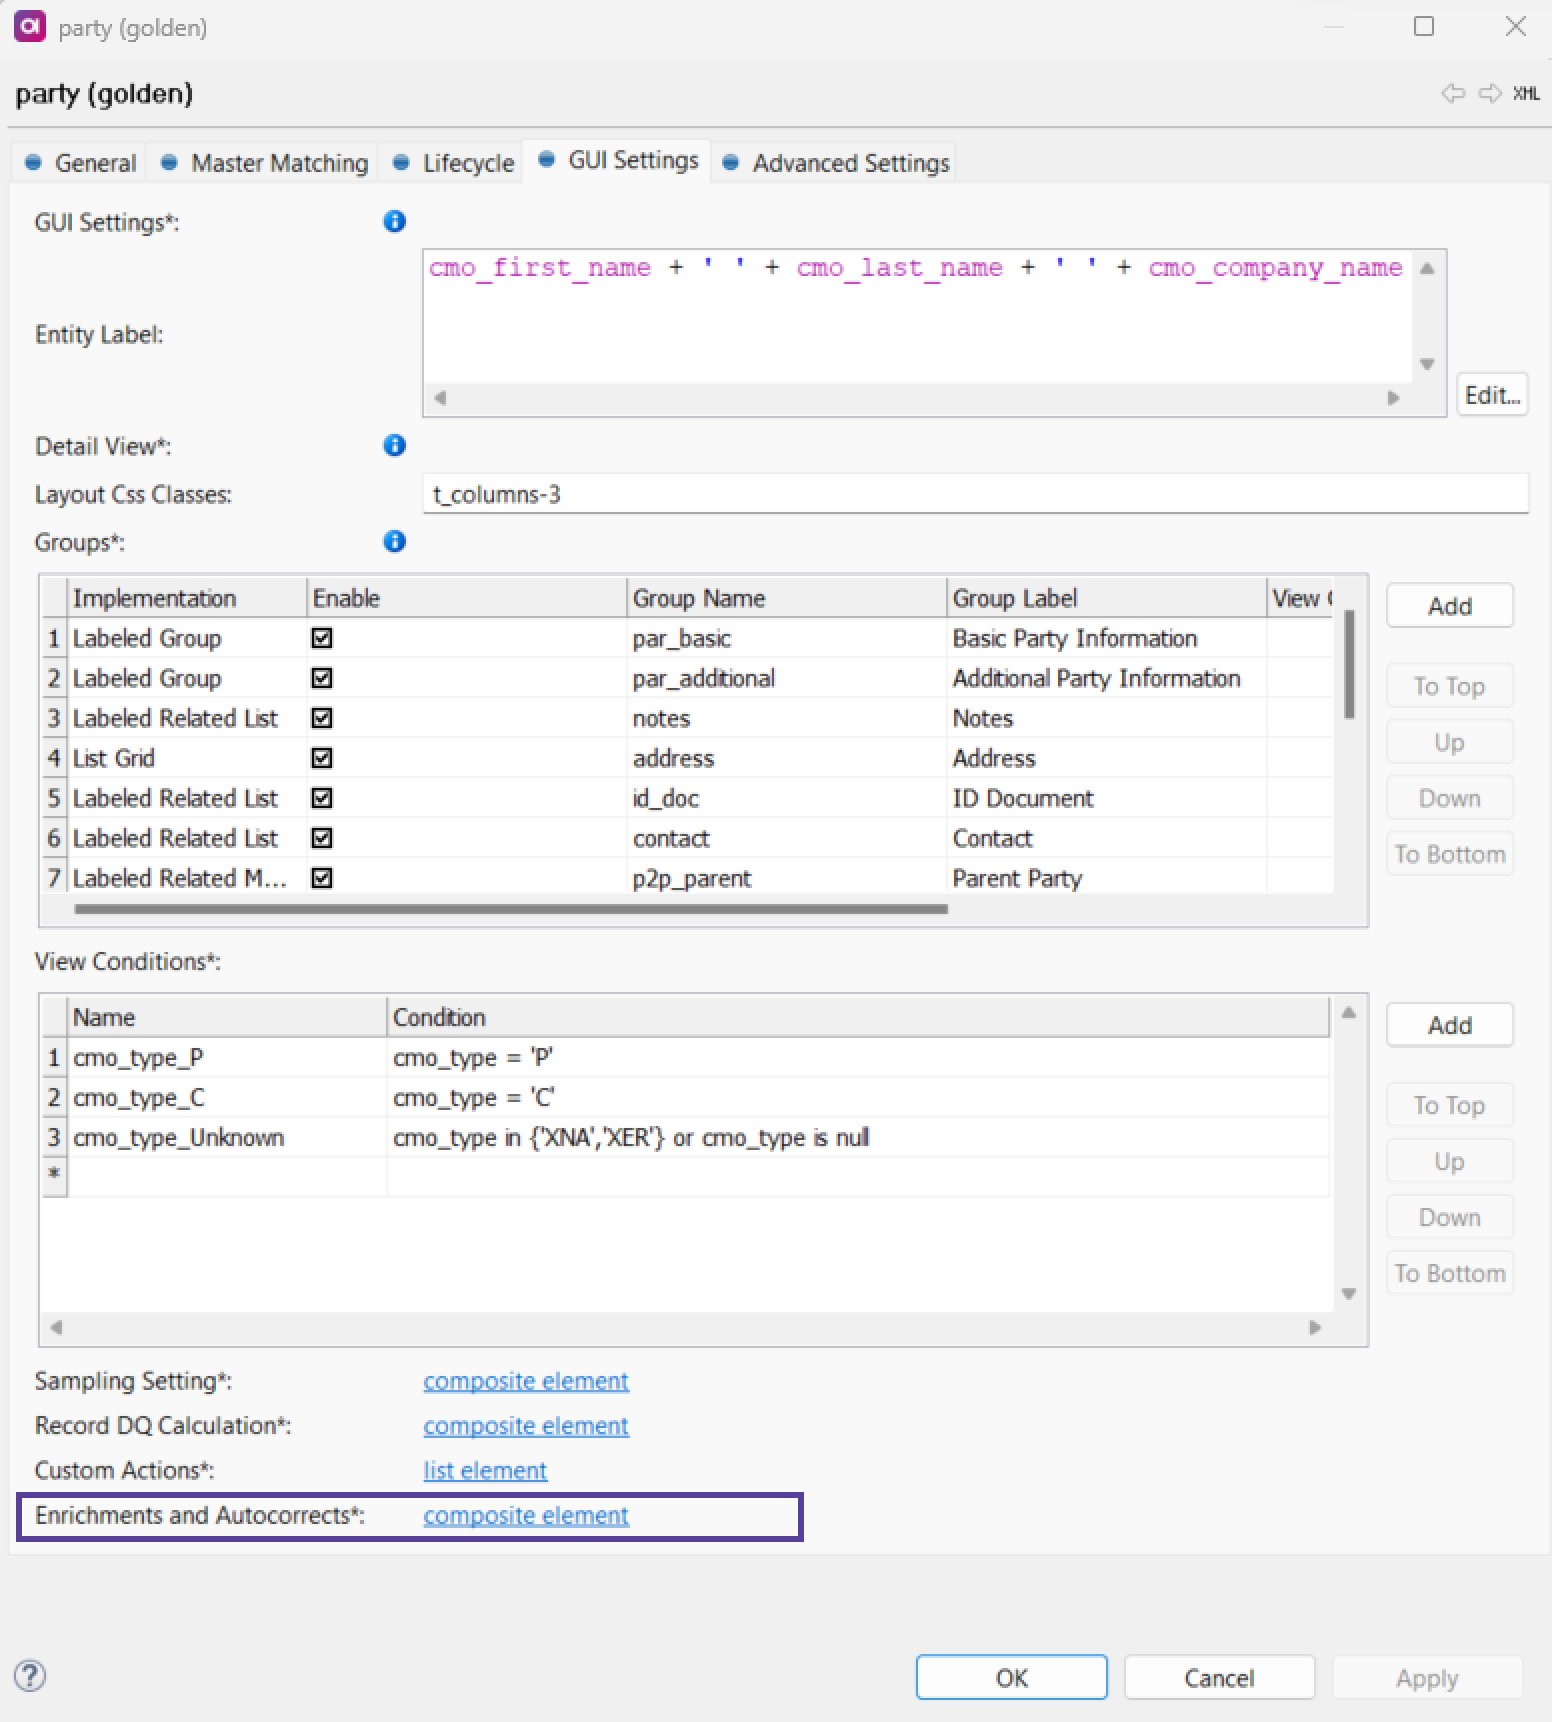
On the GUI Settings tab, select Enrichments and Autocorrects composite element.
-
In the tab that opens, under Autocorrects, select Add to add a new row. Alternatively, double-click the asterisk (
*).
-
Double-click Autocorrect and provide the autocorrect name. Double-click a Model Column field and provide the name of the column that the autocorrect is intended for.
Alternatively, double-click the number of the row and provide the information in the window that opens.
Press Ctrl+Space or start typing to see the list of defined autocorrects and columns. 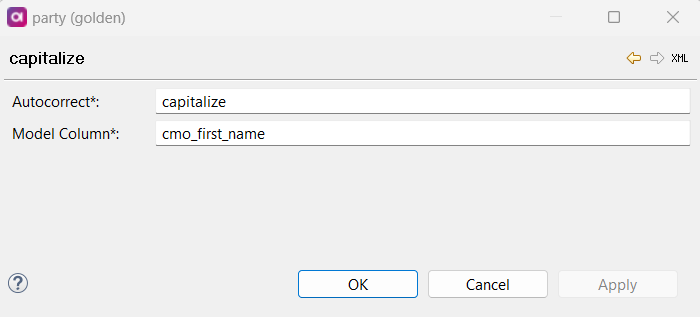
Make sure that:
-
The data type specified for the autocorrect matches the data type of the model column.
-
Each model column has only one autocorrect assigned.
-
-
Confirm your choice by selecting OK.
Was this page useful?
