
Edit Values
When you edit a record in the MDM Web App, the changes are collected in a task until you publish them. How an edit is saved depends on the record.
Edits and overrides
Authored records, which were created in the MDM Web App, are edited directly. See Edit authored records.
Consolidated records, whose values come from the source systems, are corrected with overrides. See Override consolidated values. To learn more about the record types, see Types of Data.
If Edit isn’t available for an entity, or the changes can’t be saved or published, check the prerequisites for editing entities.
Edit authored records
-
Open the record and select Edit.
-
Edit the values as needed.
-
Publish the task or move it to the next workflow step. See Resolve Tasks.
While editing a master record, you can edit its related records too: select the related record and change the values in the side panel.
Value prompting
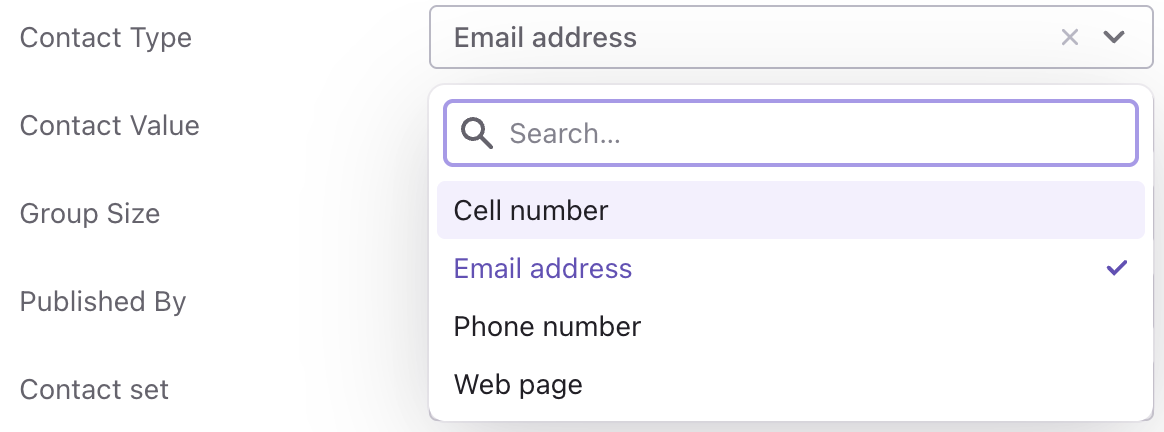
When you create or edit a record, prompts help you enter valid values. Which prompts are available depends on how the entity is configured in your project.
Override consolidated values
The values of consolidated master, instance, and reference data records come from the source systems through matching and merging, so they’re typically not changed in the MDM Web App.
When a value must be corrected for consuming systems or reporting and fixing it in the source system would take too long, you can override it. The original value is kept, and the override is applied on top of it until you remove it.
Overrides can’t be applied to foreign key columns, that is, relationship and engine columns.
Set an override
-
Open the record and select Edit.
-
Edit the value.
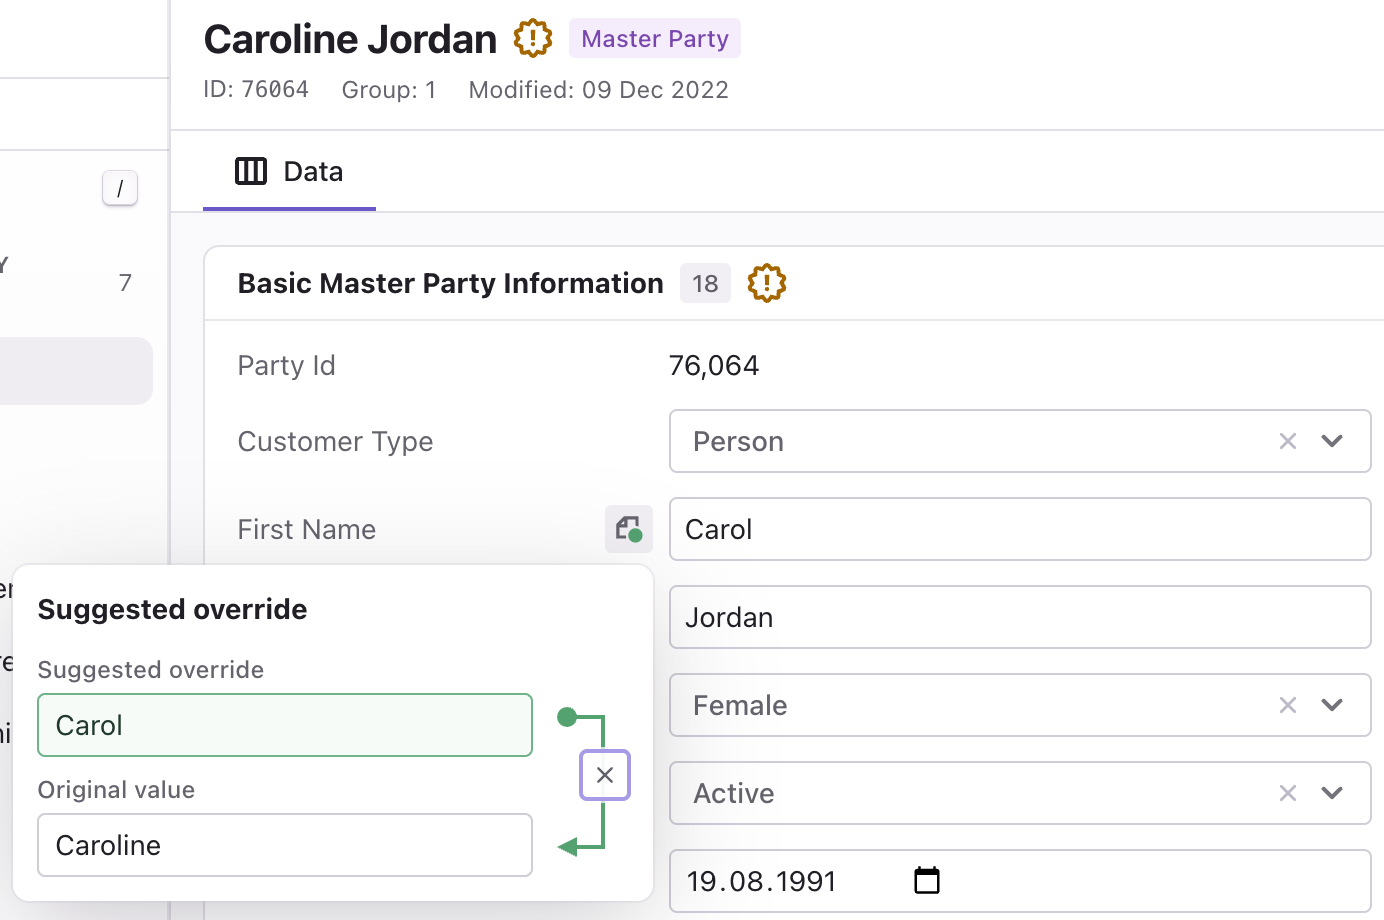
The override indicator, a page icon with a folded corner, appears next to the attribute name. Select it to view the original value and the override, highlighted in green.
-
If needed, override values in the related records as well.
-
Publish the task or move it to the next workflow step. See Resolve Tasks.
To remove the override before publishing, select the override indicator and then the X.
Published overrides keep the same indicator in the record detail. Select it to see the original value as well.
Remove an override
When the data has been corrected in the source system, remove the override so that the source value applies again.
-
Open the record and select Edit.
-
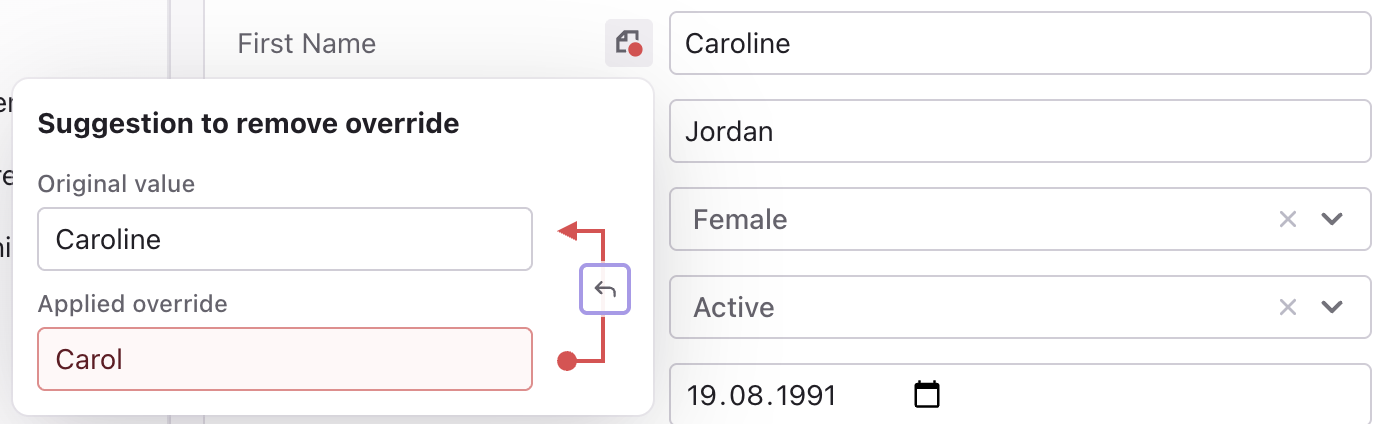
Select the override indicator next to the attribute and then the X. The override is highlighted in red to show that it will be removed. To keep the override after all, select Undo changes in the override indicator.
-
Publish the task or move it to the next workflow step. See Resolve Tasks.
Was this page useful?