Editing Values
Edit authored records
|
Records created directly within MDM Web App are referred to as Authored records. In the vertical compare and record detail view, these can be identified by the Authored record indicator (a user with a padlock icon). At the entity level they can be identified by the value of True in the |
When working with authored data, edits are saved directly on the master layer, as opposed to the overrides that are used for consolidated data. For more information about overrides, see Override consolidated values.
To edit authored records:
-
Select the required record and open the record detail view.
-
Select Edit. This brings up the taskbar.
-
Edit details as necessary.
-
The changes are now saved into a task. To propagate the changes to the MDM hub, it is necessary to publish them by selecting Resolve and publish from the taskbar. See Resolving Tasks.
Override consolidated values
| Instructions in this section are valid when MDM Web App is connected to a consolidated data hub. |
| You cannot apply overrides to foreign key column values. Foreign key columns include relationship columns and engine columns. |
When the MDM solution is used for consolidating data from multiple source systems, MDM Web App displays these consolidated values when viewing master (golden records) as well as the instance records (the records that came from source systems, along with their cleansed versions) and reference data.
In general, neither consolidated master nor instance and reference data records should be modified directly in MDM Web App. Master and reference data records - because they are the result of the matching and merging rules set up for the project; and instance records - because data stewards working in MDM Web App are not the owners of those records (but the administrators of the source system are).
However, it is sometimes necessary to modify (that is, override) these consolidated representative values because the data provided by the MDM solution should be correct for consuming systems or reporting purposes, and often, doing so directly in the source systems is slow and complicated.
Set an override
To override the value of an attribute:
-
Open a master, instance, or reference record detail, for example, from search results (see Searching for Data).
-
Select Edit from the record top toolbar. Skip this step if there is an active task.
-
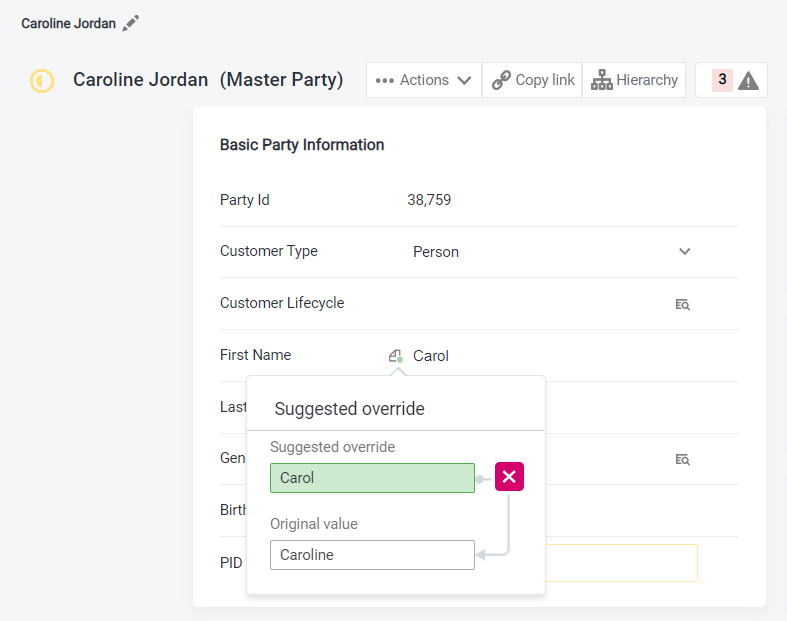
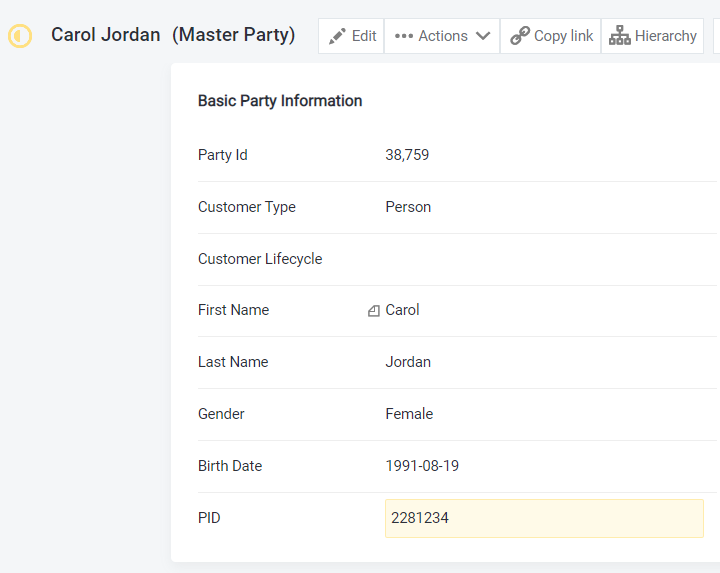
Hover over the attribute that you need to override and select the value. Change the value as necessary - the override suggestion icon appears next to the attribute name.

-
(Optional) Go through related records and define overrides as necessary.
-
The changes are now saved into a task. To propagate the changes to the MDM hub, it is necessary to publish them by selecting Resolve and publish from the taskbar. See Resolving Tasks.
After the changes have been published, the green dot disappears from the override icon.

Remove an override
When data has been corrected in the source systems, previously applied overrides should be removed from affected attributes.
To remove an applied override:
-
Open a master, instance, or reference record detail, for example, from search results (see Searching for Data).
-
Select Edit from the record top toolbar. Skip this step if there is an active task.
-
Select the applied override icon next to the attribute.

-
Select the pink cross button. The override icon now has a red dot in the lower-right corner indicating a suggestion to remove the override.
To keep the override, select Undo. -
The changes are now saved into a task. To propagate the changes to the MDM hub, it is necessary to publish them by selecting Resolve and publish from the taskbar. See Resolving Tasks.
Was this page useful?
