
Merging and Splitting Records
|
If the merge or split actions are unavailable for an entity, or changes cannot be saved or published, check that all prerequisites are met. See Prerequisites for editing entities in MDM Web App. |
Merge master records
MDM Web App lets you manually merge several master records into one. This might be necessary when the automatic match and merge process was not able to identify instance records that represent the same master record.
When browsing data in MDM Web App, you can identify such records and merge them. The easiest way to decide whether records should be merged is to open and inspect them in the compare view.
Manual merge is also useful when you want to merge a consolidated record with an authored record. For more information about consolidated and authored records, see Types of Data.
Select and compare records
| You must first compare records to enable the Merge functionality. |
Choose the master records you would like to merge and select Compare in the toolbar to switch to the compare view.
When comparing eight or fewer records, the Vertical compare view opens as default. If more than eight records are selected, the Horizontal compare view opens as default.
You can toggle between the vertical and horizontal view using the icon in the upper-right corner, but Merge preview and overrides are only available in the Vertical compare view. For more information, see Comparing Records.
Merge records
|
Authored records can only be merged in the Vertical compare view. In the vertical compare and record detail view, authored records can be identified by the Authored record indicator (a user icon with a padlock).
At the entity level, they can be identified by the value of True in the |
From the vertical compare view
-
From the top toolbar, select Merge preview.

-
The Merge preview column appears. Use the dropdown to select the survivor ID. For more information about selecting survivors in different merge scenarios, see Select survivors.
When merging consolidated records, the merge preview reflects MDM merging rules. If you are merging with authored records, only the authored records are taken into account when creating the preview.
When records for merging have overrides applied, the merge preview returns applied overrides based on the survivor selection.
-
To override the data that will be associated with the merged record, select data directly by clicking the entry in one of the existing columns, or edit the field in the Merge preview column.
-
Once you are happy with the changes in the preview, select Apply merge.
-
The changes are now saved into a task. To propagate the changes to the MDM hub, it is necessary to publish them by selecting Resolve and publish from the taskbar. See Resolving Tasks.
| When merging from the vertical compare, you do not need to select records. All records displayed in the current vertical compare view will be involved in the merge. |
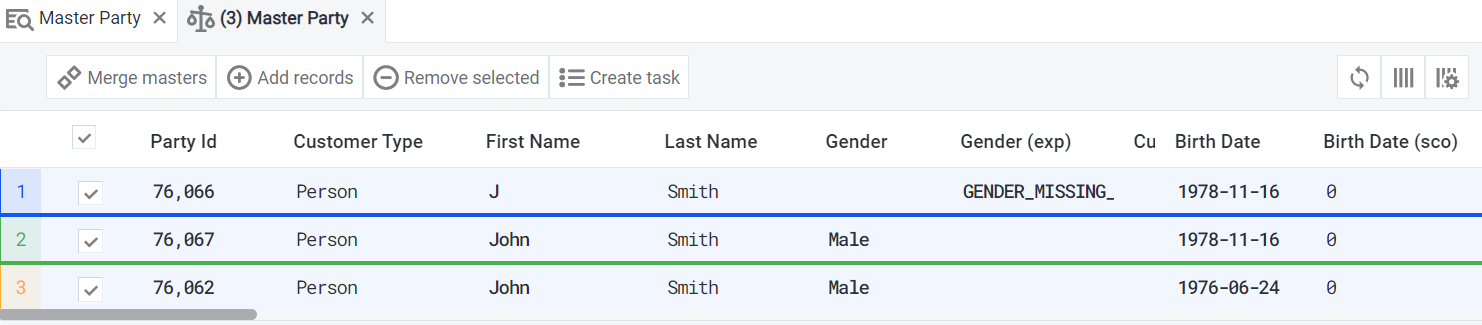
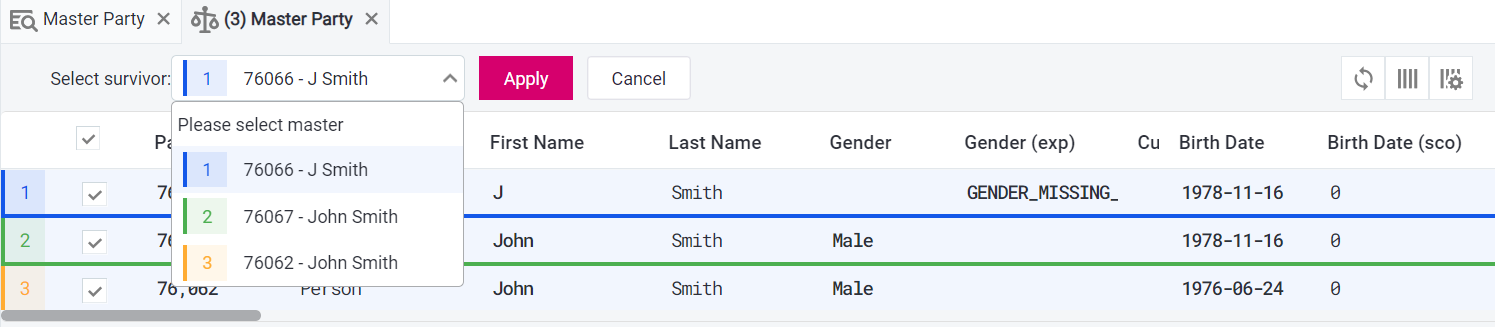
From the horizontal compare view
-
From the top toolbar, select Merge masters.
-
In the Select survivor field that opens, select the ID of the master record that will be the survivor. For more information, see Select survivors.
-
The changes are now saved into a task. To propagate the changes to the MDM hub, it is necessary to publish them by selecting Resolve and publish from the taskbar. See Resolving Tasks.
Select survivors
The following section explains the concept of selected survivors in each of the possible merge scenarios.
-
When merging consolidated records with other consolidated records, all instance records are directly merged to the selected survivor master record. Related master records (like address and contacts in the case of party matching) are reprocessed and merged too.
-
When merging authored records with other authored records, you can again select the survivor. All attributes will belong to the selected survivor.
-
When merging authored records with consolidated records, only the ID of the authored record can be selected as the survivor. Instances and related records of the consolidated record will now be associated with the authored record.
In all cases, the data associated with the merged record can be overridden in the Merge preview column as long as you are in the vertical compare view.
Split and merge instance records
MDM Web App lets you manually remove instance records from master records and either make new master records out of them (that is, split them) or attach them to another master record (merge).
Split instances
Splitting an instance record is usually necessary if it has been wrongly matched during the MDM processing. Splitting lets you remove the instance record from the master group and create a new master record from it.
There are two ways of splitting an instance:
-
From the instance compare view.
-
From the master compare view (see Comparing Records, section Compare records).
-
From the master record detail.
From the instance compare view
To split one or more instances from the instance compare view:
-
In the instance view, select one or several records from the list. Select Compare in the toolbar.
-
In the compare view, select the instance records that you wish to split from the master.

-
The changes are now saved into a task. To propagate the changes to the MDM hub, it is necessary to publish them by selecting Resolve and publish from the taskbar. See Resolving Tasks.
From the master compare view
To split one or more instances from the master compare view:
-
In the master view, select one or several records from the list. Select Compare in the toolbar.
-
In the Related entities section of the compare view, select the instance records that you wish to split from the master.
-
From the toolbar, select Split instances.
-
The changes are now saved into a task. To propagate the changes to the MDM hub, it is necessary to publish them by selecting Resolve and publish from the taskbar. See Resolving Tasks.
From the master record detail
To split instances from the master record detail:
-
In the master view, open the record detail.
-
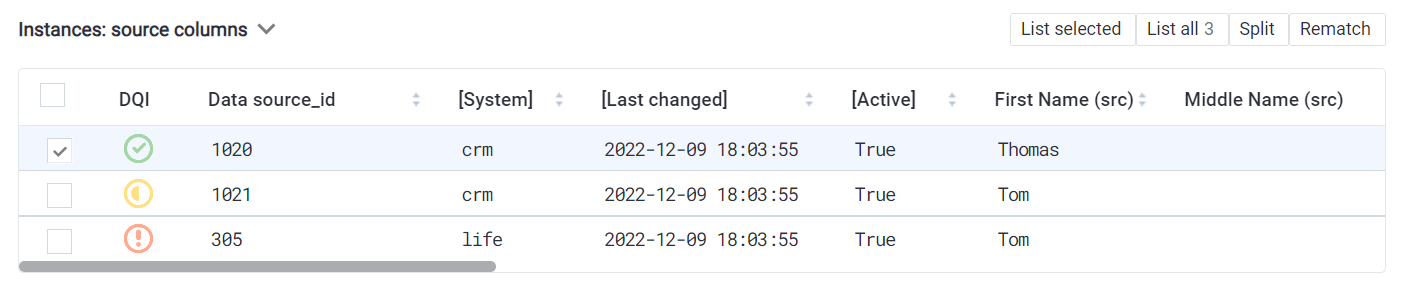
In the Instances section, select the instance records that you wish to split from the master.

-
From the toolbar, select Split.
-
The changes are now saved into a task. To propagate the changes to the MDM hub, it is necessary to publish them by selecting Resolve and publish from the taskbar. See Resolving Tasks.
Merge instances to a different master
Merging an instance record to a different master record is usually necessary if it has been wrongly matched during the MDM processing and attached to the wrong master group. At the same time, there is a different master group to which the instance record should belong given the values of its attributes.
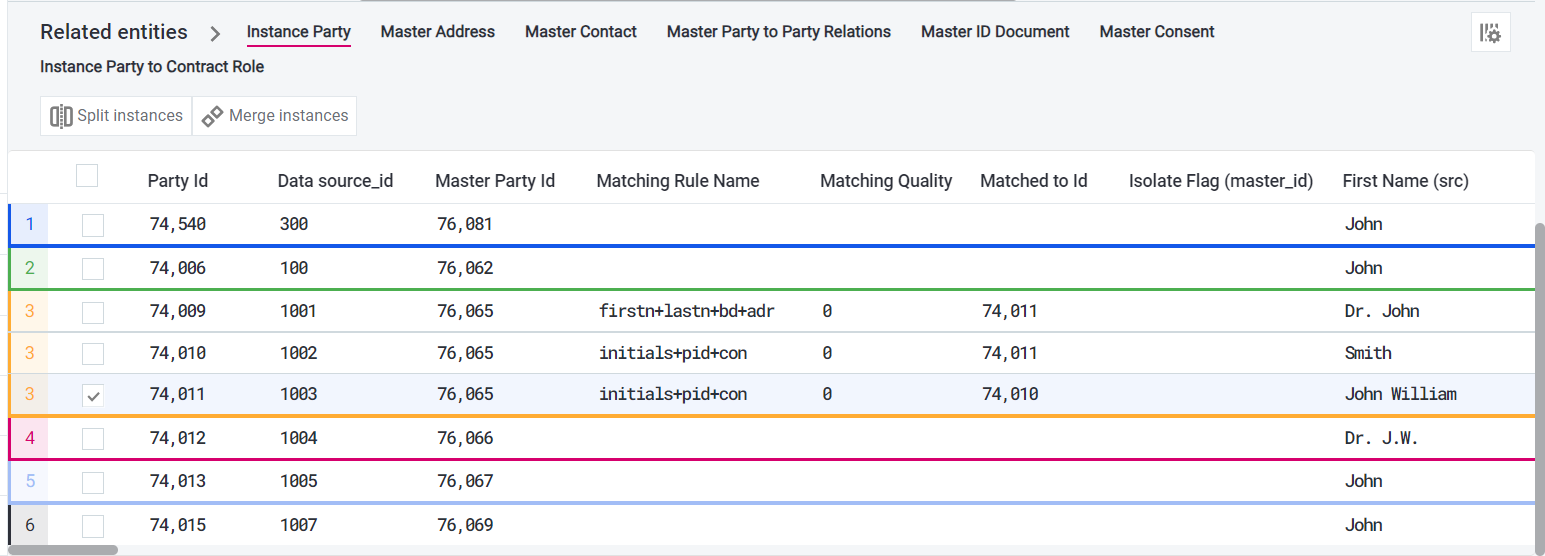
To merge an instance record to a different master from the master compare view:
-
In the master view, select both the master records that contain the instance records you wish to merge to a different master and the master records that you want to merge these instance records to.
-
In the Related entities section of the compare view, select the instance records that you wish to merge to a different master.
-
From the toolbar, select Merge Instances.
-
In the Merge to field that appears, select the master to which the instance record will be merged.
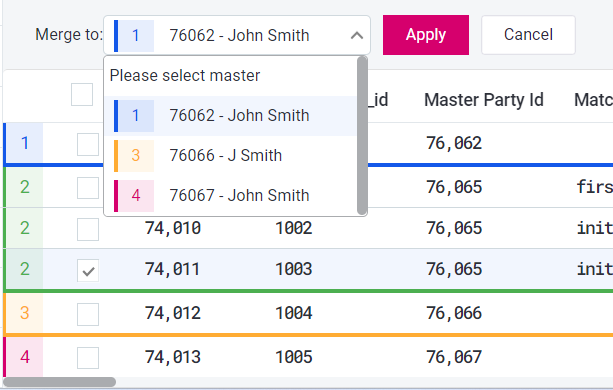
You can only select from the master records that are present in the comparison table. -
Confirm your choice by selecting Apply.
-
The changes are now saved into a task. To propagate the changes to the MDM hub, it is necessary to publish them by selecting Resolve and publish from the taskbar. See Resolving Tasks.
Rematch operation
It is sometimes necessary to perform a match operation on a record that was already matched in the past.
Rematching a master record reprocesses the whole matching group, which is the recommended approach for consistency. Rematching an instance record reprocesses that single record only.
When you trigger a rematch, MDM prompts you to select a rematch strategy:
-
Preserve Manual Match (default): Records are rematched against the current matching rules, but any existing manual matches or splits are kept in place.
-
Remove Manual Match: Records are rematched from scratch. Any existing manual decisions are discarded.
For more information about rematch strategies, see Rematch strategy.
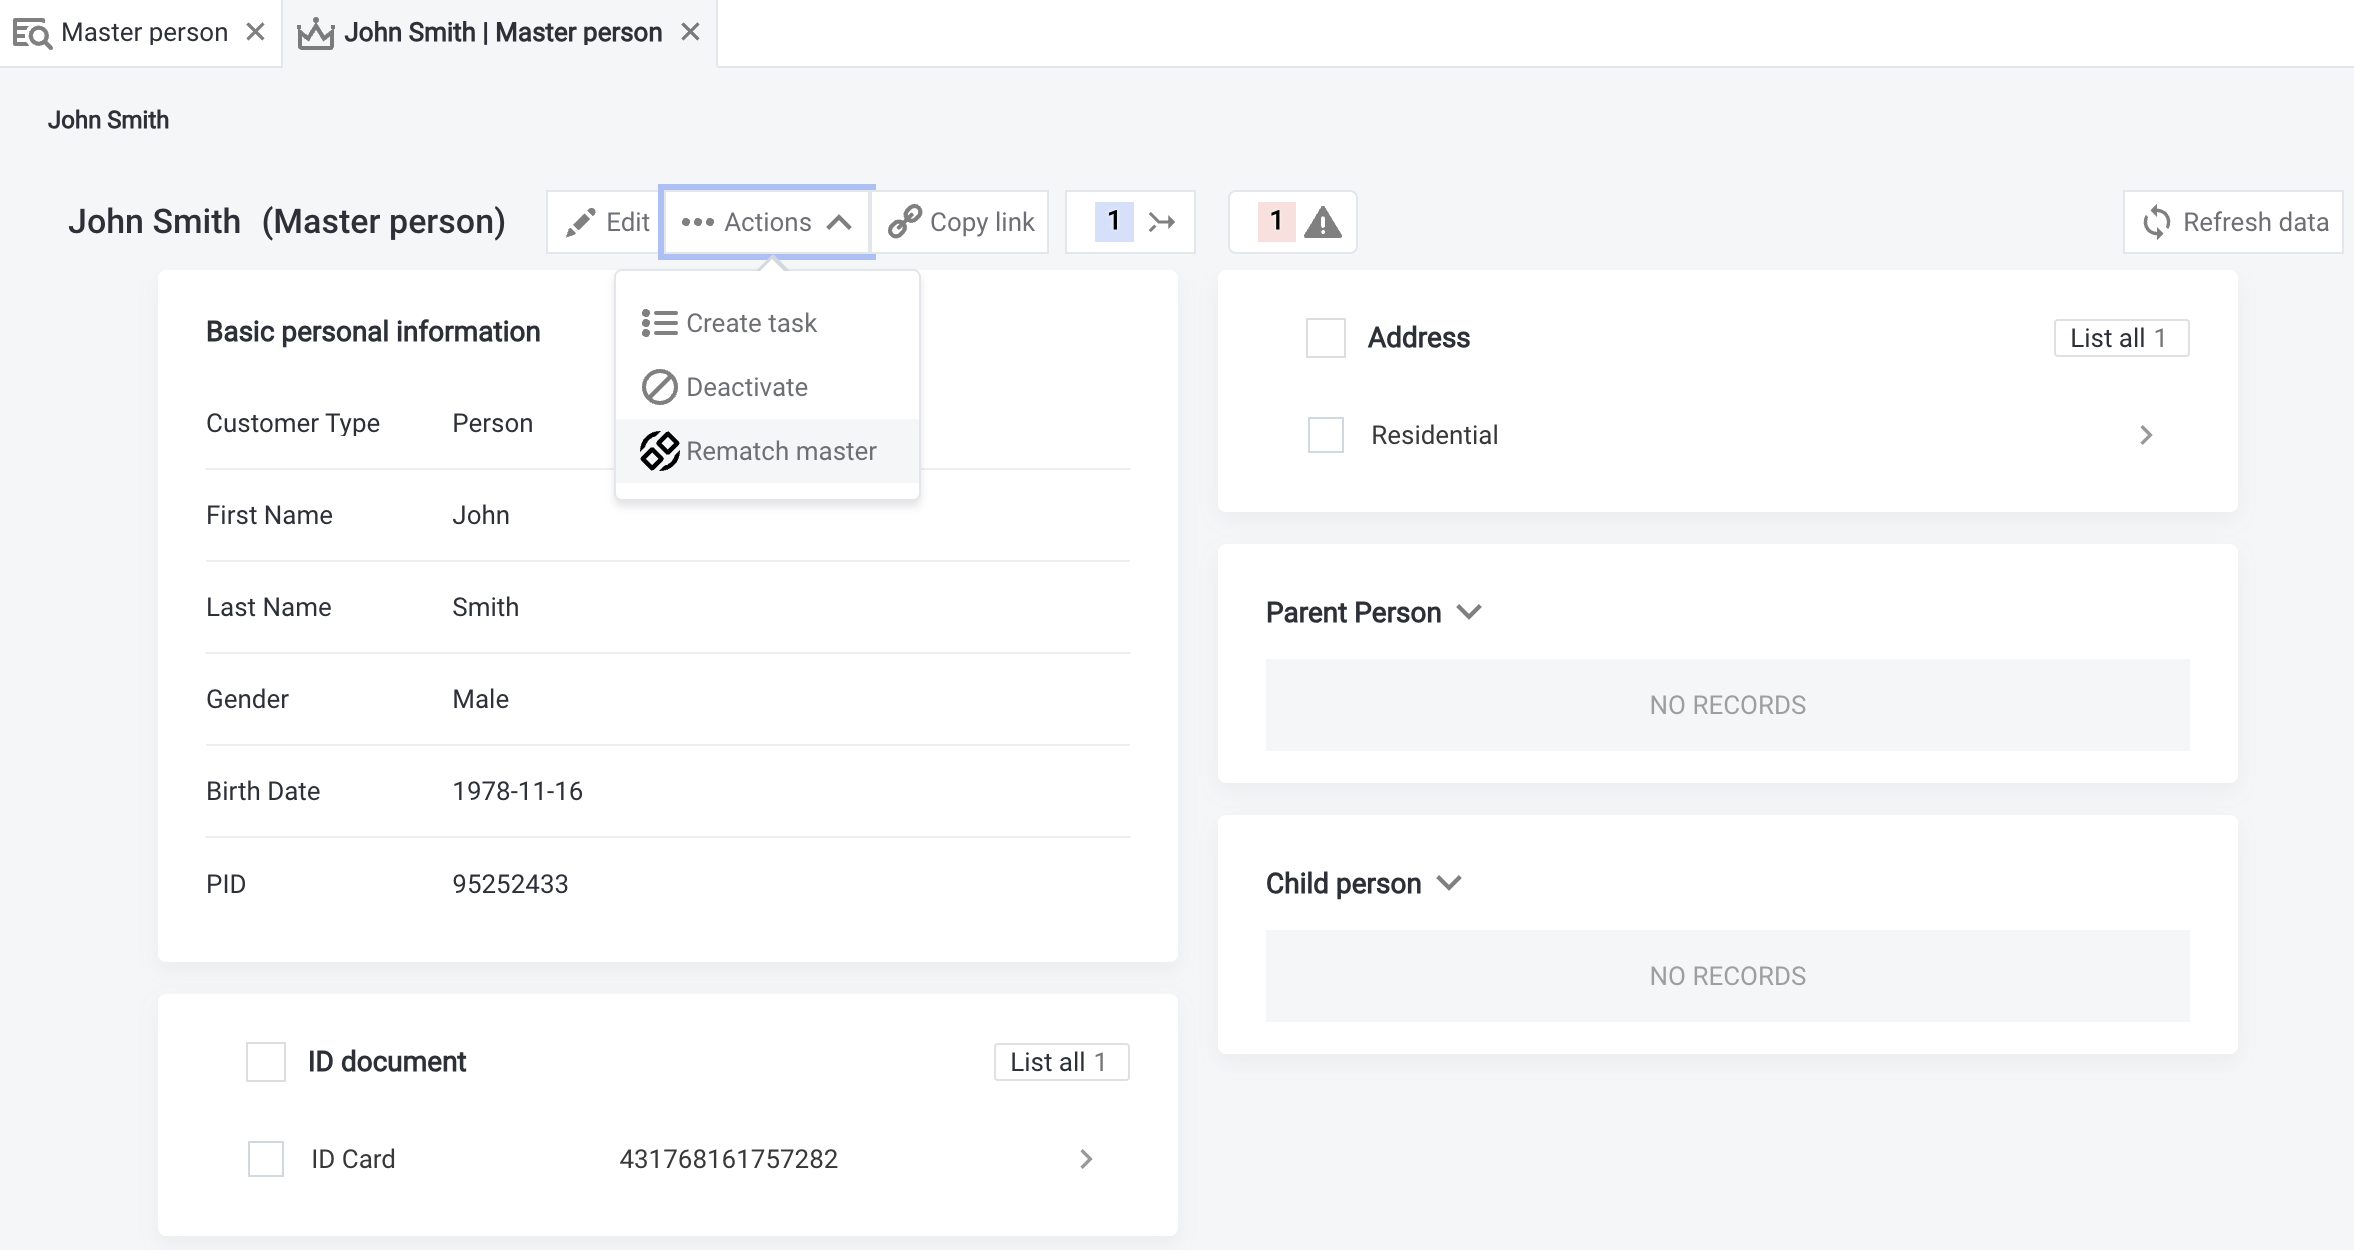
Rematch a master record
To rematch a master record, open the relevant master record and select Actions > Rematch master.
Rematch an instance record
To rematch an instance record, open the relevant instance record and select Actions > Rematch instance.
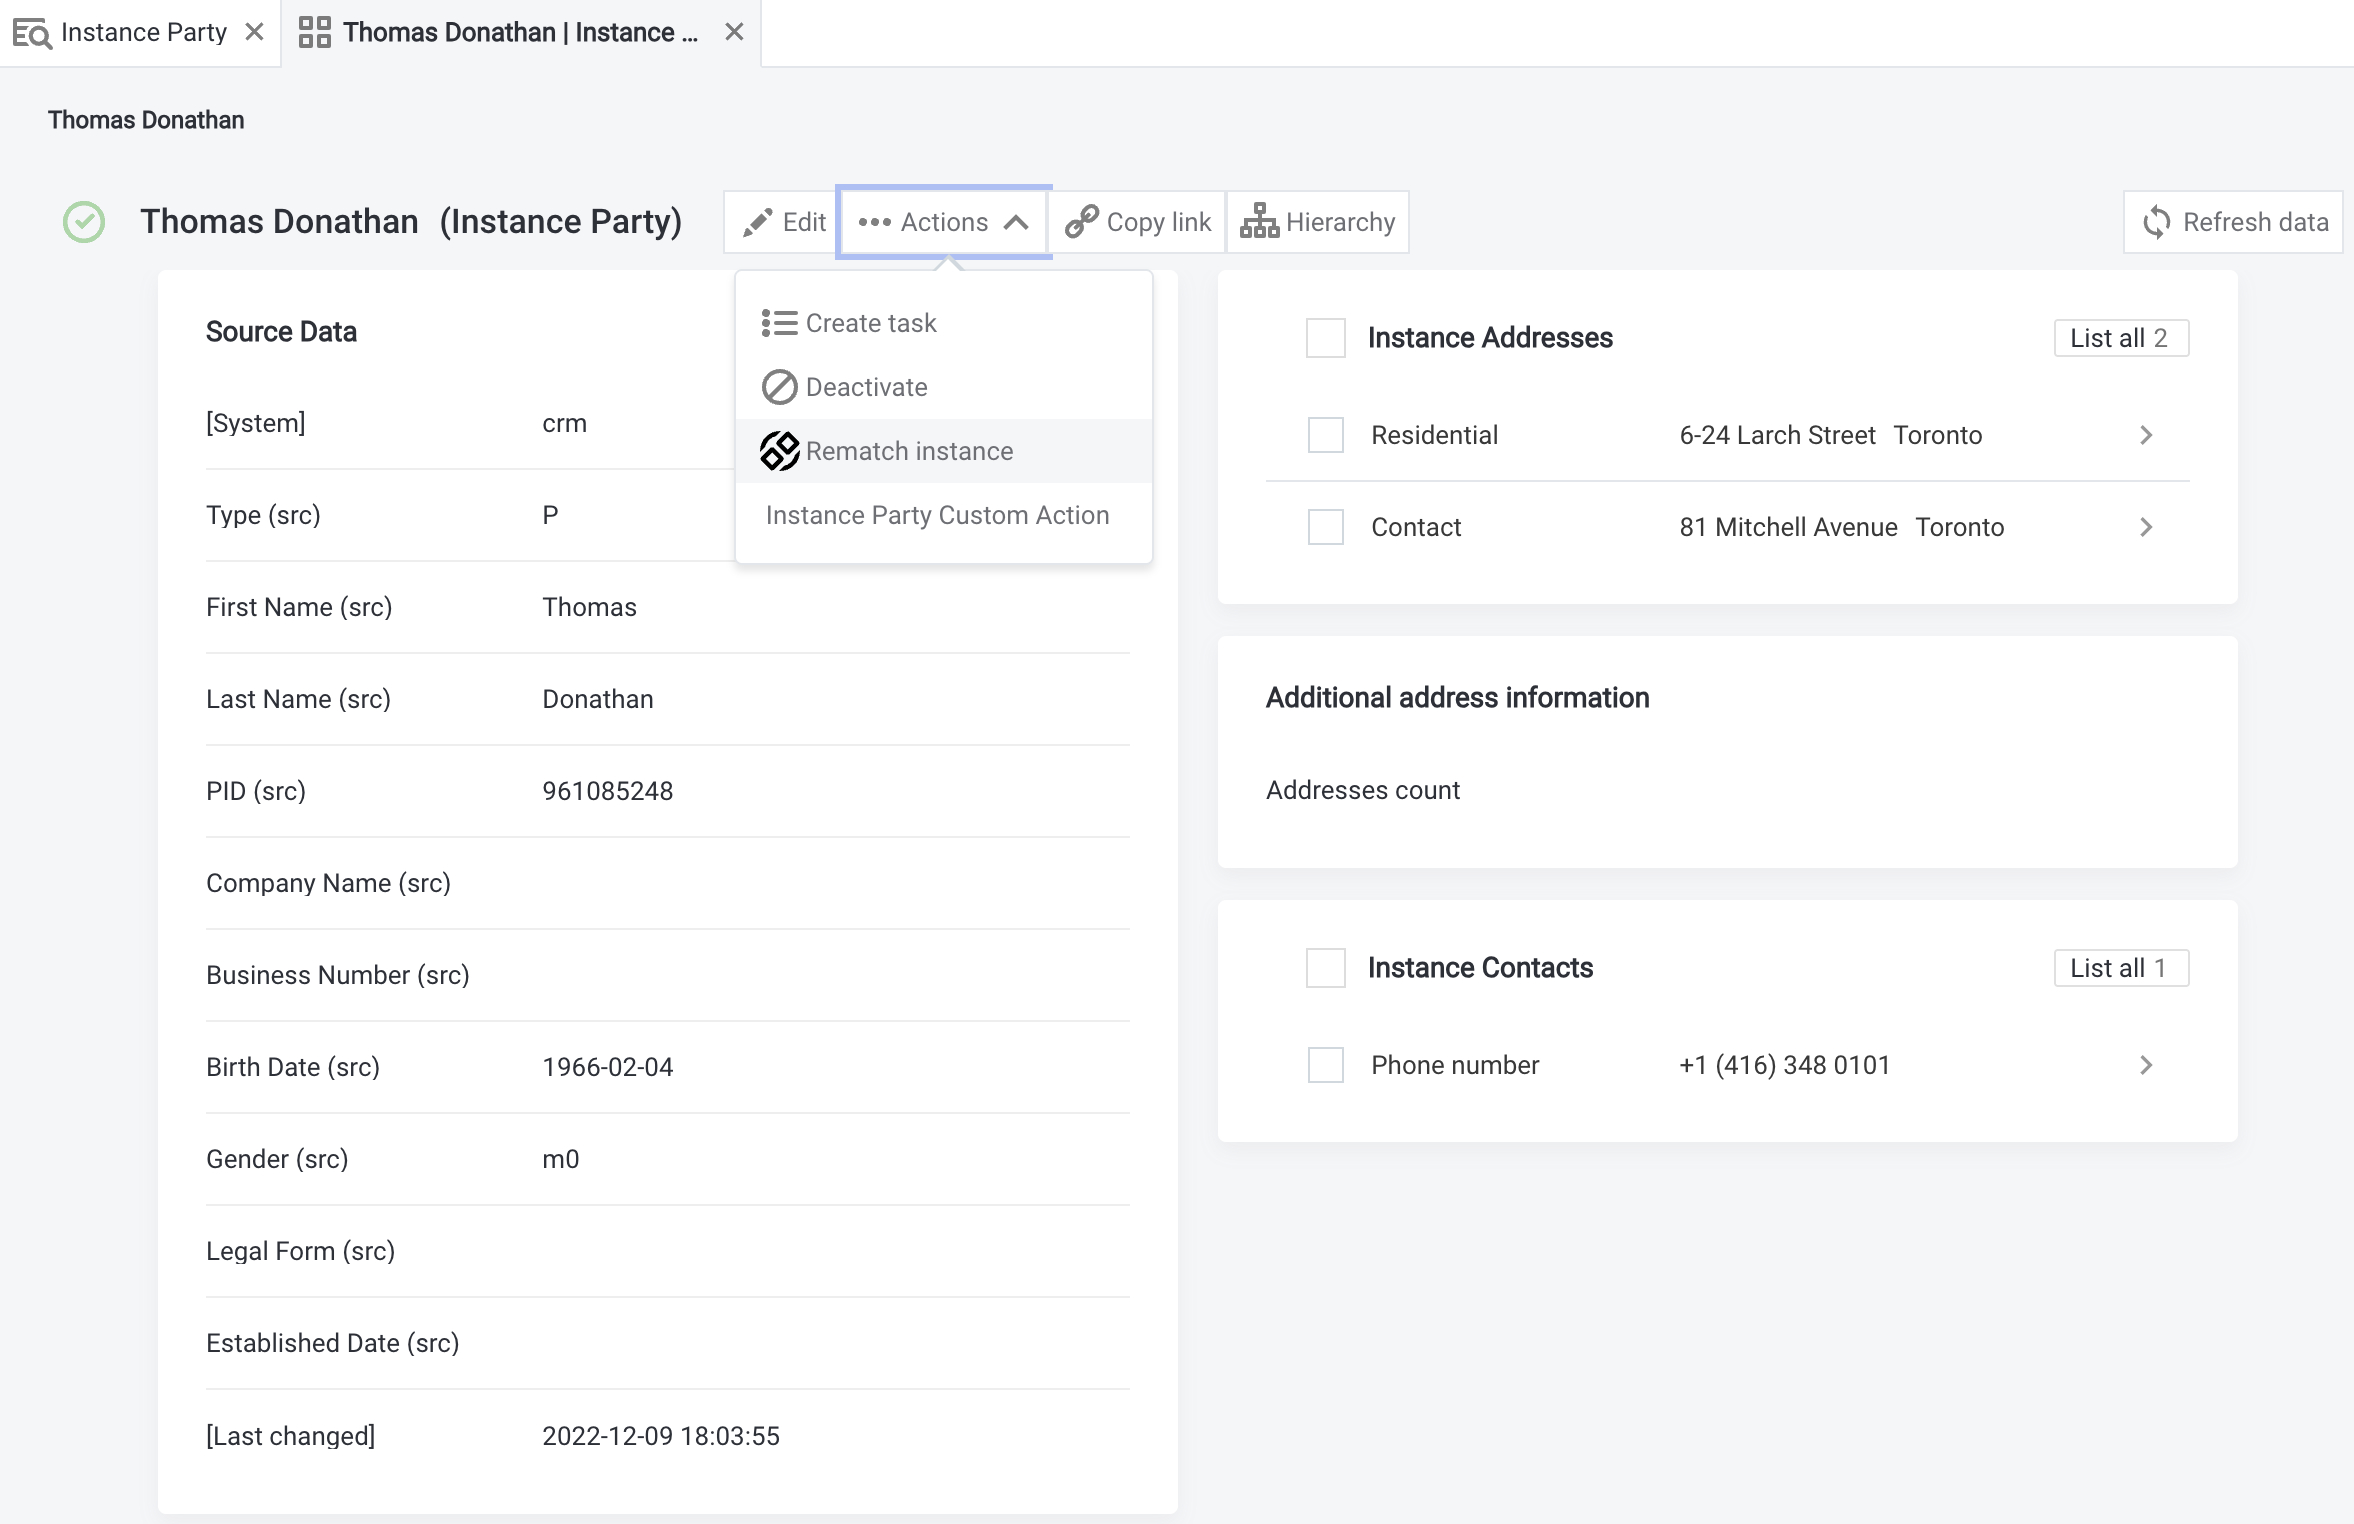
You can also rematch instances from the master record’s Instances section or the instance record’s All columns section.
Publishing changes
The changes are saved into a task. To propagate the changes to the MDM hub, you need to publish them by selecting Resolve and publish from the taskbar. See Resolving Tasks.
Was this page useful?