
Create Data Products, Domains, and Business Processes
This article walks you through how to create data products and their supporting assets: domains, business processes, and data elements.
To learn more about what these assets represent and how they connect, see Data Products.
Create domain
-
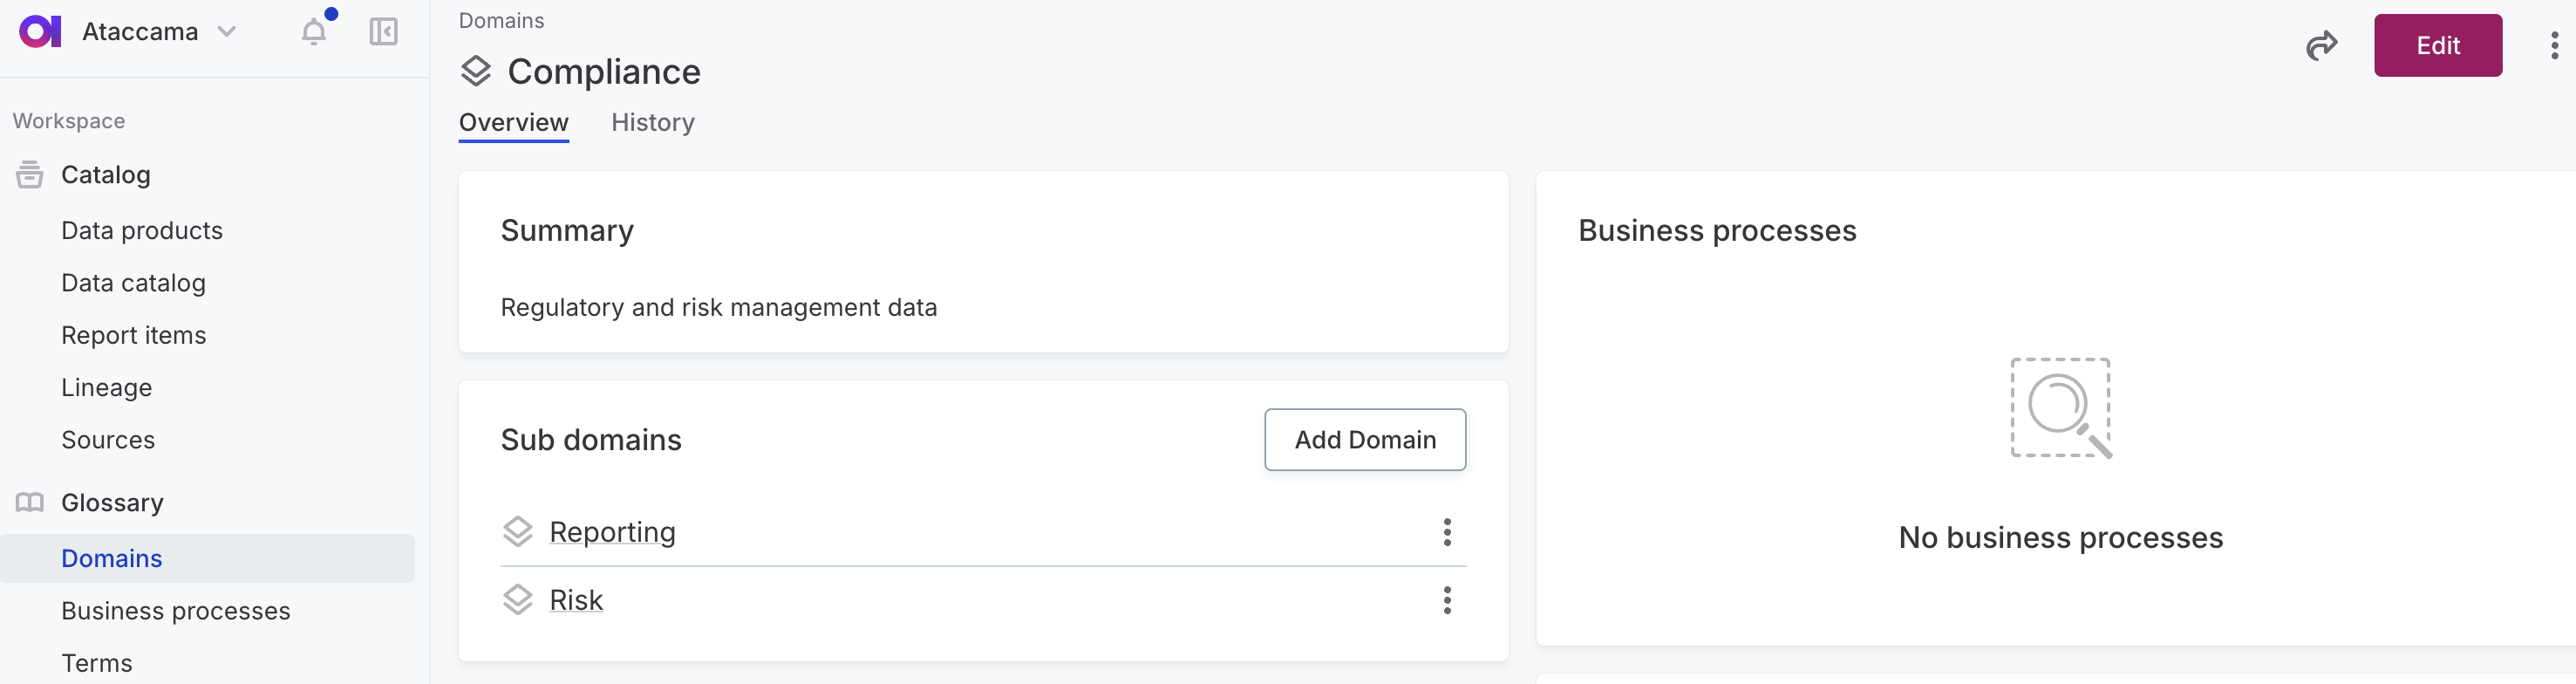
Go to Domains.
-
Select Create.
-
Enter a name and a description.
-
Select Save.
After saving, open the domain to assign stewardship.
Create subdomain
Each subdomain belongs to a single parent domain. You can build out a domain hierarchy as deep as your business needs.
For example, a Customer domain might contain Retail, Commercial, and Private Banking subdomains. Each of those could also contain its own subdomains: Retail might include subdomains like Deposits, Lending, and Cards.
Build the hierarchy top-down: create the parent domain first, then add subdomains under it. You can come back at any time to add more, including subdomains of subdomains.
Note that currently each subdomain belongs to a single parent domain and can’t be moved to another later.
To create a subdomain:
-
On the Domains tab, open the parent domain. Create one following Create domain if you don’t have it yet.
You don’t need to publish at this point. You can keep working on drafts until you’ve created all necessary subdomains. -
In the Subdomains section, select Add domain.
-
Enter a name and a description (for example, what data area the domain covers and what data it organizes). The description appears wherever the domain is referenced and helps data stewards and consumers understand what belongs in it.
-
Optional but recommended: Assign stewardship.
-
In Subdomains, you can add one or more nested domains within the one you’re creating. Select Add domain and enter a name and a description.
-
Select Save.
The new subdomain appears in the Subdomains section of the parent domain. To access it directly from the Domains tab, expand the parent first.
After you’ve created all the subdomains you need, publish your changes.
Create business process
-
Go to Business processes.
-
Select Create.
-
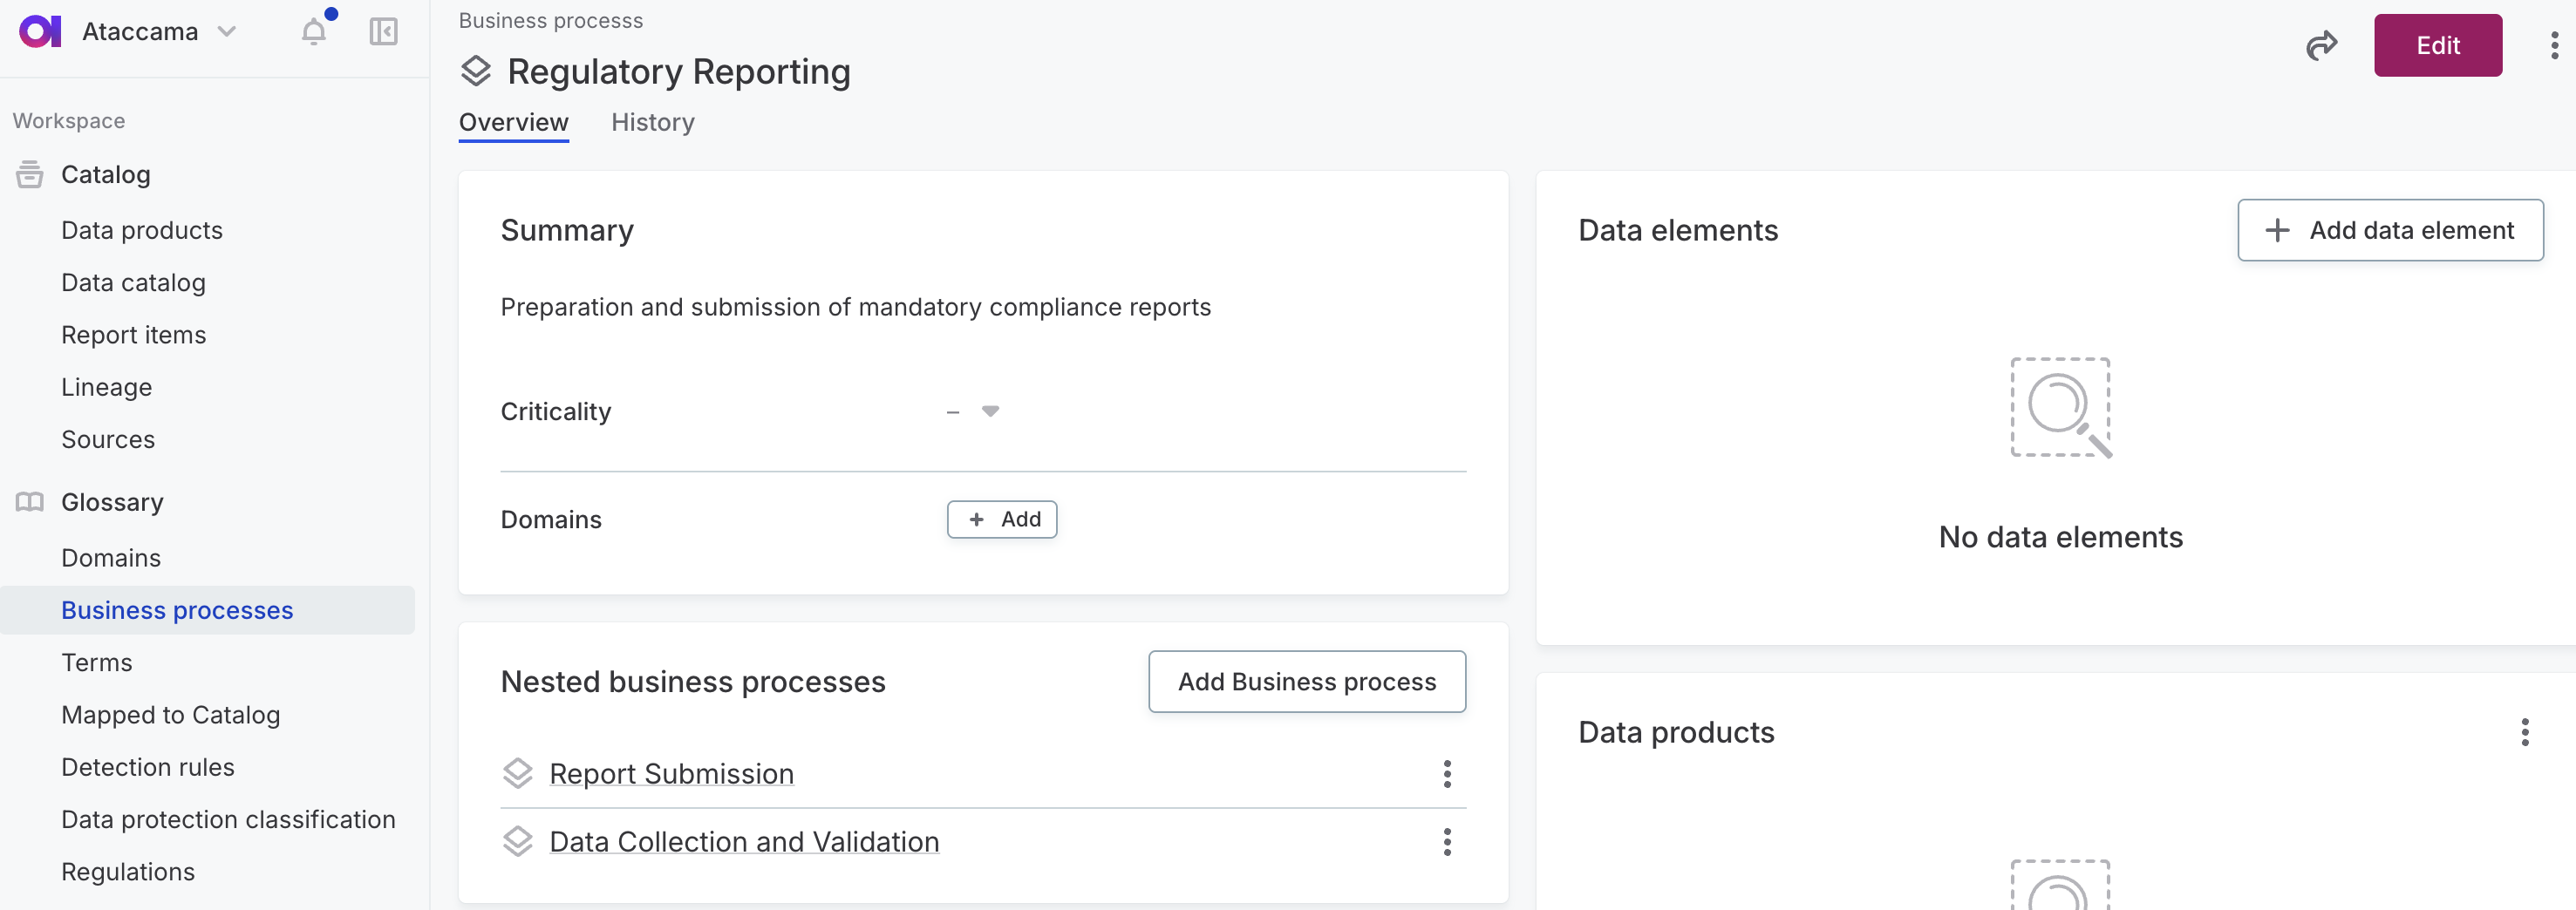
Enter a name and a description (for example, what business activity the process represents and what data it touches). The description appears wherever the process is referenced and helps data stewards and consumers understand its role in the business.
-
Optionally, mark the business process critical.
The default is Inherited, meaning the process will pick up criticality from the parent business process. For business processes, inherited criticality comes from a parent process. See Define Critical Data Elements before changing this.
-
Select which domains the business process is associated with.
-
Select Save.
After saving, open the business process to add data elements, link data products it produces or consumes, and assign stewardship.
Create nested business process
Each nested business process belongs to a single parent business process. The business process hierarchy can be as deep as needed.
For example, a Customer Onboarding process might contain Identity Verification, KYC Checks, and Account Activation nested processes. KYC Checks in turn might break down into Document Review, Sanctions Screening, and Risk Assessment.
Build the hierarchy top-down: create the parent first, then add nested processes under it. You can come back at any time to add more, including further nesting.
Note that currently each nested process belongs to a single parent process and can’t be moved to another later.
To create a nested business process:
-
Open the parent business process. Create one following Create business process if you don’t have it yet.
You don’t need to publish at this point. You can keep working on drafts until you’ve created all necessary nested processes. -
In the Nested business processes section, select Add business process.
-
Enter a name and a description.
-
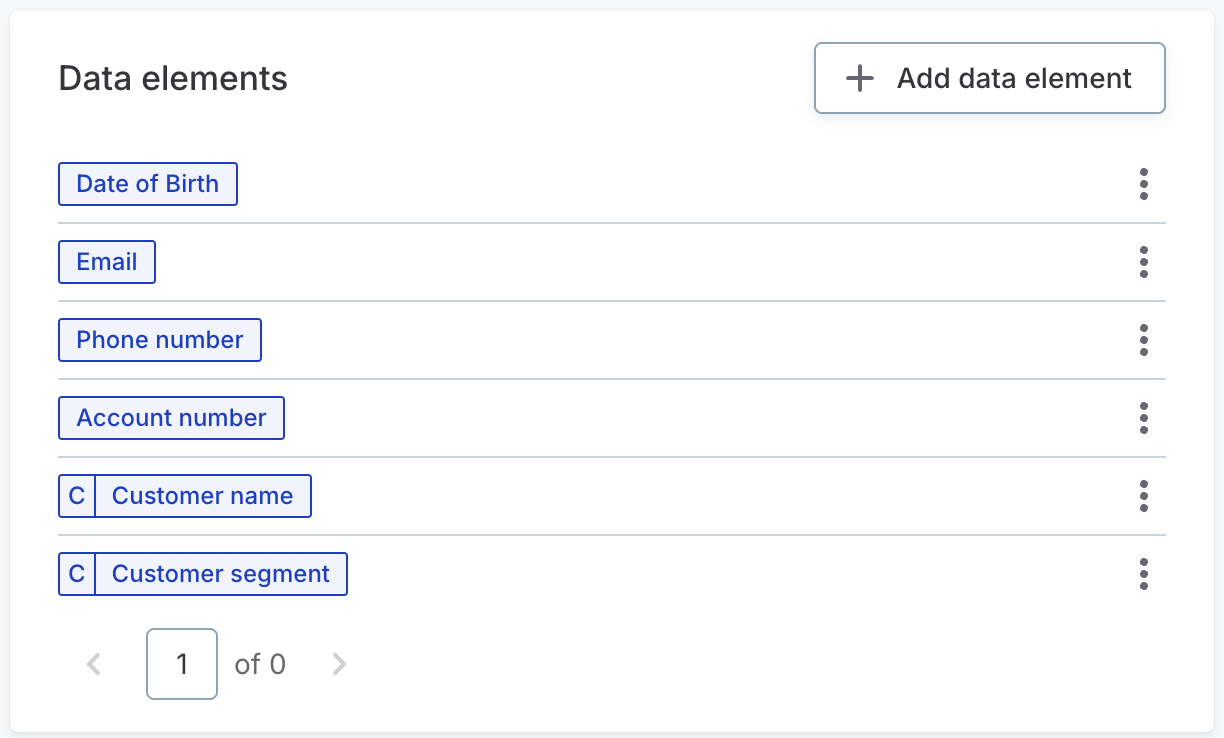
Optionally, add data elements and domains.
-
In Subprocesses, you can add one or more nested business processes within the one you’re creating. Select Add business process and enter a name and a description.
-
Select Save.
After saving, open the nested business process to assign stewardship.
The new nested process appears in the Nested business processes section of the parent process. To access it directly from the Business processes tab, expand the parent first.
Once you’ve created all the nested processes you need, publish your changes.
Create data product
-
Go to Data products.
-
Select Create.
-
Enter a name and a description (for example, what the data product represents and what business need it serves). The description appears wherever the data product is referenced and helps data stewards and consumers understand what it offers.
-
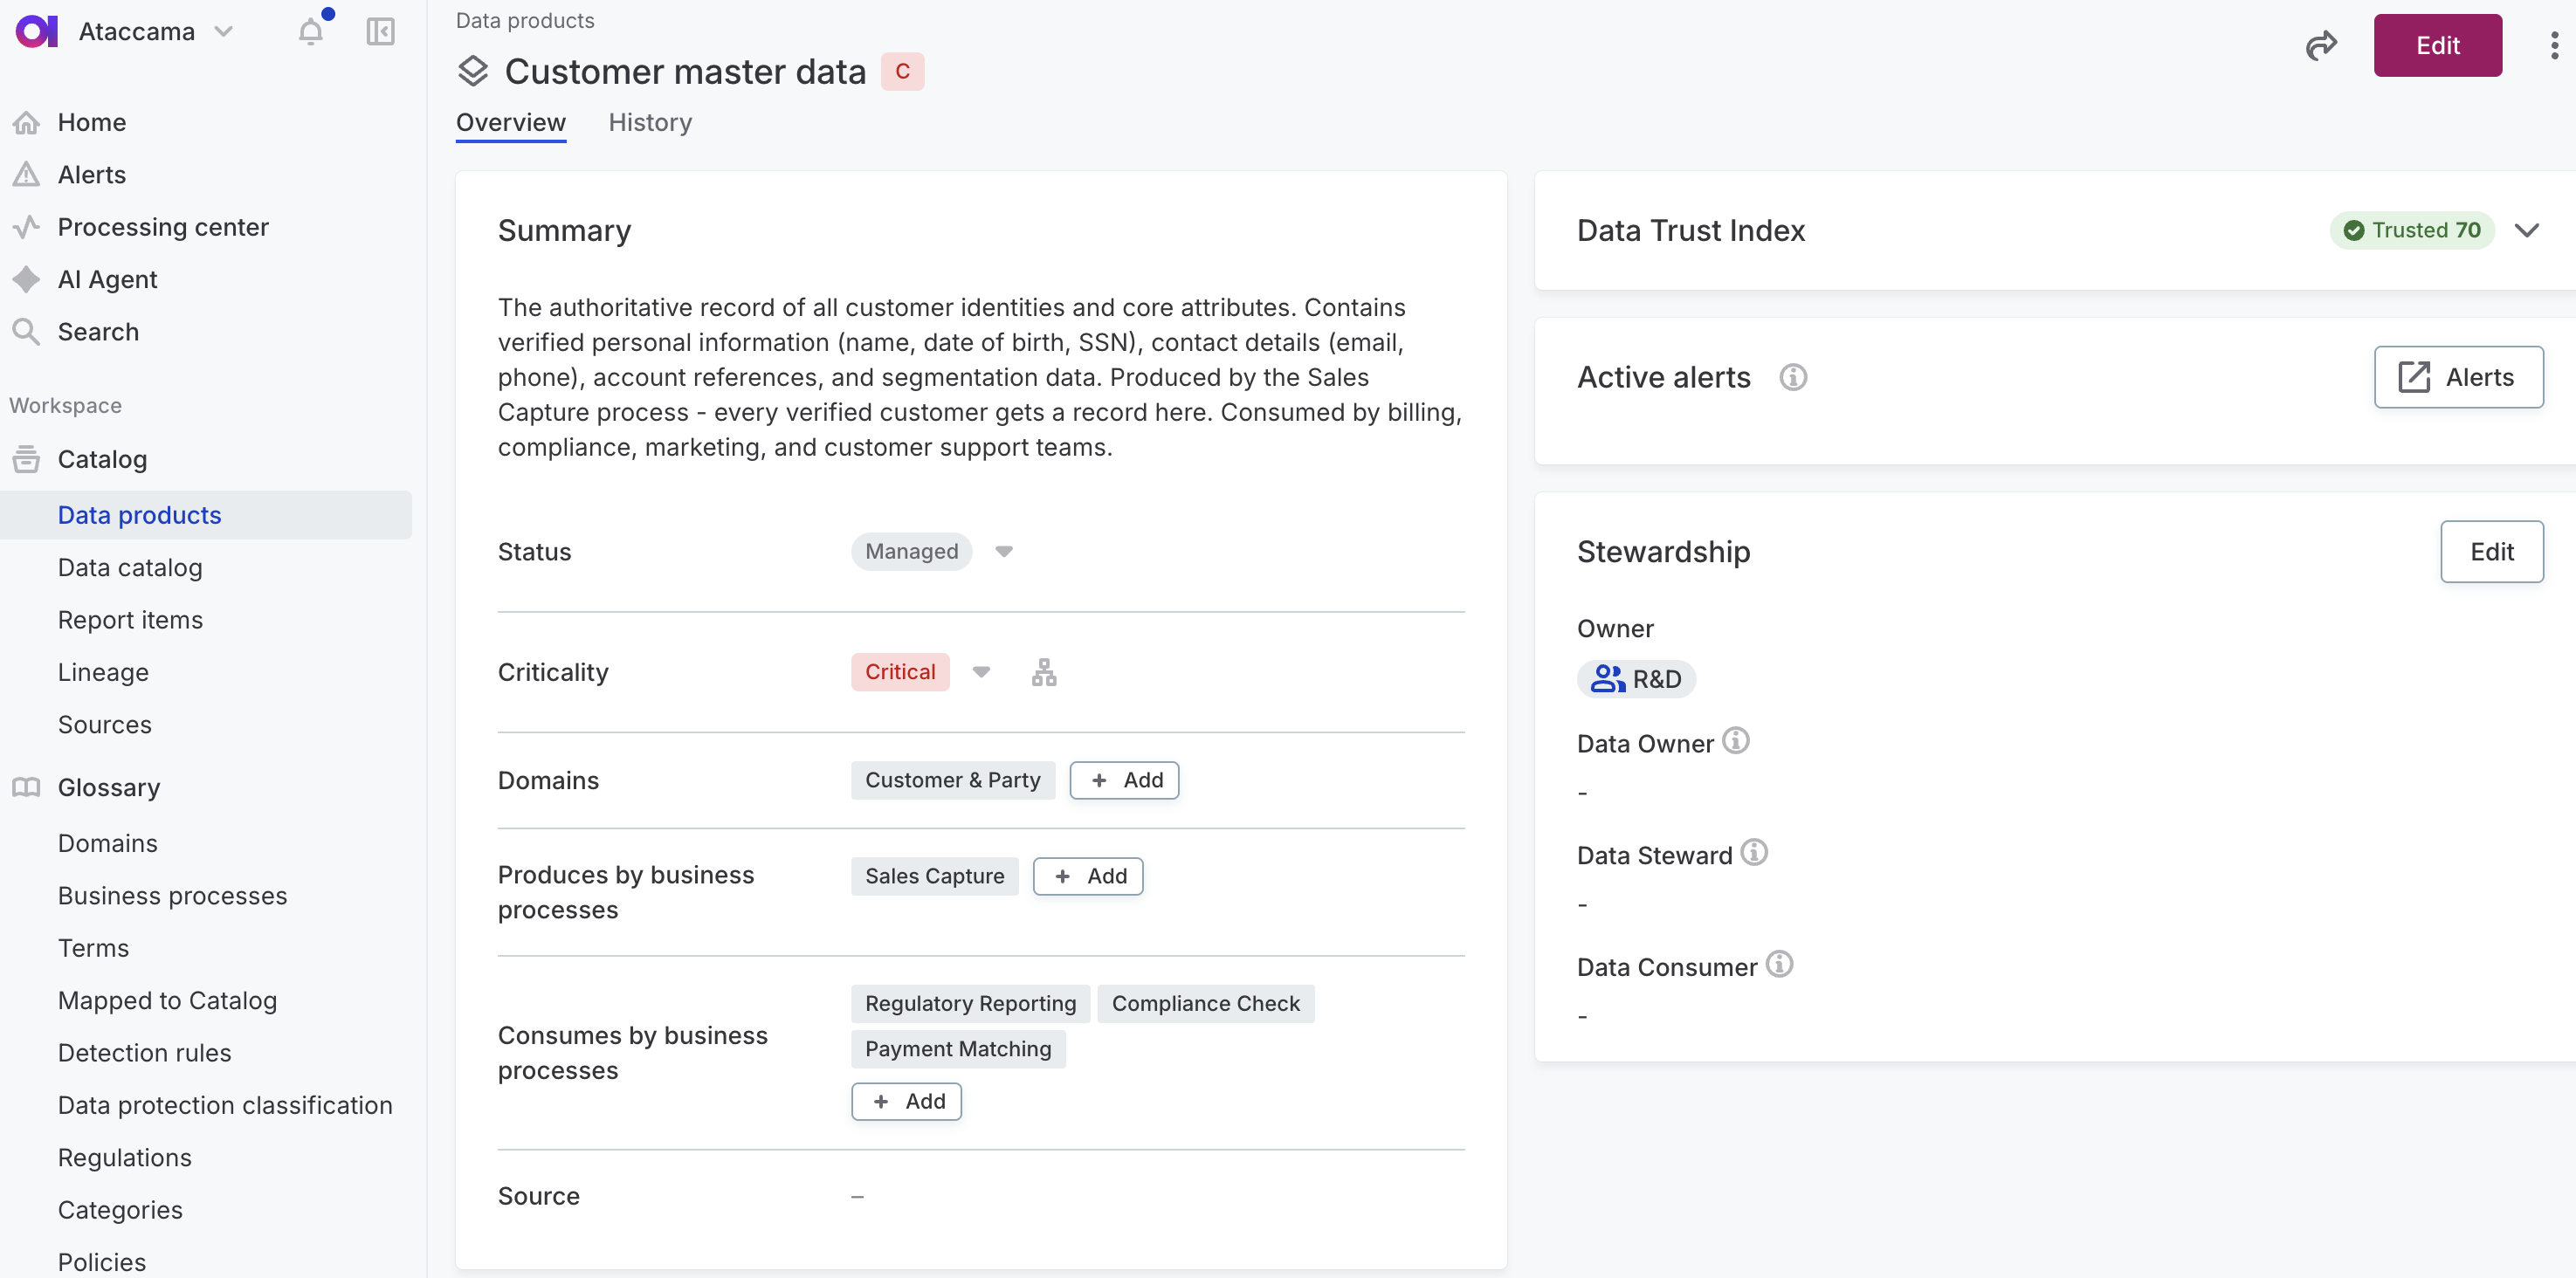
Set the status of the data product. This signals where the data product is in its lifecycle.
-
In Progress: The data product is being configured and is not yet ready for consumption.
-
Managed: The data product is actively governed and ready for use.
-
Deprecated: The data product is obsolete and no longer maintained.
-
-
Optionally, mark the data product critical.
The default is Inherited, meaning the data product picks up criticality from related assets, such as business processes and data elements. See Define Critical Data Elements before changing this.
-
Select the related data source.
A data product has one source, representing where its data primarily originates. The catalog items you link after can come from any source, not just this one.
Choose the source that best reflects the data product’s origin or system of record.
-
Add the business context for the data product:
-
Domains: The data areas the data product belongs to.
-
Produces by business processes: Processes that produce this data product.
-
Consumes by business processes: Processes that consume this data product.
-
Data elements: Terms that describe what the data product is expected to contain.
-
-
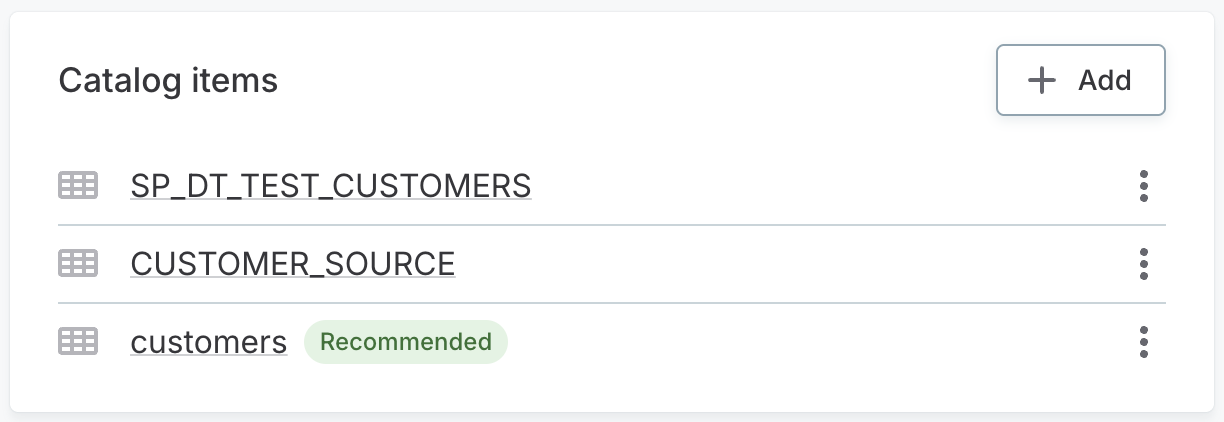
In Physical association, select the catalog items that physically implement the data product. You can add as many as needed.
After adding a catalog item, you can mark one as recommended from the three-dot menu. The recommended catalog item is highlighted to consumers as the canonical implementation.
-
Select Save.
After saving, open the data product to assign stewardship.
Was this page useful?