
Create Detection Rule
| For an example of how to create a detection rule for a specific use case, see Get Started with Data Quality. |
Before you start
We recommend checking the following topics:
-
Data Quality - Learn how data quality works in ONE.
-
Detection and DQ Evaluation Rules - Read more about the types of rules and their role.
Create new detection rule manually
|
As well as being created from scratch, detection rules can be created from the attribute statistics. For example, create a detection rule for a term identifying North American phone numbers using mask results from an existing data profile. 

Only data-based detection rules can be created from attribute statistics. |
To create a rule:
-
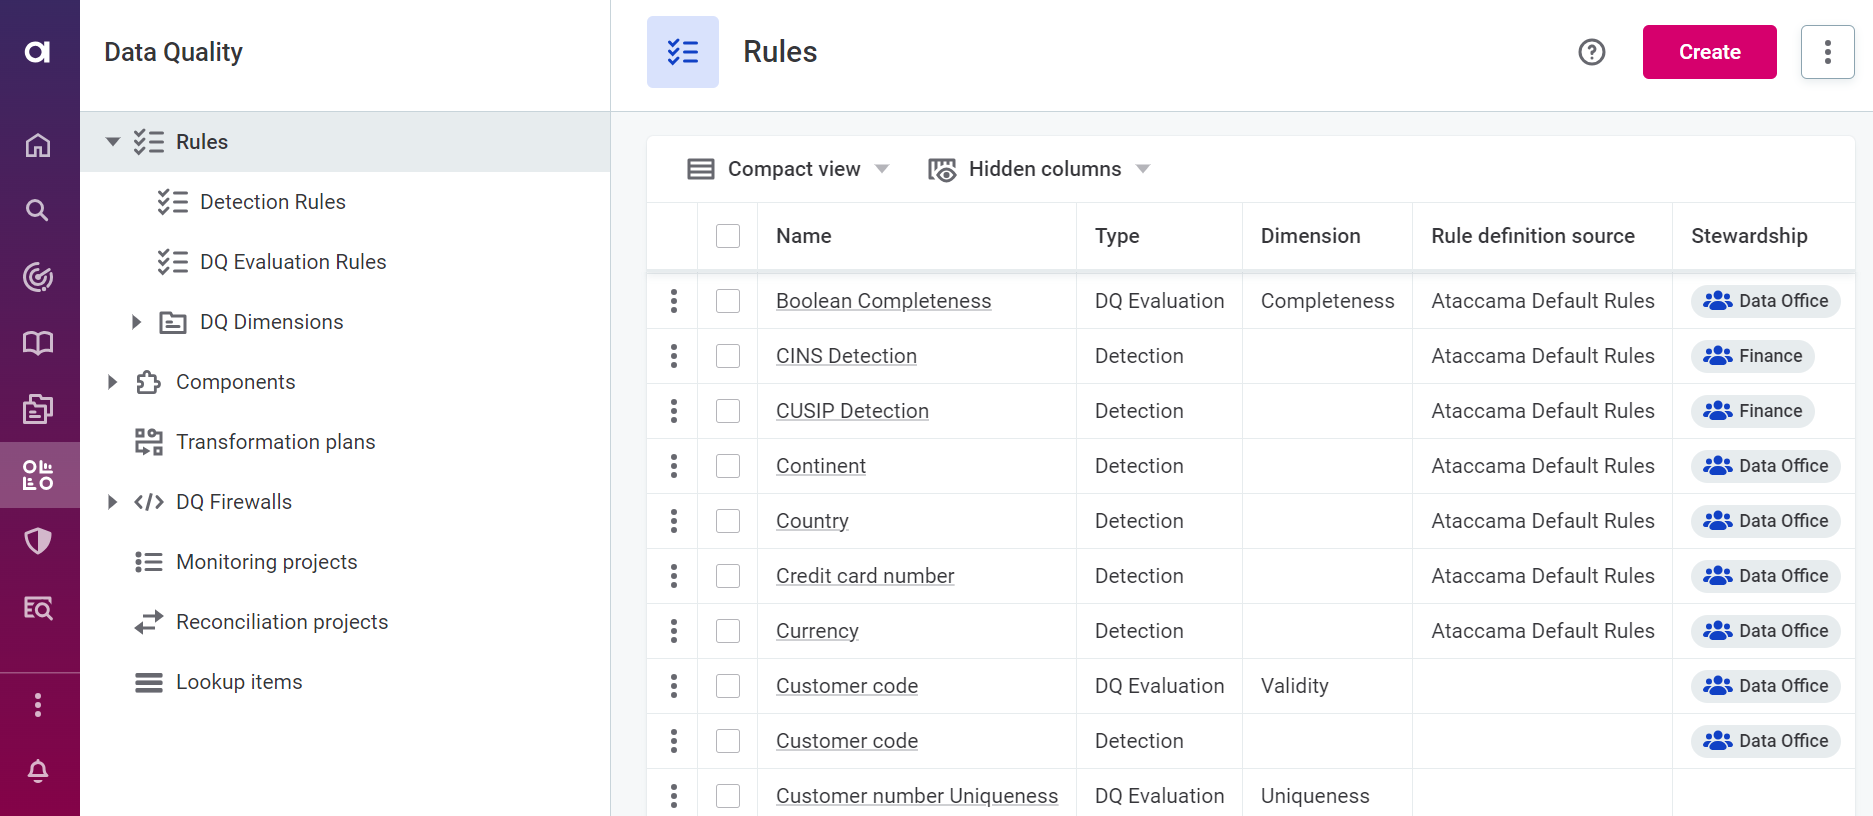
Navigate to Data Quality > Rules.
-
Click Create.
-
Provide the following information:
-
Name: The name of the rule.
-
Description (optional): A description of the rule and how to use it.
-
Rule definition source (optional): A descriptive name for the data source associated with the rule.
-
Stewardship (recommended): Select the user group which are owners of the asset. After you select a group, the list of users assigned to the governance roles within the selected group is displayed.
For more information, see Stewardship.
-
-
Click Save to create a draft of the rule.

-
Before publishing or submitting an approval request, you need to define the rule logic consisting of at least one input attribute and condition. Continue to Rule implementation.
Rule implementation
Once you have created the rule, go to the Implementation tab.
Select rule type
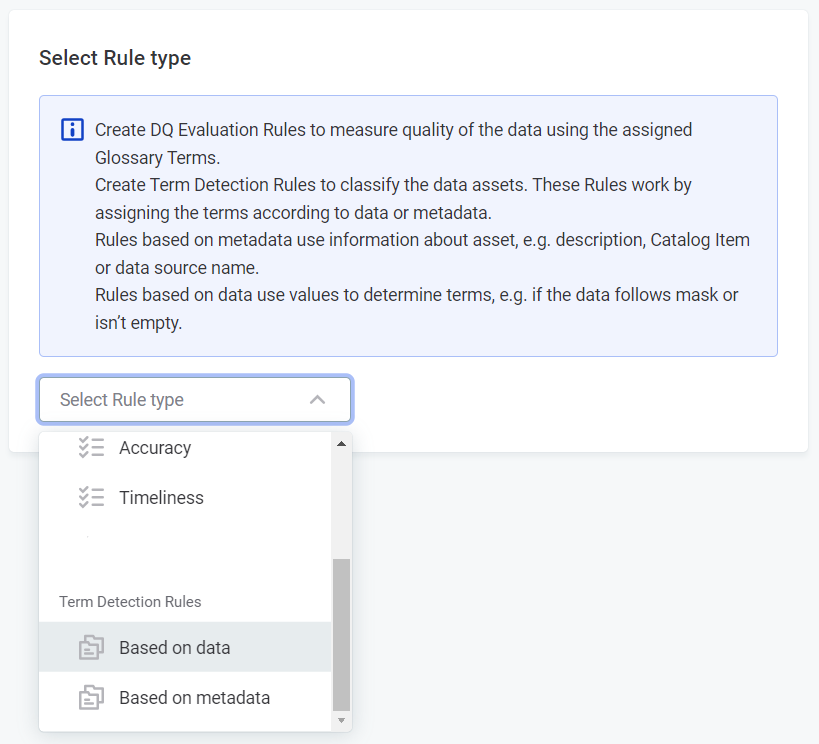
Use the dropdown, and under Term Detection Rules, choose from the following:
-
Based on data: Data-based rules evaluate the attribute data.
-
Based on metadata: Metadata-based rules help to assign terms based on information such as the names or descriptions of attributes, catalog items, locations, and data sources, or even attribute comments.
| After you select one of the detection rule types you cannot change to another rule type. If you select the wrong type, discard the rule and create another. |
Inputs
| If you selected Based on metadata in the previous step, proceed to Rule logic. |
-
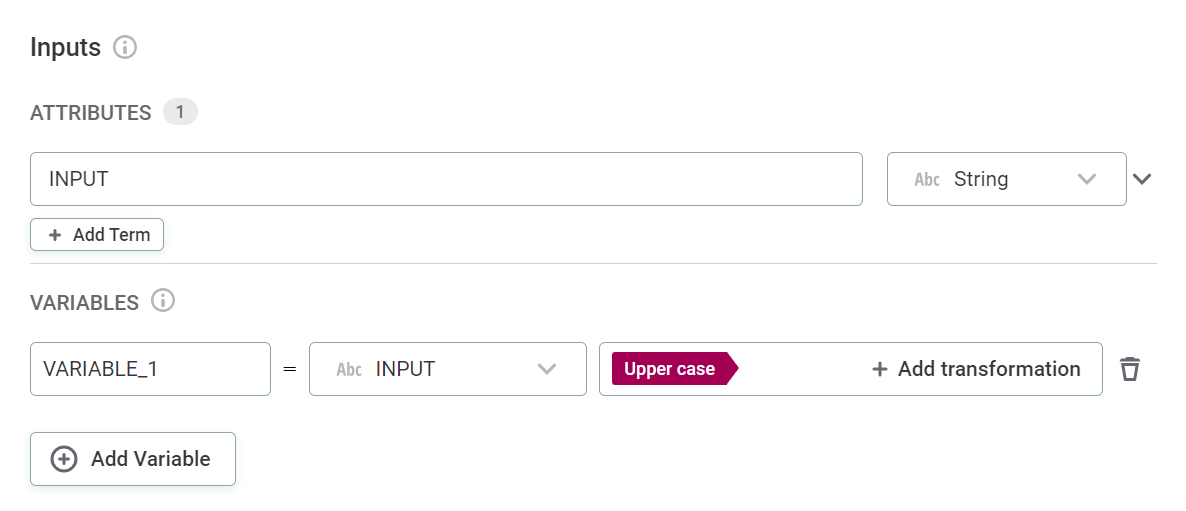
Add an input attribute by providing a name and selecting the data type.
Input attributes are abstract at this point. The number of input attributes defined here and their rule logic become available when you assign rules to catalog items.
The attribute names can be as you choose and do not affect the implementation.
-
(Optional) Assign terms to the attribute.
Assigning terms to input attributes during implementation results in this rule being suggested by the system in the instance an attribute also has this term. -
(Optional) Create Variables from your inputs. Within the Variables section, you can apply a range of transformations to your input attribute. For example, apply the rule conditions only on trimmed versions of string attributes. To create variables:
-
Select a name for your variable. To add fields for additional variables, select Add Variable.
As with the input attribute names, choose a meaningful name or leave as default. -
Select the attributes on which the transformations will be applied. Use the dropdown to select from the list of input attributes - you will apply the transformations in the next step.
Alternatively, if you are an advanced user, use the dropdown to select Advanced Expression and define the attribute and the transformations using ONE expression language.
-
Add transformations using the Add transformation option. The transformations available depend on the data type of the selected attribute: a full list of types and available transformations is provided below.
You can apply multiple transformations to one attribute, but you can only add them in a sensical sequence. For example, if you start with an attribute of data type
Stringand apply the transformationTo integer, you will not then be able to add theUppercasetransformation, as this is only available on string.For the same reason, you can only remove the last transformation in a sequence at any given time. To remove the transformation, hover over the last transformation and use the
xto delete.Expand to see all available transformations
Datatype Available transformations Description StringTo floatChanges data type from string to float.
To integerChanges data type from string to integer.
To longChanges data type from string to long.
UppercaseConverts string characters to uppercase.
LowercaseConverts string characters to lowercase.
TrimRemoves spaces from both ends of the string.
Squeeze spacesTrims string and replaces repeated spaces with a single space.
Remove non-digitsRemoves non-digit characters from string.
Remove non-lettersRemoves non-letter characters from string.
IntegerTo floatChanges data type from integer to float.
To dateChanges data type from integer to date.
To longChanges data type from integer to long.
BooleanTo StringChanges data type from Boolean to string.
DateTo datetimeChanges data type from date to datetime.
To stringChanges data type from date to string.
DatetimeTo dateChanges data type from datetime to date.
To stringChanges data type from datetime to string.
LongTo floatChanges data type from long to float.
To stringChanges data type from long to string.
To dateChanges data type from long to date.
To datetimeChanges data type from long to datetime.
FloatTo stringChanges data type from float to string.
FloorRounds to the nearest integer that is less than or equal to float value.
CeilingRounds to the nearest integer that is greater than or equal to float value.
RoundRounds to nearest integer.
-
-
Rule logic
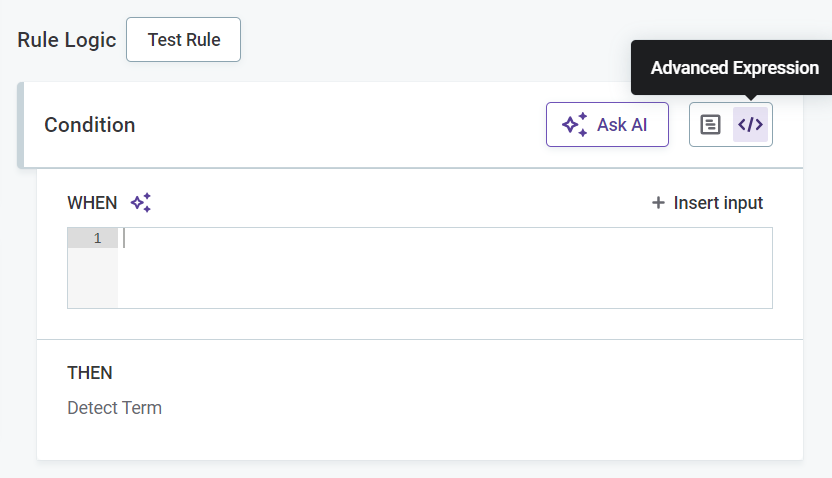
Provide the rule conditions and an explanation of the result.
There are two ways to do this: through the Condition Builder or via Advanced Expression:
-
Select Advanced Expression to leverage ONE expressions in your rule condition (see ONE Expressions).
-
Select Condition Builder to define the rule logic using the predefined options.
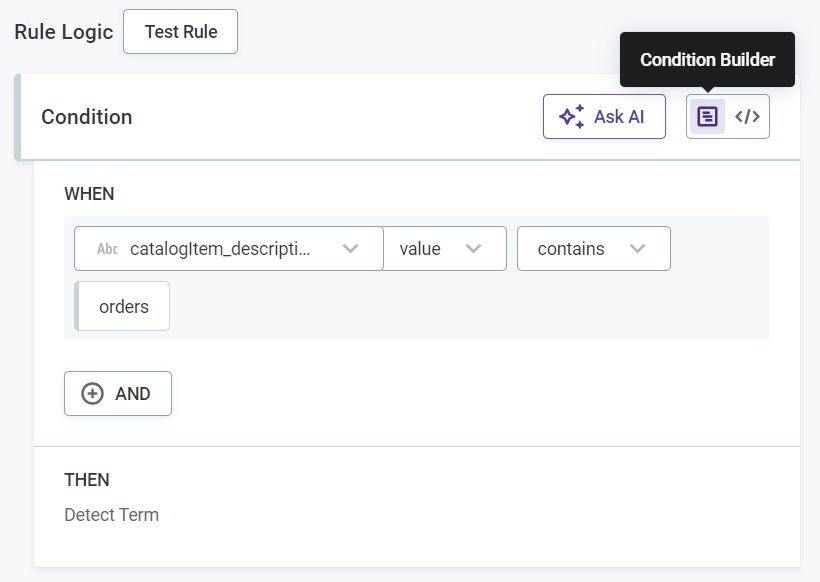
Keep in mind that if you’re using the Condition Builder to define the rule logic, a record must pass all the conditions for the rule to result in a term being assigned (the default logical operator between conditions is
AND).If your detection rule should be less strict and use the logical operator
OR, try the Advanced Expression mode.
If you selected Advanced Expression, provide the expression in the space provided and proceed to Test rule.
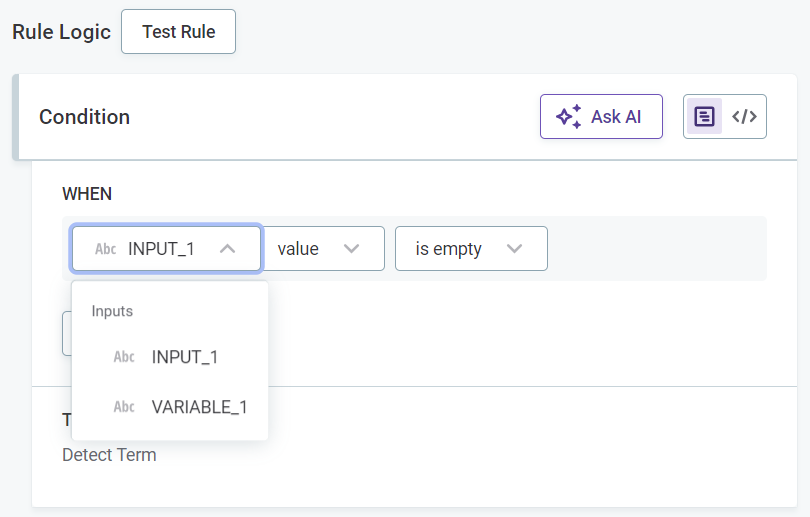
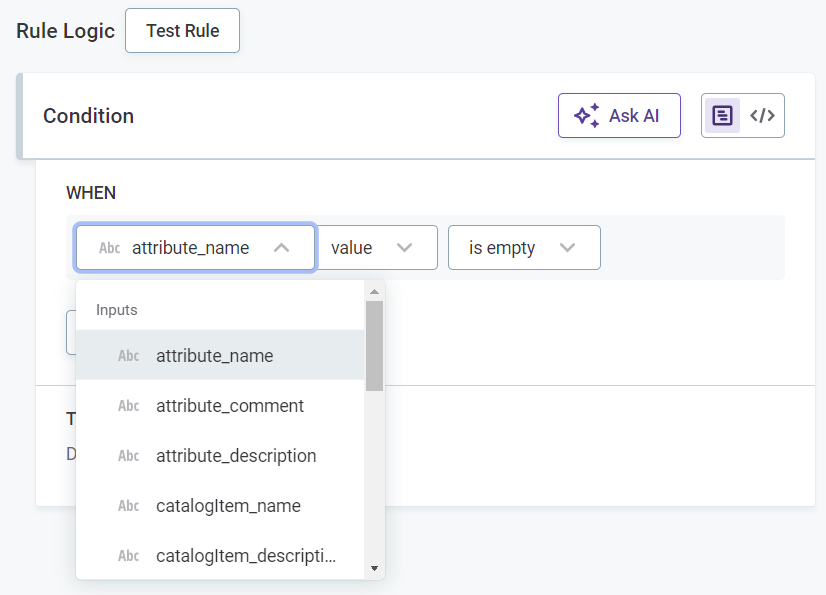
If you selected Condition Builder:
-
Select the input attribute or variable to use in the condition for data-based rules, or the relevant metadata, for example,
attribute_name,source_nameorcatalogItem_description, if you are creating a metadata-based rule.-
Data-based detection rule
-
Metadata-based detection rule
-
-
Select any required modifiers, for example,
TrimorRound. Different modifiers are available for string and integer inputs.Only string modifiers are available in metadata-based rule conditions. Expand to see all available modifiers
Modifier Description ValueThe given value of an attribute.
UppercaseUppercase version of string.
LowercaseLowercase version of string.
TrimRemoves any whitespaces from both sides of strings.
Trim leftRemoves any leading whitespaces from strings.
Trim rightRemoves any trailing whitespaces from strings.
SquaredSquares the value of an integer, float, or long data type attributes.
RoundRounds the value of an integer, float, or long data type attributes to the nearest whole number.
AverageAverages the value of integer, float, or long data type attributes (available only when using aggregation rules and grouping).
MinThe minimum of string, integer, or long data types attributes (available only when using aggregation rules and grouping).
MaxThe maximum of string, integer, or long data type attributes (available only when using aggregation rules and grouping).
SumThe sum of of string, integer, or long data type attributes (available only when using aggregation rules and grouping).
-
Select the condition, for example,
matches_maskorcontains, and provide the necessary requirements. The options available depend on the data type of the input attributes.Expand to see all available conditions
Condition Description Is emptyWhen the input is not filled.
This checks if the field is filled, but a field will not be identified as empty if it is filled with: NULL,Null,null,.,,,-,_,N/A,n/a, and so on.Is not emptyWhen the input is filled.
Is the same asWhen the input is the same as the value you define.
Is the same as attributeWhen the attribute is the same as the attribute you select.
Is not the same asWhen the input is not the same as the value you define.
Is not the same as attributeWhen the attribute is not the same as the attribute you select.
Is from the following listWhen the attribute belongs to the list you define.
Is not from the following listWhen the attribute does not belong to the list you define.
Has length ofIs the same as the length you define.
ContainsWhen the input contains a substring you define.
Is from catalog itemWhen input belongs to a lookup item built from specified catalog item attribute or reference data in ONE Data.
To make sure the rule always uses the latest data available, select ON DATA CHANGE in Data updates. If you select a catalog item that is not managed using ONE Data, no automatic updates are available.
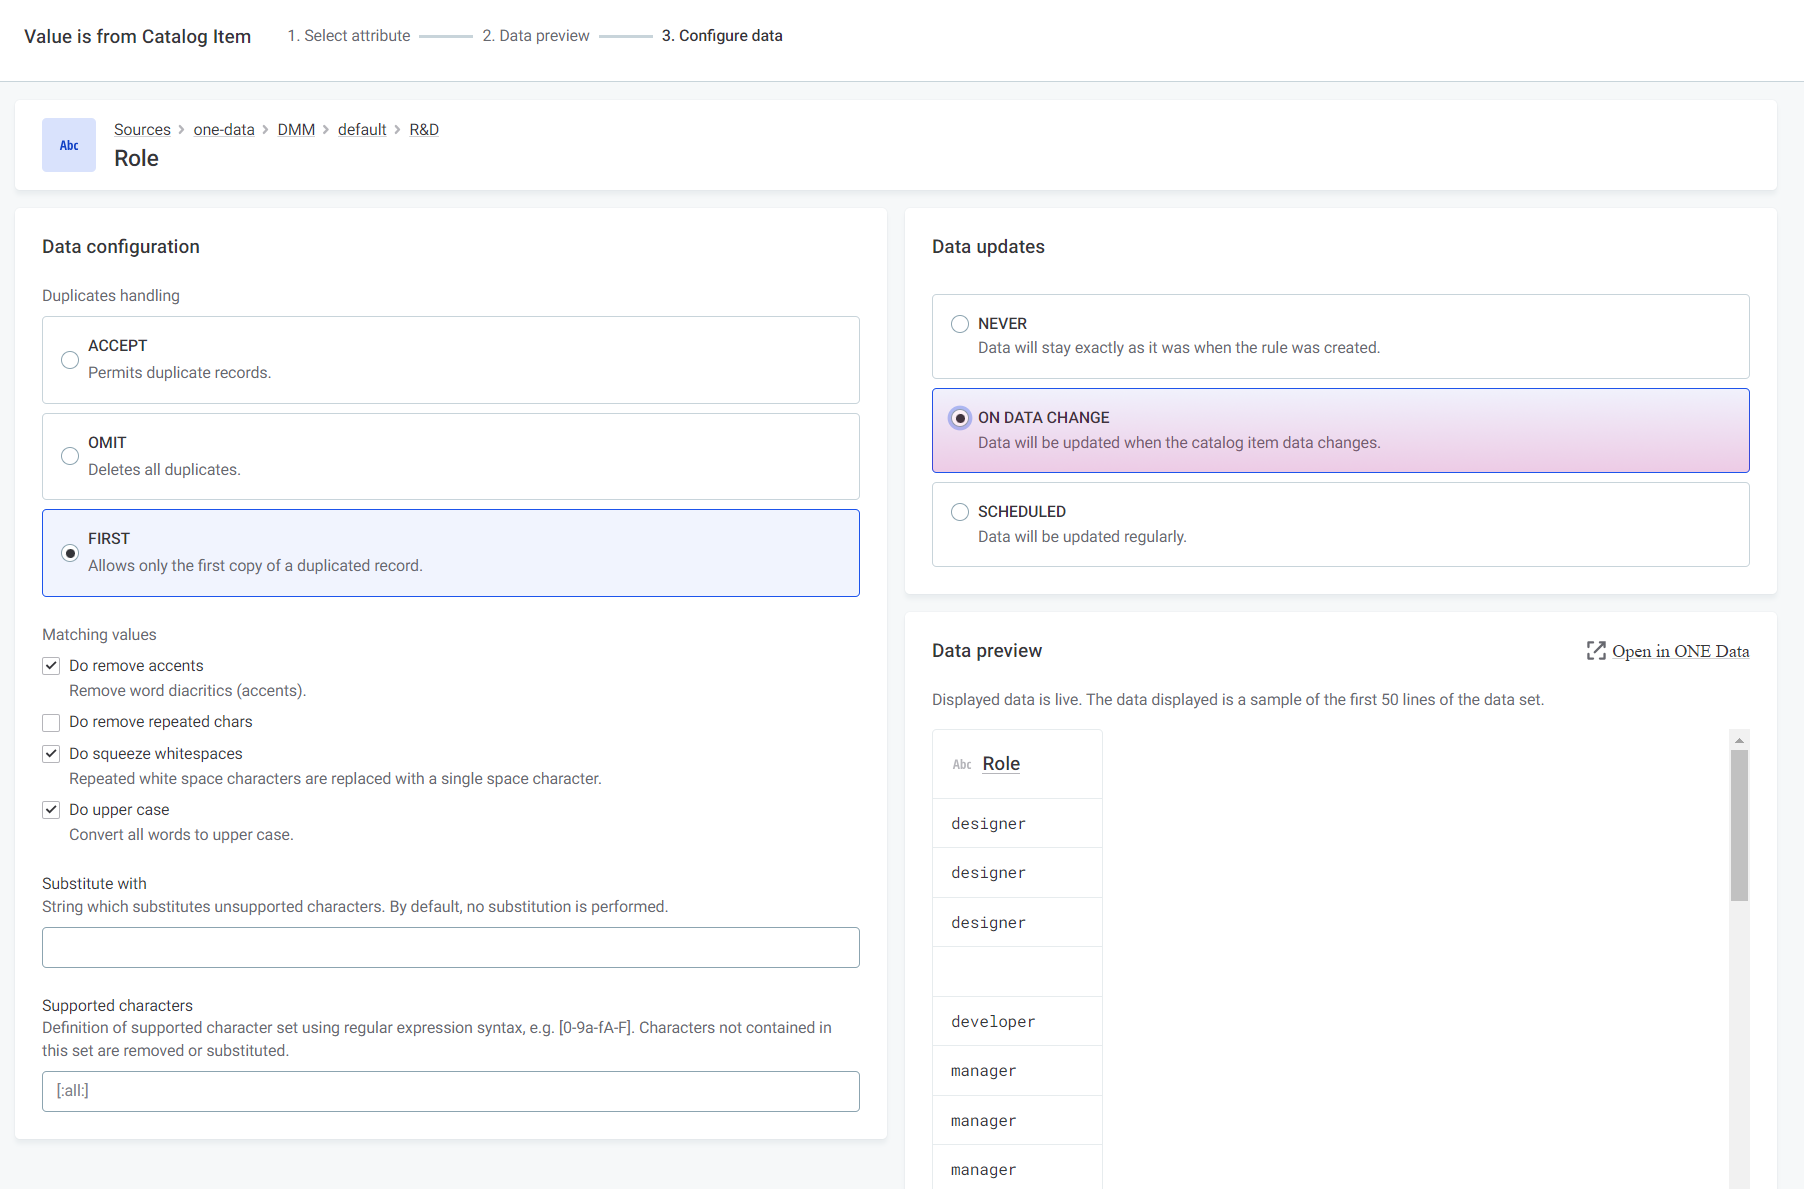
For more information, see Use Lookups in Rules.
Is not from catalog itemWhen input doesn’t belong to a lookup item built from specified catalog item attribute or reference data in ONE Data.
Is from lookupWhen attribute input belongs to the lookup file you select.
Is not from lookupWhen attribute input does not belong to the lookup file you select.
Matches maskWhen input corresponds to the mask you define.
Does not match maskWhen input does not correspond to the mask you define.
Matches regexpWhen input corresponds to the regular expression you define.
Does not match regexpWhen input does not correspond to the regular expression you define.
Is trueWhen Boolean input is true.
Is falseWhen Boolean input is false.
Is uniqueWhen aggregated group is unique.
Is not uniqueWhen aggregated group is not unique.
-
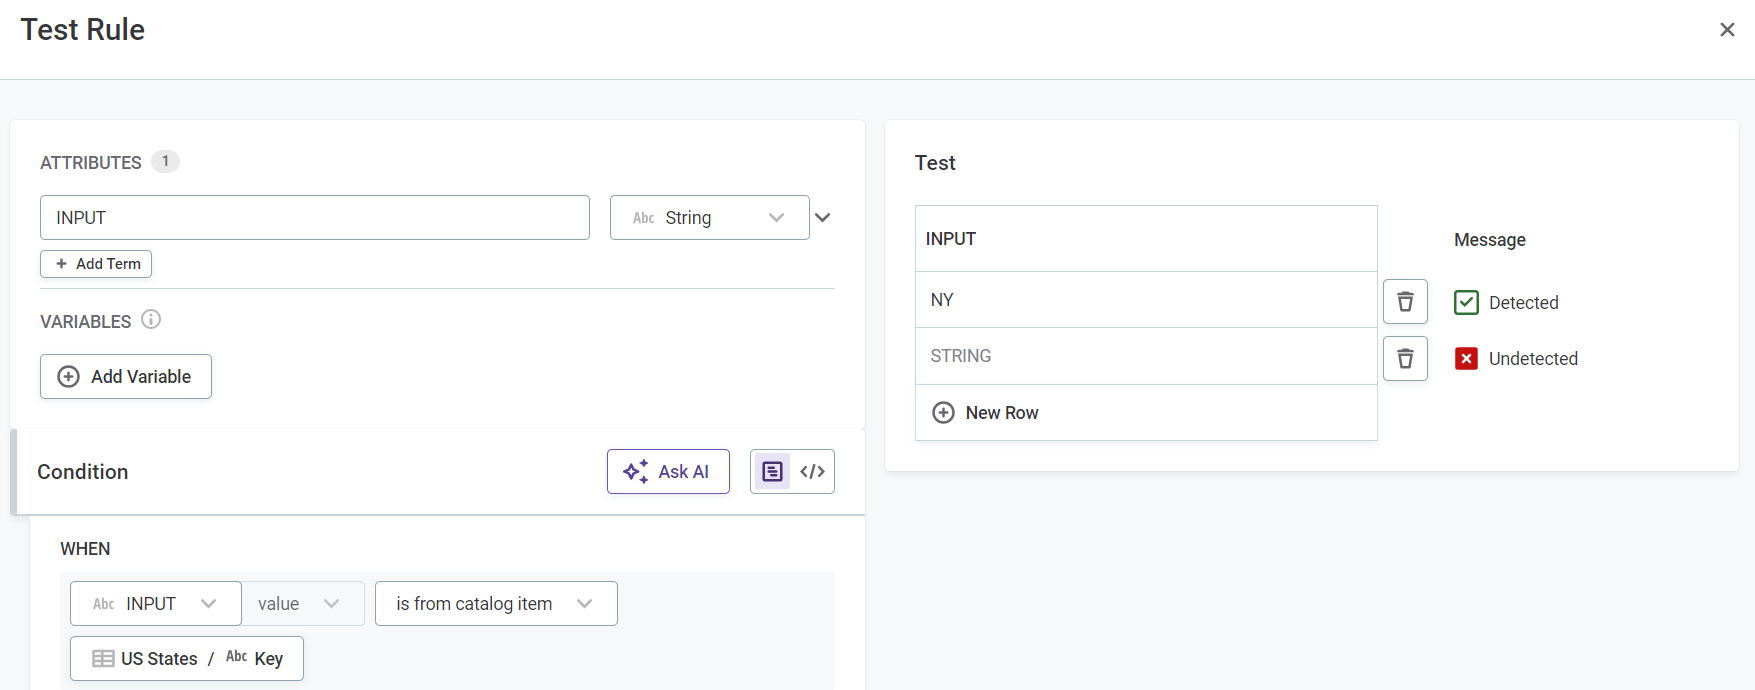
Test rule
You can optionally test the rule by clicking Test Rule and trying different inputs in the Test section. The results for each input are shown automatically in Message next to the test input row.
Publish rule
After the changes are implemented, they need to be published.
Next steps
Attributes matching the defined condition are assigned to the term associated with this rule.
Apply your newly-created detection rule to a term. See Add Rules to Terms.
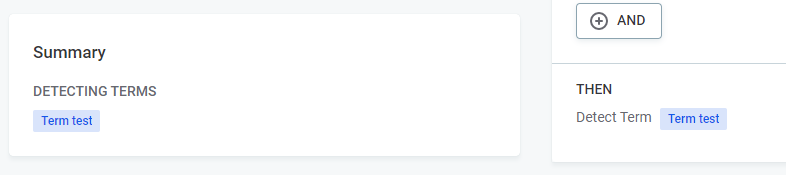
Once the rule is assigned to a term, you can see this term in the Summary and the Detect term sections of the rule implementation screen.
Was this page useful?