
Data Reconciliation
The data reconciliation feature provides high-level checks of data consistency across multiple sources, comparing attribute profile statistics of selected data. Fingerprints of attributes are also compared (except for Snowflake data when pushdown processing is used).
This allows you to verify, for example, that the target data is the same as the source data when migrating from one database to another, so you know that the original data was transferred without any data leakages or malformations.
Issues detected during data reconciliation are provided in a human-readable format so you can better understand any problems with your data migration.
Create a reconciliation project
To get started with data reconciliation, select Data Quality and then Reconciliation Projects.
If you have existing data reconciliation projects, they are listed here. Select the project name to open the project, edit the configuration, or view results.
To create a new reconciliation project:
-
Select Create.

-
Fill in the project Name, Description (optional), and Stewardship (recommended) and Save the project.
Select data origin and target
The key element of data reconciliation is the data mapping between origin and target.
Start by selecting the data origin and the data target: you can select an entire source or browse and select specific locations or catalog items to compare a subset of the source. Once you have specified the origin and target, ONE looks at the currently imported catalog items of the two sources and automatically matches as many as possible by name and data structure.
Then, you can map unmapped data manually, or you can override the automatic mapping with manual mapping if required.
It is possible to compare:
-
A single data source against another data source.
-
Multiple locations (schemas).
-
Multiple catalog items.
-
A data source and a location.
-
A location and selected tables.
Locations and catalog items should come from one origin and target data source. To compare data from more than two sources, you need to create several mappings.
| It is not necessary to import the data before mapping origin and target assets. |
Select sources
To add origin and target mapping:
-
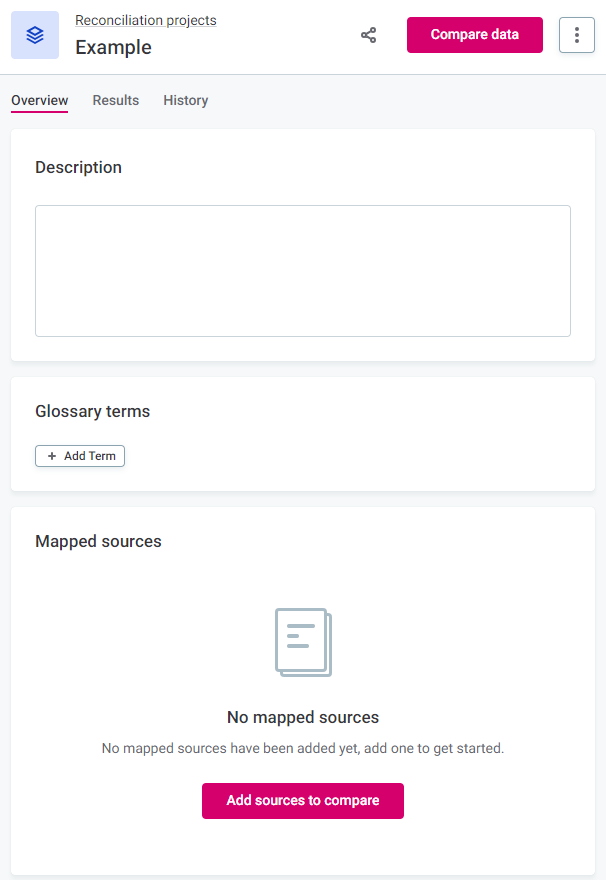
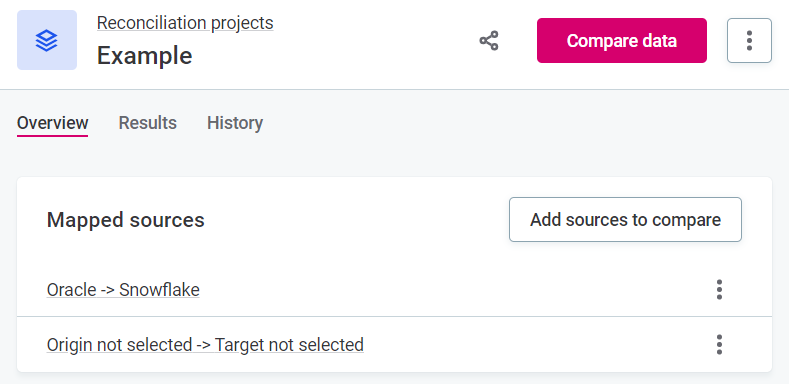
On the project Overview tab, select Add sources to compare.
-
Specify the data origin and target:
-
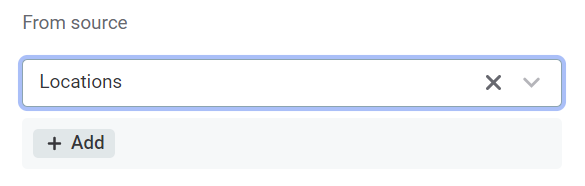
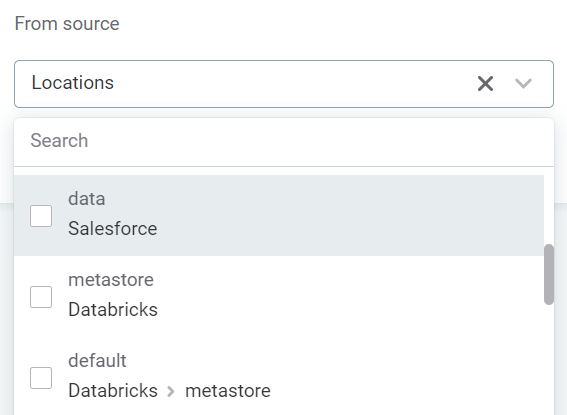
To compare the entire source, select Sources and then select the source from the list.


-
Alternatively, map specific locations or catalog items, in which case select Locations or Catalog items, and then Add to add the required locations or items.
-
-
Select Continue.
Mapping
ONE automatically pairs catalog items from the origin and target based on the name and the path.
If items have different names, they have to be mapped manually (lineage is not used to map items, only names are). Unless auto-mapping is turned off (see Settings), any new tables in the source or schema are compared during the next run.
| If you select the same location in source and target, there is no auto-mapping. |
| By default, everything that can be mapped by the system is evaluated. To make sure that only manually mapped data is evaluated, you need to turn off Auto mapping. |
-
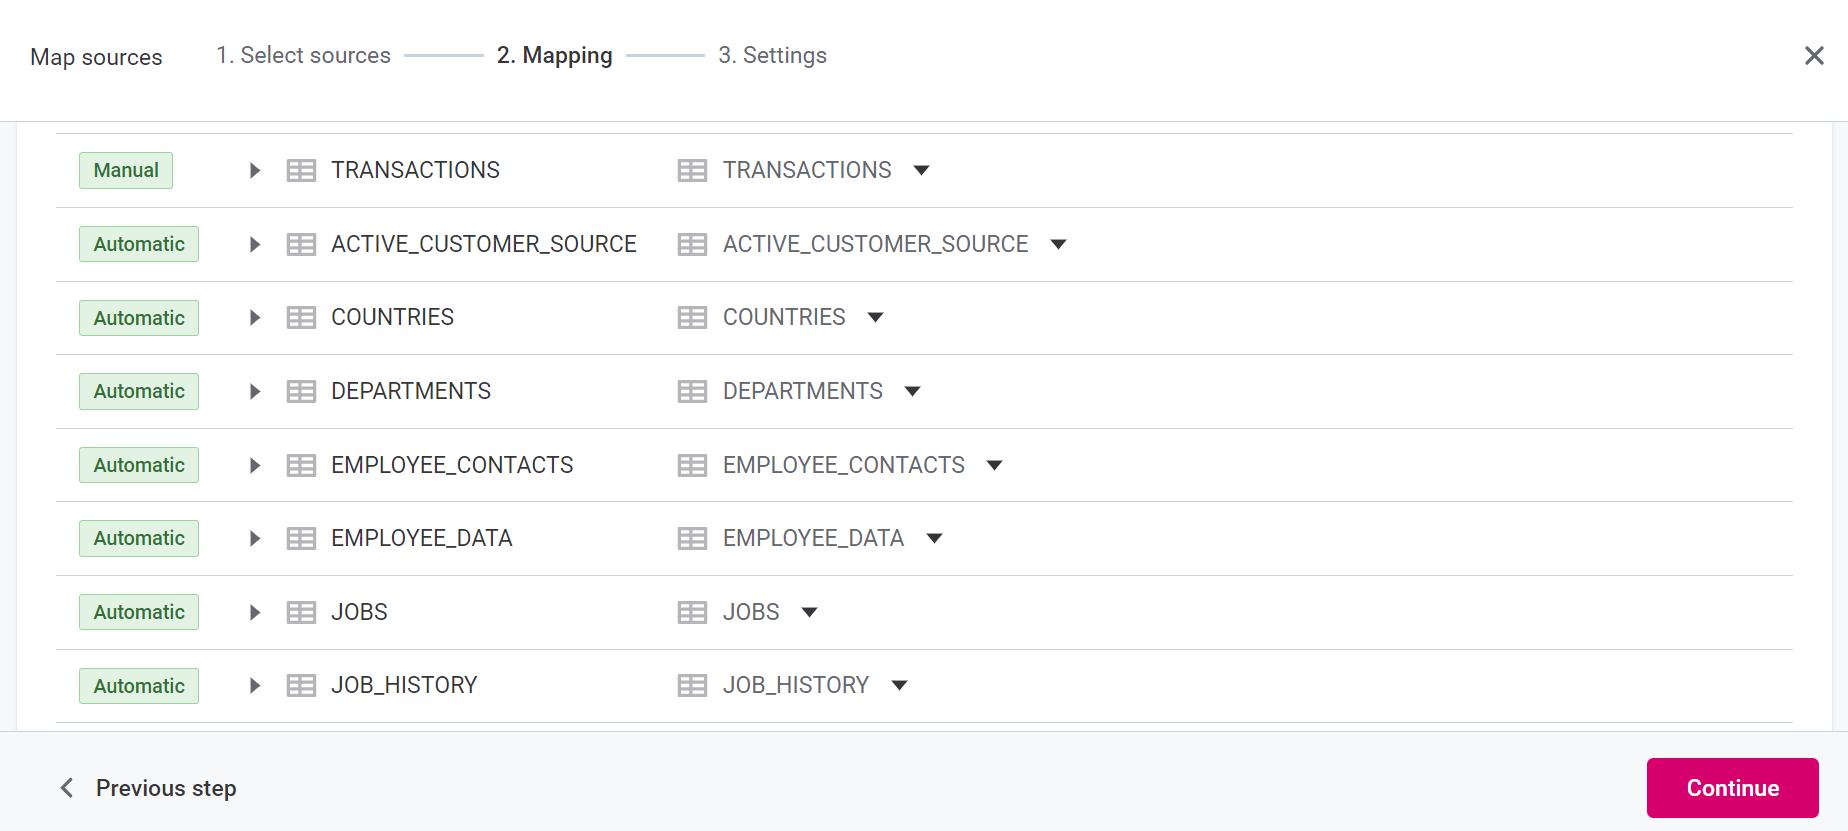
You are redirected to a listing of the origin and target assets:
-
Those which were mapped by the system are marked as Automatic or Automatic (Partial).
-
Assets which are not yet mapped are marked as Unmapped.
Use the tabs to view only mapped or only unmapped items.
-
-
Manually map unmapped items, or override an automatic mapping. To do this, select the dropdown arrow in the target column, and choose the correct target.

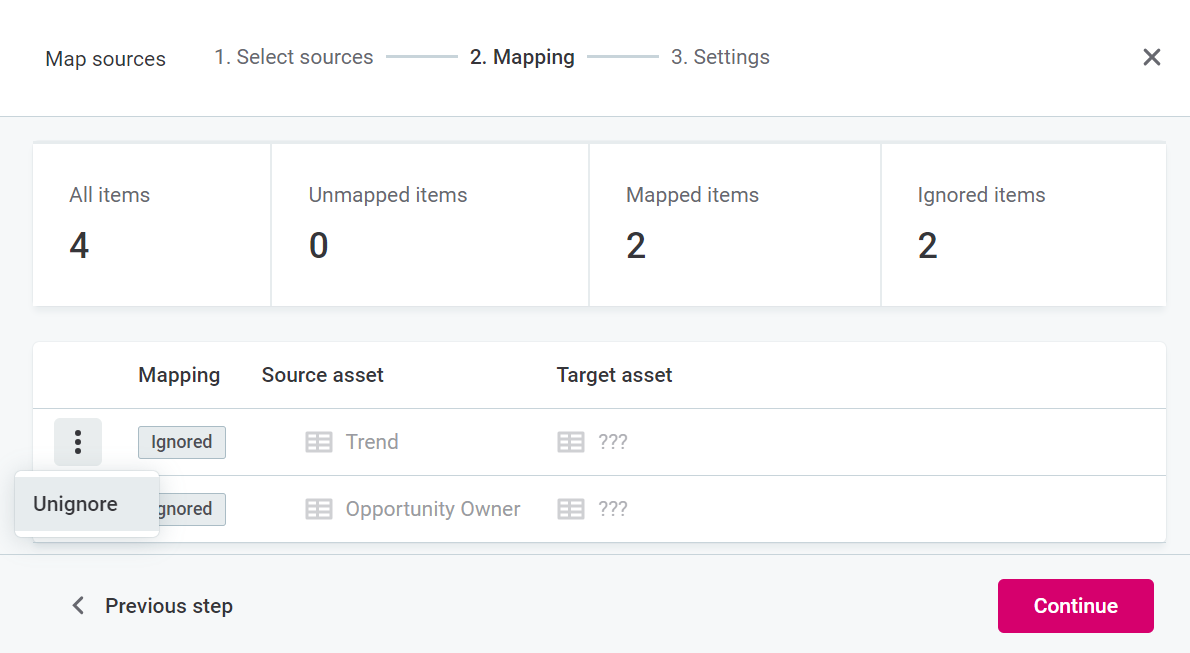
When selecting entire schemas or sources, you can ignore selected catalog items during data reconciliation, for example, if they are too large and you do not want to profile them or if there are known issues. To do this, select the three dots menu and Ignore.
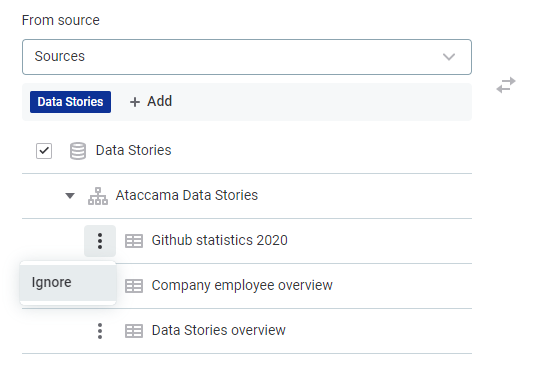
To include the item in the project again, select the three dots menu and Unignore.
There are known issues with the Unignore action in this version. In Mapping, if you select Ignore on an unmapped location, it is not possible to revert this action using Unignore. To avoid issues, only use the Ignore action on mapped items.
-
When the origin and target assets are correctly mapped, select Continue.
Or, select Previous step to return to the origin and target selection.
Settings
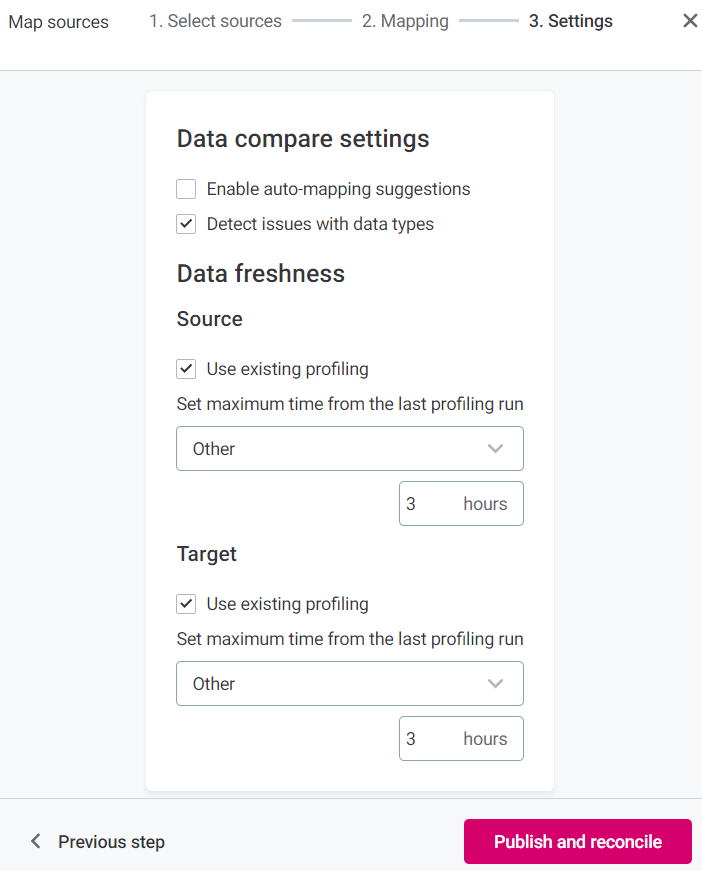
Set the data compare settings according to the following description.
| If you close the configuration by selecting X, your settings will be saved. |
-
Enable auto-mapping suggestions
If this option is enabled, all items that were identified as matching in origin and target are evaluated. If this option is disabled, only those which you mapped manually are evaluated.
When you start a new project, auto-mapping is enabled by default. All Automaticmappings from the previous step are ignored if this option is disabled. -
Detect issues with data types
If this option is enabled, the system checks both the format of the data and the data types. If this option is disabled, the system does not report an issue when the format matches, but the data type doesn’t.
Turning off Detect issues with data types is useful, for example, if you are storing dates in a new database as stringbut in the origin they were stored asdatetime.ONE supports the following data types:
-
Integer
-
Long
-
Float
-
String
-
Day
-
Date
-
Datetime
-
Boolean
-
-
Use existing profiling
Using existing profiles increases performance.
Profiling data of the source is used to check consistency of the records. For both the Source (origin) and Target you need to specify whether to use existing profiles, if they are available.
-
Enable Use existing profiling to use existing profiles of the source or target assets, if there are any. You can also specify a threshold of time in which profiles can be used.
This is suitable for data sets which do not change very frequently, or for which the timing of changes can be anticipated.
-
Disable Use existing profiling to make sure new profiling is run every time you run data reconciliation, and the profiles used are always current.
Run data reconciliation
You can run data reconciliation by selecting Publish and reconcile after mapping, or by choosing an existing project and selecting Compare data.
Metadata import is run on both target and origin source, then all assets which do not have suitable profiling data according to the settings are profiled.
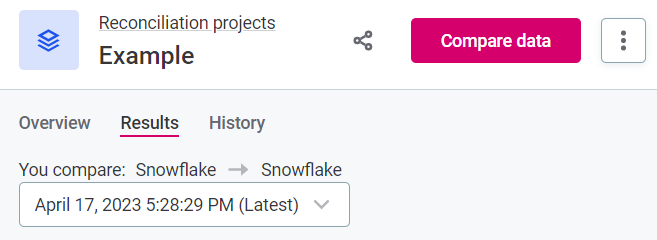
Once data reconciliation finishes, results are available on the Results tab.
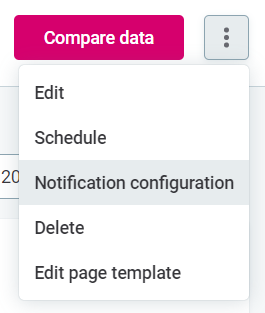
Configure notifications
To configure notifications for data reconciliation issues, select the three dots menu and then Notification configuration.
To add a new notification:
-
Select channels. Options are: In app, E-mail, Slack, and Microsoft Teams.
-
For each selected channel, provide the necessary information:
-
In app: Select Add recipient and choose groups, users, and roles from the list provided.
-
E-mail: Select Add recipient and choose groups, users, and roles from the list provided.
-
Slack: Select the Channel using the dropdown.
If ONE is not connected to Slack, you can connect to your workspace in general settings. See Slack Integration. -
Microsoft Teams: Provide the webhook URL and a channel description. See MS Teams Integration.
-
View results
A table listing of all issues can be found on the Results tab for a selected project, as well as an overview of the number of catalog items which have issues, or are missing in the target location.
Possible issues include:
-
Mismatches in data types
-
Missing records
-
Missing values
-
Missing columns
-
Duplicated records
-
Duplicated values in a field
-
Unexpected null values
-
Badly formatted values
-
Other inconsistencies in values (by comparing minimum, maximum, length, and quantiles)
Results can be seen on the level of the attribute but not on a record level. For more information, see Known limitations and suggested workarounds.
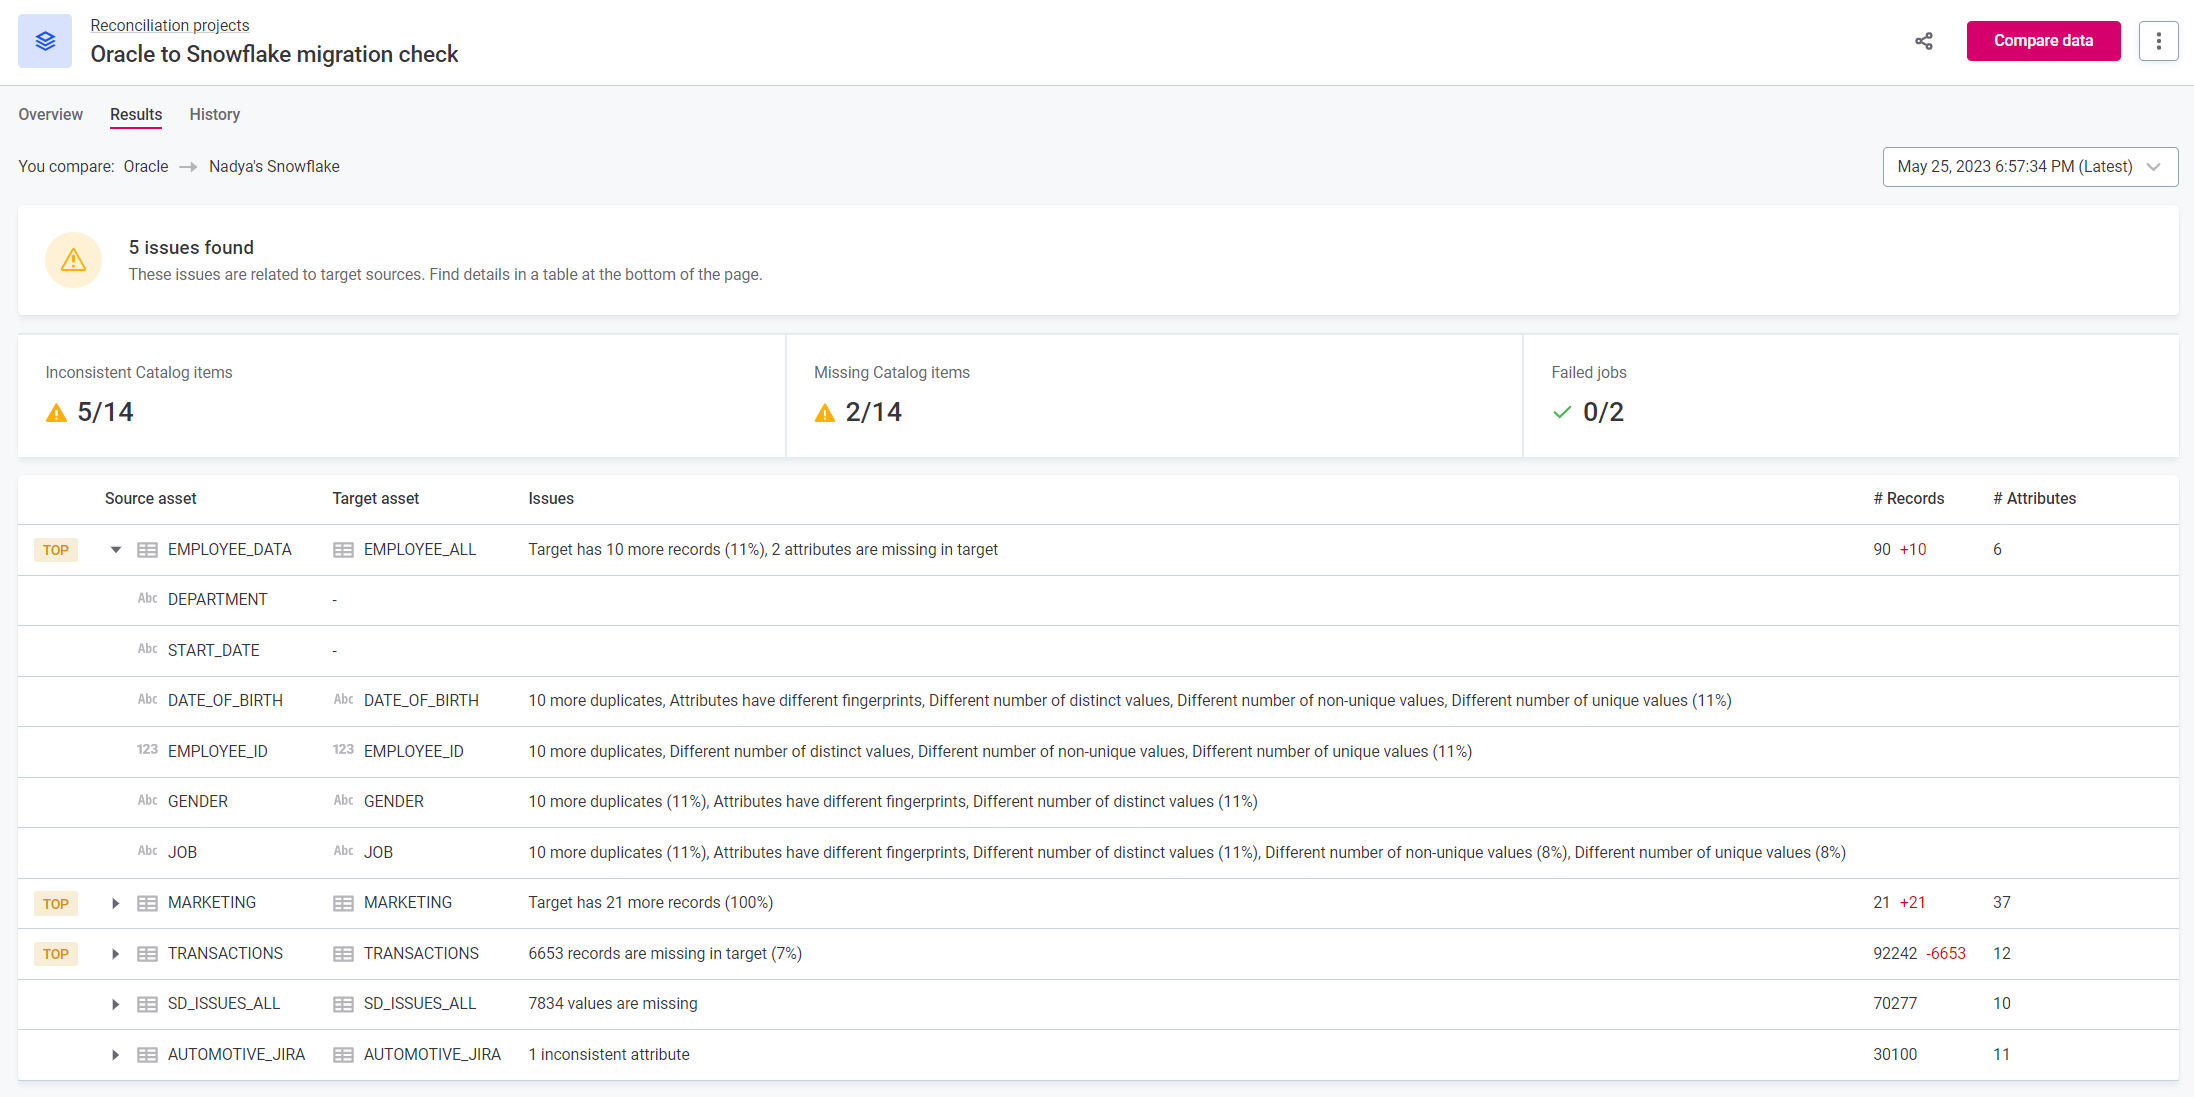
On the Results tab you can:
-
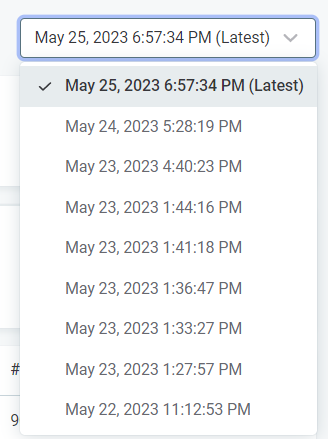
View historical versions of results, if they exist. Use the dropdown to select the required version.
-
Expand catalog items for further granularity, for example, to view issues on the attribute level.

-
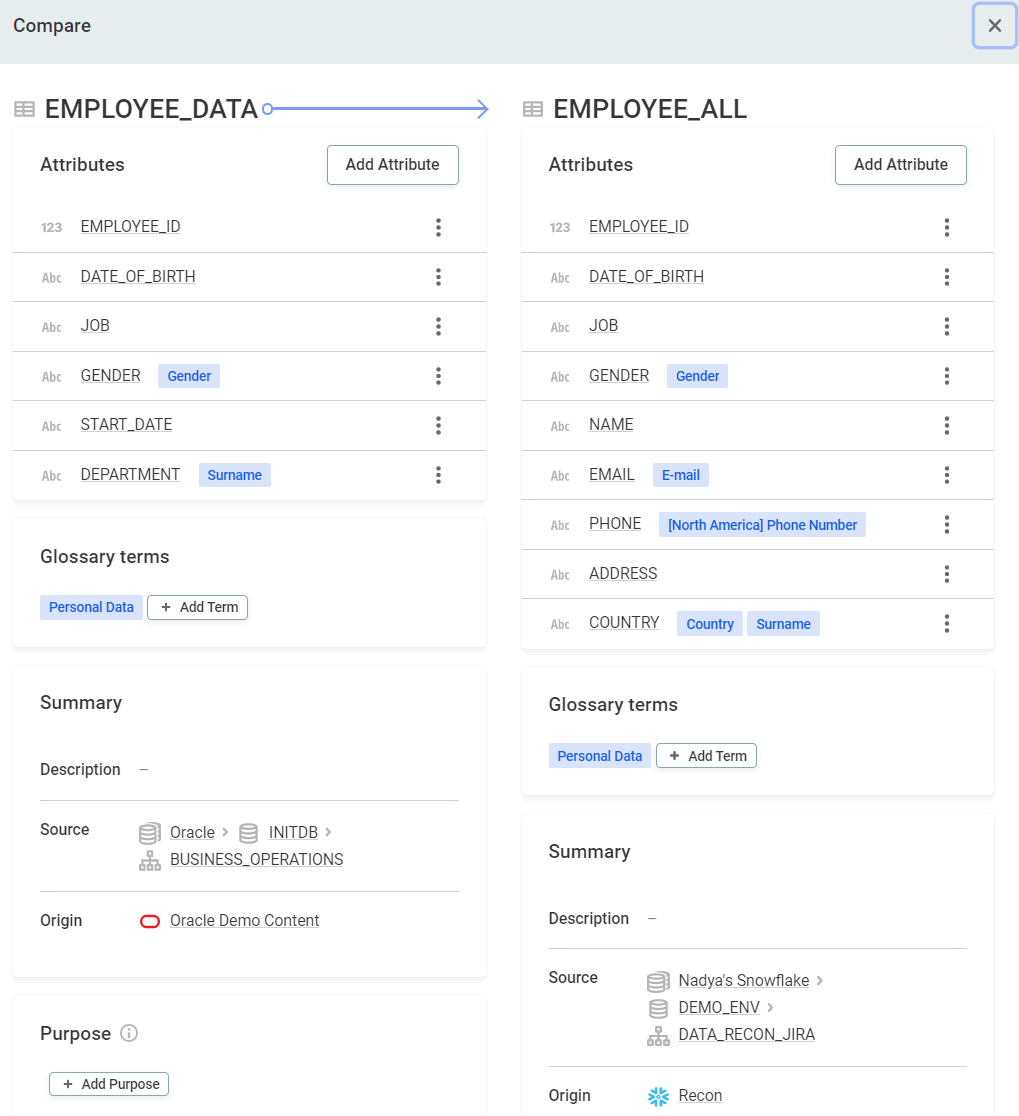
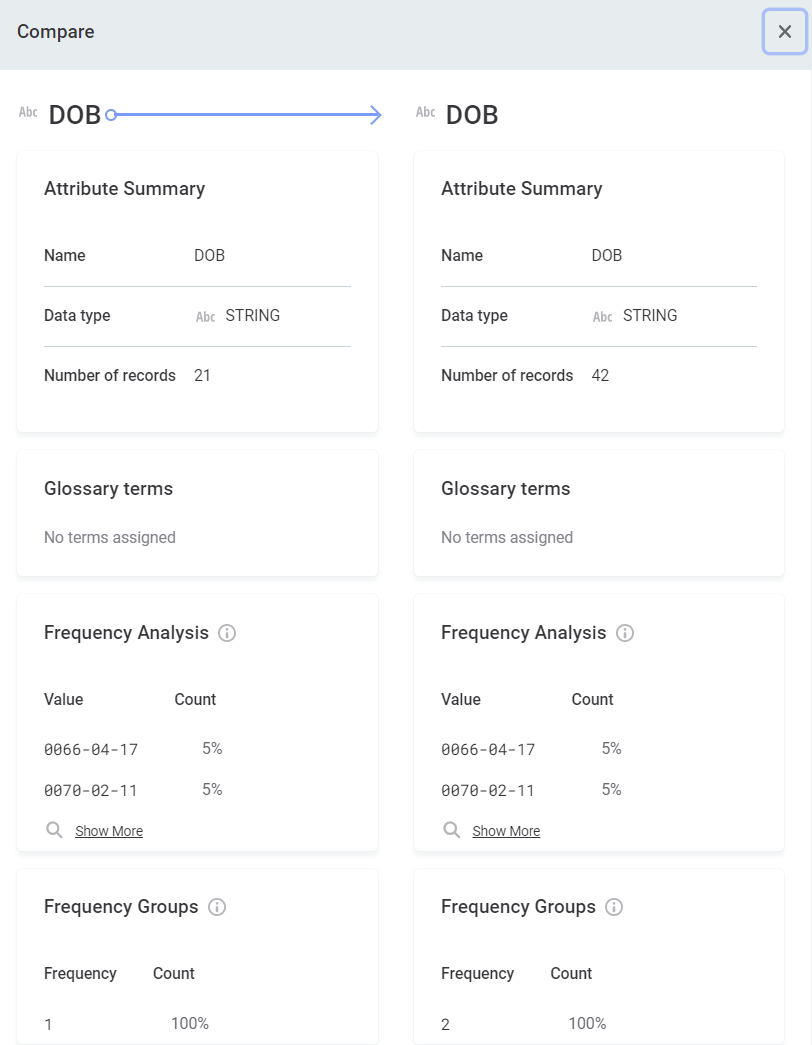
Select a catalog item or attribute to open the Compare view.
Schedule reconciliation projects
To run reconciliation projects at scheduled times:
-
In Data Quality > Reconciliation Projects, select the project you want to run according to a defined schedule, and in the three dots menu select Schedule.

-
Select Add Scheduled Event.
-
Provide a description (optional).
-
Define the schedule using either Basic or Advanced configuration:
-
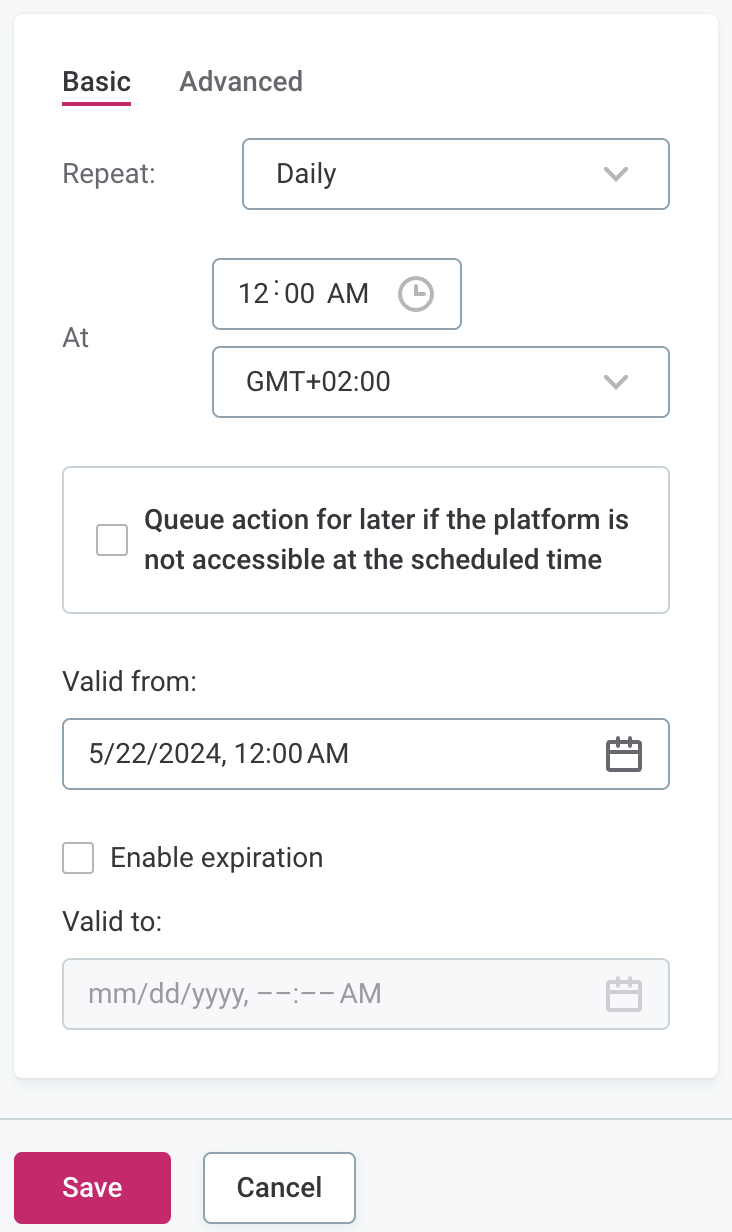
For Basic configuration:
-
In Repeat, select from the list of options how often the reconciliation project should run.
-
In At, specify the time (24-hour clock) at which the reconciliation project should be run, and select from the list of available time zones.
-
If required, select Queue action for later if the platform is not accessible at the scheduled time.
-
In Valid from, define the date from which the schedule should be followed.
-
If the schedule should have a finite end date, select Enable expiration and in Valid to define the date at which the schedule should no longer be effective.
-
-
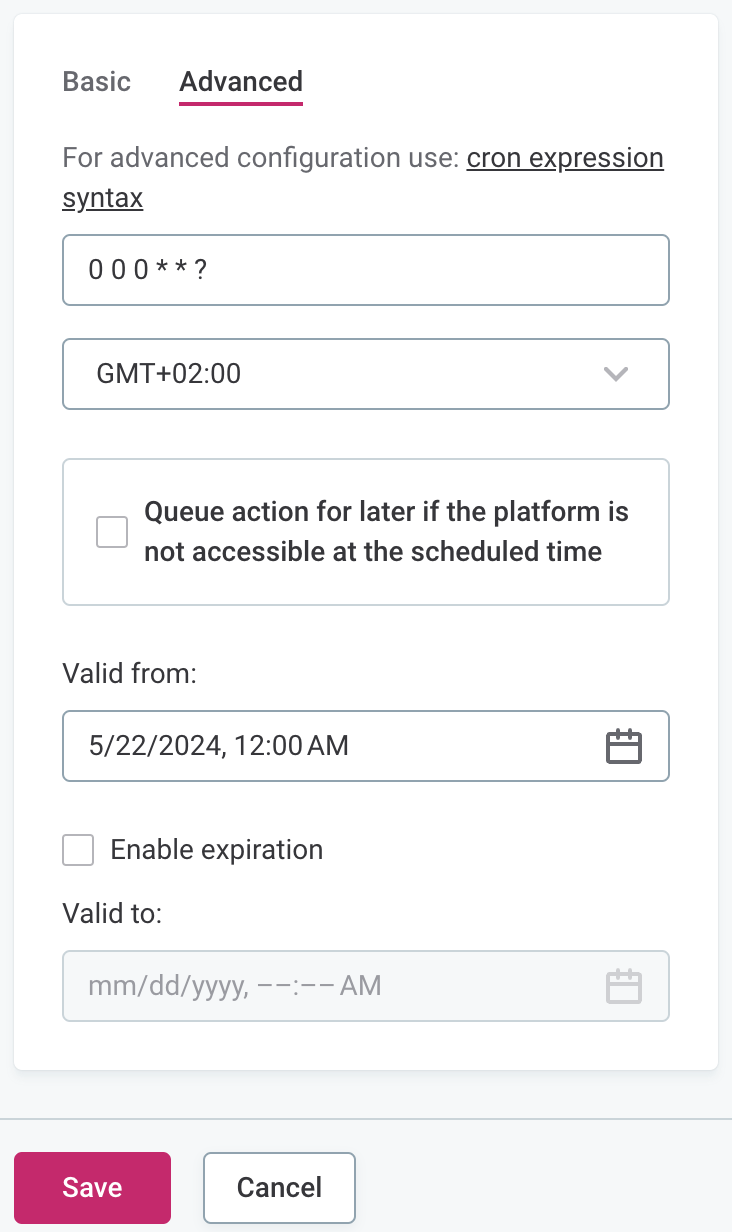
For Advanced configuration:
-
Set the schedule using Cron expression syntax. For more information, see Cron Expression Generator and Explainer.
-
In Valid from, define the date from which the schedule should be followed.
-
If the schedule should have a finite end date, select Enable expiration and in Valid to define the date at which the schedule should no longer be effective.
-
-
-
Select Save and publish your changes.
You can see the scheduled jobs in the Processing center under Scheduled jobs.
Edit scheduled event
To edit, pause, or delete the scheduled event, select the required catalog item, and in the three dots menu select Schedule. In the three dots menu for the event you want to modify, select the appropriate action:
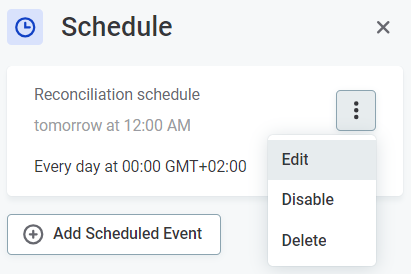
If an event is enabled, you can see the next date and time when it will be executed.
Known limitations and suggested workarounds
-
Results can only be seen on the attribute level. Details of inconsistencies cannot be seen on the record level.
There are workarounds which can be used to see results on the record level:
-
Workaround 1: To see record level issues, you can use ONE Desktop. Hash the records in both tables and compare the results.
-
Workaround 2: Join the tables using an SQL catalog item, and create a monitoring project with the rule specifying that, for example, attribute A is the same as attribute B.
-
-
Not all profiling metrics are included in the comparison.
-
Data reconciliation projects cannot detect 100% of issues, for example, if records in the column are in the wrong order.
-
Lineage is not used to map assets, assets are mapped by name matching.
-
If you select the same location in source and target, there is no auto-mapping.
-
You cannot ignore selected attributes in the comparison.
-
You cannot select whole workspaces, only individual virtual catalog items or SQL catalog items.
-
It is not possible to add the same catalog twice in one mapping. As a workaround, you can create two mappings in the same project.
-
Comparisons cannot be re-run only on items with issues within the reconciliation project. Workaround:
-
Re-profile selected tables in the data catalog.
-
In the data reconciliation project Settings, select Use existing profiles.
-
Run comparison.
-
Was this page useful?