
Configuring RDM Workflows
Workflows in RDM allow you to track changes made to a record in the web application and make sure all necessary parties approve or further edit the record before publishing it. It is possible to configure email notifications to inform relevant parties that they need to take action to move the record in the editing workflow.
Workflows are defined separately for each table, which allows you to create custom workflows for every individual table.
Workflows are configured in the Workflows and Notifications node of the RDM project.
How workflows in work in RDM?
In the context of RDM, a workflow is a process that starts with making changes to the data and ends with publishing them. These two points are represented in RDM with two record states:
-
Edited - A state after a record has been created, modified, or deleted.
-
Published - A state after the record has been published.
Each record goes through these two states. For further control and additional input, you can model custom workflows for each table per particular action (create, edit, delete).
Such workflows place additional states between the basic ones mentioned previously. During each state, all assigned users approve the changes made, fill in the necessary attributes, and advance the record to its next state.

In the RDM model project, record states are modeled as Statuses. The first step is Edited and the last step is Published. Other statuses are named as Custom steps.
Take note that bulk approve and reject actions are limited for custom states. You can only bulk approve or reject changes on rows visible on the current page, not the entire table.
For the web application perspective on workflows, see Moving Records Through RDM Workflows.
Statuses
Statuses are reusable abstract steps that compose workflows and reflect the state of the record as discussed in previous sections. Statuses themselves do not carry any particular function apart from being containers for steps in different workflows (statuses are defined just by label).
To see how statuses are reusable, think of a status called Fill in. Such a status can be used in different workflows for the same table or even in different tables:
-
In workflow 1, it might mean filling column A and B by a user with the Supervisor role.
-
In workflow 2 in a different table, it might mean filling column C and D by a user with either the Developer or Administrator role.
-
Furthermore, in workflow 1, the Fill in step might be followed by the Approve step while in workflow 2, this would be the last necessary step before publishing the record.
So the general purpose of the Fill in status is to be used in a workflow, which, among other things, requires its participants to fill additional information in some of the workflow steps. The actual columns to be filled and other conditions are configured inside the step to which the status is mapped.
You can also use a completely different set of statuses for each workflow, but it might mean unnecessary double work.
Configure a workflow for a table
Create statuses
Make sure you have created all the statuses you need for the workflow. You need as many statuses as there are approval stages the record passes before it is ready to be published, plus two technical statuses representing:
-
A record in the Edited state (the first state before the record enters the workflow).
-
A record in the Published state (the step into which the record exits the workflow).
Select a table
Workflows are defined separately for each table, therefore you need to select one of the tables defined in the RDM Logical Model > Tables node:
-
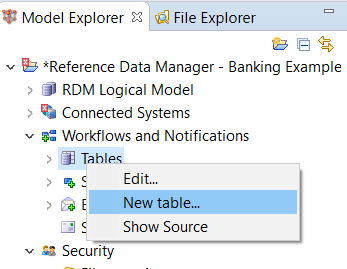
Go to Workflows and Notifications > Tables (right-click) > New table.
-
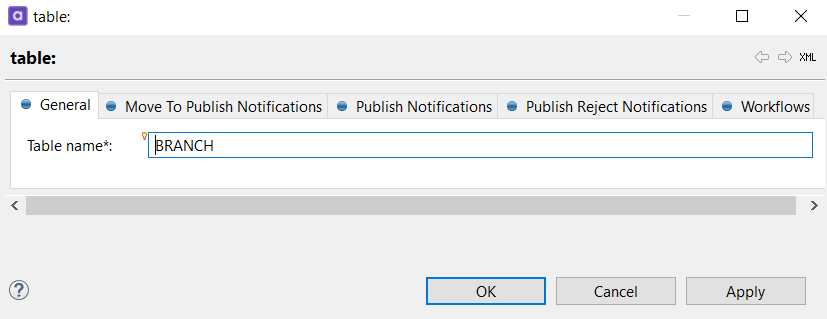
Select a table (press Ctrl+Space) in the Table name attribute on the General tab.
Create a new workflow
-
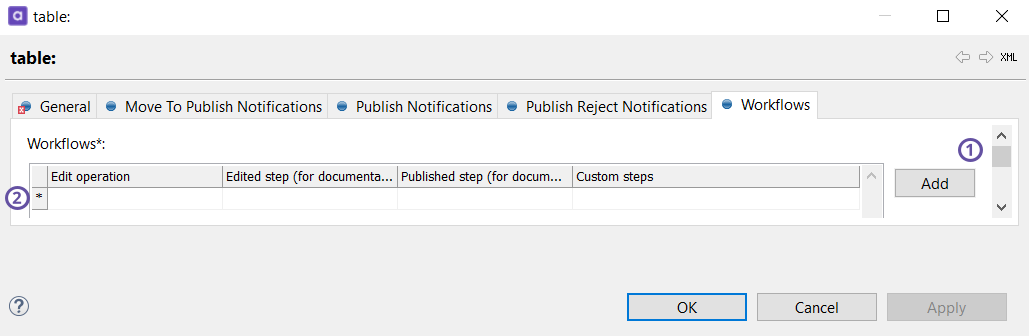
Switch to the Workflows tab.
-
Select Add (1) to add a new workflow, then double-click the first row (2) to enter the workflow details.
-
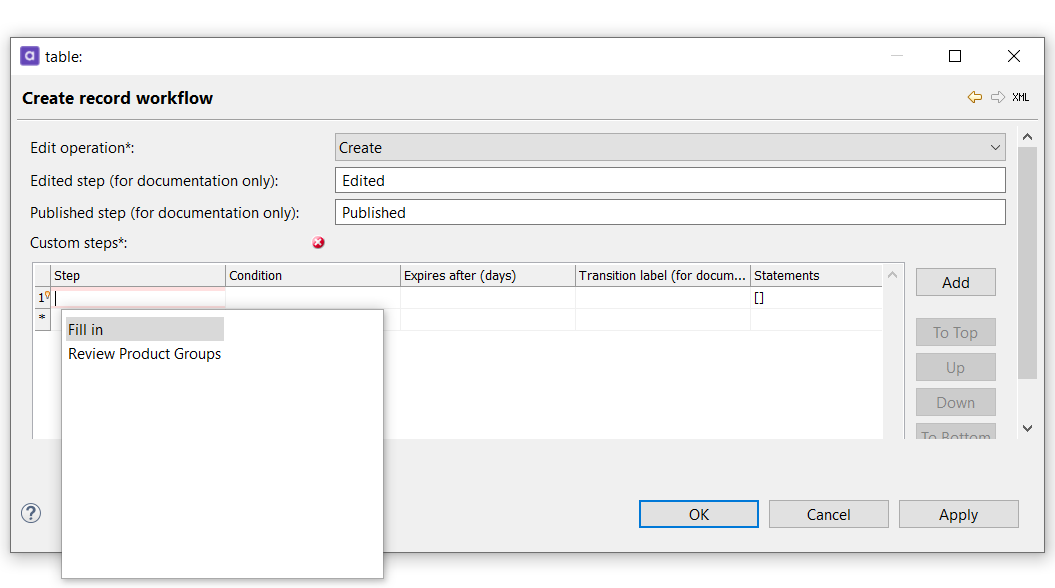
In Edit operation, define the type of action that starts the workflow. Possible options are: Create, Delete, Update.
Add approval steps
The Edited and Published steps are preconfigured and appear in special fields when you are creating record workflows. To define the actual steps of your custom workflow:
-
Add a step and double-click the first Step row to enter the details. Press Ctrl+Space to select from available statuses.
-
Define the step logic on the General tab and specify:
-
Switch to the Columns tab and specify which columns can be modified in this workflow step by step participants. Apply changes and go back to define the next workflow step.
-
Repeat this step after you have configured all approval steps for this workflow.
General step characteristics and conditions
| Name | Required | Description |
|---|---|---|
Condition |
N |
The condition that the record must satisfy to enter the step. If the record does not satisfy the condition, it is automatically moved to the next step. The condition uses Ataccama ONE expression syntax. See the ONE Expressions Handbook. TIP: In addition to using standard business attributes in the condition, you can also use usernames.
For example, you can let some users skip all or some of the workflow steps by defining a condition as follows: |
Expires after (days) |
N |
After the specified number of days, the workflow automatically moves to the next step. |
Transition label |
N |
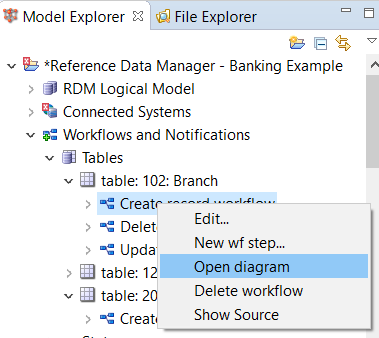
Label of the transition used in the workflow diagram (see Open the workflow diagram). It is filled after consequent steps are added, see Connect the steps and add transition labels. |
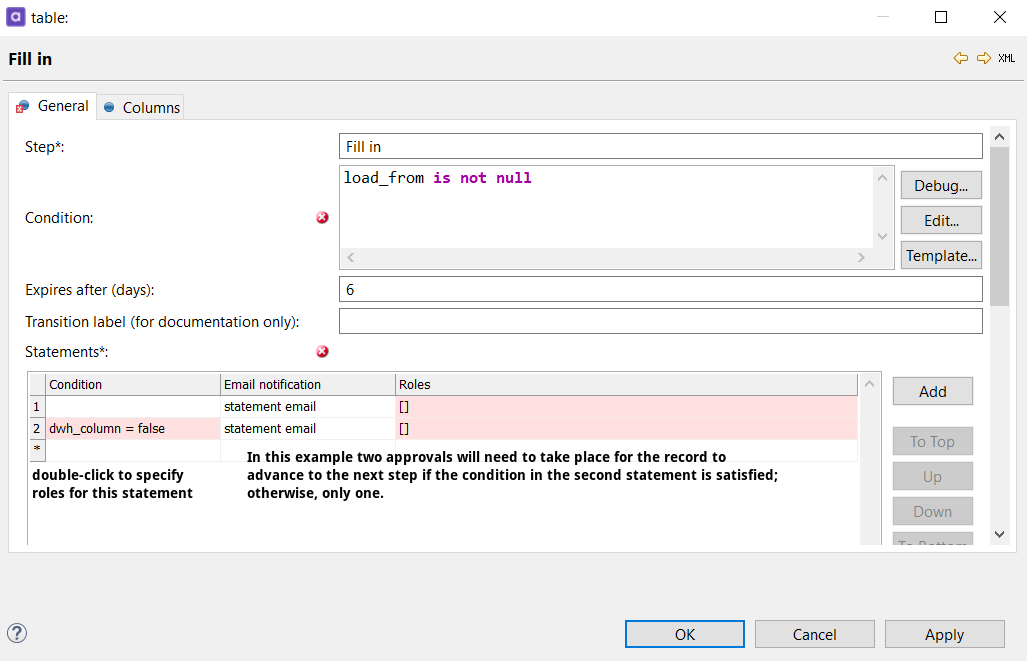
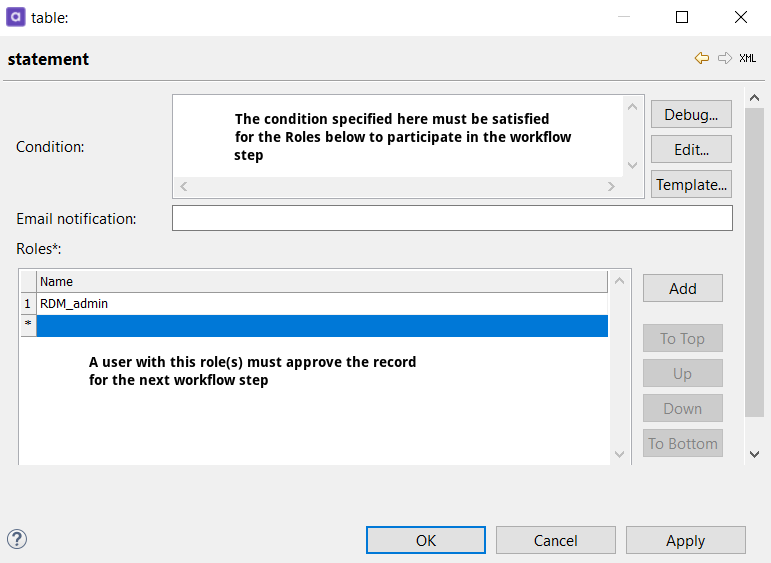
Statements
| The number of configured statements corresponds to the number of approvals that are required to move a record to the next step, provided that all conditions are satisfied. |
| Name | Required | Description |
|---|---|---|
Condition |
N |
Only records satisfying this condition are available for approval to users with the roles attribute. The condition uses Ataccama syntax. See Commonly Used Functions. |
Email notification |
N |
A previously defined email template to be sent when a record arrives to the current step. |
Roles |
N |
Allows adding roles required to approve the record and move it to the next workflow step (users with these roles receive an email notification). |
Name |
N |
A user with at least one of the roles listed in this column has to approve the change to move the record to the next workflow step. |
Notifications
| Name | Required | Description |
|---|---|---|
Email notification after finishing the step |
N |
A previously defined email template to be sent when a record moves to the next step.
|
Reject email notification |
N |
A previously defined email template to be sent when a record is rejected in the current step (and moved to the previous step).
|
Was this page useful?