
Additional Configuration Options
In addition to the basic monitoring project configuration described in Monitoring Projects, you can also configure the following settings.
Parallel processing
By default, one DQ evaluation job is created for each data source.
Application admins can increase global parallelization, splitting each of these jobs into multiple smaller jobs to improve performance. This can be done both globally or per monitoring project.
| If both are configured, project settings take priority over global settings. |
Global configuration
Parallel processing is configured globally via the property plugin.monitoring-project.ataccama.one.monitoring-project.dq-processing-parallelism.
See MMM Configuration for more information.

Filter by attribute
It is possible to use attributes as filters on the Report tab when you are viewing results at the catalog item level. To do this:
-
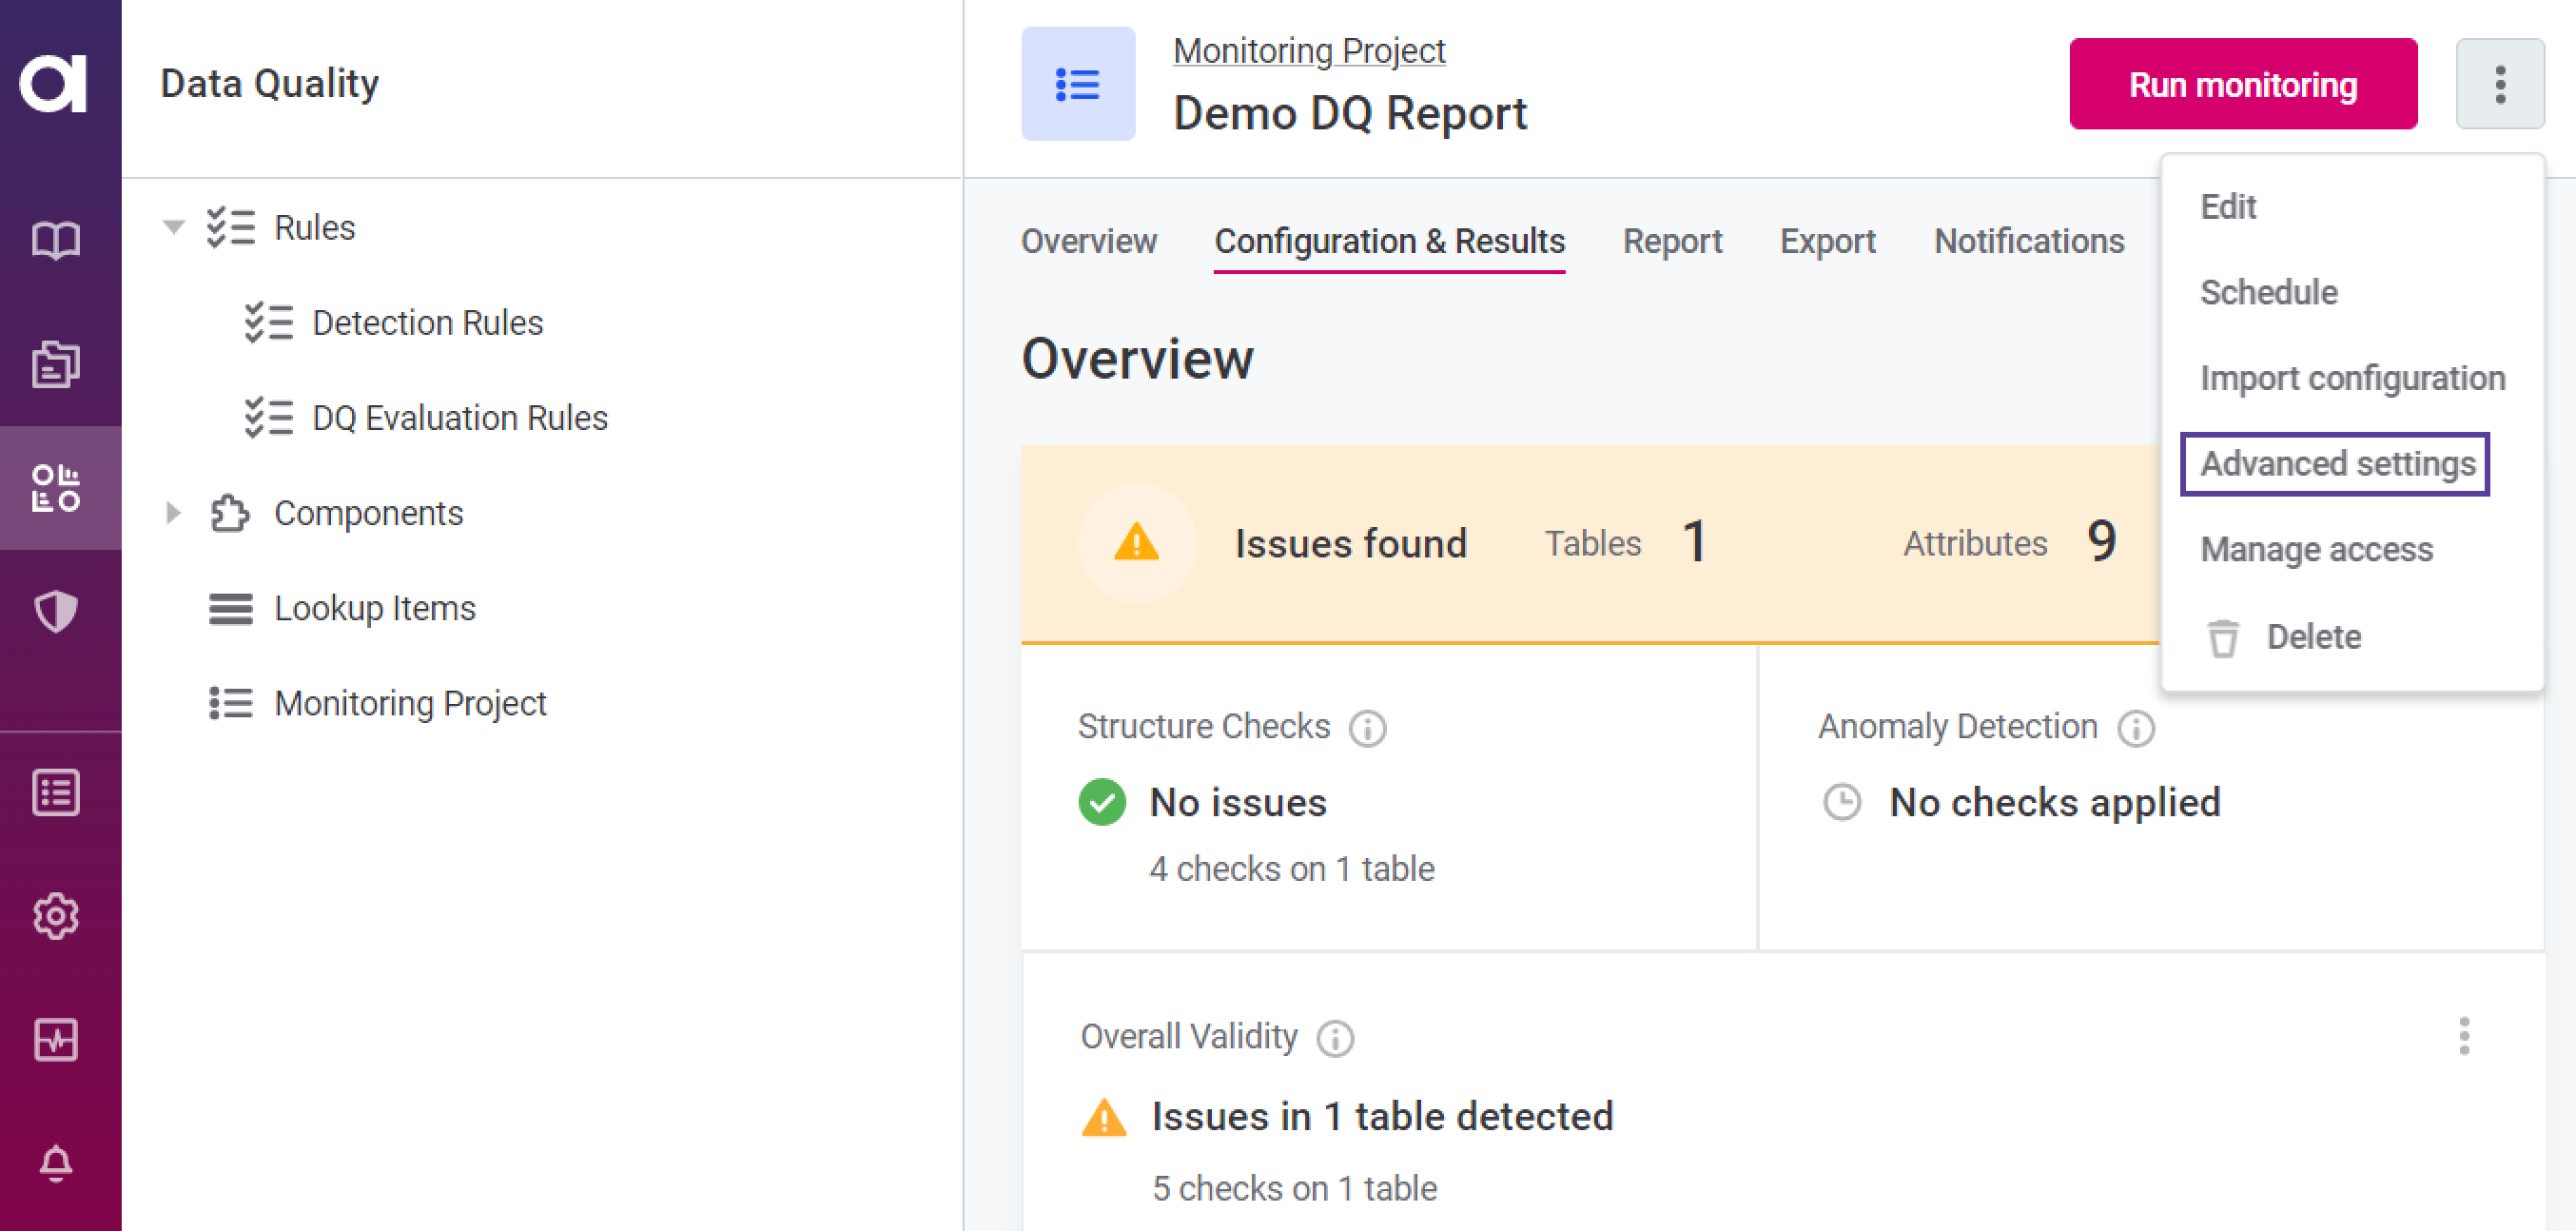
In the required project, select the Configuration & Results tab.
-
Select a catalog item.
-
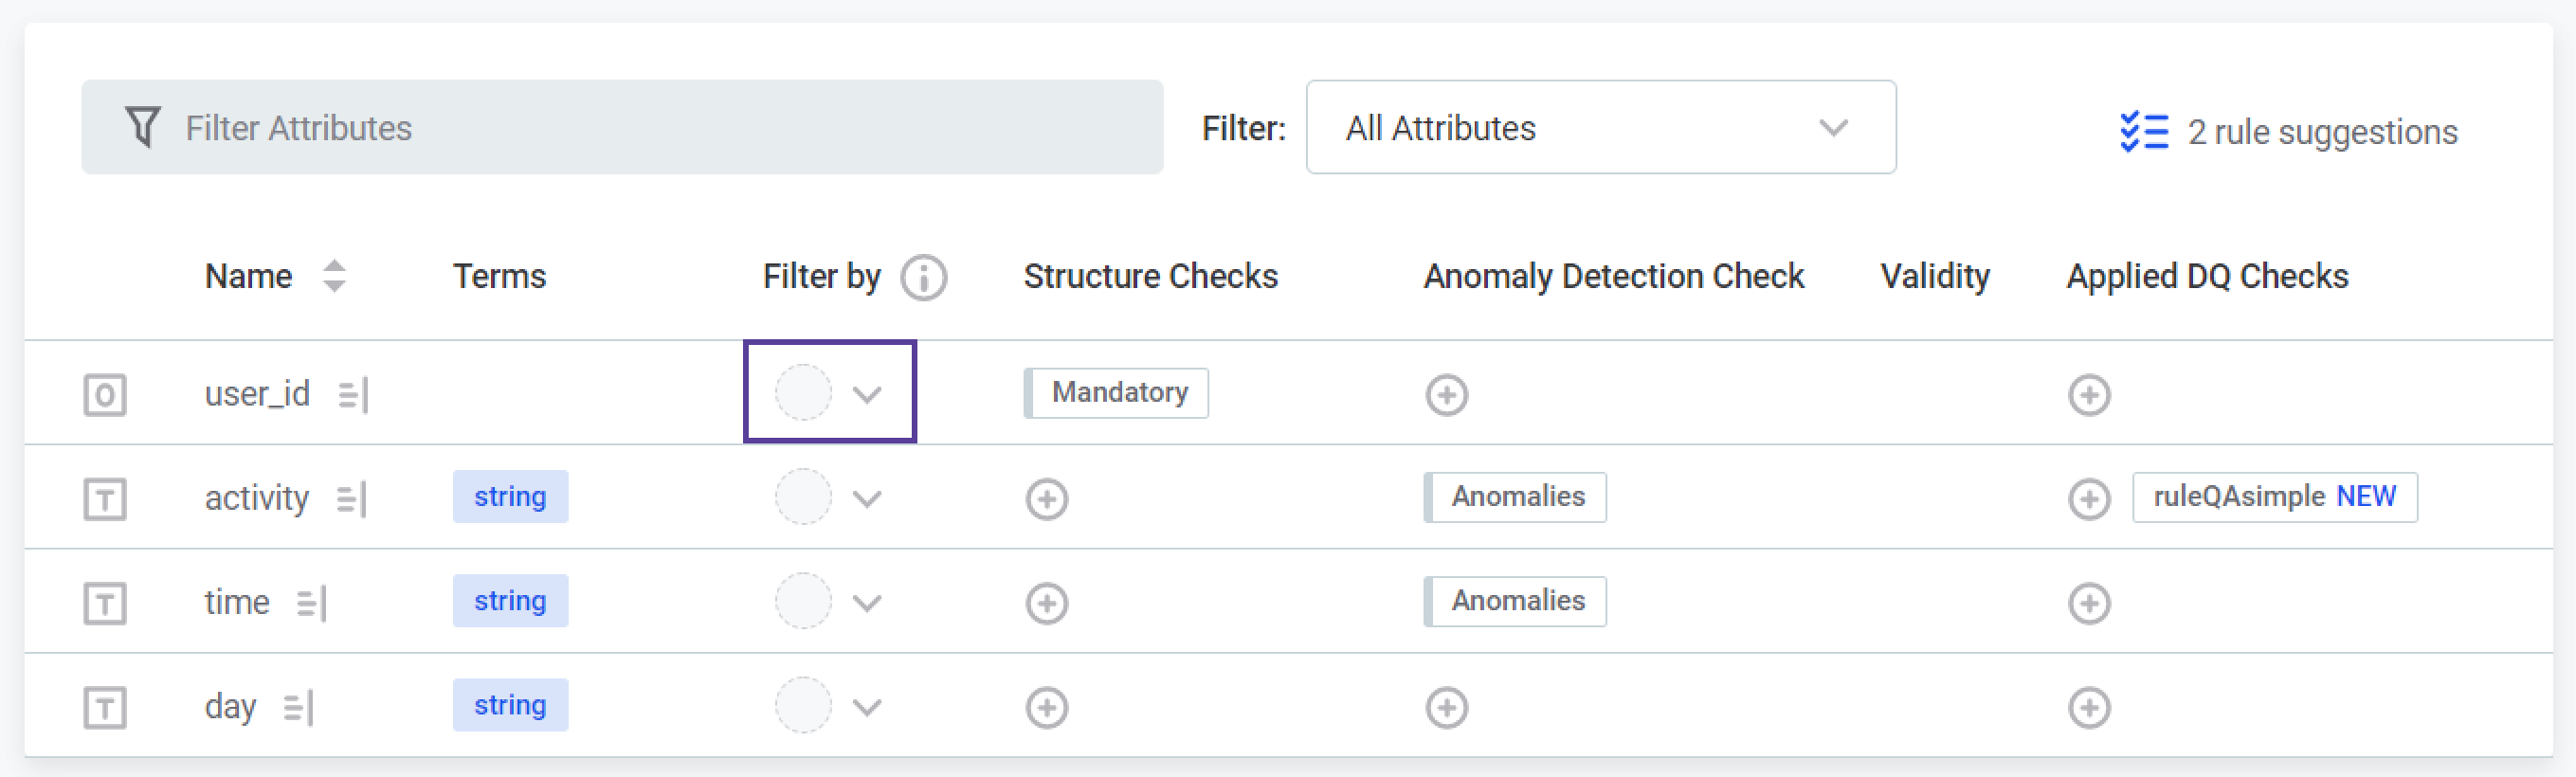
For the required attribute either:
-
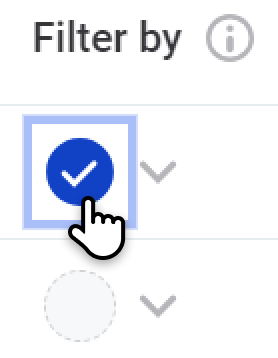
Select the Filter by option to enable the filter.
-
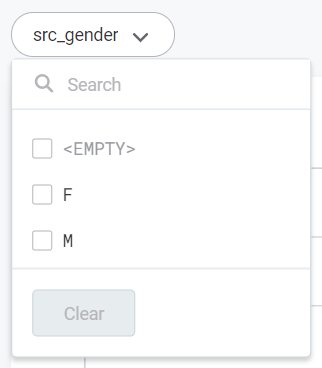
Use the dropdown in the Filter by column if you want to add a custom name for the filter:
-
Select Use attribute as a filter for DQ results to enable filtering with the selected attribute.
-
Specify a name for the filter. If you do not specify the filter name, the filter name is the same as the attribute.
-
-
-
Publish the changes to the project.
| Attribute filters are not visible on the screen from which you enable them. If filters are enabled, you can use them on the Report tab when looking at results for the relevant catalog items. |
Turn off rule suggestions
Power users can turn off rule suggestions in monitoring projects via the property plugin.monitoring-project.ataccama.one.rule-suggestions-enabled.
For more information, see MMM Configuration.
Anomaly detection configuration
When running anomaly detection during monitoring projects, you are able to select whether you want to run the time-dependent model or time-independent model. You can also configure the desired sensitivity of selection. See Anomaly Detection in Monitoring Projects.
Update rule references
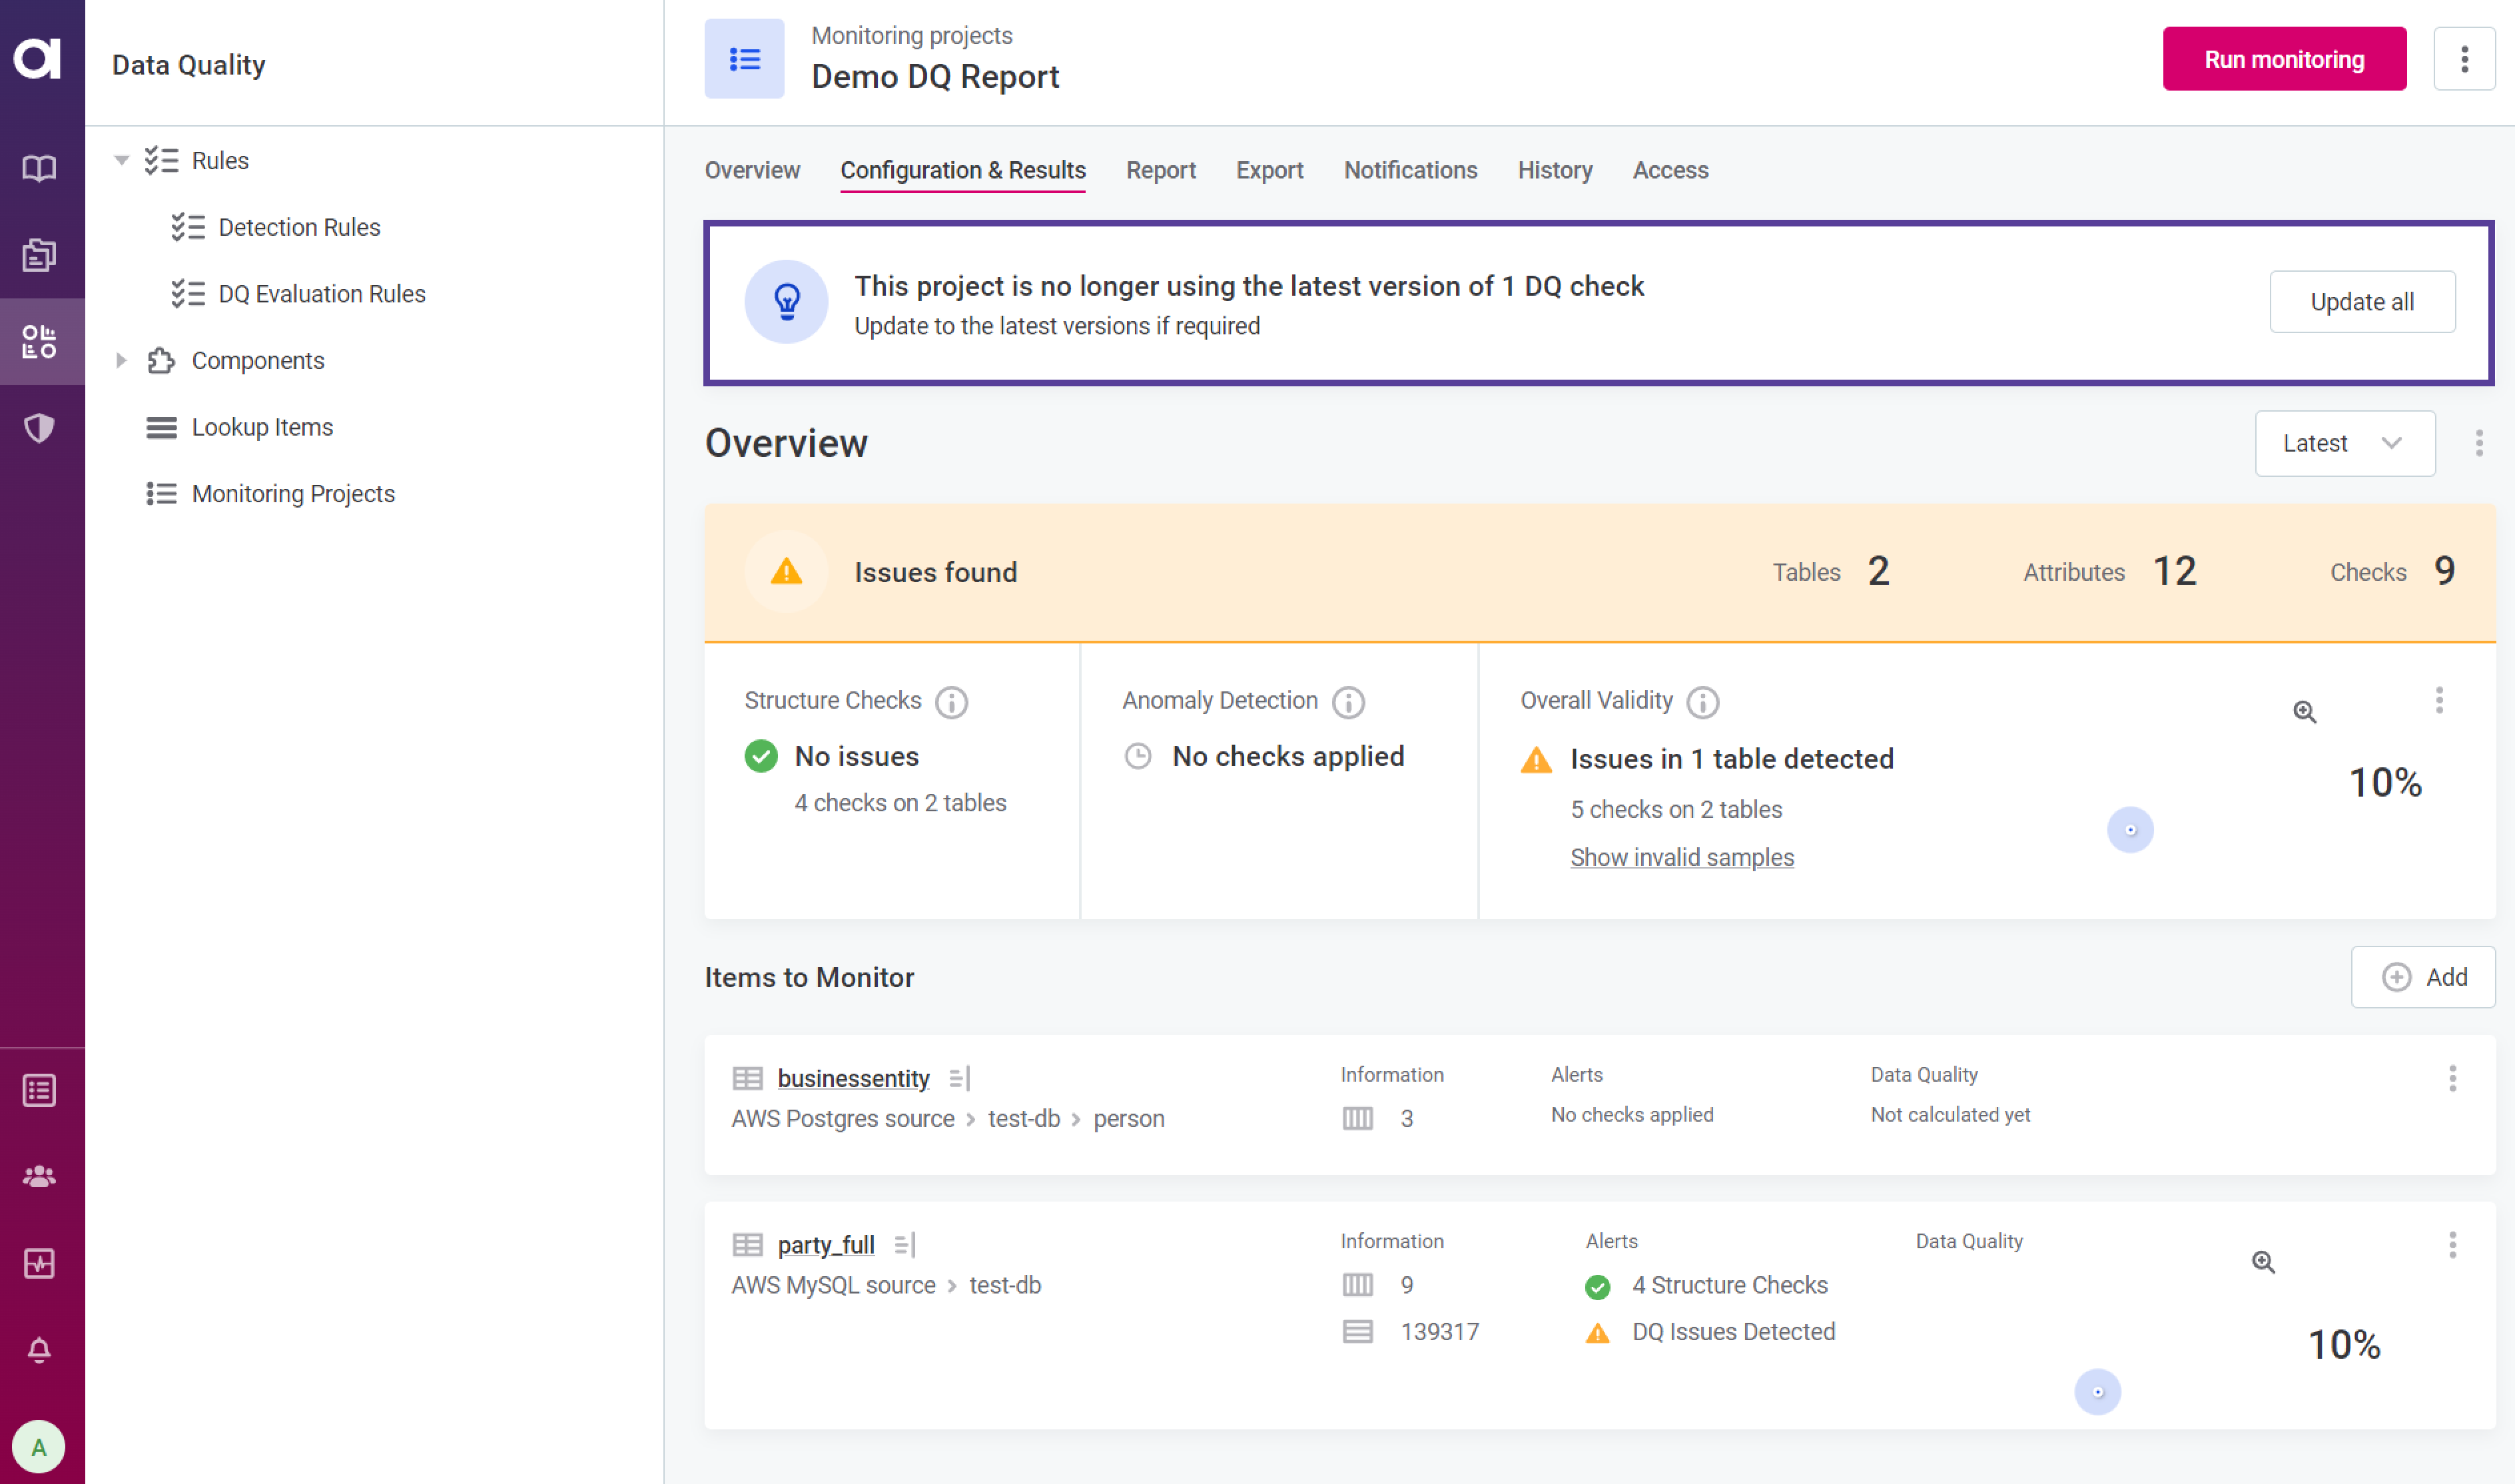
If your monitoring project contains mappings to rules that have since been edited, you are notified on the Configuration & Results screen.
| If you have view-only permissions for monitoring projects, this notification is not visible. |
-
To update the rule instances to the latest version, select Update all.
-
If the update is successful, publish the changes to continue.
-
If there are validation errors you are notified and it is necessary to resolve the issues before you can continue working with the monitoring project.
Validation errors can occur, for example, if an input attribute data type is changed, and if an input attribute was added or removed.

-
Invalid results samples
The invalid results sample provides an opportunity to see a sample of records that are non-compliant with the DQ checks applied.
To change the configuration of invalid results samples:
-
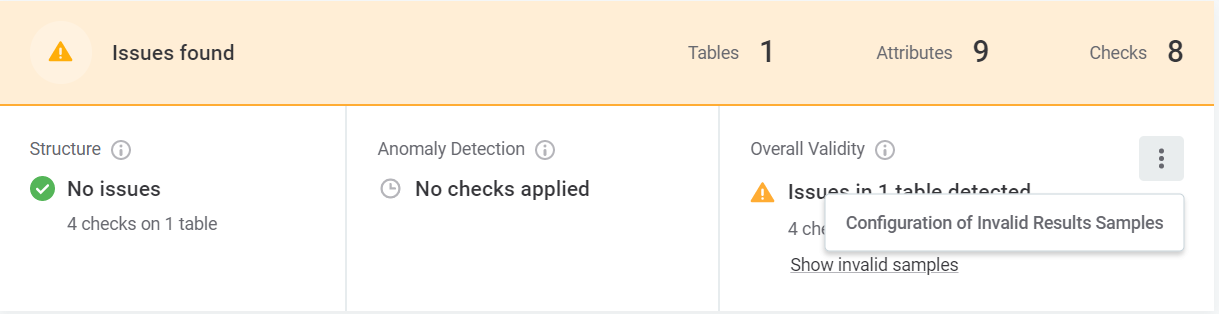
Navigate to the Configuration & Results tab.
-
Using the three dots menu in the Data Quality section, select Configuration of invalid results samples.
-
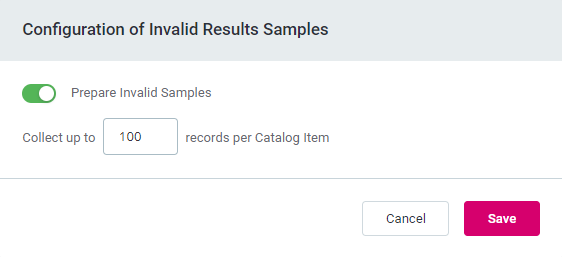
In Configuration of Invalid Results Samples, do the following:
-
Select Prepare invalid samples.
-
Set the size of the sample per catalog item by entering the required number.
-
-
Select Save to apply the changes.
-
| If invalid results samples are disabled in a monitoring project, they are not generated at all (that is, not saved). |
Was this page useful?