
Azure Data Lake Storage Gen2 Connection
Azure Data Lake Storage Gen2 (ADLS Gen2) is a set of capabilities dedicated to big data analytics, built on Azure Blob Storage. It can also be utilized as a storage for simple CSV files.
To work with such files in ONE, you need to create an ADLS Gen2 connection in the Catalog.
Create a source
To connect to ADLS Gen2:
-
Navigate to Knowledge Catalog > Sources.
-
Select Create.
-
Provide the following:
-
Name: The source name.
-
Description: A description of the source.
-
Deployment (Optional): Choose the deployment type.
You can add new values if needed. See Lists of Values.
-
| Alternatively, add a connection to an existing data source. See Connect to a Source. |
Add a connection
-
Select Add Connection.
-
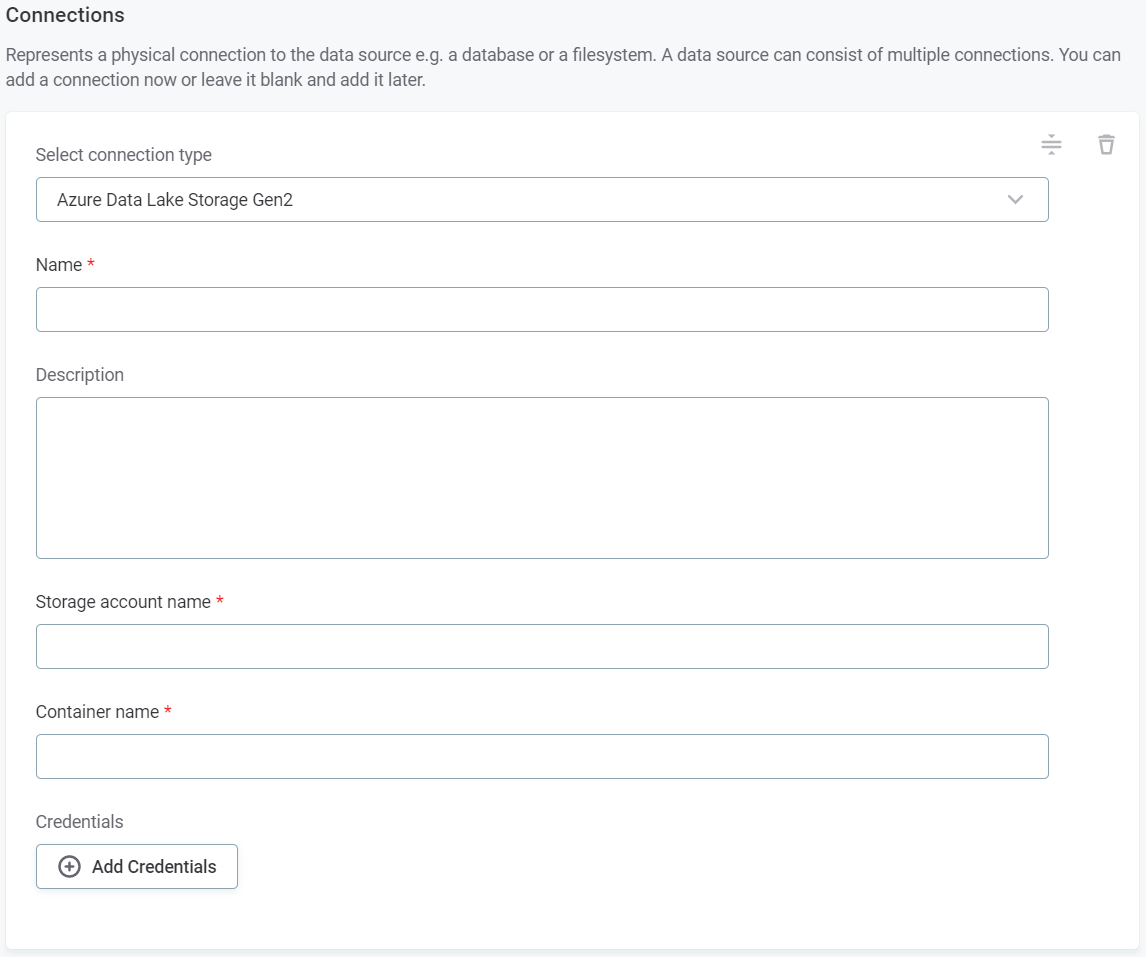
In Pick Type of Your Connection, choose Azure Data Lake Storage Gen2.
-
Provide the following:
-
Name: A meaningful name for your connection. This is used to indicate the location of catalog items.
-
Description (Optional): A short description of the connection.
-
Storage account name: The name of the Azure Storage account that you want to use.
-
Container name: A container associated with the selected Azure Storage account.
-
Add credentials
-
Select Add Credentials.
-
Choose an authentication method and proceed with the corresponding steps:
|
If you want to use Azure AD Managed Identity, Data Processing Engine (DPE) needs to meet the following requirements:
If you have multiple DPEs running, you might need to specify additional constraints. See Constraints Configuration. |
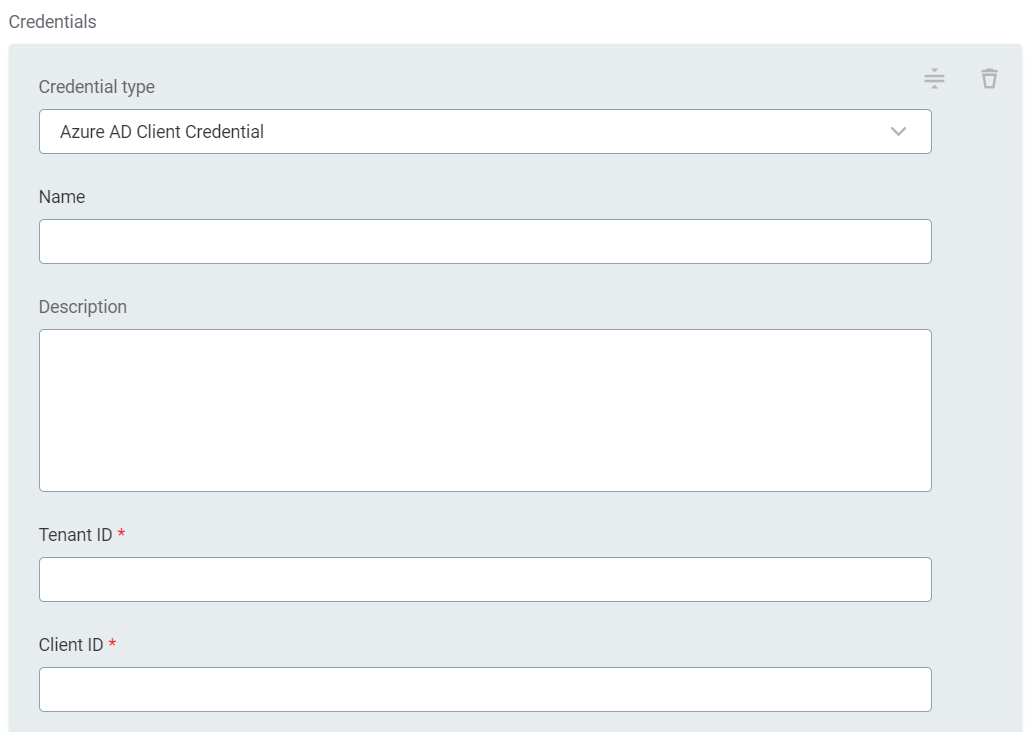
Azure AD Client Credential
-
Provide the following:
-
Name (Optional): A name for this set of credentials.
-
Description (Optional): A description for this set of credentials.
-
Tenant ID: The unique identifier of the Azure AD instance within your Azure subscription.
-
Client ID: The unique identifier of the application created in Azure AD.
-
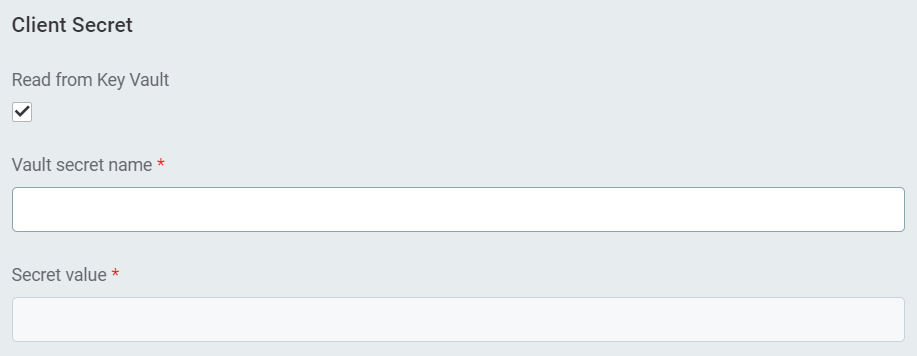
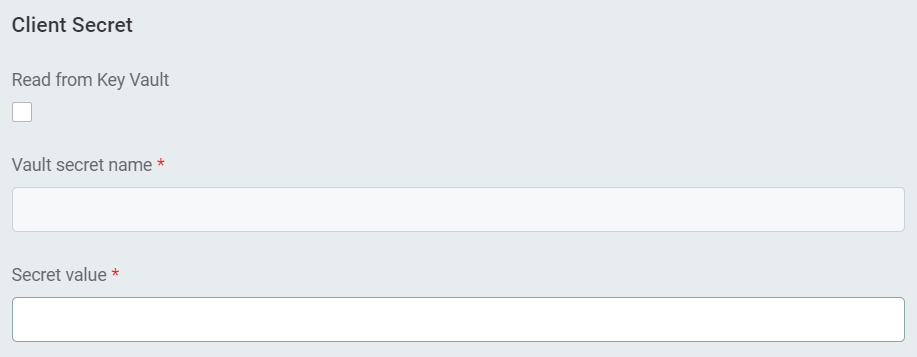
Client Secret: Choose how to provide the client secret.
-
If you want the secret to be loaded from Azure Key Vault, select Read from Key Vault.
-
In Vault secret name, specify the name of the secret.
-
Set up the connection to Azure Key Vault, as described in Authenticate with Azure Key Vault.
-
-
If you don’t want to connect to Azure Key Vault, in Secret value, specify the value of the secret key.
-
-
-
If you want to use this set of credentials by default when connecting to the data source, select Set as default.
-
Proceed with Test the connection.
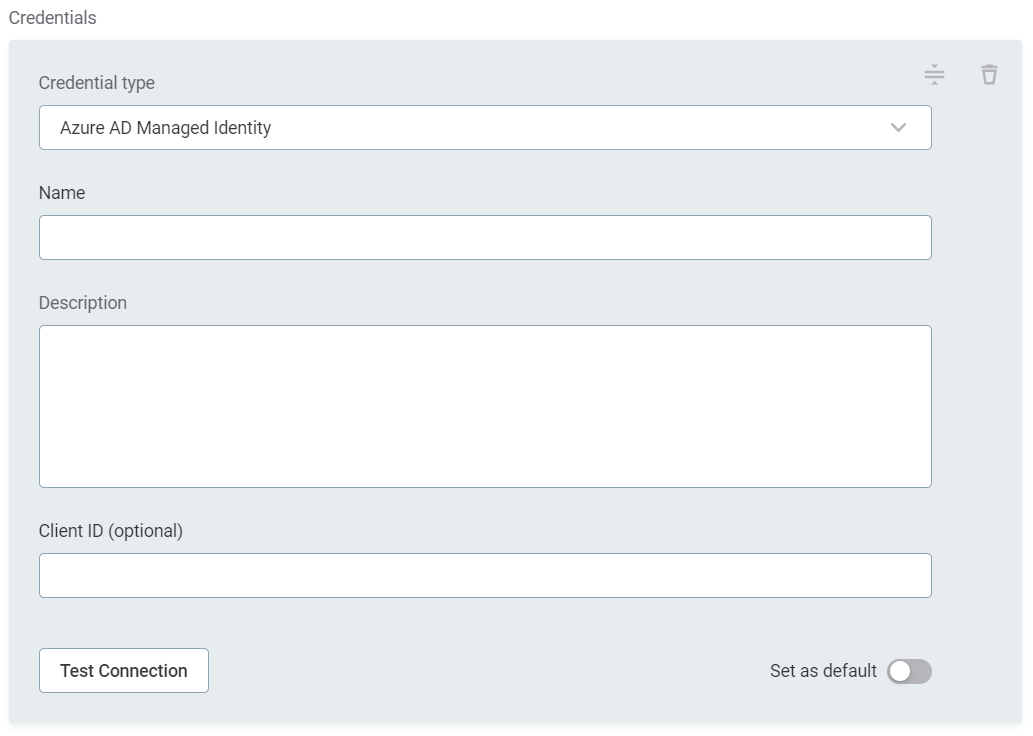
Azure AD Managed Identity
-
Provide the following:
-
Name (Optional): A name for this set of credentials.
-
Description (Optional): A description for this set of credentials.
-
Client ID (Optional): The authentication key string associated with the selected managed identity.
-
-
If you want to use this set of credentials by default when connecting to the data source, select Set as default.
-
Proceed with Test the connection.
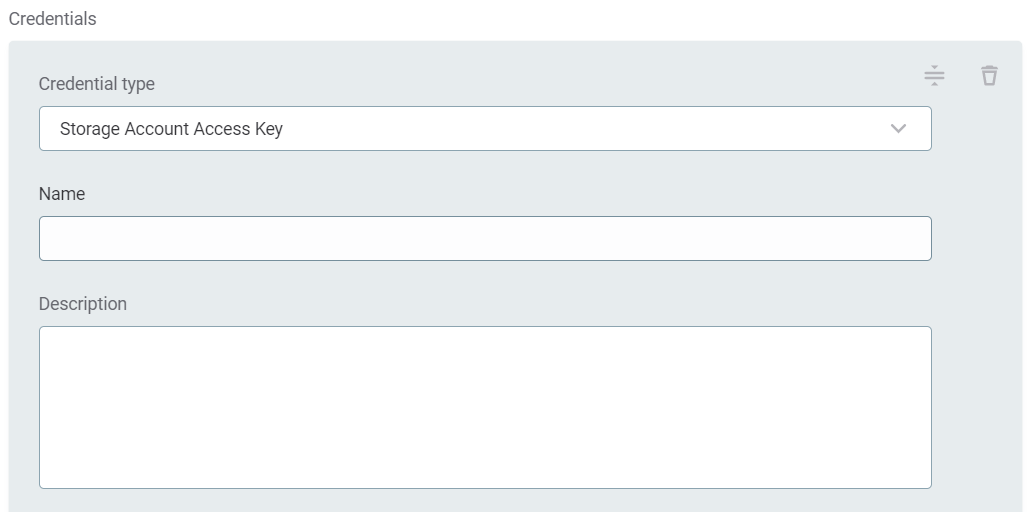
Storage Account Access Key
-
Provide the following:
-
Name (Optional): A name for this set of credentials.
-
Description (Optional): A description for this set of credentials.
-
ADLS Shared Key: Choose how to provide the storage account access key.
-
If you want the key to be loaded from Azure Key Vault, select Read from Key Vault.
-
In Vault secret name, specify the name of the secret.
-
Set up the connection to Azure Key Vault, as described in Authenticate with Azure Key Vault.
-
-
If you don’t want to connect to Azure Key Vault, in Secret value, specify the value of the secret key.
-
-
-
If you want to use this set of credentials by default when connecting to the data source, select Set as default.
-
Proceed with Test the connection.
Authenticate with Azure Key Vault
To connect to Azure Key Vault:
-
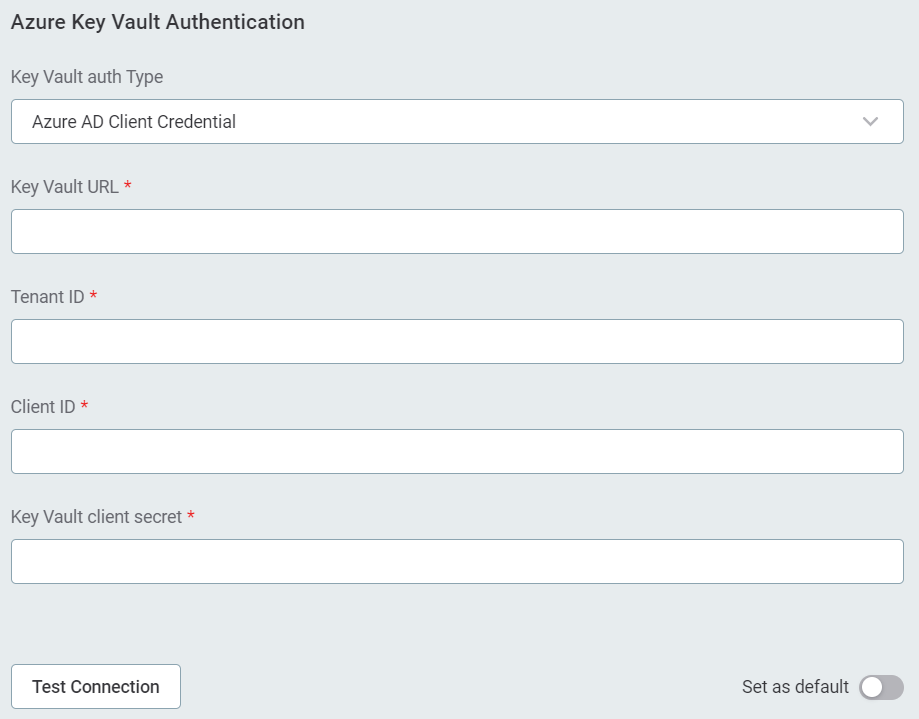
Choose the Key Vault authentication type:
-
Azure AD Client Credential
-
Azure AD Managed Identity
-
-
Depending on the selected authentication method, provide the following:
-
Azure AD Client Credentials:
-
Key Vault URL: The complete URL of the Key Vault.
-
Tenant ID: The unique identifier of the Azure AD instance within your Azure subscription.
-
Client ID: The unique identifier of the application created in Azure AD.
-
Key Vault client secret: The client secret for Azure Key Vault.
-
-
Azure Managed Identity

-
Key Vault URL: The complete URL of the Key Vault.
-
Client ID (Optional): The authentication key string associated with the selected managed identity.
-
-
Test the connection
To test and verify whether the data source connection has been correctly configured, select Test Connection.
If the connection is successful, continue with the following step. Otherwise, verify that your configuration is correct and that the data source is running.
Save and publish
Once you have configured your connection, save and publish your changes. If you provided all the required information, the connection is now available for other users in the application.
In case your configuration is missing required fields, you can view a list of detected errors instead. Review your configuration and resolve the issues before continuing.
Next steps
You can now browse and profile assets from your Azure Data Lake Storage Gen2 connection.
In Knowledge Catalog > Sources, find and open the source you just configured. Switch to the Connections tab and select Document. Alternatively, opt for Import or Discover documentation flows.
Or, to import or profile only some assets, select Browse on the Connections tab. Choose the assets you want to analyze and then the appropriate profiling option.
Was this page useful?