
Create Your First Data Transformation
This guide walks you through the process of creating and building your first data transformation.
Make sure you get familiar with basic concepts covered Data Transformations before you start.
Create a data transformation
To create a transformation:
-
Go to Manage reference data > Transformation plans.
-
Select Create transformation plan.
-
Choose a Type:
-
Standalone plan
-
Embedded plan
-
Create a new catalog item
-
-
Enter a Name for your transformation.
-
(Optional) Enter a Description for your transformation.
-
Select Create.
Your new transformation is created in Draft state. You can now define your transformation.
Build a transformation plan
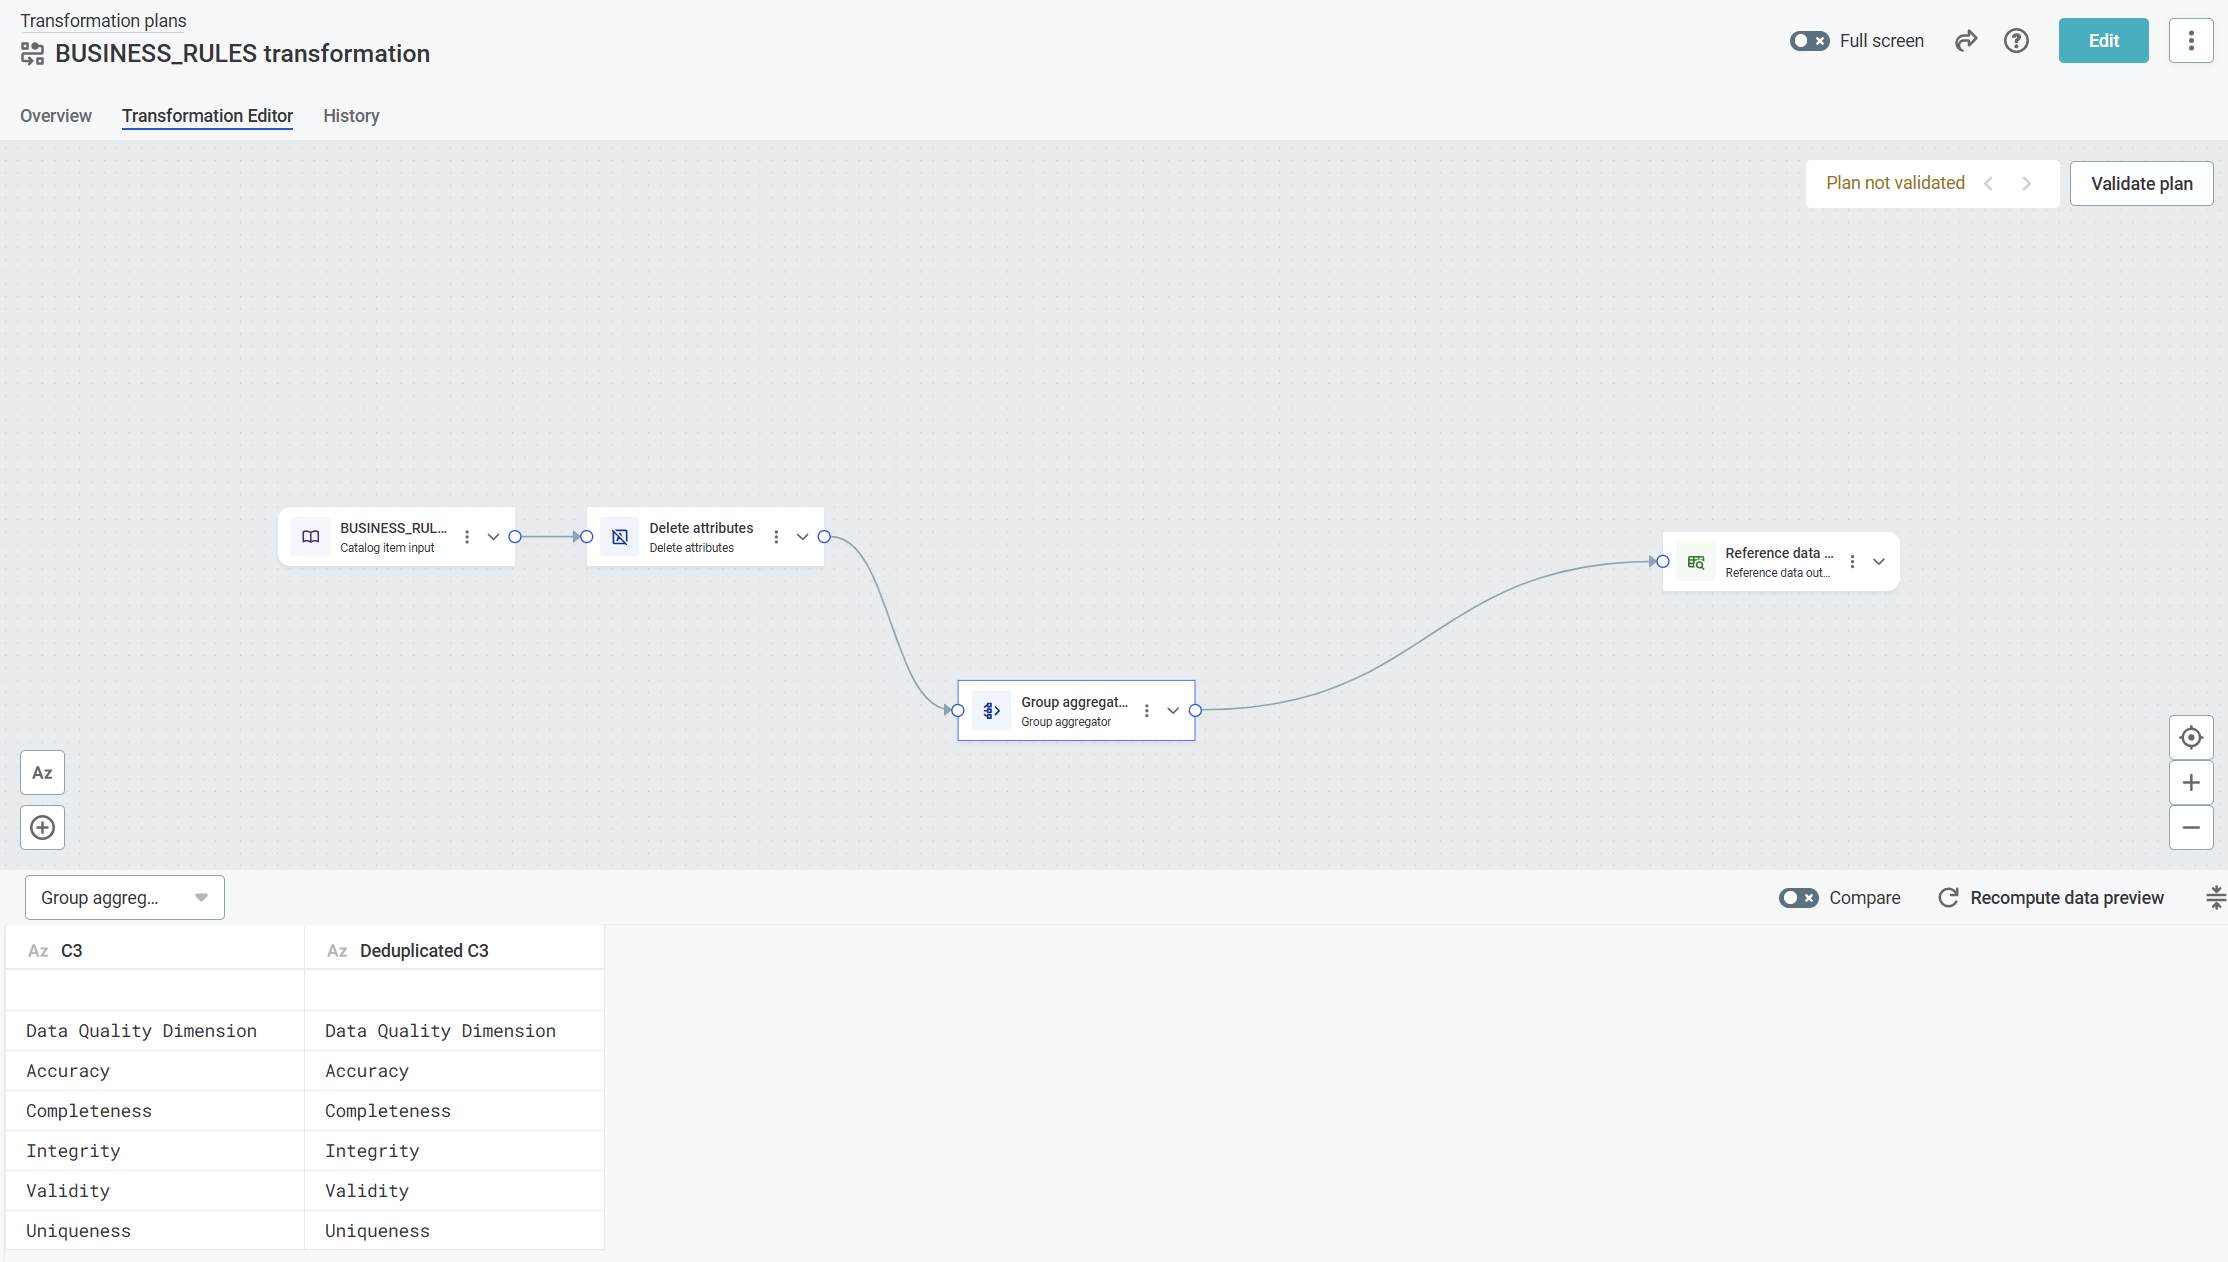
Now that you’ve created a transformation plan, use the transformation editor visual canvas to build your transformation.
| Use Data preview to check how the transformation looks at each step. |
To start building your transformation:
-
Right-click the editor canvas and select Add step.
-
Add your Input, Transform, and Output steps to the canvas.
-
Connect steps by clicking and dragging from the output port of one step to the input port of another.
-
Configure each step properties by clicking the title of the step.
Step properties hidden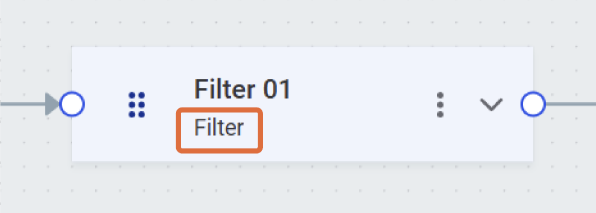 Step properties expanded
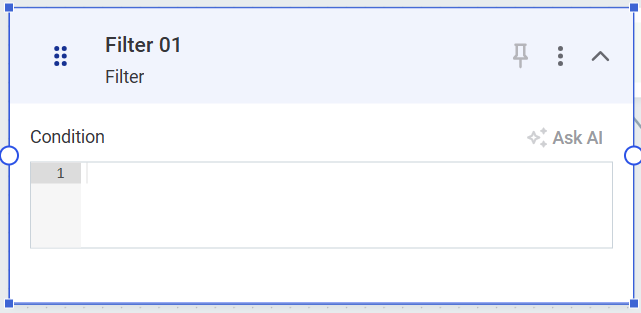
-
Complete your plan by connecting the final transformation step to an output step.
-
Select Validate plan to identify issues that need to be addressed for the transformation to work.
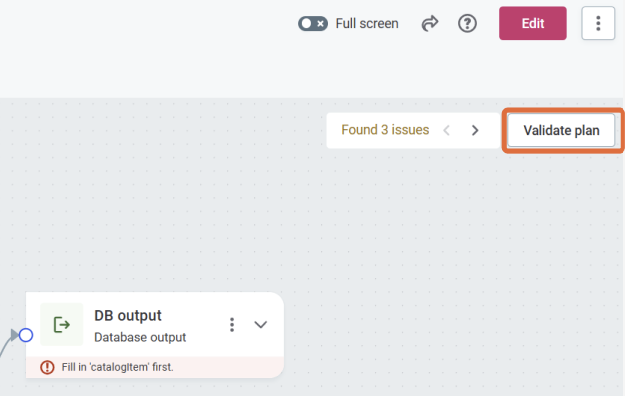
-
When satisfied with your transformation, publish your changes.
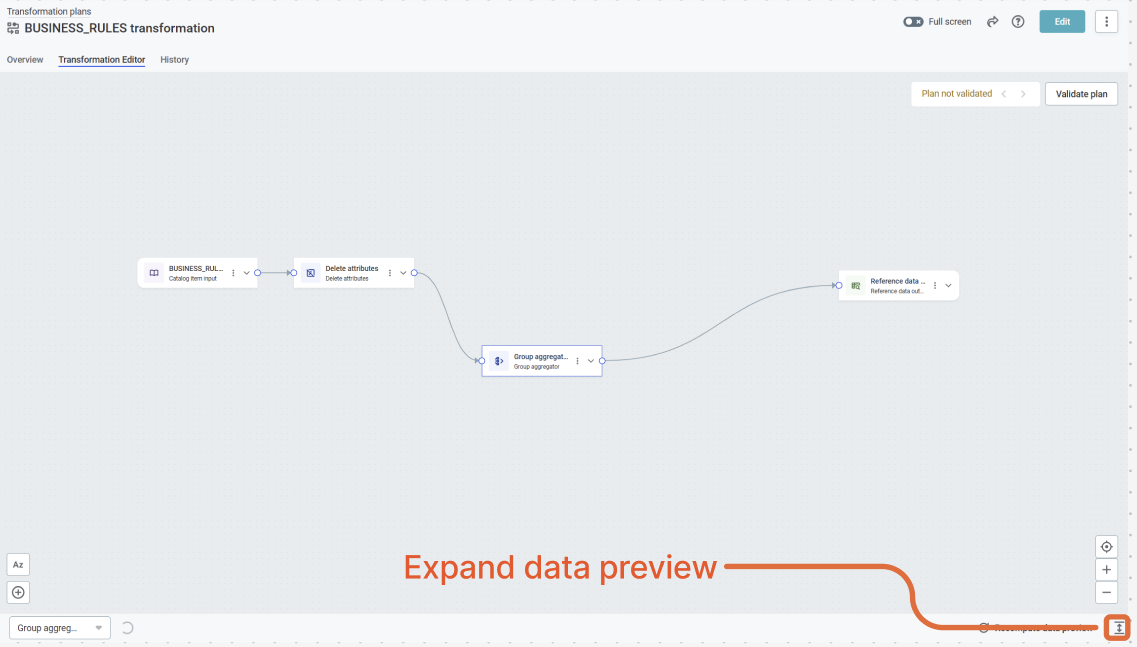
Data preview
Data preview shows the data processing results based on a sample of real source data. It is a tool you can use to check what the transformation looks like for each step or the whole transformation at the output step.
To generate data preview:
-
Select Expand the data preview.
-
Select Compute data preview. This might take some time depending on the volume of the data you’re working with.
Select a specific step to see a preview of the results for that step.
If the step has multiple outputs, you can further select for which output you want to view the data.
For example, for a condition step, this could be out_true or out_false.
You can also view two different previews side-by-side using the Show secondary preview option.
The preview is retained if you close the plan and re-open it. Likewise, after editing a plan, the preview is not updated unless you manually recompute it. To do this, select Recompute data preview.
Example: Create a simple standalone transformation plan
Here’s a basic example of how to create a simple transformation that adds an attribute to customer data:
-
Add a Catalog item input step and select your customer data catalog item.
-
Add an Add attributes step to create a full name field.
-
Connect the Catalog input step to the Add attributes step.
-
Create a new attribute. For example, "full_name".
-
-
Add a Database output step to save the results.
-
Connect the Add attributes step to the Database output.
-
Configure the output location and write strategy.
-
-
Publish and run the plan.
Next steps
Once you’re comfortable with the basics of creating transformations, explore the Data Transformation Steps Reference to learn about all available steps and their configurations.
Was this page useful?