
Web Service Test Editor
Ataccama products offer support for various online services. Using the Web Service Test Editor in ONE Desktop, you can test, send requests, and debug the performance of online services.
Access Web Service Test Editor
You can access the Web Service Test Editor from ONE Desktop by opening an existing online service or by creating a new web service test.
Overview of Web Service Editor
The following options are available:
-
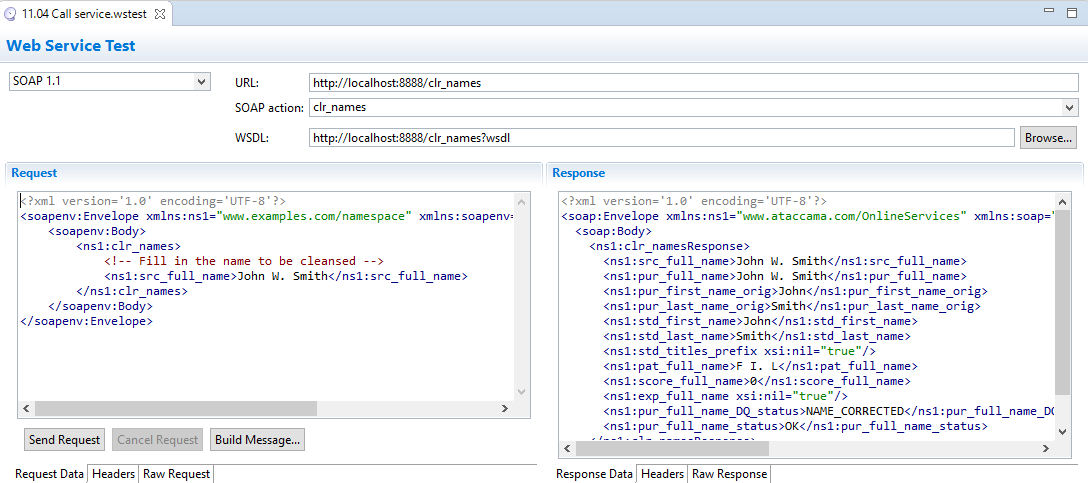
Protocols: SOAP 1.1, SOAP 1.2, Generic HTTP.
-
URL: Enter the URL of your online service.
-
SOAP action: Enter the name of the SOAP action defined in the
.onlineservice definition file, for example,soapAction="clr_names". -
WSDL: Enter the location of your WSDL file.
-
Request: Input field for your request to be sent to the online service.
-
Response: Output field for the online web service response.
-
Headers: On this tab, you can add and check specific headers.
-
Raw Request: View your request in the raw mode.
-
Raw Response: View your response in the raw mode.
Open an existing service
-
Launch ONE Desktop.
-
From the File Explorer, open the folder with your online service file (
.onlineextension). -
Select Run.
-
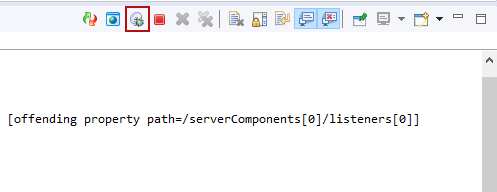
To open the Web Service Test Editor, go to the Console and select the Open Web Service Test Editor icon.
-
If your service has a WSDL file defined, all of the required settings are already filled in.
Enter your request in the Request input field and select Send Request.
Create a new web service test
-
Launch ONE Desktop.
-
From the File Explorer, go to the folder you want to work with and right-click it.
-
Select New > Web Service Test.
-
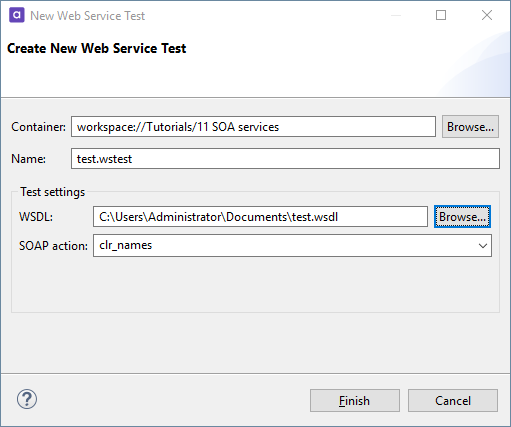
In Create New Web Service Test, enter the Name of your test.
-
Optionally, if you have an existing WSDL file, in Test settings, next to the WSDL field, select Browse.
Find your WSDL file and select OK.
-
-
This fills in the SOAP action input field. Select Finish.
-
Enter your request in the Request input field and select Send Request.
Was this page useful?