
Import Monitoring Project Configuration
It is possible to copy the configuration of one monitoring project and apply it to another, for example, to test new rules on a catalog item in a monitoring project without risking unnecessary changes in a production project. To see this in action, see Monitoring project lifecycles.
Configuration import includes:
-
All checks (structure checks, anomaly detection, DQ checks)
-
Invalid samples
-
Reports structure
-
DQ filters
To import a monitoring project:
-
Select the project you want to import the configuration into. Using the three dots menu, select Import configuration.

-
On the Import monitoring project configuration screen, from the list provided, select the monitoring project from which the configuration should be used.

-
-
After selecting a project, some tables are preselected based on the
Purposeassigned to catalog items. -
Check if the preselected catalog items are correct. If something is not correct, it is possible to delete it from the list or change it to another catalog item. Click on the cross icon to delete the catalog item from the list, or use the dropdown arrow to expand the list of all catalog items to choose from.
When selecting a different catalog item, a warning may appear, due to the differences in structure of the expected catalog item and the one selected.
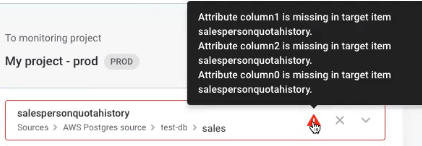
It is not possible to copy the configuration unless the structure matches.
-
When you are ready, select Start import at the bottom of the page. The configuration is copied to the new monitoring project immediately.
Set a Purpose
Setting the purpose for catalog items is optional, but it helps to preselect the catalog items for a monitoring project without assigning items to the monitoring project manually. To link the project with the catalog items, the same purpose needs to be set for both, project and items.
-
To set the purpose of the project, navigate to the Overview tab, click Add purpose, and select from the preconfigured list.
-
To set the purpose of catalog items, navigate to the Overview tab of the item, click Add purpose on the Purpose widget and select from the preconfigured. For more information, see Getting Started with ONE Data Catalog.
Monitoring project lifecycles
You can make use a combination of Purpose tags and of the import monitoring project configuration feature to simulate a multi-environment process (Configure > Test > Send for approval > Make public, and repeat) within one physical environment.
In summary:
-
Create a project, use tables from the non-production data source, assign rules, and test.
-
Create a second project and use the new Import configuration functionality, and import the configuration from the first project.
-
Map tables to their non-production instances:
-
If catalog items have not been assigned a purpose tag, and this is the first import of the configuration, you need to map items manually.
-
If the configuration has been previously imported, mapping is automatic (this can be overridden by the user).
-
If catalog items have been assigned a purpose corresponding to that of the project, these items are selected.
-
|
Two physical environments can be created, but the intended use for the non-production environment should be only:
These instances are not intended for:
The preferred method on multi-environments is one production environment for all metadata, and one non-production environment for model changes, API work, and testing. This differs to other products, for example, RDM and MDM, for which one production and two non-production environments are recommended. |
Copying the configuration of a project means you can create, for example, a DEV and PROD instance of the same project, to test projects on non-production data and later exchange for production data.
This allows you to test rules and configurations, particularly how changes in rules affect monitoring projects, without affecting the production dashboard. It also means it is not necessary to configure the same project multiple times, which is highly valuable given that organizations can have large numbers of catalog items in a project with multiples rules for each table.
Create rules and connect them to your production and non-production data sets. Link the matching catalog items from each data set, and create two separate projects, for example, one for DEV and one for PROD. You can distinguish between these using the Purpose label.
It is only be necessary to configure one project, and you can then easily copy the configuration to the second project. In the guide that follows, we use the DEV and PROD example to illustrate this functionality.
Tutorial
-
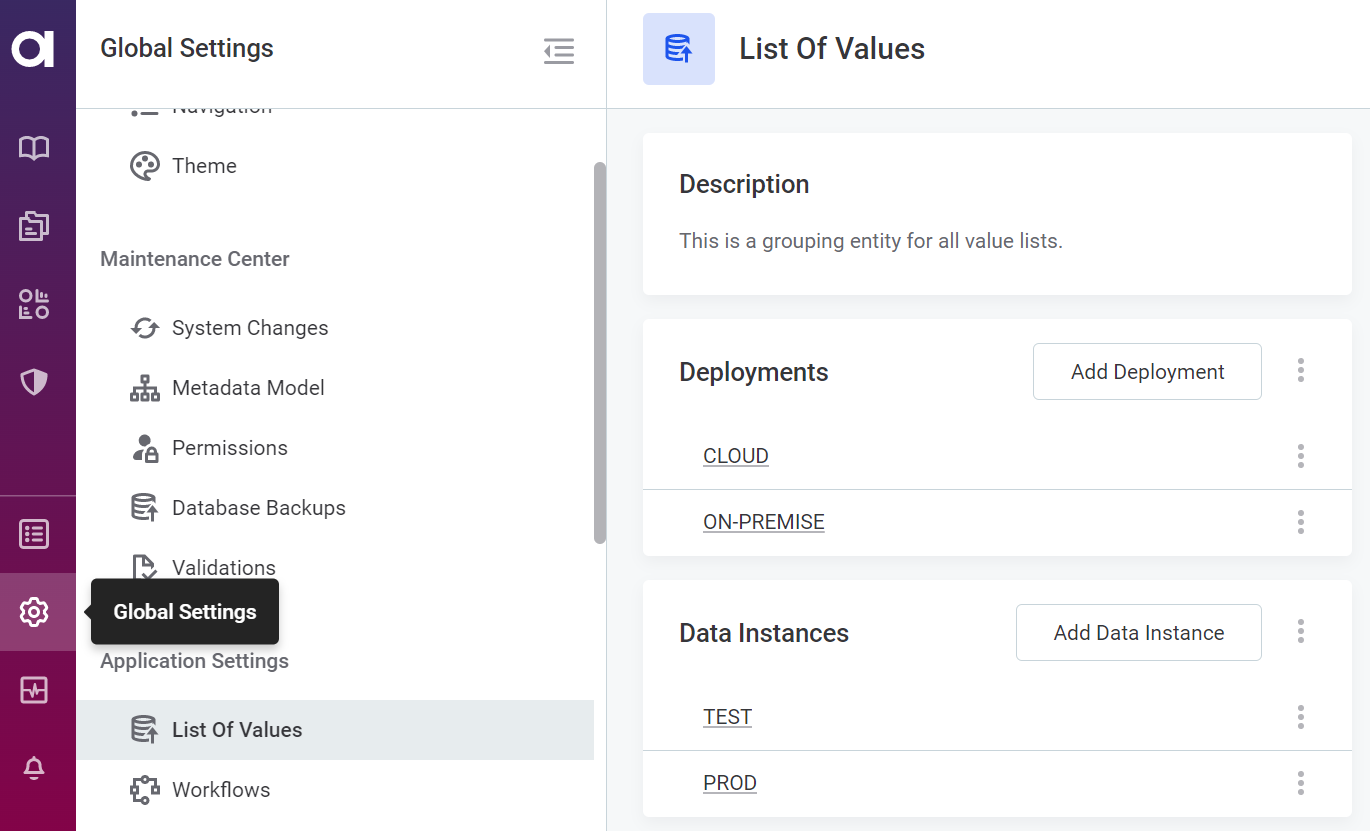
Add both a DEV and a PROD purpose in List of Values. For more details, see Lists of Values.
-
In Global Settings > List of Values, select Add Data instance.
-
Provide a name (that is, DEV or PROD).
-
Select Save
-
-
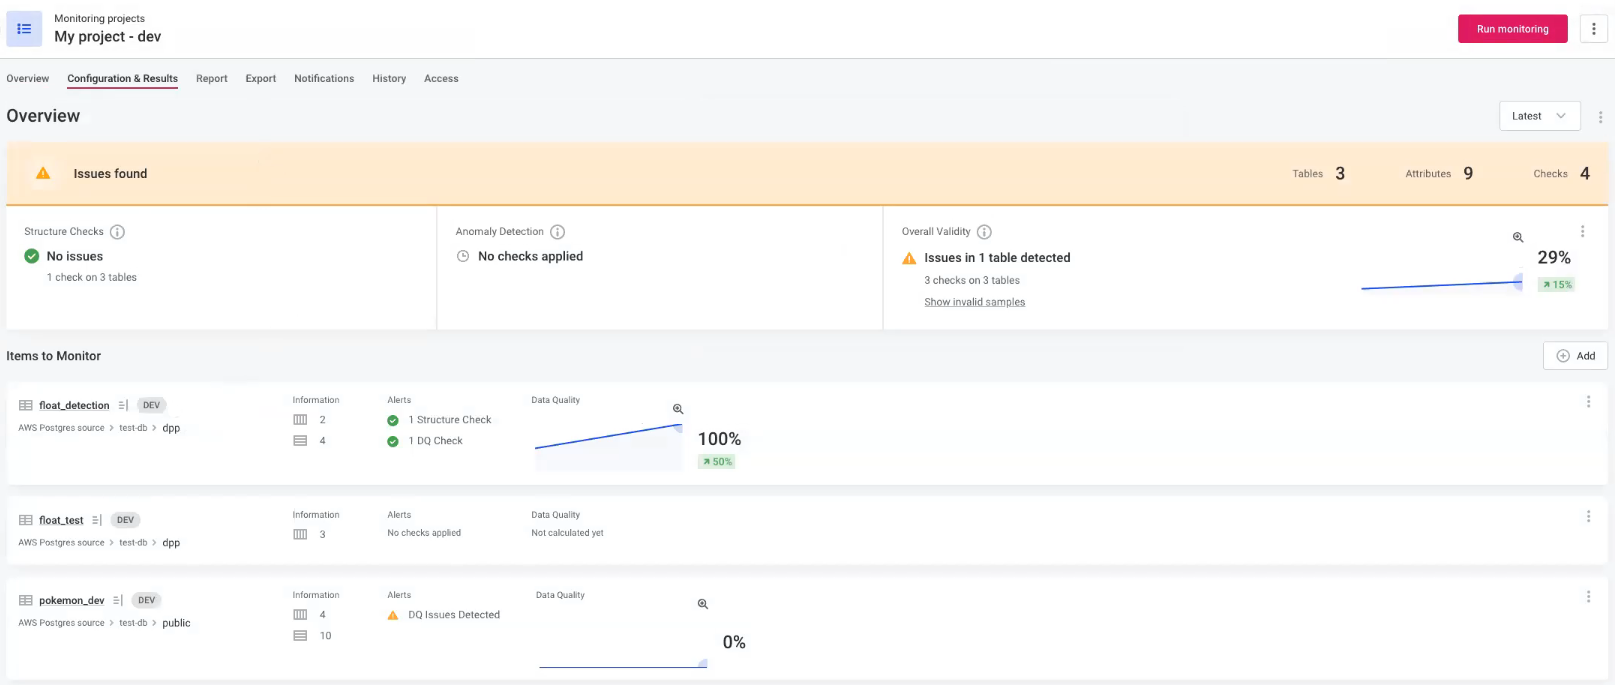
Select an existing project to be used as the DEV instance, or configure one, for example, My project - dev.
-
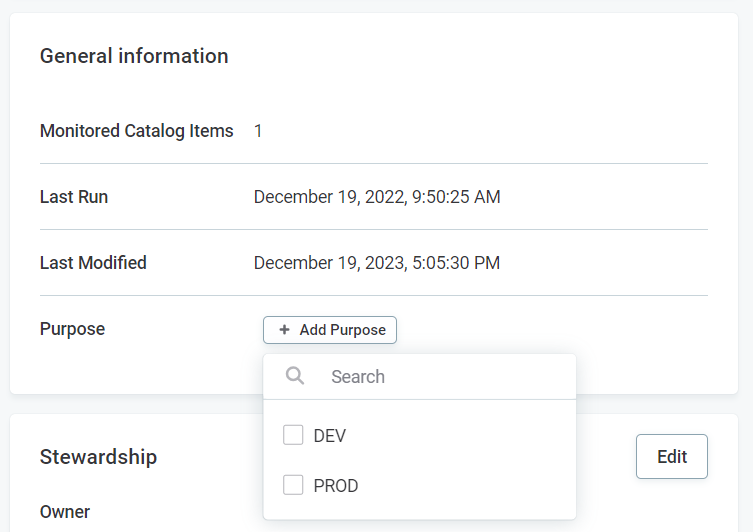
In General information, add a purpose for the monitoring project: DEV.
-
Create a monitoring project for the production environment, for example, My project - prod. You do not need to configure this project.
-
In General information, add a purpose for the monitoring project: PROD.
-
Copy the monitoring project configuration for My project - dev to My project - prod, that is, from the development environment to the production environment according to the instructions found earlier in this article.
Was this page useful?