
Anomaly Detection in Catalog Items
Potential anomalies are detected during the profiling of catalog items on two levels:
-
Catalog item level, on metrics such as number of records, summary statistics, and so on.
-
Attribute level, on metrics such as value distribution, standard deviation, numeric sum.
The value of the metric is considered to be an anomaly if it is beyond the usual range. Anomaly detection is a process handled with AI, meaning that with every confirmed or dismissed alert, ONE learns more about the data and its possible values, which helps in detecting anomalies more precisely with every profiling.
| Anomaly Detection is only run if it is enabled in the profiling configuration used. For more information, see xref:[Configure Profiling Settings]. |
| Anomaly detection starts working from the 6th profile on, meaning that it is not activated for fewer profiles. |
Run anomaly detection
To run anomaly detection on catalog items:
-
In Data Catalog > Catalog Items, select the required item.
-
Use the dropdown to select Full profiling
If custom profilings have been added which include anomaly detection, you can also select one of these. For more information, see xref:[Configure Profiling Settings].
To run anomaly detection on sources:
-
In Data Catalog > Sources, select the required source.
-
Use the dropdown to select the Document documentation flow.
Detected anomalies
The presence of anomalies is marked using the warning icon. You can see information about any potential anomalies detected during profiling at a number of points in the Data Catalog:
-
Catalog item list view.
-
Attribute list view within a catalog item.
You can choose to view only the anomalous attributes of a catalog item by selecting Display only anomalous attributes. 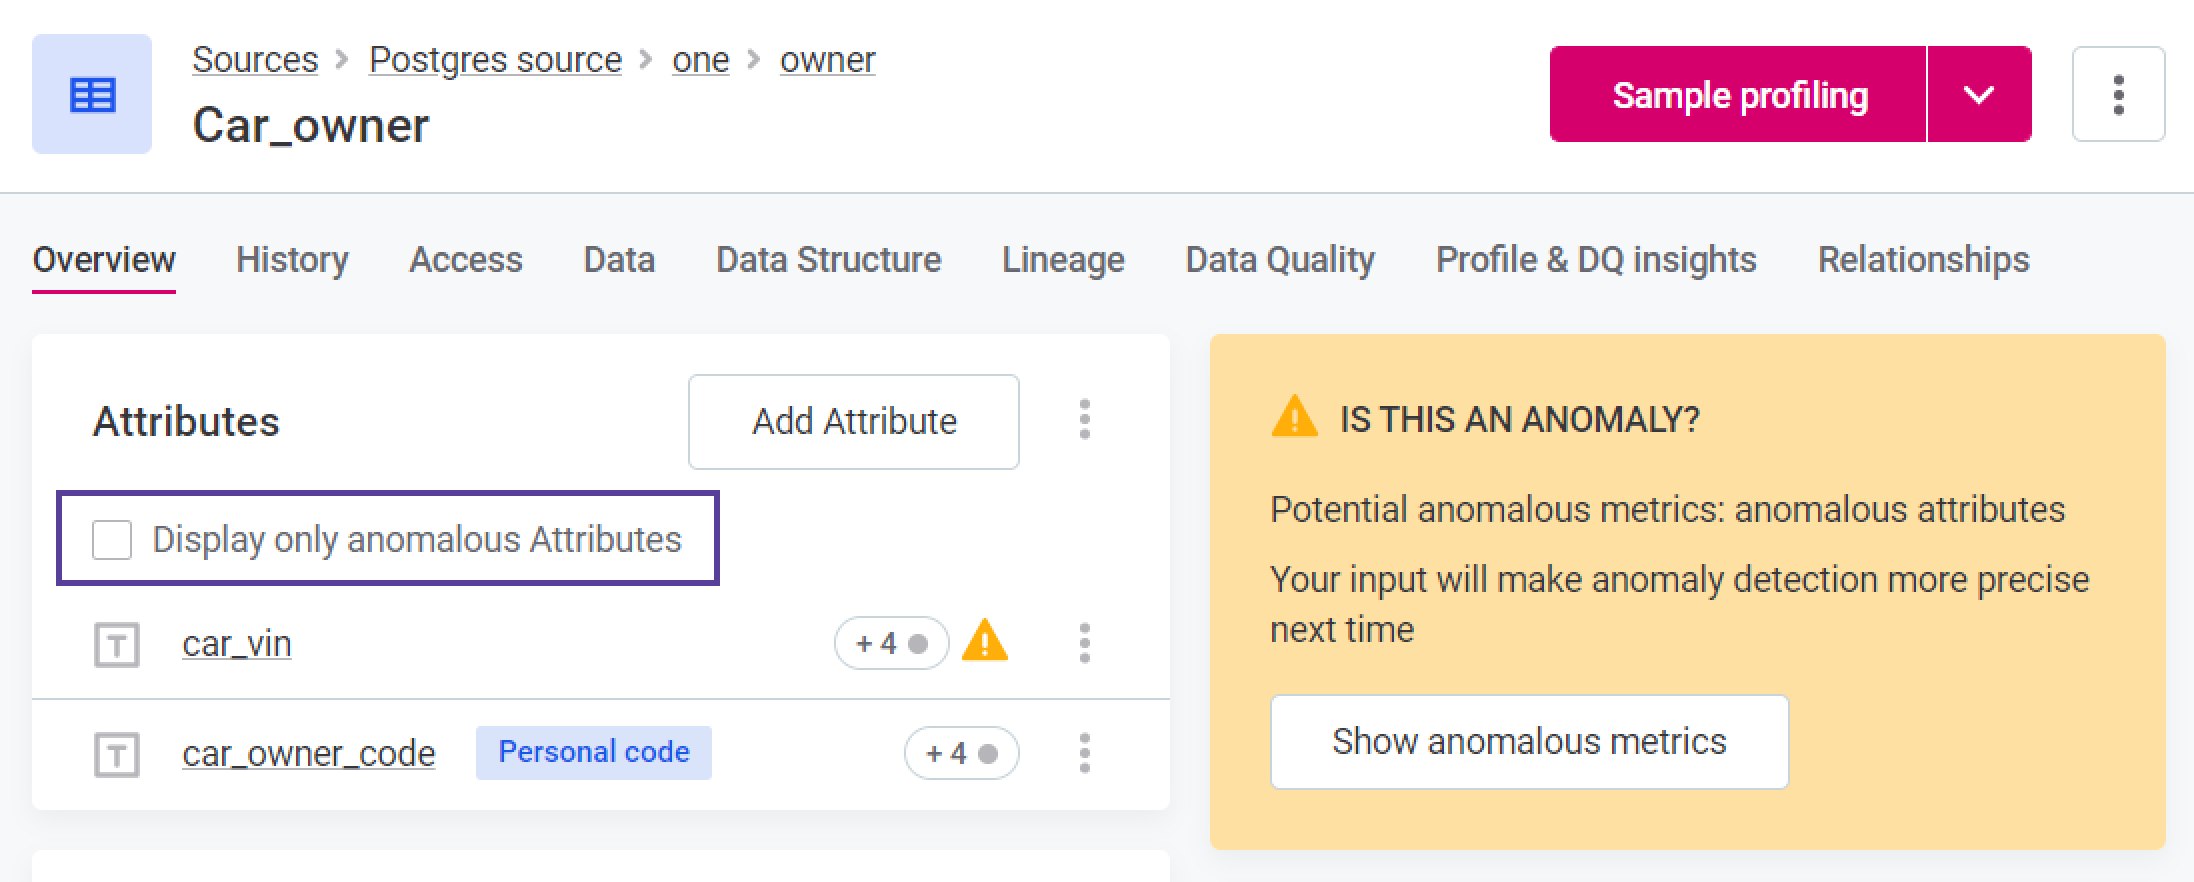
-
In the Relationships and Lineage graphs (if Show Anomalies is selected in graph settings, see xref:[Configure Graph Style]).
-
On the Profile and DQ Insights tab of a catalog item or attribute.
You can also view an aggregated list of all the catalog items with detected anomalies on the Anomaly Overview screen:
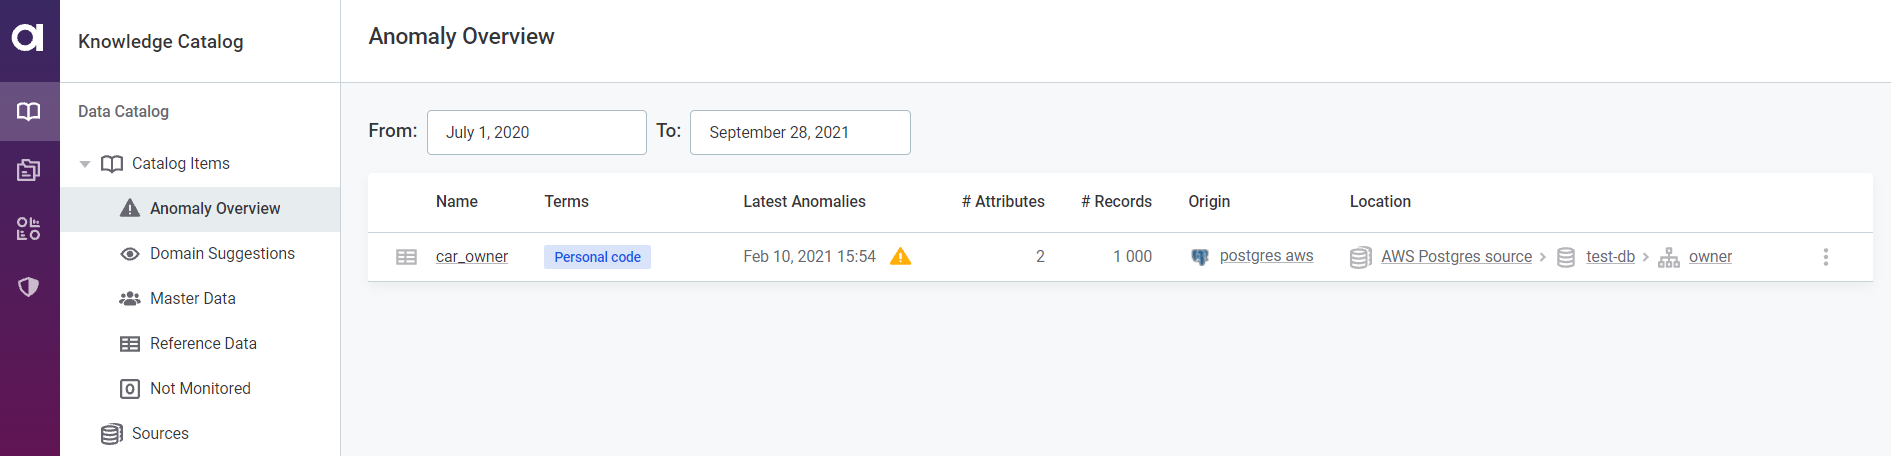
| You can filter the detected anomalies according to a date range. If no date is provided in the To field, the current date applies. |
View anomalous metrics
To view the metrics in the catalog item or attribute which are considered anomalous, open the Profile Inspector.
There are two ways to do this depending on where in the Data Catalog you see the detected anomaly information:
-
Select Show anomalous metrics.
-
Click the warning icon directly.
Profile inspector
Once you have opened the profile inspector, you can select whether you would like to view only anomalous items and metrics, or all, by using the Display only anomalous items and Display only anomalous metrics, respectively.
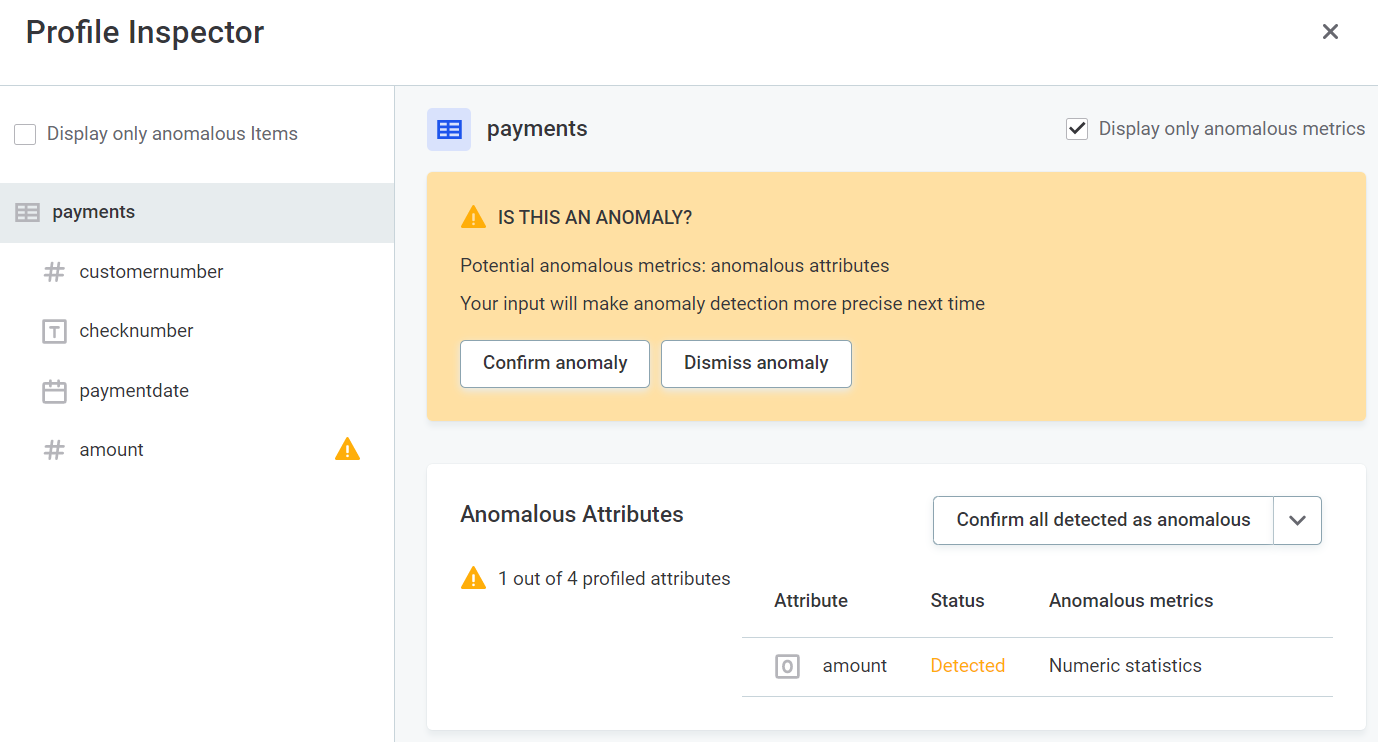
Before confirming or dismissing the anomaly, you can view the metrics in detail.
Catalog item metrics
-
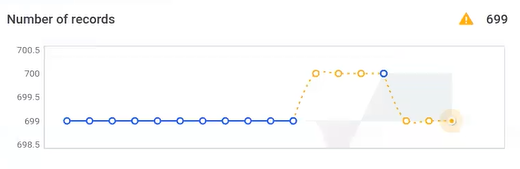
Number of records: the number of records in the catalog item is checked with every profiling.
The gray background in the chart indicates the expected range of the values. Hover over the data points on the chart to see more details.
Attribute metrics
The anomalous results for a particular metric are shown over time with the highlighted outliers. Hover over the points on the chart to see more details such as values, profiling versions, and time.
-
Number of records
-
Mean
-
Minimum
-
Standard deviation
-
Numeric sum
-
Variance
-
Distinct count
-
Duplicate count
-
Non-unique count
-
Null count
-
Maximum
-
Unique count
-
Frequency, masks, and patterns
Confirm or dismiss anomalies
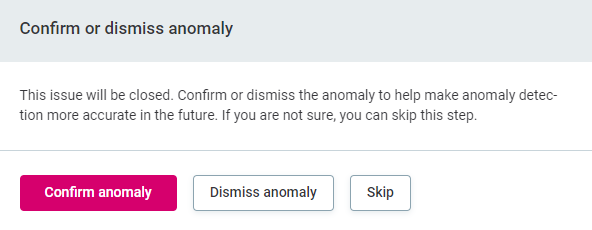
Once anomalies have been detected, you can either confirm them or dismiss them. The anomaly detection model is constantly improved based on this user feedback.
To do this:
-
Select the required catalog item or attribute in the Profile Inspector, and select Confirm anomaly or Dismiss Anomaly.
-
If an anomaly has been incorrectly confirmed or dismissed, select Review decision.
Confirm or dismiss all
In the Anomalous Attributes widget in Profile inspector, use the dropdown to select either Confirm all detected as anomalous or Dismiss all detected. Anomalies are confirmed or dismissed accordingly.
| If an anomaly is dismissed on a particular attribute, this isn’t overridden if you subsequently select Confirm all detected as anomalous. |
Unconfirmed anomalies
| If detected anomalies are not confirmed, the system does not know to exclude them from the expected range. After some time (depending on the length of profiling history), the unsolved anomalies are considered the 'new normal', and a return to the expected values can subsequently be identified as anomalous. |
Was this page useful?