
How to Deploy an RDM Web App Configuration
After defining the RDM model for the first time or making changes to the existing one, the model configuration needs to be deployed to the RDM web application.
| For compatibility reasons, the RDM web application is initially loaded with a default, empty configuration that needs to be replaced by following the steps described. |
Before you start
Before you deploy the model configuration, keep in mind the following:
When a new configuration is being deployed:
-
The RDM web application is not available.
-
The RDM web application performs all configured validations on all data in all tables.
-
The RDM web application checks the structure of the RDM repository and compares it to the model currently being deployed.
In addition, how long the application remains unavailable for generally depends on the following factors:
-
Application server hardware and memory.
-
Database server hardware and memory.
-
Network capacity and availability.
-
The number of records in tables.
-
The number of columns.
-
The number of relationships and their depth (parent > child 1 > child 2 >…).
-
The number of mn-references.
-
The number and complexity of validations. SQL validations are generally faster than online (ONE plans or components) validations.
Procedure
-
In ONE Desktop, right-click the App Configuration node and select Generate.
-
Keep the Default location option selected (the default location is the
etcfolder) and select Generate. AconfigurationFiles.zipfile is generated. -
Open your browser.
-
Navigate to the RDM Admin console:
http://{rdm_url}:8060/admin.Do not delete the active configuration: it is needed when deploying a new configuration in the following steps. Even after the new configuration is made active, there is no need to delete the old one. -
Select Add configuration.

-
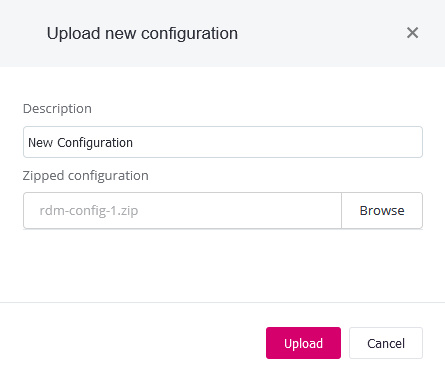
In the Upload new Configuration dialog:
-
Enter a description.
-
Select the
configurationFiles.ziparchive. -
Select Upload.
-
-
Select Apply configuration and confirm your selection.
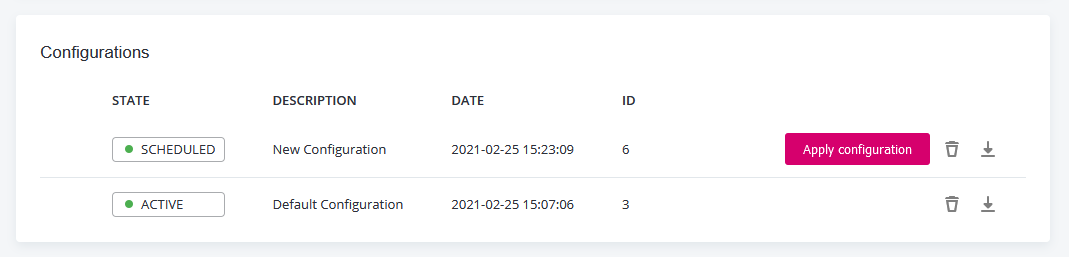
The configuration is restarted and the old (active) and new (scheduled) configurations are compared.
If you try to access the RDM application at this time, an error message appears:
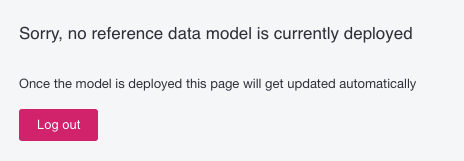
-
Select Review proposed configuration to view the comparison.
-
Review changes to the model and select Accept configuration proposal.
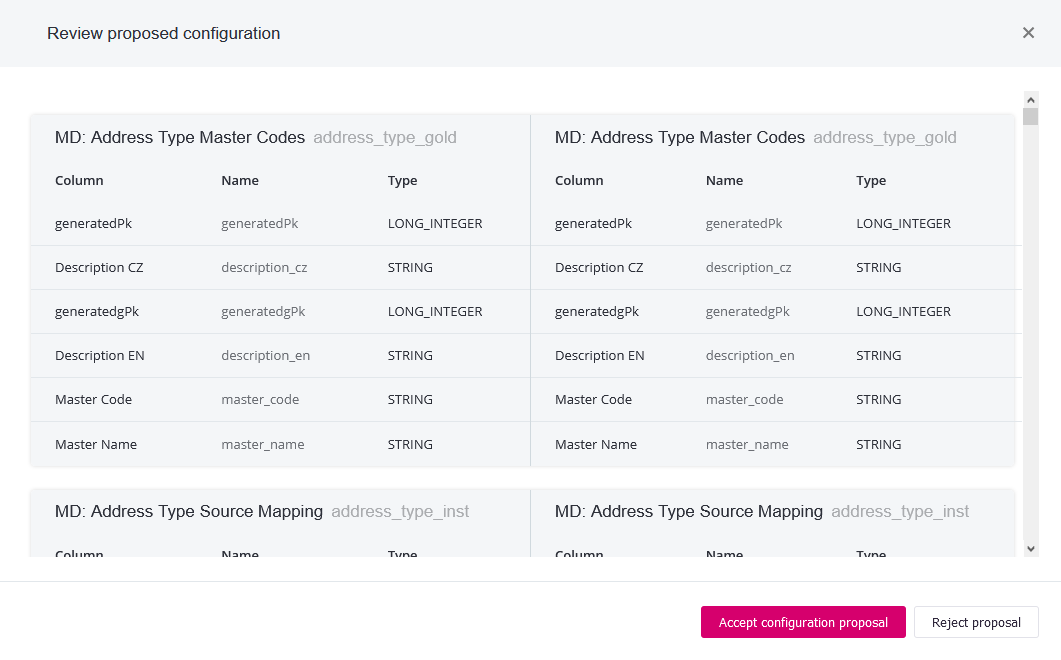
If the new configuration is in any way unsuitable, the Reject proposal option is the last chance to safely delete it and start the process anew. Once a configuration is accepted and made active, we do not recommend deleting it. -
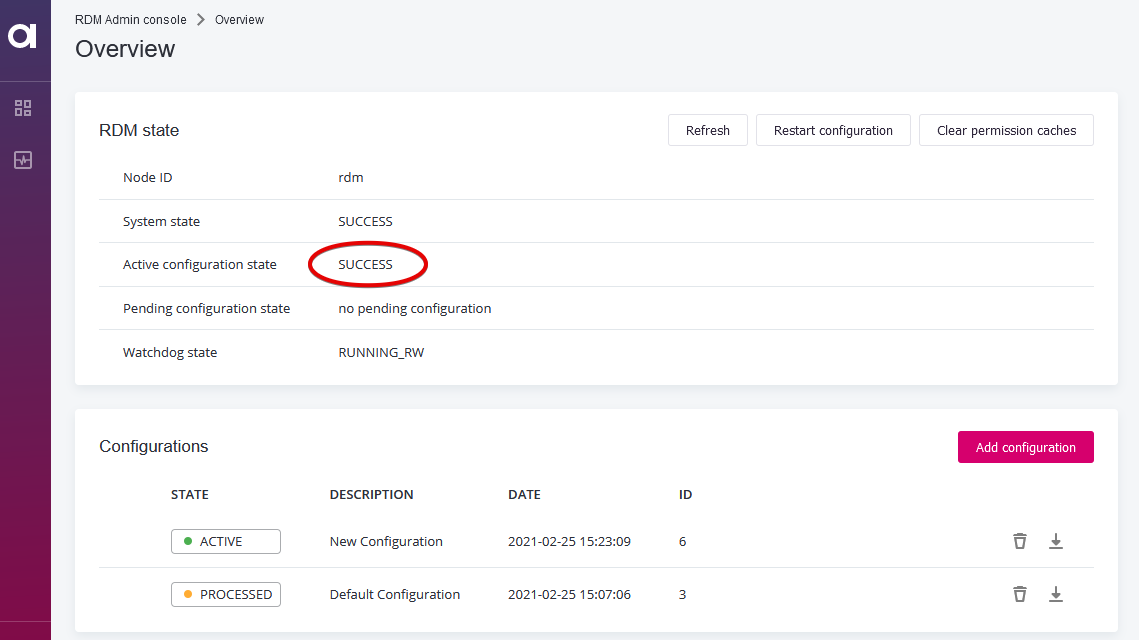
Back on the Overview screen, the Active configuration state section shows Success. This means the application is ready to be used again.
Was this page useful?