
Moving RDM Data Between Environments
In order to transfer data from one environment to another (for cases such as data migration or external system backups), the RDM Web Application provides functions to extract data from the RDM repository or import data from a different system.
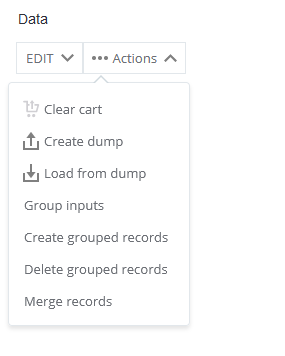
This feature can be accessed by selecting Actions, located in the upper area of the Data tab.
In the event that the export (or import) failed, go to System > Application data > Action History to see the details. See Tracking Data and System Errors in RDM, section Action history.
Create dump
The Create dump feature enables exporting published data into a TXT file.
To create a data dump:
-
Select Actions > Create dump.
-
In the Create dump dialog, on the left, select tables for export (holding Ctrl or/and Shift) or select Use all tables.
-
On the right side of the dialog, choose how to select data:
-
Snapshot date of published data (current or historical).
-
Tags
-
In the Select tag field, start typing, select the necessary tag, and press Enter.
The selected tag now appears in the Selected tags field.
-
Repeat the previous step until you have added all tags you want.
-
-
-
Select Export. The selected data is saved in a text file named
export.txtand can be downloaded to the local computer.
For more information about tagging data, see Publishing Changes in RDM, section Publishing and rejecting individual records.
Load from dump
This lets you import data to a new environment from a previously exported TXT file created with the Create dump feature. Such a file has a specific structure and cannot be prepared in any alternative way.
To load data from a dump:
-
Select Actions > Load from dump.
-
In the Load from dump dialog, select Select file to import and choose the file.
-
Select Import.
Wait until the import finishes and the confirmation message appears.
Now the imported data is visible only in the IMPORT data viewing mode.
To publish the imported data, switch the global data viewing mode to IMPORT and perform the following steps for each table:
-
From the toolbar, select Bulk > Create Grouped Records.
-
Select Bulk > Merge.
-
Switch to the EDIT mode.
-
Move records to publish. See Working with Records in RDM.
-
Publish records. See Publishing Changes in RDM.
After you load the data, we recommend checking and assigning appropriate user permissions. See Setting Permissions in RDM.
Was this page useful?