
Build Plans
ONE Desktop provides a convenient way for developing and testing plans on a local machine before deploying them to testing and production servers. This topic provides an overview of the common actions performed when building and running plans in ONE Desktop.
| Plans are allowed to read from and write to any location on the machine where they are executed. Therefore, we recommend running them with the least level of privilege possible. |
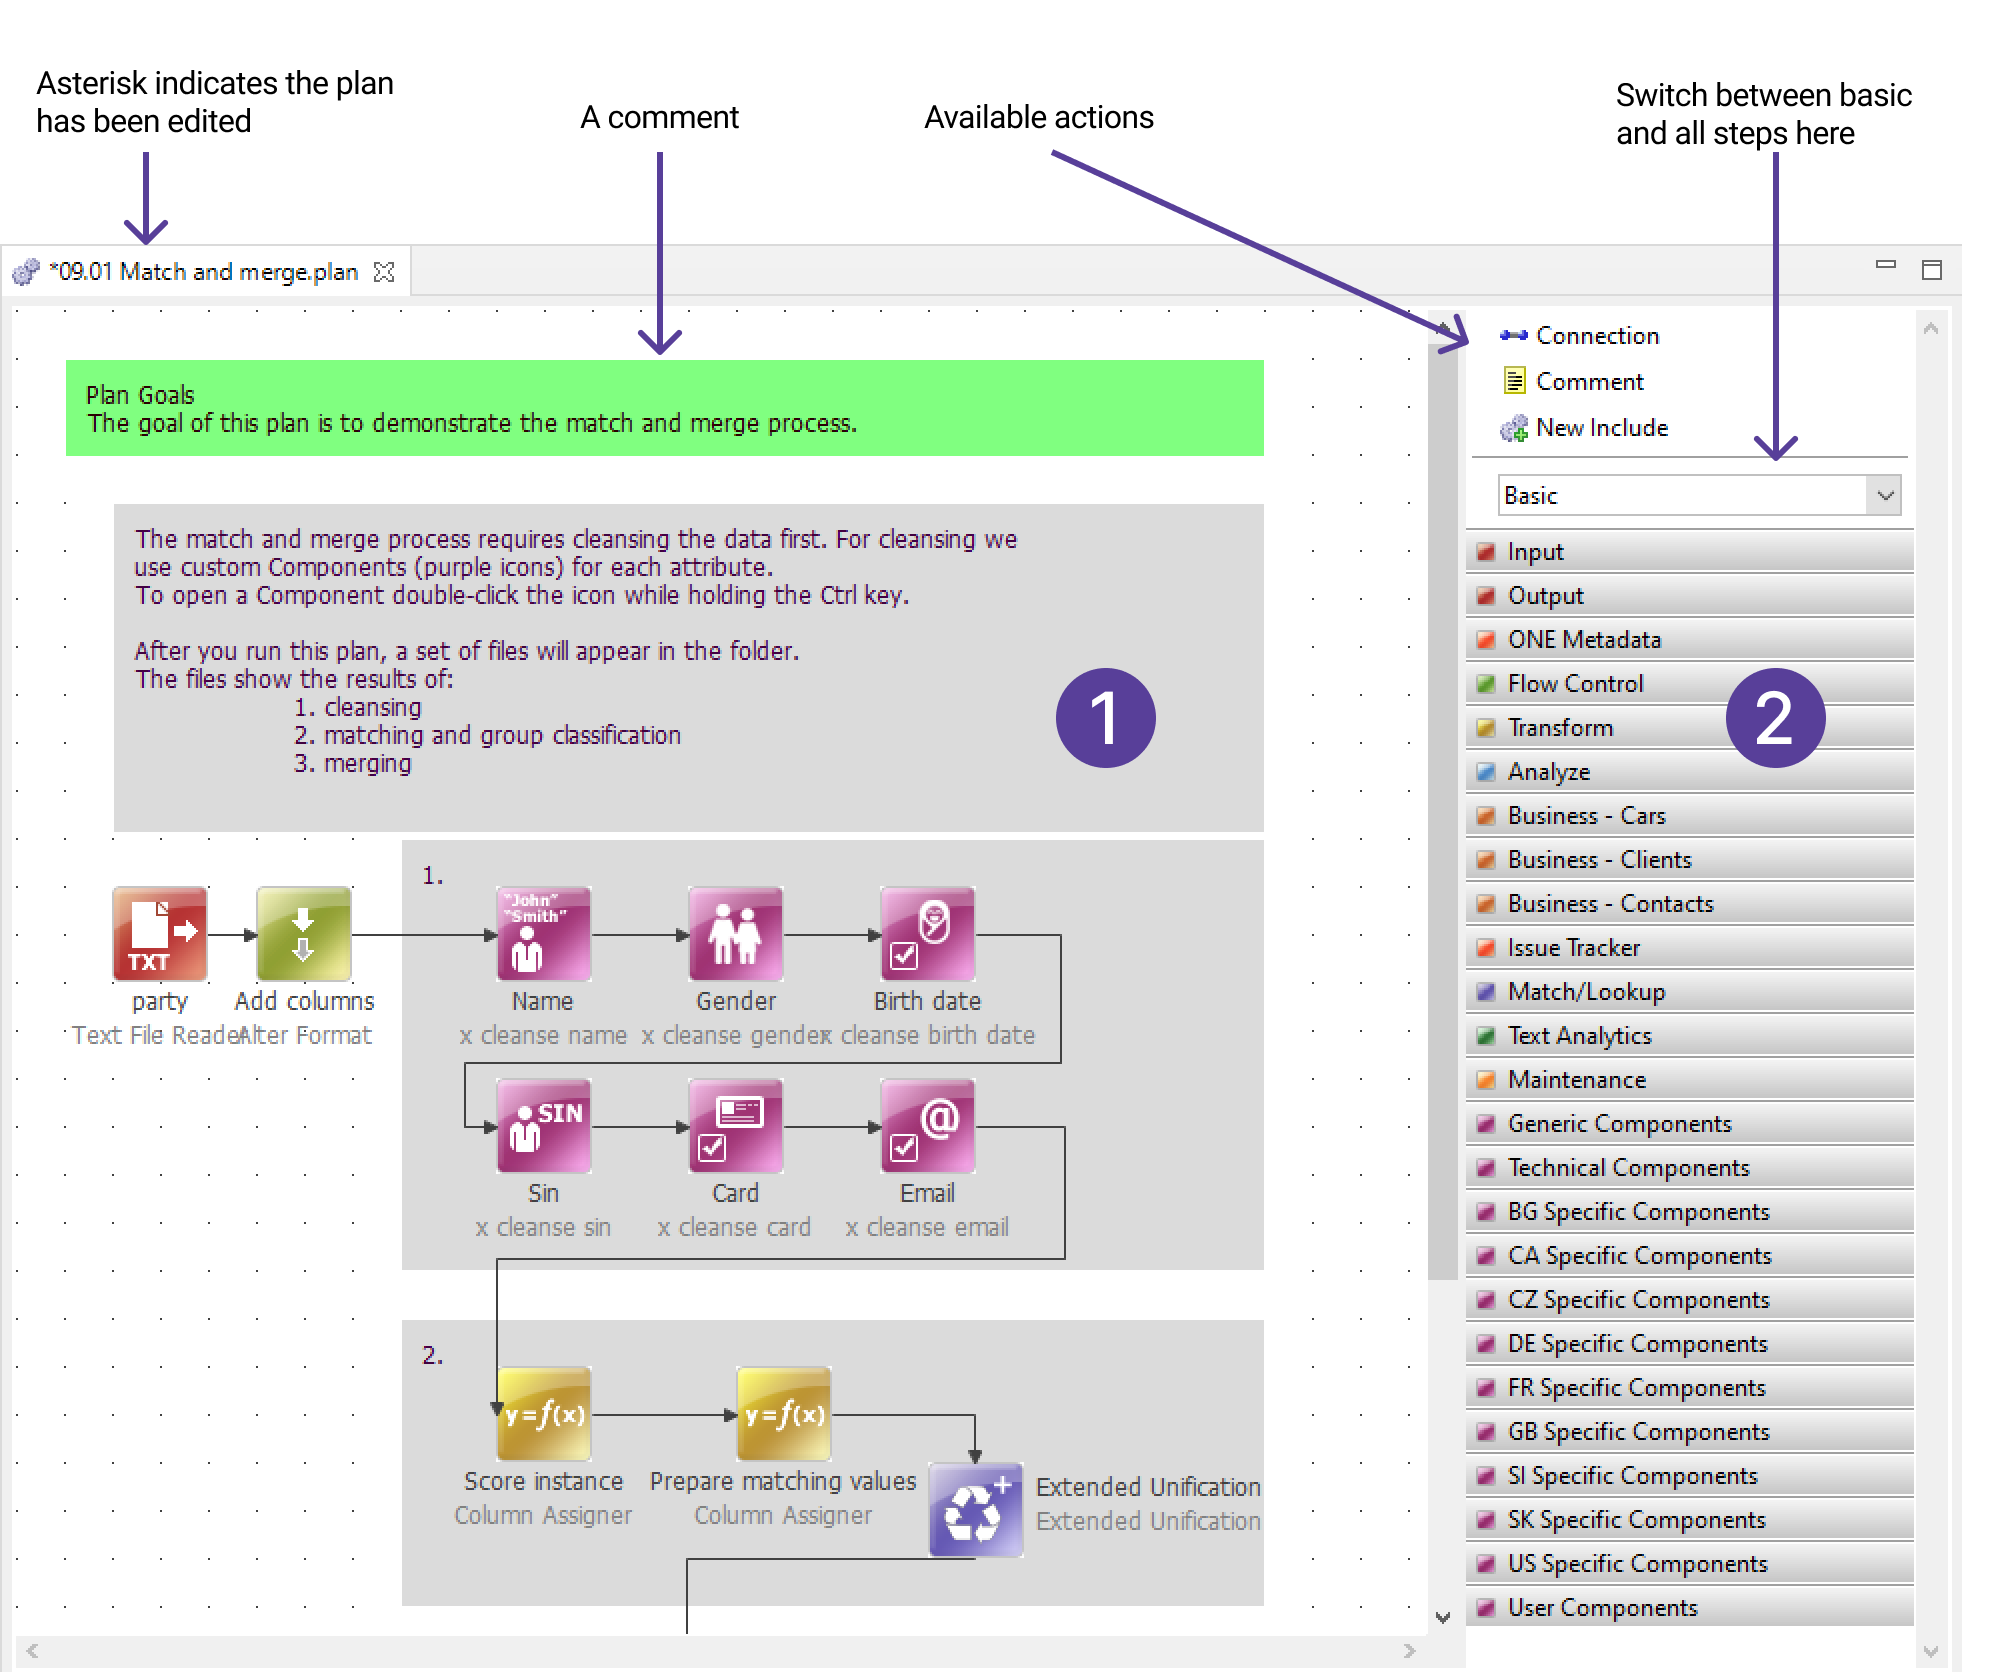
The Plan Editor
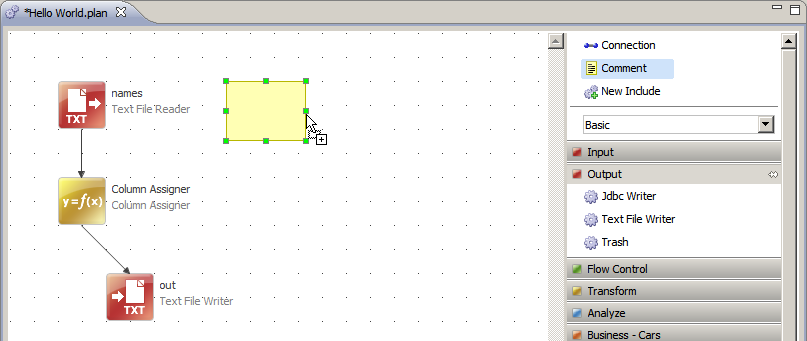
The Plan Editor is launched every time you open or create a plan. It consists of the Canvas (1), where the plan logic is defined (by connecting steps together), and the Palette (2), where the various steps and actions are listed.
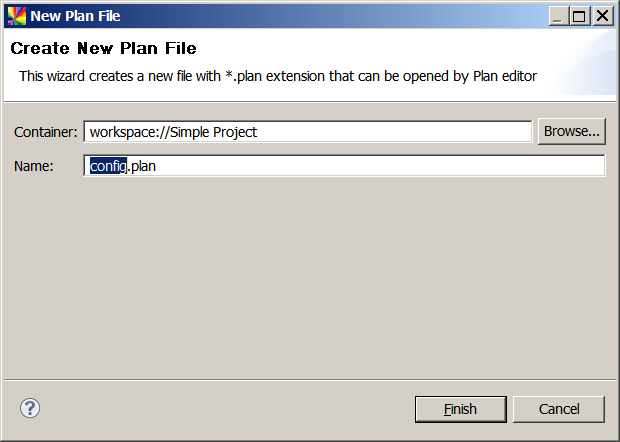
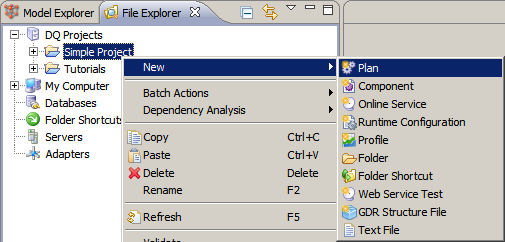
Create a plan file
To create a new plan file:
-
Select New > Plan by right-clicking a project or folder in the File Explorer. Alternatively, use the toolbar and select Plan.
-
Specify the Name of the plan and the Container for storing it.
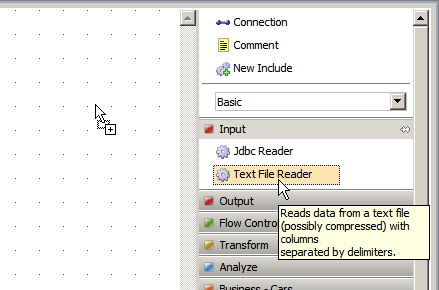
Add steps to the canvas
To add steps to the canvas, do one of the following:
-
Drag steps from the palette to the canvas.
-
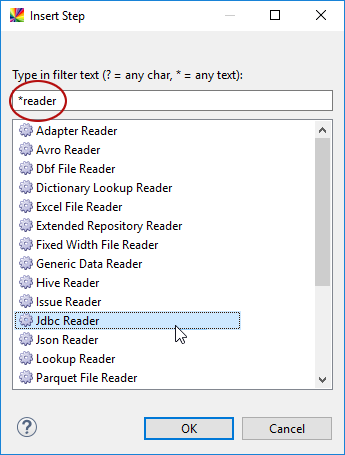
Press Ctrl+I or Insert and select the step from a filterable list.
| To learn how particular steps work, go through plans in the tutorial project in ONE Desktop: DQ Projects > New > Project > Tutorials Project. See ONE Desktop Tutorials. |
Connect steps
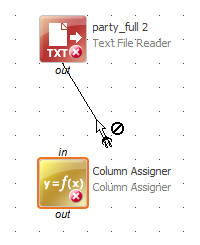
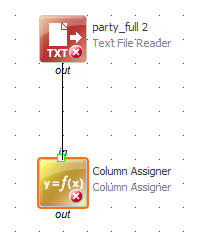
To connect two steps, drag from the out endpoint of one step to the in endpoint of another step.
| See ONE Desktop Shortcuts and Mouse Gestures in the Plan Editor for some useful shortcuts when building plans. |
Edit step properties
Most steps require (or benefit from) some configuration to perform their functions.
To edit step properties, double-click the step or right-click it and select Edit Properties:
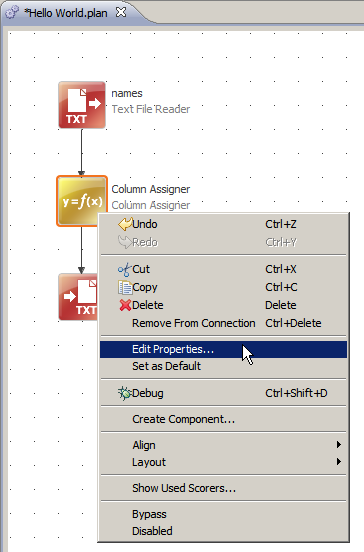
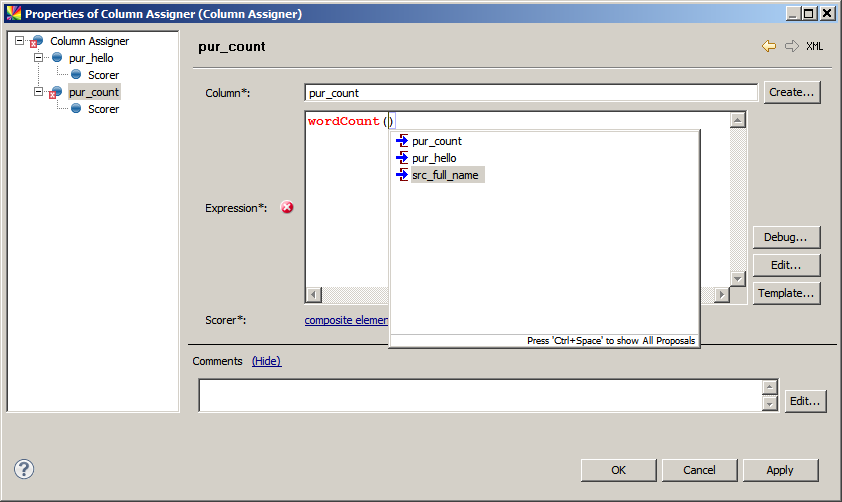
In the following image, the Column Assigner step is edited: a column is created and an expression is defined for it.
| Press Ctrl+Space to get a list of available functions and input columns. Press Ctrl+Space+Space to get a list of available input columns. |
Bypass steps
Bypassing a step temporarily makes it inactive without breaking the connection with steps that come before and after the bypassed step. This feature is useful for testing the data flow and the final result of the plan processing without the step.
To bypass a step, right-click the step and select Bypass. Bypassed steps acquire a red arrow.
Disable steps
Disabling a step temporarily makes a step inactive while breaking the connection with steps that come before and after the inactive step. It is predominantly used to avoid deleting a step entirely and losing the step configuration.
You can place an inactive step anywhere on the canvas for later use.
To make a step inactive, right-click the step and choose Disabled. Such steps are discolored.

Resolve errors
Errors that might arise when constructing the plan are reported to the Properties tab of the Status panel.
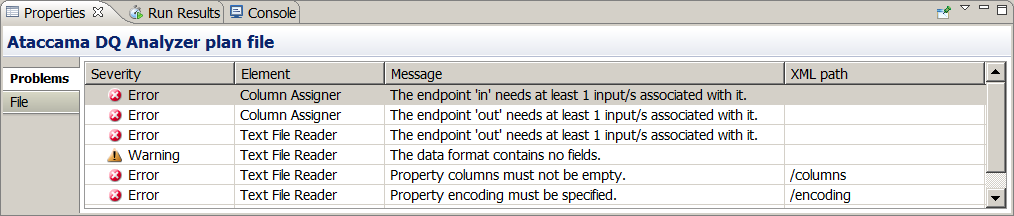
Selecting an individual step shows only the warnings and errors for that step. Double-clicking an error in the Properties panel opens the step properties dialog to the field that contains the error.
Was this page useful?