
Git
This guide describes how to use EGit in ONE Desktop, how to add a repository, make commits, and push them to the remote Git repository.
Introduction to Git and EGit
Git is an open source version control system that enables teams to work cooperatively on the same files. It allows users to work on their own local repositories, and then push their changes to a shared remote repository.
A local repository consists of three trees:
-
Working directory - Holds the actual files with your latest changes on your local machine.
-
Index - Acts as a staging area for changes before they are committed.
-
HEAD- Points to the last commit made.
Once changes are committed they go to the HEAD.
From there, they can be pushed to a remote repository.
Branches allow team members to switch between different versions of the same workspace. All changes are tracked by Git. The purpose of a branch is to allow users to work on isolated features of the same files at the same time. Branches can be checked out, merged with one another, and deleted.
EGit is an Eclipse Plugin that is used for integration of Git in ONE Desktop. When you download and install ONE Desktop, EGit plugin is automatically deployed too.
If you need to download EGit plugin again, you can do so from the Eclipse site. For detailed information about the plugin, see Help > Help Contents > EGit Documentation in ONE Desktop or read the EGit documentation online.
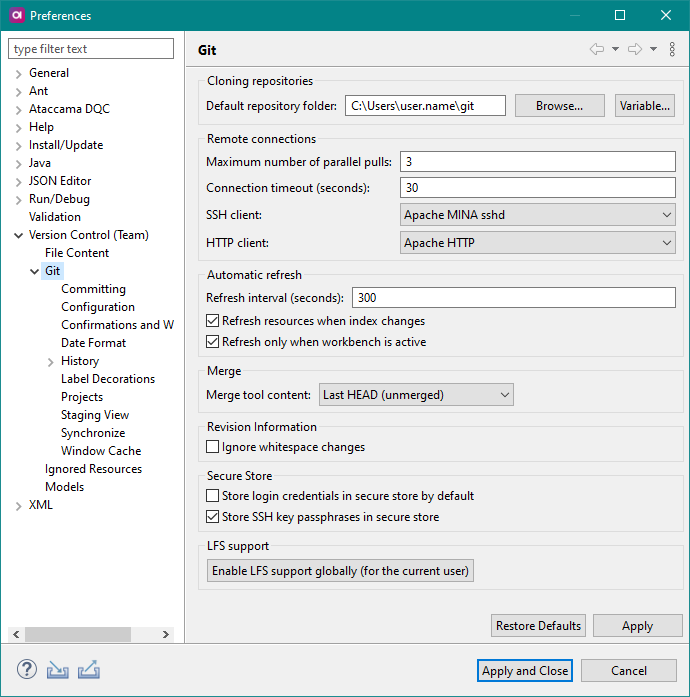
Configure EGit
Git commits include the username and email address of the committer. The username and email you set in ONE Desktop should be the same ones you use for your Git account.
-
Open Preferences > Version Control (Team) > Git > Configuration.
-
Switch to User Settings and select Add Entry.
-
Enter
user.nameas Key and your name as Value and confirm. -
Select Add Entry again.
-
Enter
user.emailas Key and your email address as Value.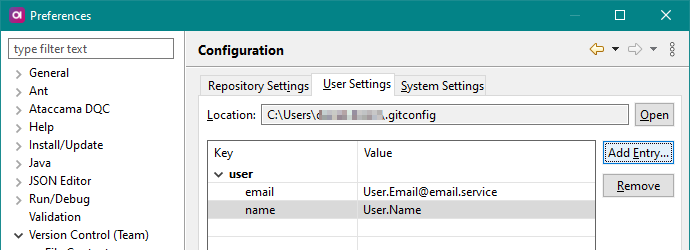
Git configuration
There are three tiers of configuration in ONE Desktop: Local/Repository, Global/User, and System. These are accessed from Window > Preferences > Team > Git > Configuration.
To see all of them with the filename where they are stored, run the following command:
$ git config -l --show-originMore specific configuration values override the global ones. In the order of priority, this means: Local/Repository > Global/User > System.
To change the configuration, use the command line or edit the files directly. For more information about Git, see the official Git documentation.
| Name | Value |
|---|---|
user.name |
The name that appears in Git commit messages. |
user.email |
The email that appears in Git commit messages. |
core.autocrlf |
Git can automatically convert line endings between Windows and Linux formats, which might affect your data when working in Linux environments. |
core.editor |
Default editor for commit messages. |
help.autocorrect |
Command line Git can help you automatically correct mistakes. In case of multiple solutions, you will be asked for the right one. |
diff.tool, merge.tool |
You can configure which tools should handle differences and merges. By default, this is done by ONE Desktop. |
core.excludesfile |
Use this configuration key to define a global |
Create or connect to a repository
There are three ways to add a Git repository in ONE Desktop:
-
Add an existing local repository: Use this option (Git folder icon with a green plus sign) to use repositories that you already have accessible on your machine or local network.
-
Clone an existing repository: Connect to an existing repository online (Git folder icon with a yellow arrow).
Copy and paste the URI (with a
.gitextension) from a reposiotry online unto the URI field in Clone Git Repository. Other fields will be autopopulated.You still, however, need to enter valid credentials (username and password) to access the repository. If two-factor authentication (2FA) is enabled, you need to enter the acces token name and the access token instead.
-
Create a repository: Enter the location for your new repository (Git folder icon with a yellow plus sign). Optionally, you can create an empty repository at this location.
If you would like to see the repository in your File Explorer, right-click the project in your Git view and select Import Projects.
-
If the repository was used in ONE Desktop before (that is, it contains a
.projectfile), select Import existing Eclipse projects.Select Next, choose the project, and select Finish.
-
If the repository was not used in ONE Desktop before, select Import as general project.
Select Next, give the project a name, and select Finish.
Git actions
You can now start to modify files in your project.
To save changes made in your workspace to your repository, you need to commit them.
After changing files in your project, a greater-than sign (>) appears next to the icon, informing you that these files are unstaged (that is, not included in a commit).
Any parent folder of this file is marked as unstaged too.
Commit
If you want to commit the changes to your repository, right-click the project (or the files you want to commit) and select Team > Commit in File Explorer. To commit a file, drag it from Unstaged Changes to Staged Changes.
| To see the changes made to the file, double-click it. |
Enter a commit message in Commit Message. Then select Commit to add the selected files to your local repository.
Push
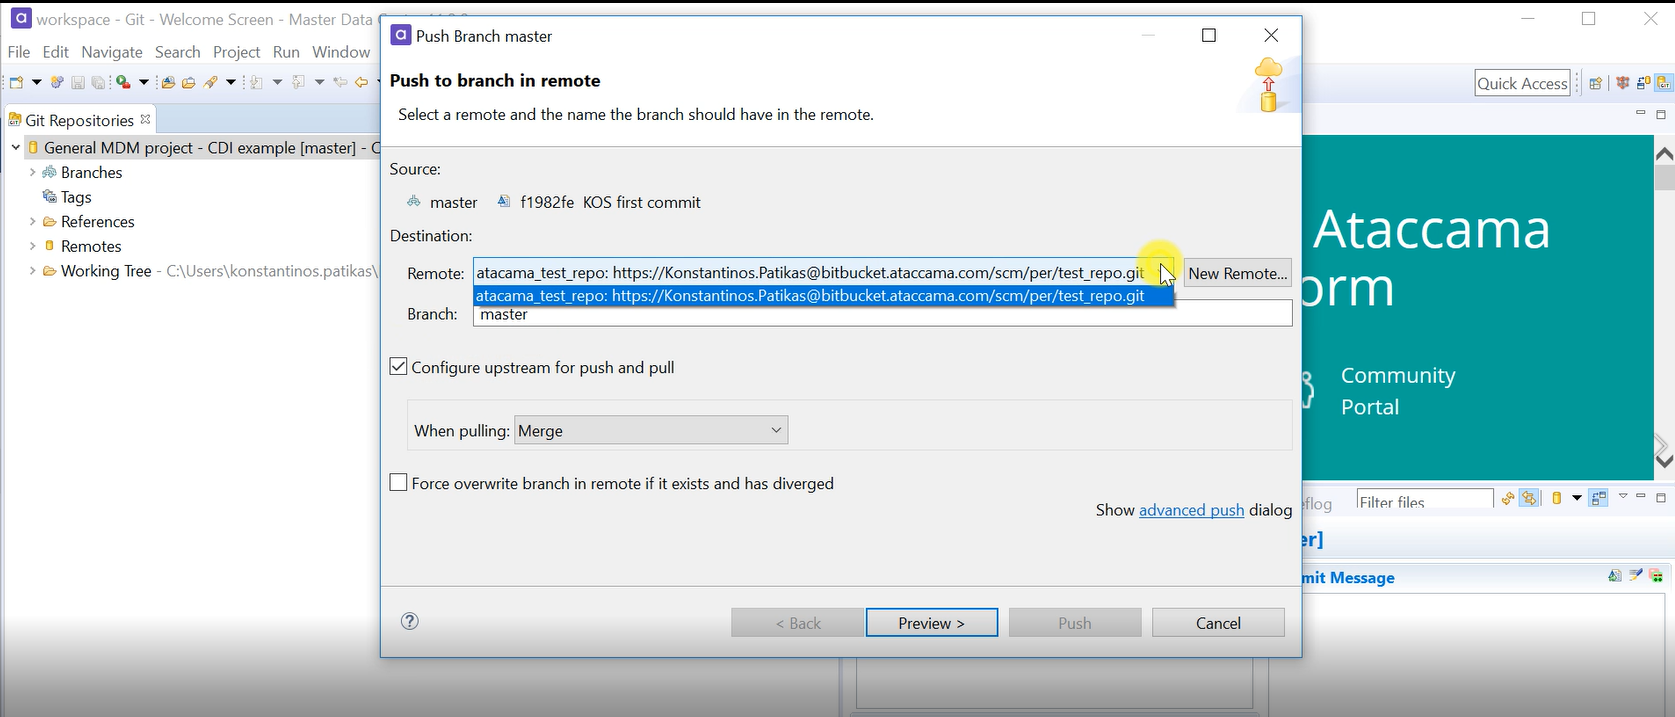
Pushing a file to the remote repository updates the file in the remote repository with your local version of the file. To push commits on a branch, in File Explorer, right-click your project, then select Team > Push Branch <your_branch>.
Enter the location and name of the remote branch. Finally, provide your Git credentials.
Fetch and pull
Fetching files and pulling is similar, however fetching does not merge files:
-
git fetchupdates the status of the files at the remote repository but does not change the files in your workspace. -
git pullpulls changes from the remote repository and merges and updates the files in your workspace.
Pulling a file updates your local version of the file with the latest version from the remote repository. Pulling can be done while making commits by selecting Commit and Push when committing changes. It can also be done by right-clicking the project and selecting Team > Pull.
Workspace vs index
When we add (git add) the changed files from Workspace (Unstaged mode) to Index (Staged mode), we add marks to files to be added, changed, or deleted by your next git commit, which finalizes those changes into a commit and adds them to your repository’s history.
When files are marked to be modified, they are added to the index file or staging area, which is similar to taking a snapshot of your working copy.
After you run git commit, those changes are made permanent, although with Git, commits are not as permanent as they might be in more traditional source control systems.
Revert all local and staged changes
This can be done using a hard reset.
If you reset to the current HEAD (typically the last commit on your branch) with the option hard, you reset the currently checked out branch to this commit and overwrite the working tree and the index with the content of HEAD.
You can do this in three ways:
-
Right-click the project and select Team > Reset. Then select
HEADor your current branch and switch to hard. -
Right-click the project and select Reset on any branch or tag in the Repositories view. Next, decide on the reset type (choose hard here).
-
Right-click the
HEADcommit in the history view and select Hard Reset.
Synchronize
Comparisons between your workspace and the local repository or between the current branch and others are done via the Synchronize operation.
To compare your local workspace with the current branch showing uncommitted changes, right-click the project and select Team > Synchronize Workspace.
To compare your current branch with other branches, select Team > Advanced > Synchronized instead. In this case, you can also include local uncommitted changes.
Branch
To create or switch to another branch in a project, in File Explorer, right-click your project and select Team > Switch To. Then choose either New Branch or the name of an existing branch. This creates a new branch in your local repository. If you want it to appear in your remote repository, commit your changes and push the branch.
You can also switch to a new branch by selecting your project in the Git Repositories view, and then Branches > Local. Right-click the branch ypu want to work with and select Checkout.
Merge
To merge one branch into another, in File Explorer, right-click the project and select Team > Merge. Select any branch (other than the branch you were initially working with) and then Merge.
If both branches have committed changes that are not identical, this results in a conflict. Any conflicts must be resolved manually before the merge can be completed.
Conflicts are marked with a sequence of less-than signs (<<<<<<<<) in the associated files.
For example, assume we have two branches:
-
main: This branch has one file called
test.txt, which contains only the following text after its last commit:
1

3!-
mknBranch: This branch has one file called
test.txt, which contains only the following text after its last commit:
1When we try to merge these files, we receive a similar message:
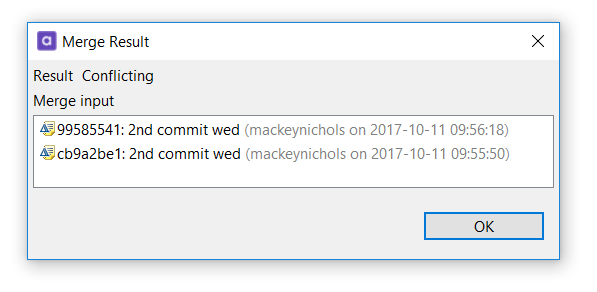
If you select OK and navigate to test.txt, it now contains the following:
<<<<<<< HEAD
1
3!
=======
1
>>>>>>> refs/heads/mknBranch
Anything prior to the sequence of equals signs (=======) belongs to the branch being merged into (in this case, main), while anything following it belongs to the branch being merged (in this case, mknBranch).
To resolve the conflict, change the file (removing the added >>> notations) and commit it again.
|
Merging branches does not remove the merged branch, it only ensures that both branches are identical. Delete the merged branch at your discretion. For more information about resolving Git conflicts, see Resolving a merge conflict using the command line. |
If a merge resulted in conflicts that you can’t resolve, you can cancel the merge with a hard reset to the current branch. This can be done in Conflicts and Merged states, that is, before and after you have resolved the conflicts.
In other cases, the merge window displays a fast-forward phrase. Because this commit pointed to by the branch you merged in was directly ahead of the commit you’re on, Git moves the pointer forward.
In other words, when you try to merge one commit with a commit that can be reached by following the first commit’s history, Git simplifies things by moving the pointer forward because there are no changes to merge together. This is called a fast-forward.
For more information about merging, see Git Branching - Basic Branching and Merging.
History view
To view a file history, in File Explorer, right-click a file and select Team > Show in History. This opens the History View, displaying an overview of the commits and allowing you to perform a number of actions (compare, create branches or tags, reset).
Select a commit to the revision comment and details. The revision comment includes the commit parents, children, commit message, and changes, whereas the revision details contain a list of changed files and the actions performed on them (A=ADD, M=MODIFY, D=DELETE).
To quickly find specifics in the revision comment about a particular file, select the file in the revision details.
Git statuses
Files in a Git repository can have one of the following statuses:
-
Ignored: The repository treats these files as if they were non-existent (for example, the bin directory by default). To ignore a file, list it in the
.gitignorefile or right-click it and then select Team > Ignore. -
Untracked: Any known but not yet recorded file. To track a file, add it or select the Show untracked files option in the commit wizard and commit it directly.
-
Tracked: Any file known to and recorded by the repository.
-
Added: Any file known to the repository but not yet committed. Perform a Commit to change the file status to tracked.
-
Removed: Any file that should be removed from the repository. Right-click the file, then select Team > Untrack.
Once you delete it from the workspace, it disappears and no new status icon is shown. The file is removed from the repository with the next commit.
-
Unstaged: Any tracked file with changes that have not yet been added to the index.
-
Staged: Any tracked file with changes that are already included in the index.
-
Partially staged: Any tracked file with changes, out of which some changes are already included in the index and others are not yet added.
-
Conflicted: Any file where the merge result caused a conflict. Resolve the conflicts and perform an Add operation (right-click the file, then select Team > Add to Index) to change the file status.
-
Assume valid: Any modifications are not checked by Git. To activate this option, select Team > Assume unchanged. To turn it off, you must use the command line or run a Reset operation.
Save a project to a remote repository
To push a project into a remote repository, you need to create a project and start a local repository in ONE Desktop. In the next step, you will start a new repository at your Git providing service (such as Gitlab or Github) and then push your files to the remote repository.
How to create a local repository in ONE Desktop
-
In Model or File Explorer, right-click the project folder and select Team > Share Project.
-
In Configure Git Repository, enter the path to the folder where you want to place your local Git repository.
Best practices
Creating a repository in the parent folder of your project is not recommended. For more information, see Eclipse EGit help.
Instead, we recommend to create the repository outside of your workspace. Be careful when cloning or creating a repository and make sure you use the Git Sharing Wizard correctly.

What does NO-HEAD mean?
After creating the local repository, a [NO-HEAD] tag is displayed next to the project in the Git Repositories View in ONE Desktop. That indicates a pointer of your local repository.
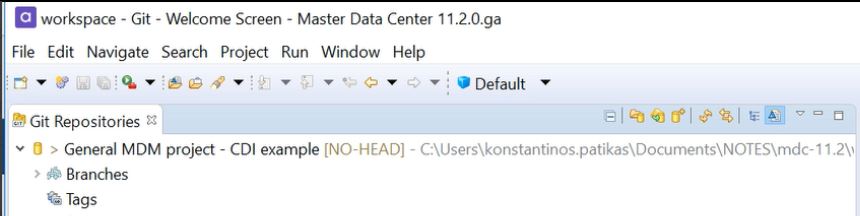
HEAD is a reference to the last commit in the currently checked out branch.
The NO-HEAD tag means that, until you make your first add and first commit, you have no branch (not even a main one).
Therefore, there is no HEAD referencing any branch and the local repository doesn’t point to any commit.
A small exception to this is the detached HEAD, in which case HEAD is a direct reference to a commit (or a remote branch or a tag).
You can think of it as a temporary branch without a name, so instead of having a named branch reference, we only have HEAD.
The contents of .git/HEAD will be a SHA1 hash.
This occurs most commonly when editing a commit during an interactive rebase.
Even though you can create new commits while not on the branch (that is, to the detached HEAD), this is likely not something you want to do unless you’re an experienced user.
How to create a remote repository in Bitbucket
-
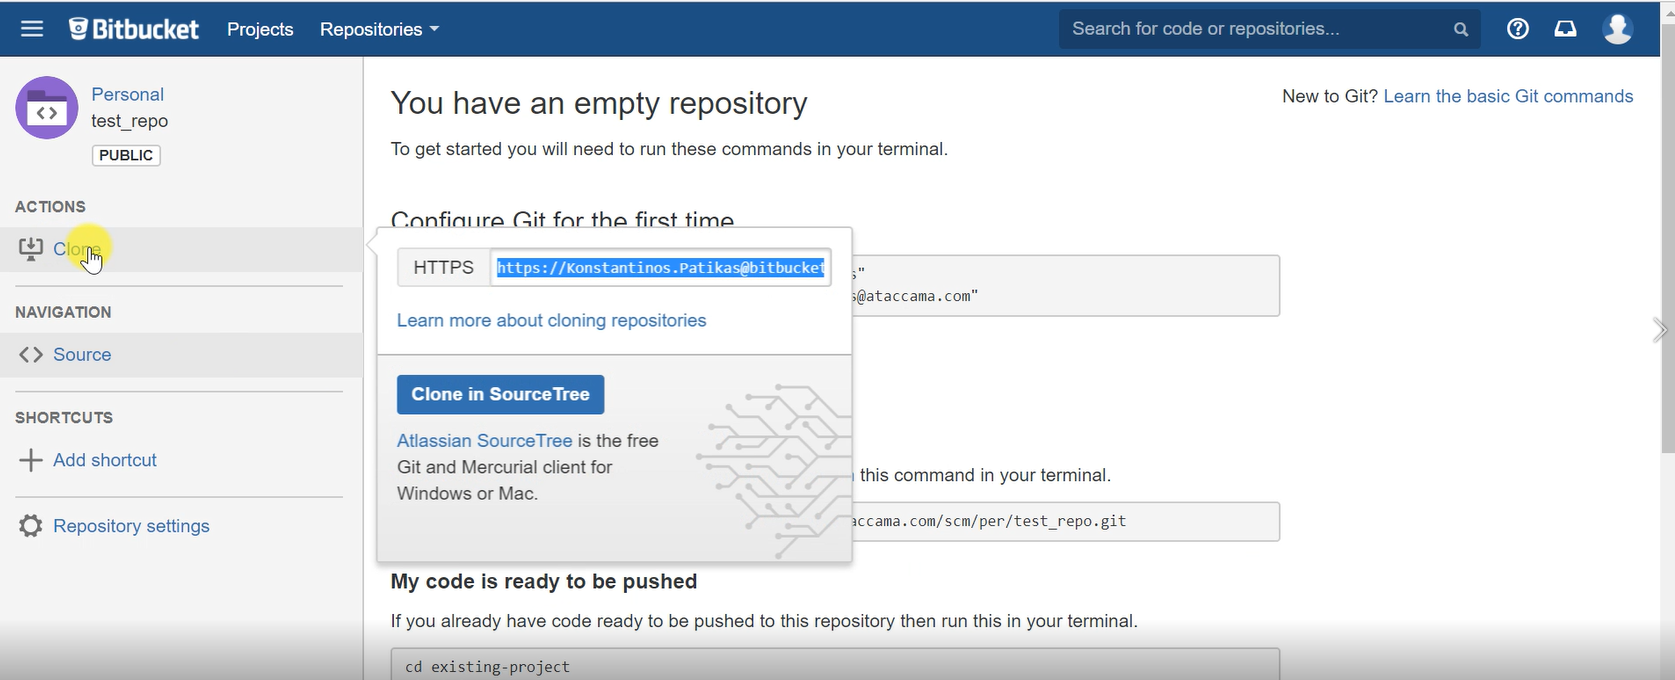
In Bitbucket, create a new repository.

-
Enter a name for your repository and description.
-
Clone the repository by copying the URL:
-
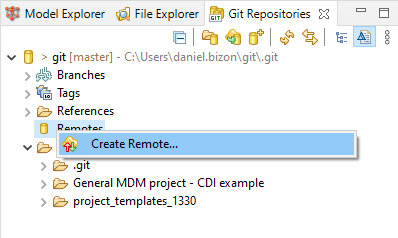
In ONE Desktop, create the repository in Git Repositories view. Right-click Remotes and select Create Remote.
-
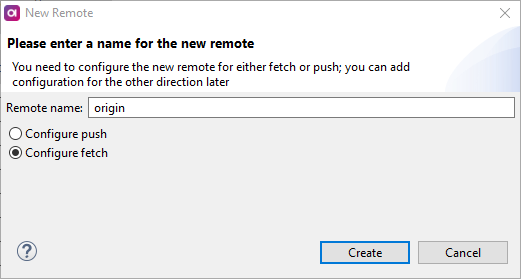
Enter a name for the remote repository, select Configure fetch and then Create.
-
To provide connection details for your remote repository, right-click the repository and select Change.
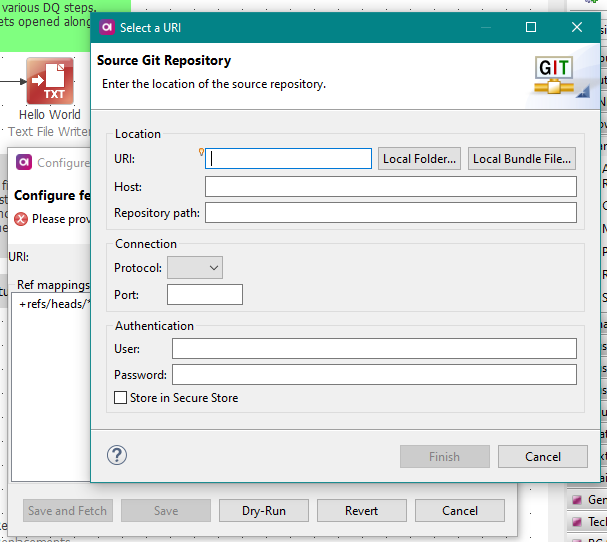
-
Provide the necessary information, then select Dry-Run and Save.
-
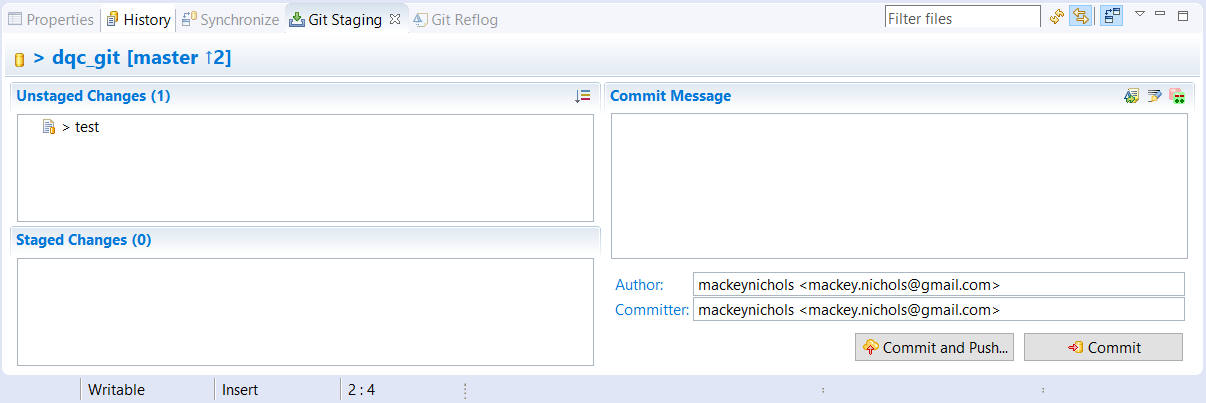
In the Git Staging view, add the files that you want to track and add to the remote repository by dragging them to the Staged Changes area.
-
Select Commit and Push to commit the staged files to your local repository. Enter a message and then push the files to the remote repository as well. You can select the remote you will push the changes to.
A
mainbranch is created and you can now see your files at your Git hosting service.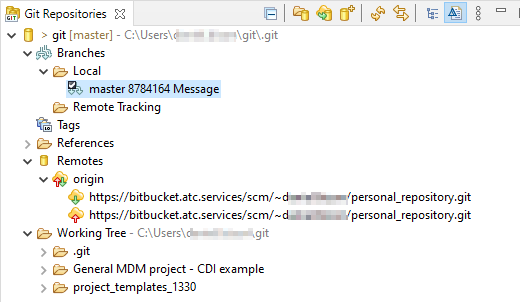
Was this page useful?