
Read and Write Metadata
ONE Desktop comes with ONE Metadata Reader and ONE Metadata Writer steps for reading and writing metadata.
ONE Metadata Reader
The ONE Metadata Reader step ![]() allows you to read data (entities) from ONE.
allows you to read data (entities) from ONE.
It’s used in the following cases:
-
You are using an external business intelligence tool (like Tableau or Cognos) to display DQ rules results on your data. The DQ evaluation project (rules with results) serves as a source of data for that business intelligence tool. To produce customized reports, you need to enrich each rule with additional attributes (description, owner, custom attributes) that will be displayed in the report.
-
You would like to create a ONE plan and drag and drop into your plan a rule that you would like to search based on its name and input attributes.
-
You would like to create a ONE plan with data transformation using the data sources connected in ONE.
-
For your data catalog, you would like to create HTML documentation combining information about the physical object and profiling results.
See also the ONE Metadata Reader step documentation, including all available properties, in the product Help (Help > Help Contents).
Example
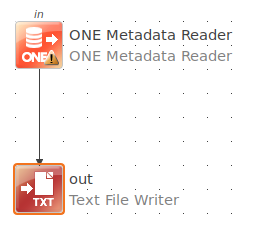
The following example shows how you can read metadata from ONE in ONE Desktop using the ONE Metadata Reader step.
Prerequisites
-
A connection to ONE Ataccama Platform is set up and running. See Connect to Ataccama ONE Platform.
Steps
-
Launch ONE Desktop.
-
Create a plan.
-
Add a ONE Metadata Reader step to your plan.
-
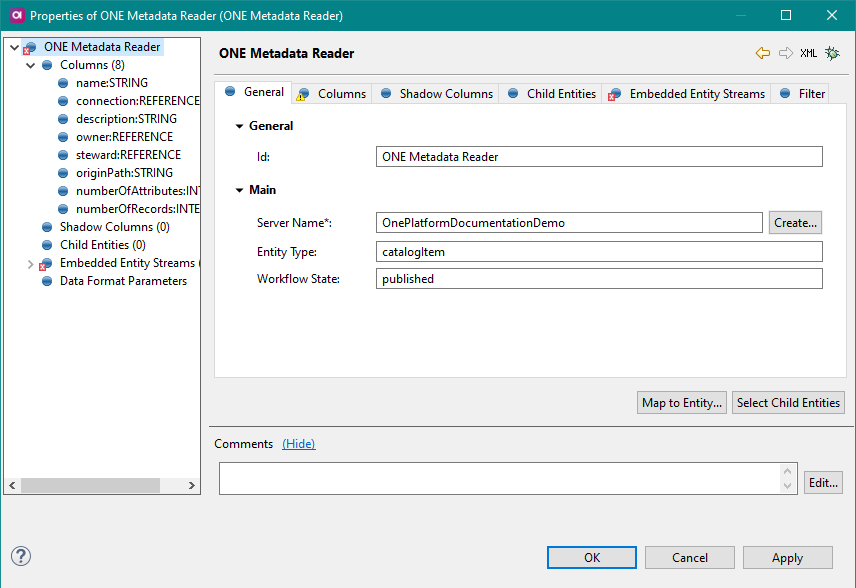
Configure the ONE Metadata Reader step:
-
On the General tab, specify the Server Name, Entity Type, and Workflow State.
-
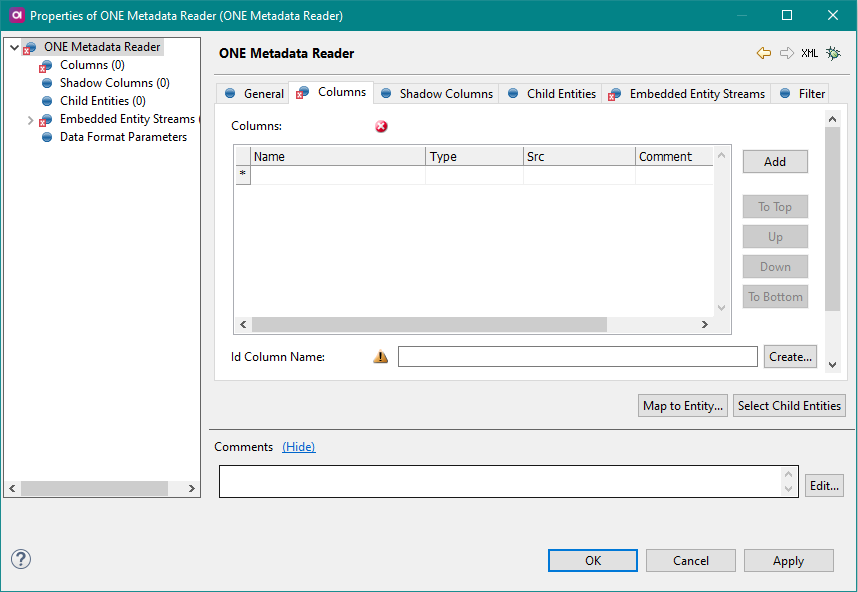
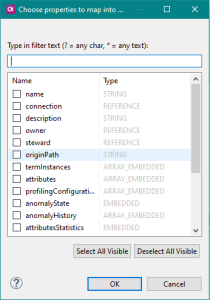
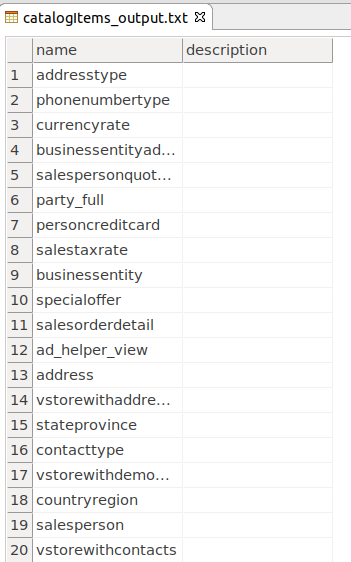
On the Columns tab, add columns that you would like to read by selecting Map to Entity.
-
Next, select specific columns.
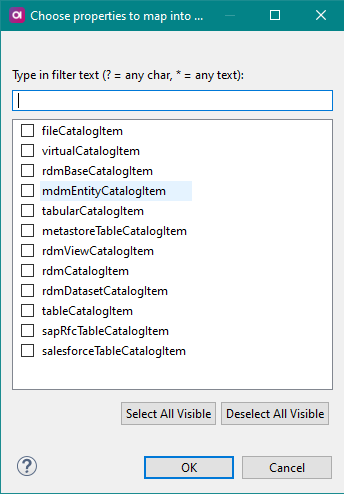
To show more columns from child entities such as virtual catalog items or file catalog items, click Select Child Entities.
To filter your search results, enter a query using AQL expressions.
-
-
-
Add a Text File Writer step for the output.
-
Connect the ONE Metadata Reader and Text File Writer steps.
-
Run the plan.
You can now retrieve the data from the selected entity in ONE Desktop.
ONE Metadata Writer
The ONE Metadata Writer step ![]() allows you to write data (entities) from ONE.
allows you to write data (entities) from ONE.
It’s used in the following cases:
-
A one-time migration, where ONE is used to manage the metadata import.
-
For integration, where an external tool is used to manage metadata entities and ONE is a consumer of that metadata. It helps with:
-
Scheduling.
-
Version control.
-
Potential changes in the metadata model.
-
Mapping of some attributes.
-
-
Creating elements as a result of some data processing. When the processing detects a lot of similar data issues (or something interesting in the profiling), it automatically creates a rule that should prevent those problems in the future (a template that has to be completed manually). This behavior is configured in a plan (using the ONE Metadata Writer step in a data processing plan or in a component started after the data processing).
See also the ONE Metadata Writer step documentation, including all available properties, in the product Help (Help > Help Contents).
Example
The following example shows how you can write metadata to ONE from ONE Desktop using the ONE Metadata Wrtier step. In this example we will create a data source and the corresponding connection to it.
Prerequisites
-
A connection to ONE Ataccama Platform is set up and running. See Connect to Ataccama ONE Platform.
Steps
-
Launch ONE Desktop.
-
Create a plan.
-
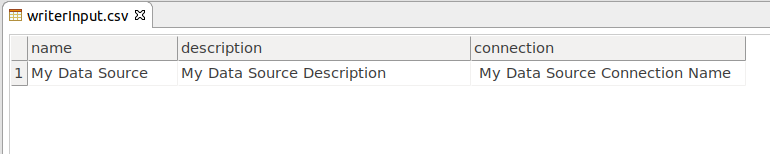
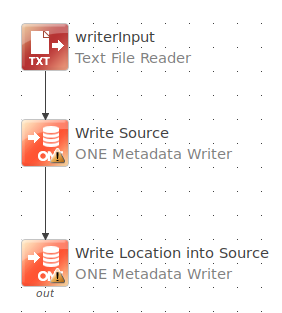
Drag and drop a file containing the data that you would like to write.
-
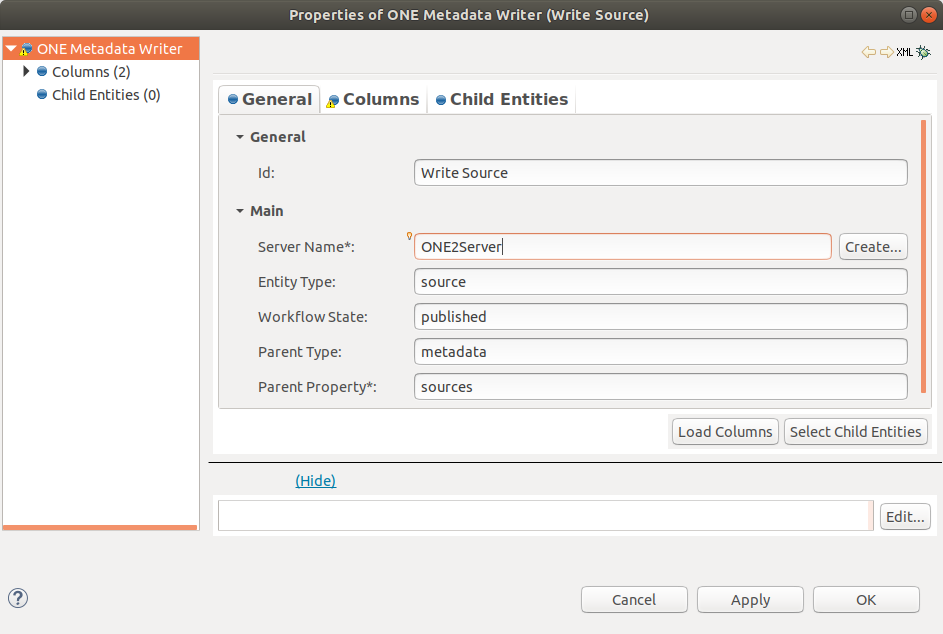
Add a ONE Metadata Writer step to your plan. This step writes the name and description values into the
sourceentity. -
On the General tab, specify the Server Name, Entity Type, Workflow State, Parent Type, and Parent Property.
-
On the Columns tab, add the columns that you would like to write (
name,description).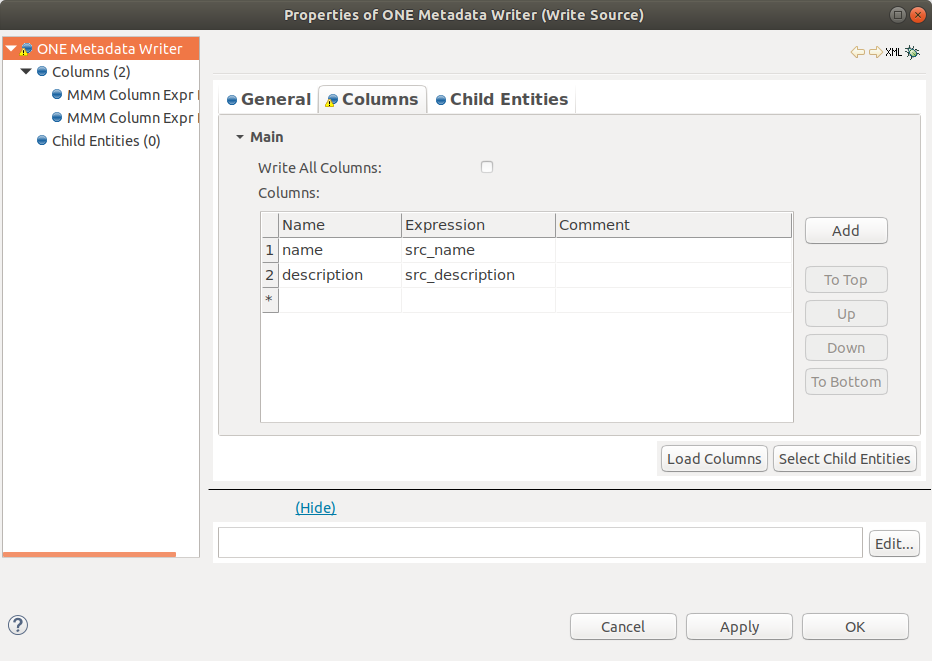
-
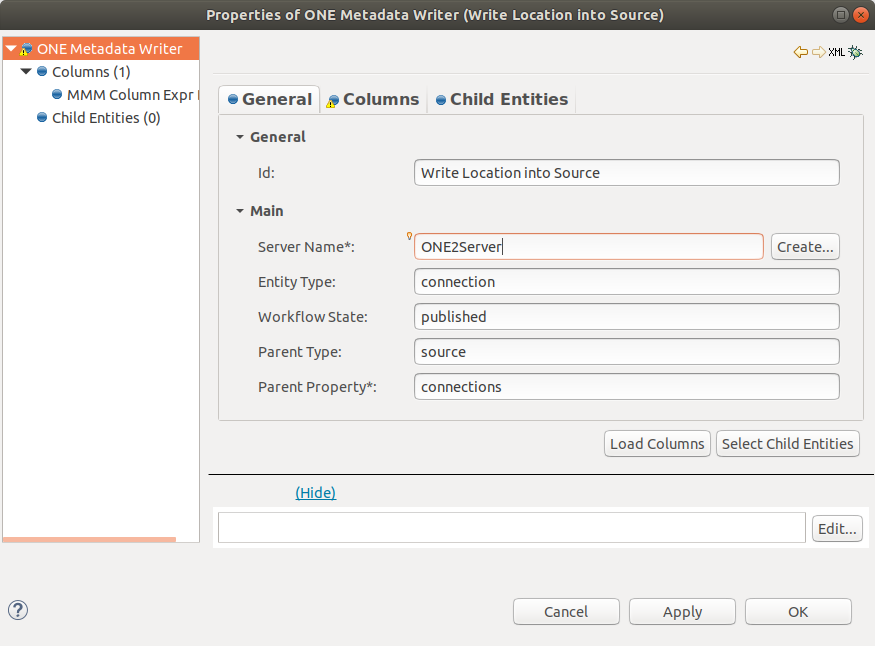
Add another ONE Metadata Writer step to your plan. This step creates the entity
connection, which is a child entity to thesourceentity. This is why we need two Writer steps to create thesourceandconnectionentities. -
On the General tab, specify the Server Name, Entity Type, Workflow State, Parent Type, and Parent Property.
-
On the Columns tab, specify the columns that you would like to write (
connection).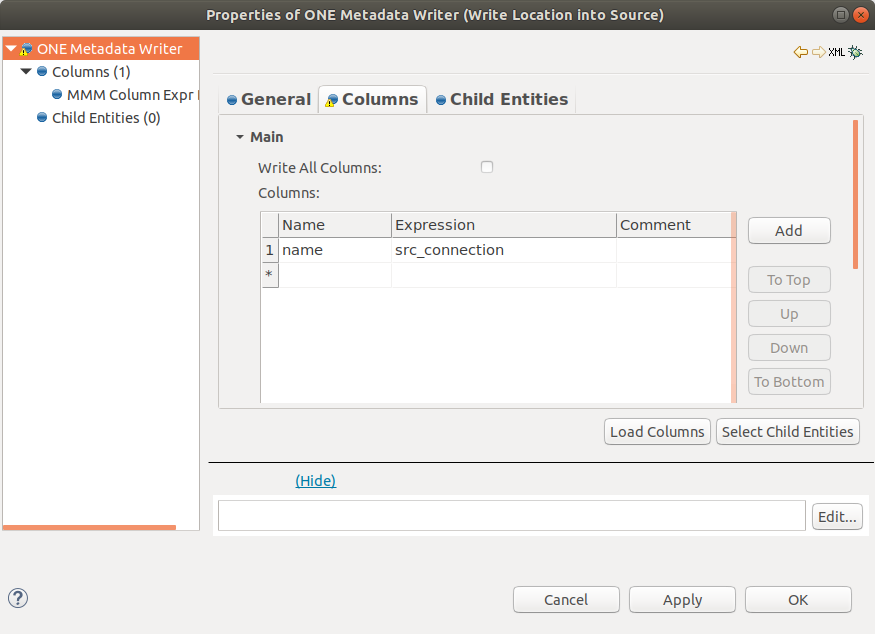
-
Connect the ONE Metadata Writer and Text File Reader steps.
-
Run the plan.
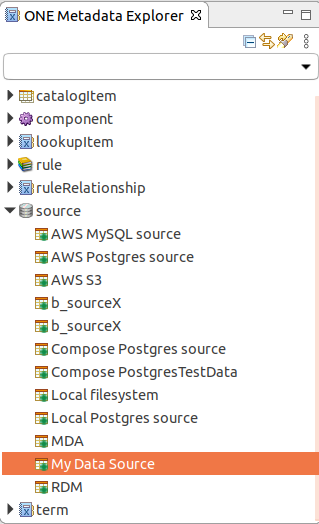
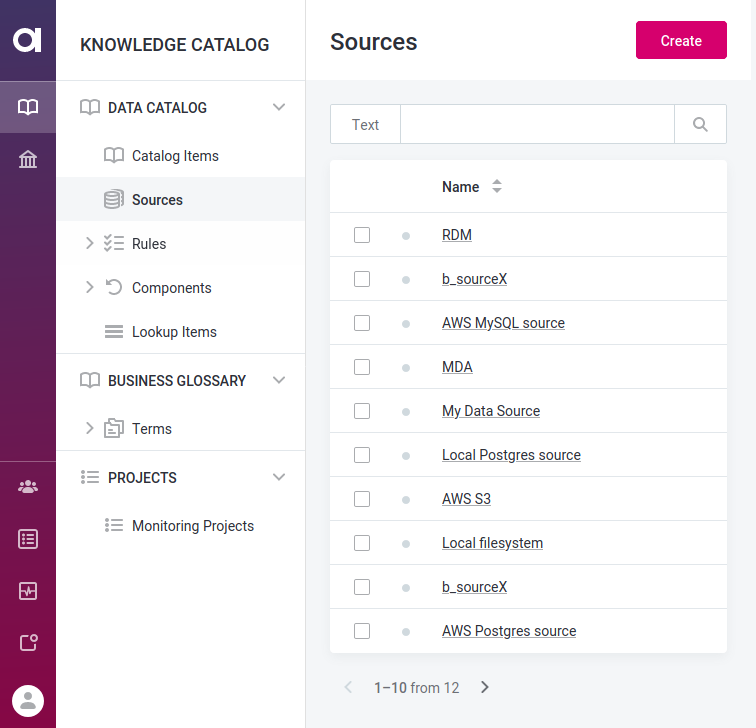
You can now retrieve data from the selected entity in ONE Desktop and also in ONE.
Was this page useful?