
Configuring an On Publish Action
RDM lets you configure an action happening after any publish event and notify any system integrated with RDM. The action is exposed as a SOAP web service action with a ONE plan behind, which you can configure to best suit your needs.
Step 1 Configure a server connection
Create a generic server connection with URL corresponding to the location of the RDM runtime server. If the server is secured, provide the username and password with sufficient permissions.
For detailed instructions about how to create a server connection, see Connect to a Server. For more information about how to secure the server, see Server Security.
Step 2 Configure the event
-
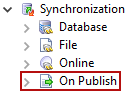
From the Model Explorer, expand the Synchronization >On Publish node and double-click On Publish.
-
Configure the service:
-
Most attributes are pre-filled with default values. You can leave them like that or change them according to your needs.
-
Enter the name of the server connection into the Publish Service URL attribute.
-
Select Enable.
-
-
Under Tables, add tables that are tracked by the service.
-
Configure which columns should be available for the service.
-
Select Export All New Values - the service will carry the new (published) values of all columns.
-
Select Export All Old Columns - the service will carry the old values of all columns.
-
Select which columns you want the service to carry.
-
-
When done with the configuration, right-click the On Publish node and select Generate plan and online file. The files are named according to the name given to the service during the configuration.
The
.onlinefile is generated to Files > onlineServices and the plan is generated to Files > plans > synchronization > onPublish.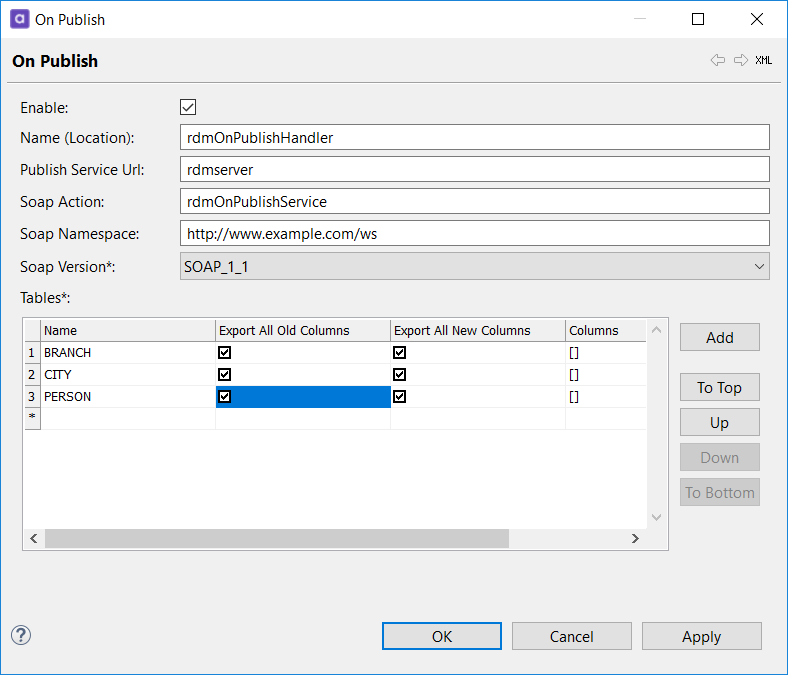
Step 3 Configure the plan
When the plan is generated for the first time, it contains the following steps:
-
Integration Input times the number of tracked tables - A generic input step reading data from RDM.
-
Alter Format times the number of tracked tables - Adds and removes several technical RDM columns.
Connect Integration Inputs and Alter Formats and configure the plan according to your needs.
Best practices
When configuring the plan, it is important to understand that if the plan started by the publishing action fails, publishing in the web application fails as well and the data is not published to the RDM storage.
In relation to this, there are some best practices for configuring the plan:
-
Write to a highly available location.
-
Do not write to several different locations in parallel streams: if writing to one location is successful and unsuccessful to another, RDM and consuming systems will be in an inconsistent state.
Example configurations
Text file
-
Export changed records to a text file.
-
Check the filesystem regularly with the Wait For File task and start a synchronization when the file appears.
Database
-
Write to a dedicated event table in the database.
-
Check the table regularly with workflow tasks like Wait For SQL Value or Wait For SQL Row and start a synchronization based on an expected value in some column.
Step 4 Deploy the configuration
If you have configured an on-publish action for the first time, it is necessary to perform the following deployment steps:
-
Generate and deploy a new configuration package for the web application: How to Deploy an RDM Web App Configuration.
-
Generate the runtime configuration containing the RDM server connection definition: Export and Import Runtime Configuration.
-
If your server configuration does not have the Online Services Component configured, configure it.
-
Deploy the plan and the
.onlinefile to the server running RDM.
Update the configuration
If you decide to update the configuration in the future (add or remove tables, change the plan, and so on), replace the existing plan and .online file on the server and reload the service configuration.
For detailed instructions about reloading the service configuration, see OnlineCtl.
Was this page useful?