
Monitoring Project Results, Reports, and Notifications
Results
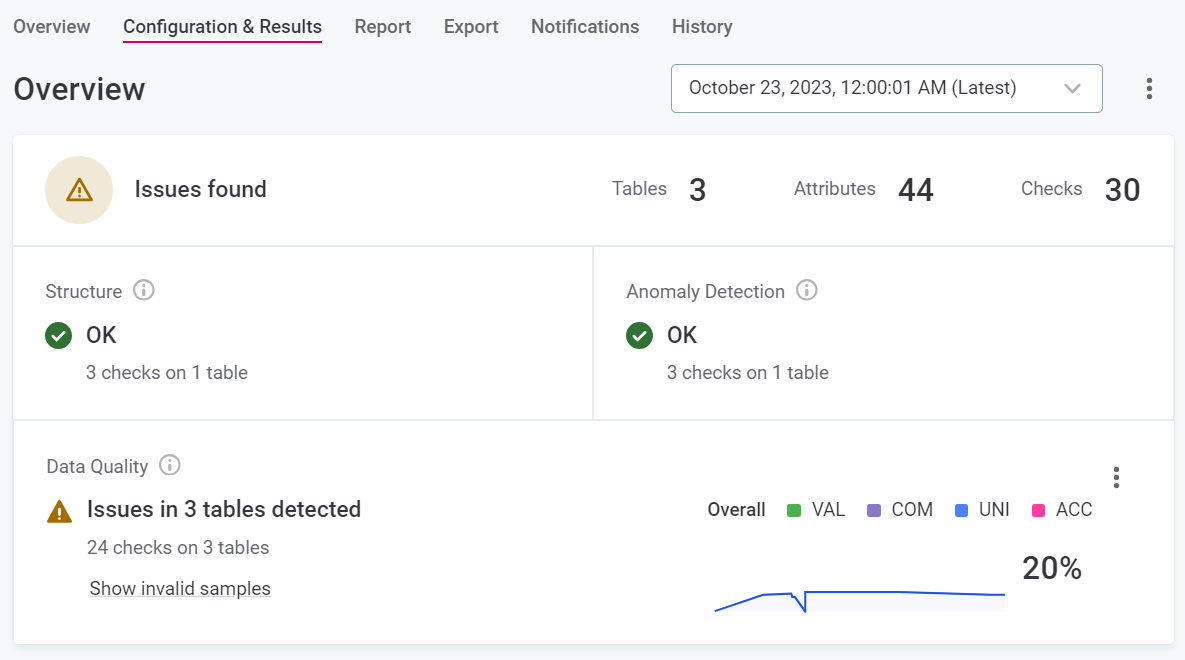
Once you have run your monitoring project, you can see issues or anomalies detected in your data set.
Issues
Issues relate to failed DQ checks. From the Configuration & Results screen, you can access invalid samples, that is, a sample of the records which failed data quality checks.
This can be done both at the project level and at the catalog item level: select Show invalid samples.
Detailed results of each rule are available on the Report tab. For more information, see Reports.
Anomalies
Anomalies shown in Anomaly Detection are those detected on the metrics of catalog items and attributes, such as value distribution, standard deviation, numeric statistics,and string statistics. The value of the metric is considered to be an anomaly if it is beyond the usual range.
Anomalies can be confirmed or dismissed from the Profile inspector.
See Anomaly Detection in Monitoring Projects, starting from the section Detected anomalies.
Reports
DQ reports show the DQ results and detected anomalies over time for all monitoring runs. They provide an overview of issues and statistics, meaning it is possible to see the changes in DQ for the whole monitoring project, for catalog items, and on specific checks assigned to the attributes. You can also explore any of the identified issues in more detail.
DQ stewards are notified when a new report is available and can see DQ issues (and expand details) as well as anomalies and the corresponding profiling results.
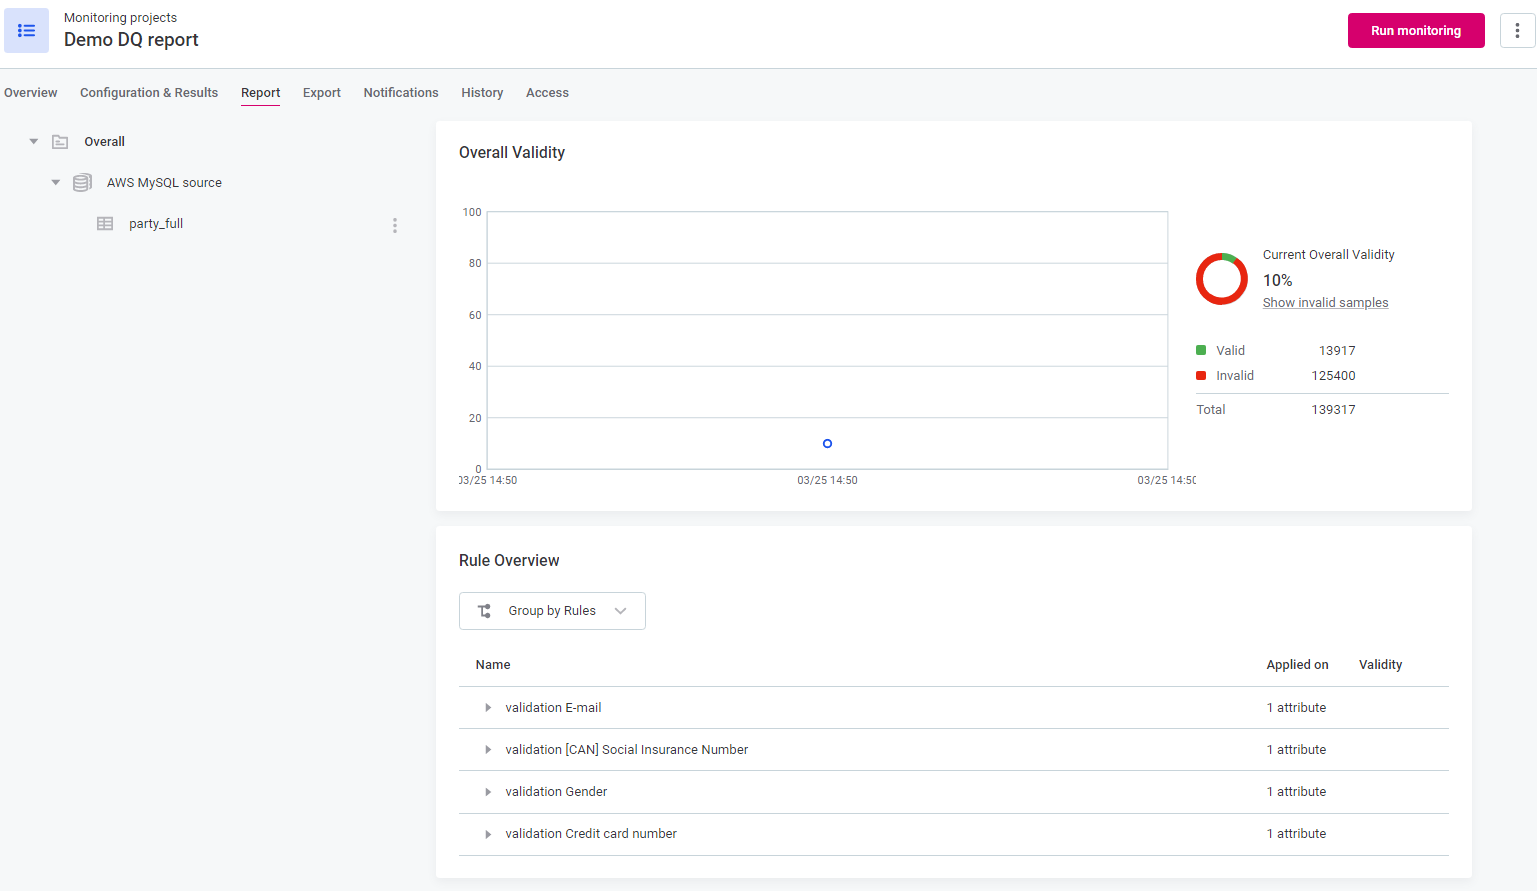
Once monitoring has finished, the DQ report is available on the Report tab. From here, you can see where anomalies have been detected, invalid samples, data quality results, and individual rule results.
|
If you selected attribute filters in your monitoring project, these are also available in your report when you select the catalog item for which you enabled the filters. 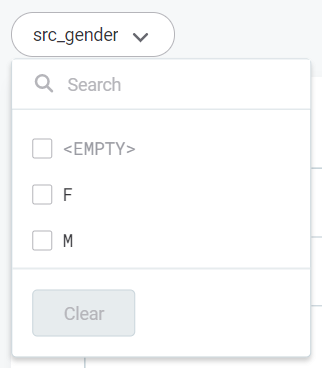
|
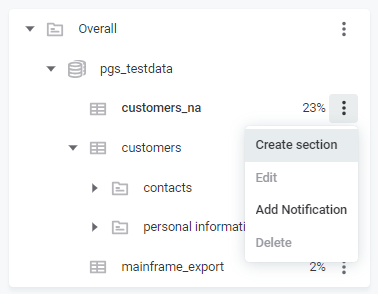
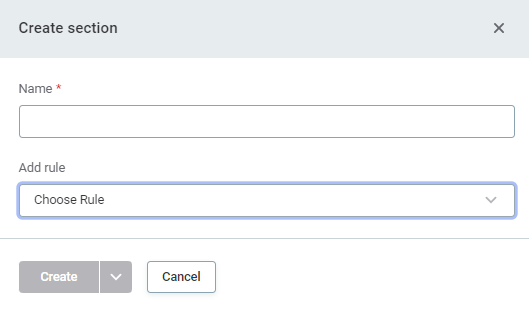
If you are particularly interested in an individual rule, you can create a section in the report for that rule.
To do this:
-
For the required catalog item, select the three dots menu and then Create section.
-
Specify a name for the section and select from the list of the rules available for the item.
-
Select Create.
| If you do not have access to the full data set, you see results for the relevant subset. |
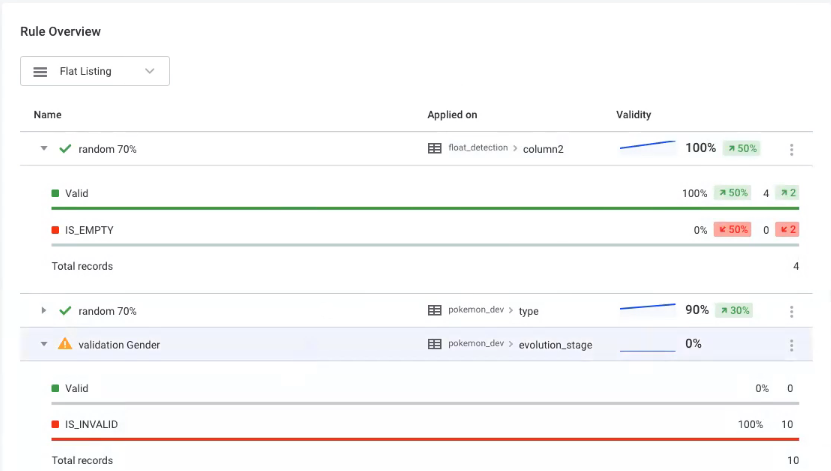
To see the data quality for all rules used in the monitoring project, expand the rules in the Rule Overview list.
Results retention
You can select how long you would like to store the results of monitoring projects. This can be for maintenance reasons or for security, for example, in case there is company policy that forbids data to be kept longer.
Retention period can be based on days or runs, that is, you can choose to remove results older than the defined number of days or runs.
-
Per project configuration:
-
Keep last
Xruns. -
Remove runs after
Xdays.
-
|
There is an additional global configuration via API (available to power users only) that, if configured, determines the retention settings in place of the project configuration.
If global settings are configured, you are notified in ONE when configuring project settings. 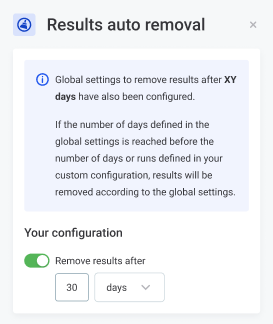
For more information about configuring global settings, see ONE API, section Monitoring projects results global retention. |
Data is deleted when:
-
A run is older that project configuration allows.
-
There are more runs than project configuration allows.
-
A power user manually deletes processing in Metadata Management Module (MMM).
-
A run is older than global configuration allows.
-
There are more runs than global configuration allows.
When results are cleared, the following is removed:
-
Processing in MMM.
-
Invalid samples from ONE Object Storage.
-
DQ results from DQ storage.
-
Filter values from DQ storage.
-
Post-processing plan (PPP) exports from ONE Object Storage.
Configure results storage
To configure removal of the results:
-
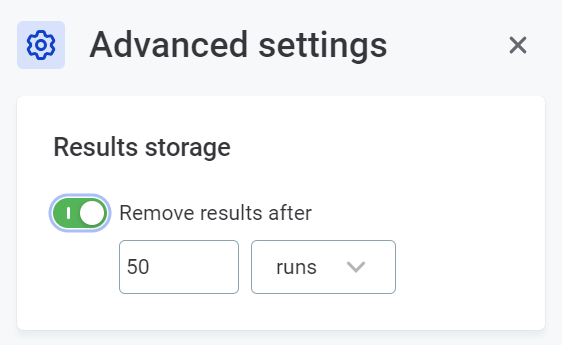
In the required monitoring project, select the three dots menu and then Advanced settings.
-
Enable Remove results after using the toggle.
-
Select between days and runs and enter the number as required.
-
If you select runs, the number corresponds to the number of runs that are kept. For example, Remove results after 50 runs means only the results for latest 50 runs are stored.
This is most suitable if your aim is to reduce the amount of unnecessary data that is retained.
-
If you select days, the number corresponds to the number of days the results are stored for. For example, Remove results after 50 days means all results older than 50 days are removed.
This is most suitable if data can only be stored for a limited amount of time for security reasons.
-
-
Close the sidebar and publish the changes.
| You can also configure global auto-removal settings. If the number of days defined in the global settings is reached before the number of days or runs defined in your custom configuration, results are removed according to the global settings. |
Export and post-processing plans
Using post-processing plans, you can transform and export monitoring project results to be used in DQIT or other business intelligence tools.
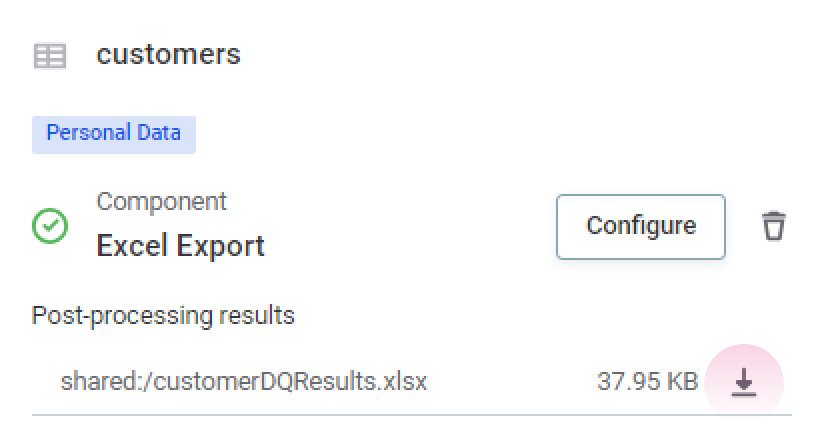
Post-processing plans and their outputs are found on the Export tab.
To implement a post-processing plan, you need to use ONE Desktop. For more information, see Post-Processing Plans.
Once the post-processing plan has finished, download the output from the Export tab.
Notifications
Notifications can be set up to warn you in the following situations:
-
Monitoring failed
-
Critical error in structure
-
New results
-
DQ issue
-
Anomalies detected
-
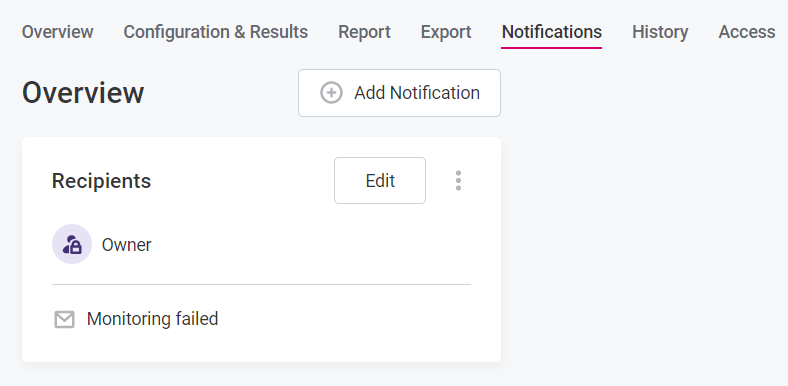
Navigate to the Notifications tab of the project and select Add Notification.
Or, click the row to edit an existing notification.
-
Define the Recipients. A list of possible Groups, Roles and Persons will be provided. Select them as required using the checkboxes.
Groups and roles correspond to those defined in your identity and access management tool. -
Select the events for which you would like notifications to be triggered, and the type of notification.
-
Notification + Email sends both an in-app notification and an email to the recipients in case of the event occurrence.
-
Email sends an email to the recipients in case of the event occurrence. Email templates are defined globally and can be edited by power users. For more information, see Email Templates.
-
Notification sends an in-app notification to the recipients in case of the event occurrence.
Leave the events notification options blank if you do not want to be notified of a particular event occurrence Email notifications are turned off by default. If you want to receive email notifications, you must first enable the plugin and configure the SMTP server. For more information see MMM Configuration, section SMTP server.
-
-
Select Save
-
Delete an existing notification by selecting the three dots menu and then Delete.
Was this page useful?