
Configure Approval Workflows
Approval workflows can help you manage the states of your data assets and make sure the correct asset workflow is in place. With the approval workflows the responsible users with a particular roles can validate all changes done to an asset from its draft to publicly available states. It is possible to configure the approval workflows on business nodes, except catalog items for which the workflow is hardcoded. The workflows are mostly used in complex approval cases, such as terms.
Without the configured approval workflow on a node, the changes on this node are published automatically. When there is not custom approval workflow in place, the default workflow works as described in Managing the Approval Workflow.
When customizing the workflow, the following options are available:
-
The number and purpose of approval workflow steps.
-
The naming of the steps.
-
The permissions for approval steps.
| Workflows are linear (step by step approval), no multiple-choice workflows are available. |
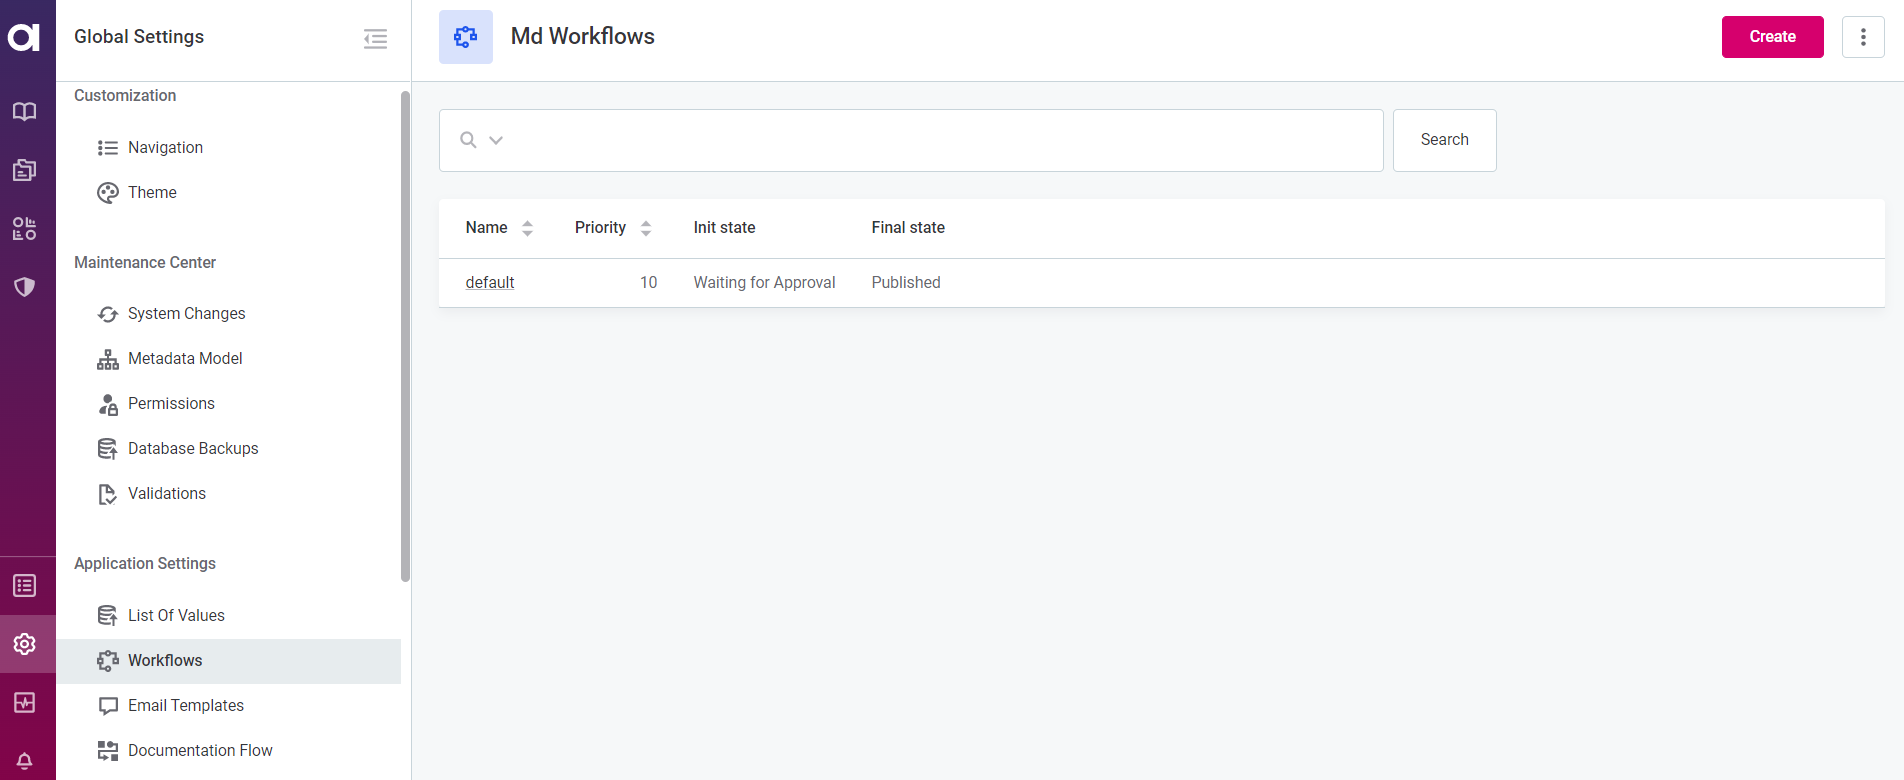
To change the workflow, navigate to the Global Settings > Workflows tab:
| The workflow changes can be published in the MD mode only. For more information on the MD mode, see System Changes. |
Workflows configuration
The default workflow is pre-configured. You can either edit it or create a new one.
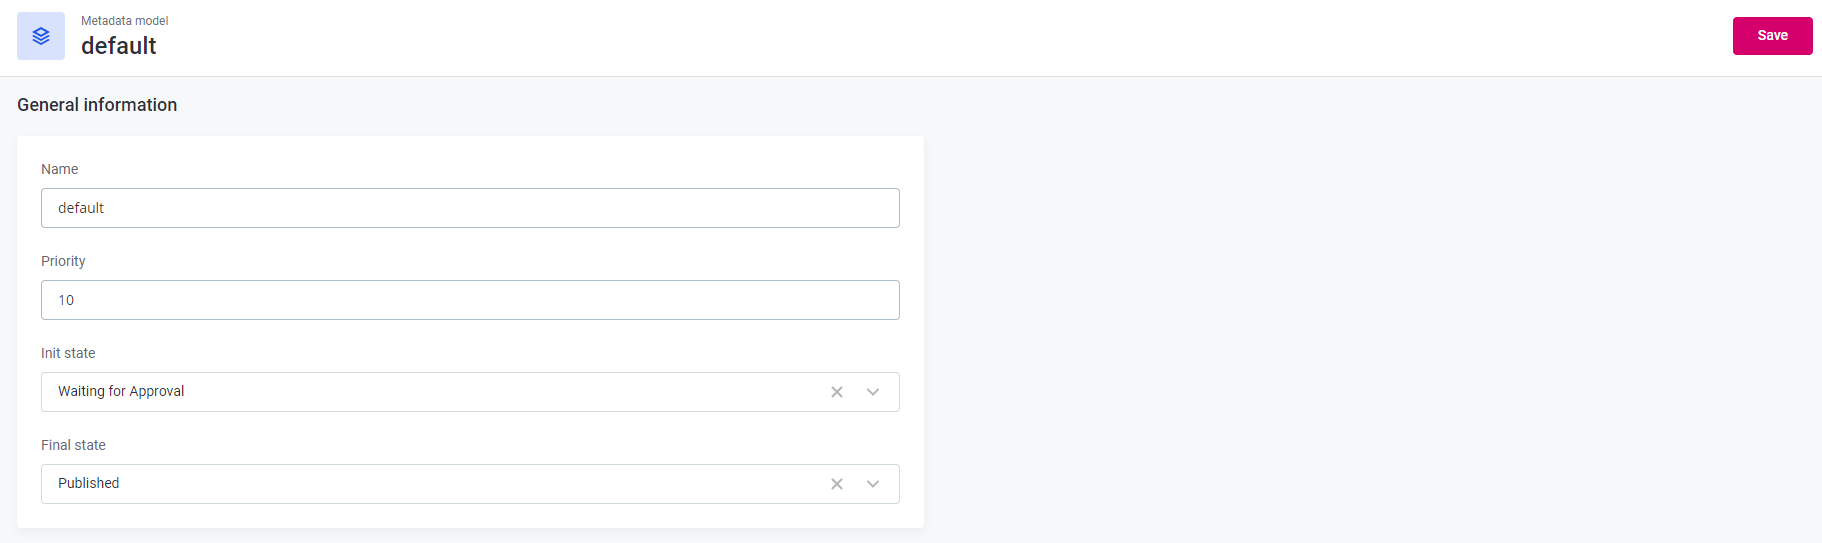
Each workflow has the following parameters:
-
Priority: indicates in which cases which workflow needs to be used.
For example:
-
If there are two workflows, the default and custom one, set on the same nodes with the same priorities, the default one will be used.
-
If there are two workflows, the default and custom one, set on the different nodes, the corresponding workflow will be used for each node.
-
If there are two workflows, the default and custom one, set on the same nodes with different priorities, the one with the higher priority will be used.
In case you want to keep the default workflow settings but use a different workflow in selected cases, create a custom workflow and set the priority higher than for the default one. It will allow switching between the workflows just by changing their priorities.
-
-
States: indicate the steps of the workflow. For each step, it is possible to configure the buttons, the roles with the permission to use these buttons, and their place in a sequence of steps.
-
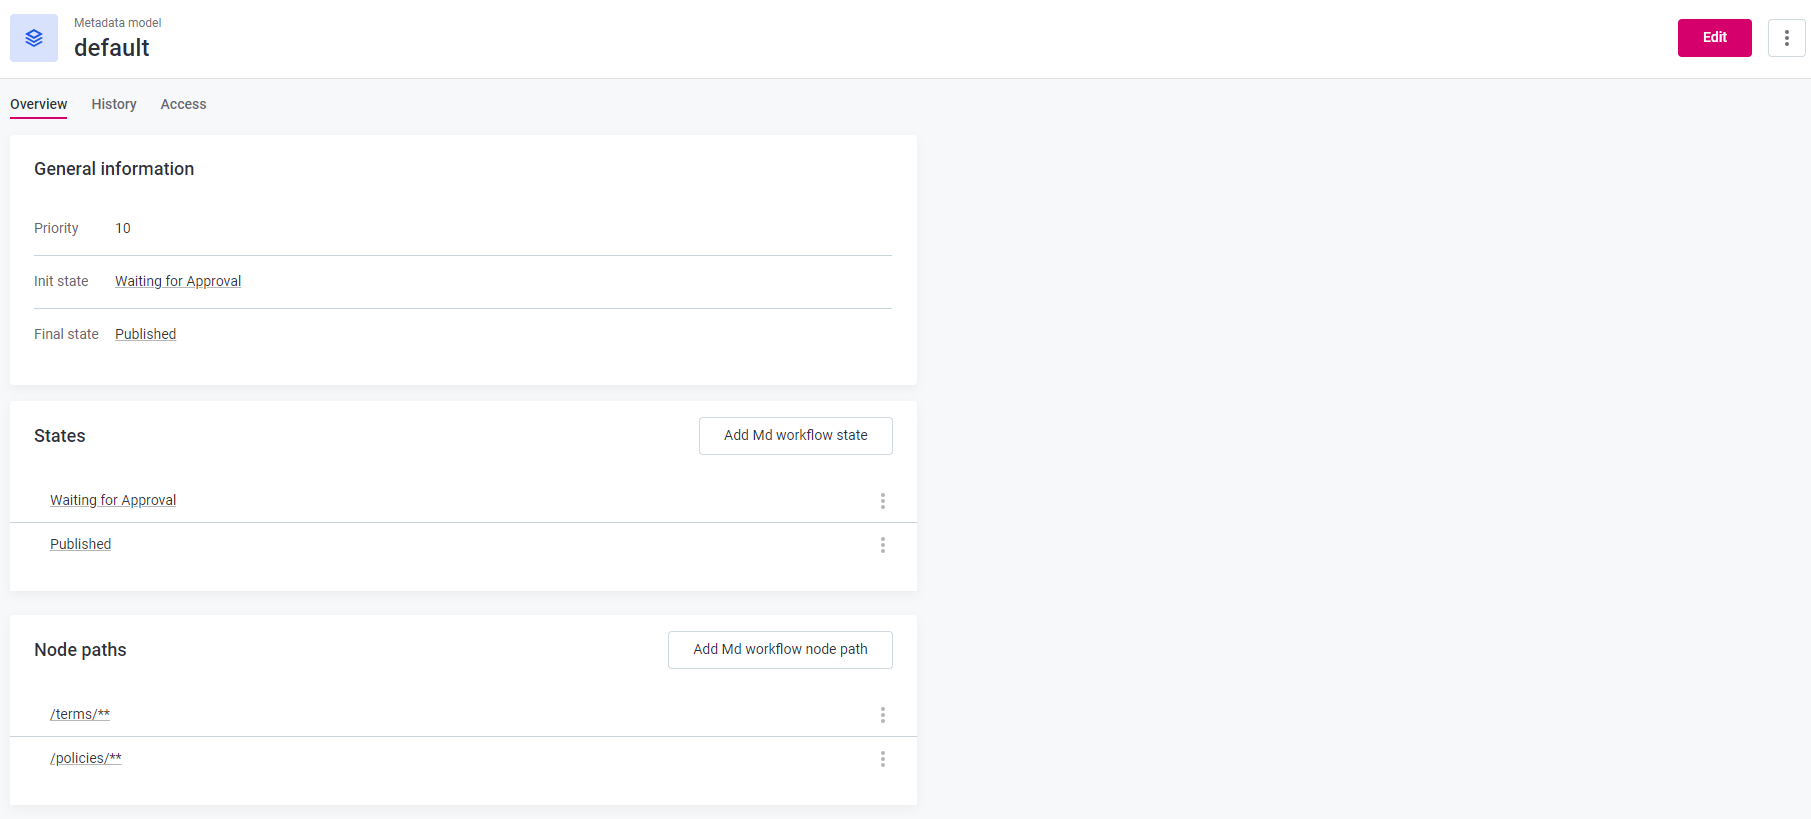
Node paths: the list of nodes of the application on which the workflow is used. By default, it is used for terms and policies.
Create a workflow
To create a new workflow, do the following:
-
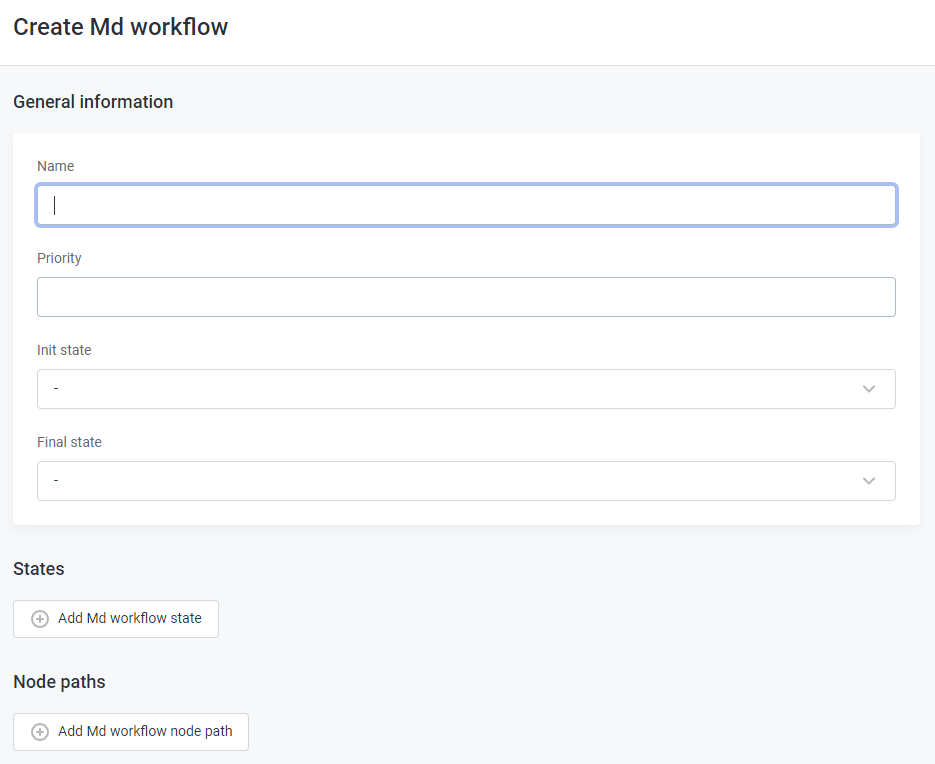
Click Create in the upper right corner.
-
Fill in the information:
-
Name of the workflow
-
Priority of the workflow.
Take note of the following:
-
In the application, the workflow with the highest priority is used.
-
If there are no other workflows, you can live it empty or put 0.
-
If there are two workflows with the same priority set on different nodes (for example, one workflow is for terms, another for rules), each workflow will work for the respective nodes.
Make sure that there are no two different workflows with the same priority set on the same nodes.
-
-
Select Int state for the initial state of the workflow and Final state for the final one.
To see the list of the states, you need to create them first. To do that, follow the instructions to the next step, or click Save to save the workflow and edit it later to add the states.
The minimum number of states is 2, one for the initial, another for the final. The maximum number of states is unlimited.
-
-
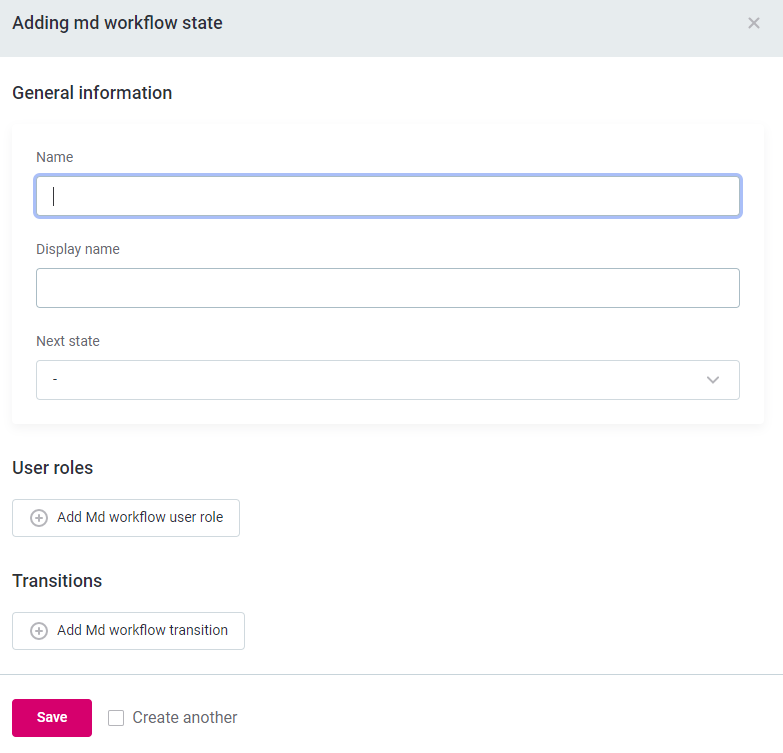
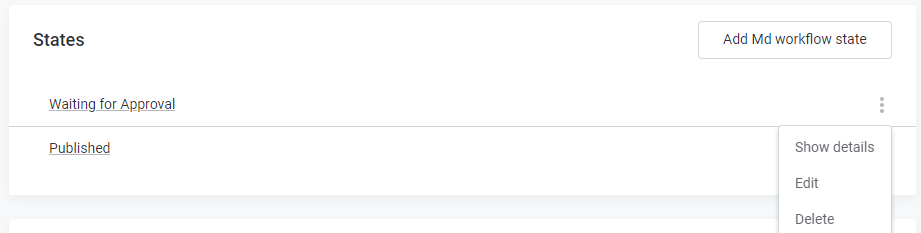
Click Add Md workflow state to add a new state. Fill in the information for a new state:
-
Name of the state in the workflow.
-
Displayed name of the note widget in the application.
-
From the list of existing states, chose the Next state that will follow the current one in the workflow.
When creating several states, save them first without setting an order. After creating all of the necessary states, you can edit them and set their sequence.
-
-
Click Add Md workflow user role to add the roles with the permission to approve this state.
-
Click Add Md workflow transitions to set the target state after this one, and to define the label for the button in the application that corresponds to the approval action at this state.
-
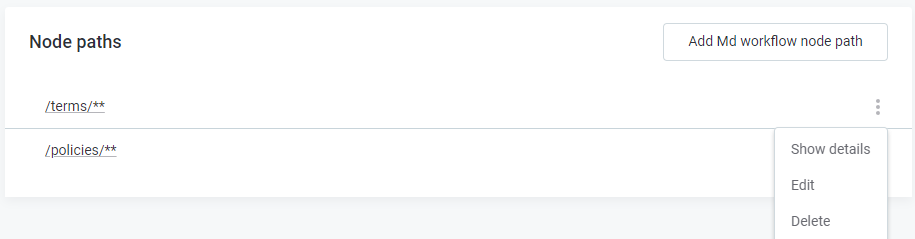
Click Add Md workflow node path to add a new node where the workflow applies to. Fill in the path in the following format:
-
/<entity>/<where it applies> -
in case you want the workflow to apply to all nodes underneath the parent, use
**Click Publish to publish the workflow in the MD mode. For more information on the MD mode, see System Changes.
-
Edit workflow
To edit a workflow, click on its name. The Overview tab will open.
Edit general information
Click Edit to change the General Information of the workflow.
To edit the states of the workflow, do the following:
-
Click Add Md workflow state to add a new state:
-
Fill in the information for a new state.
-
Click Save. Tick the Create another option to save the state and to open the widget for creating another one.
-
-
Expand the more options menu for the state and select from:
-
Show details to view the overview page with details of the state.
-
Edit to edit the state straight away.
-
Delete to remove the state from the workflow.
-
Edit node paths of the workflow
-
Click Add Md workflow node path to add a new node.
-
Expand the more options menu for the node path and select from:
-
Show details to view the overview page with details of the node path.
-
Edit to edit the node path straight away.
-
Delete to remove the path from the workflow.
-
| Click Publish to publish the workflow in the MD mode. For more information on the MD mode, see System Changes. |
Example
A new workflow, New, will be created on the rules node, with the same priority as the Default one. This means that both workflows will be used in the application since the default is set on other nodes: terms and policies.
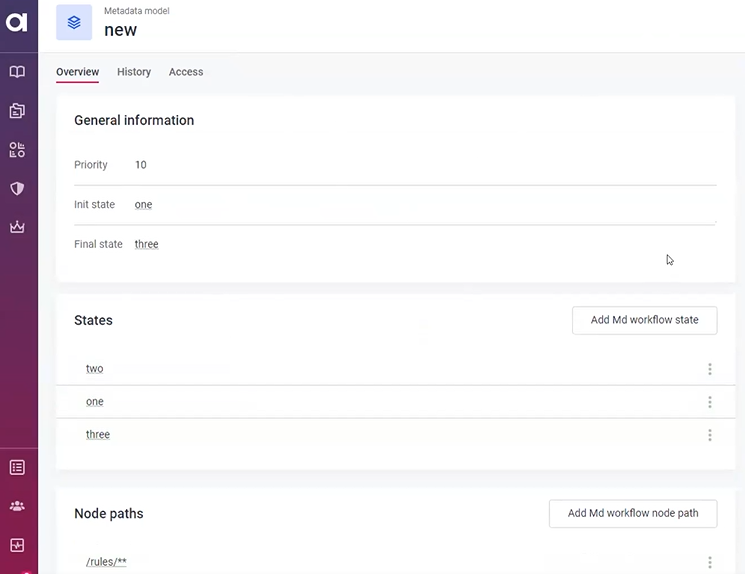
The workflow has three states:
-
one, with the user role MMM-admin and a button with the label "go two".
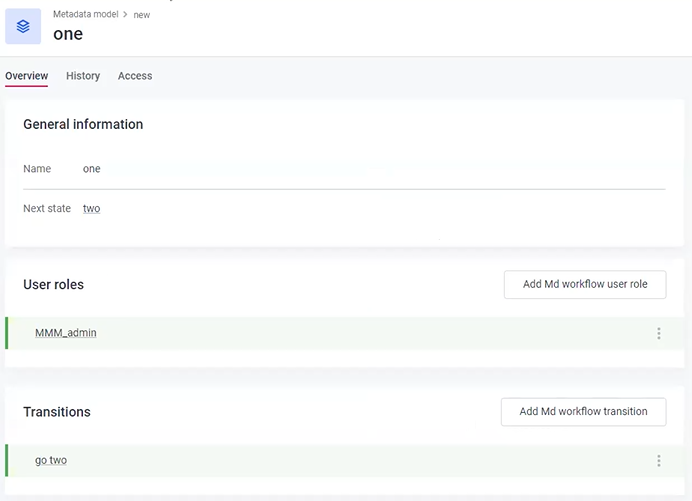
-
two, with the user role MMM-admin and a button with the label "go three".
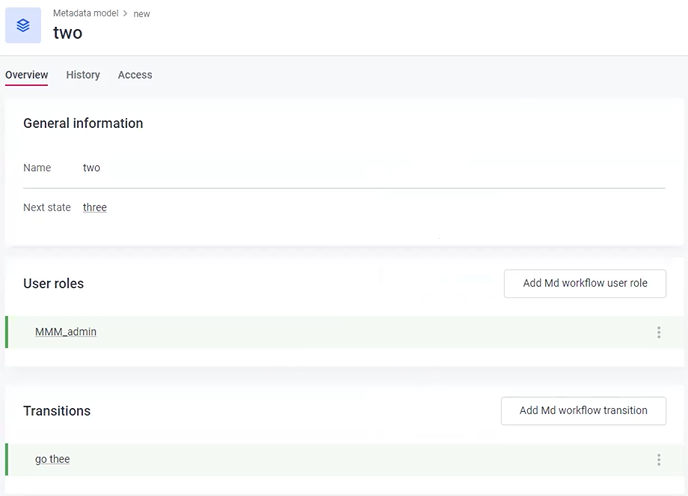
-
three, with the user role MMM-admin and no transitions.
After the workflow is published in the MD mode, when a new rule is created, the user will see the new workflow applied.

Was this page useful?