
Getting Started with RDM
This article covers logging in to RDM and the key features of the interface.
Logging in
Access RDM through your web browser. Enter the application address and log in.
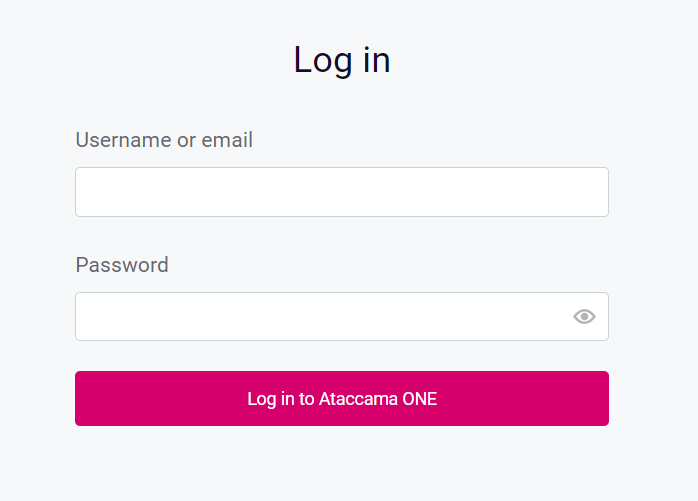
After logging in, the RDM home screen appears.
| You can log in only with one username in the same browser at a time. Use different browsers for multiple logins. |
Getting oriented
The RDM web application consists of two main areas: Navigation Panel on the left-hand side and the Viewing Panel on the right-hand side.
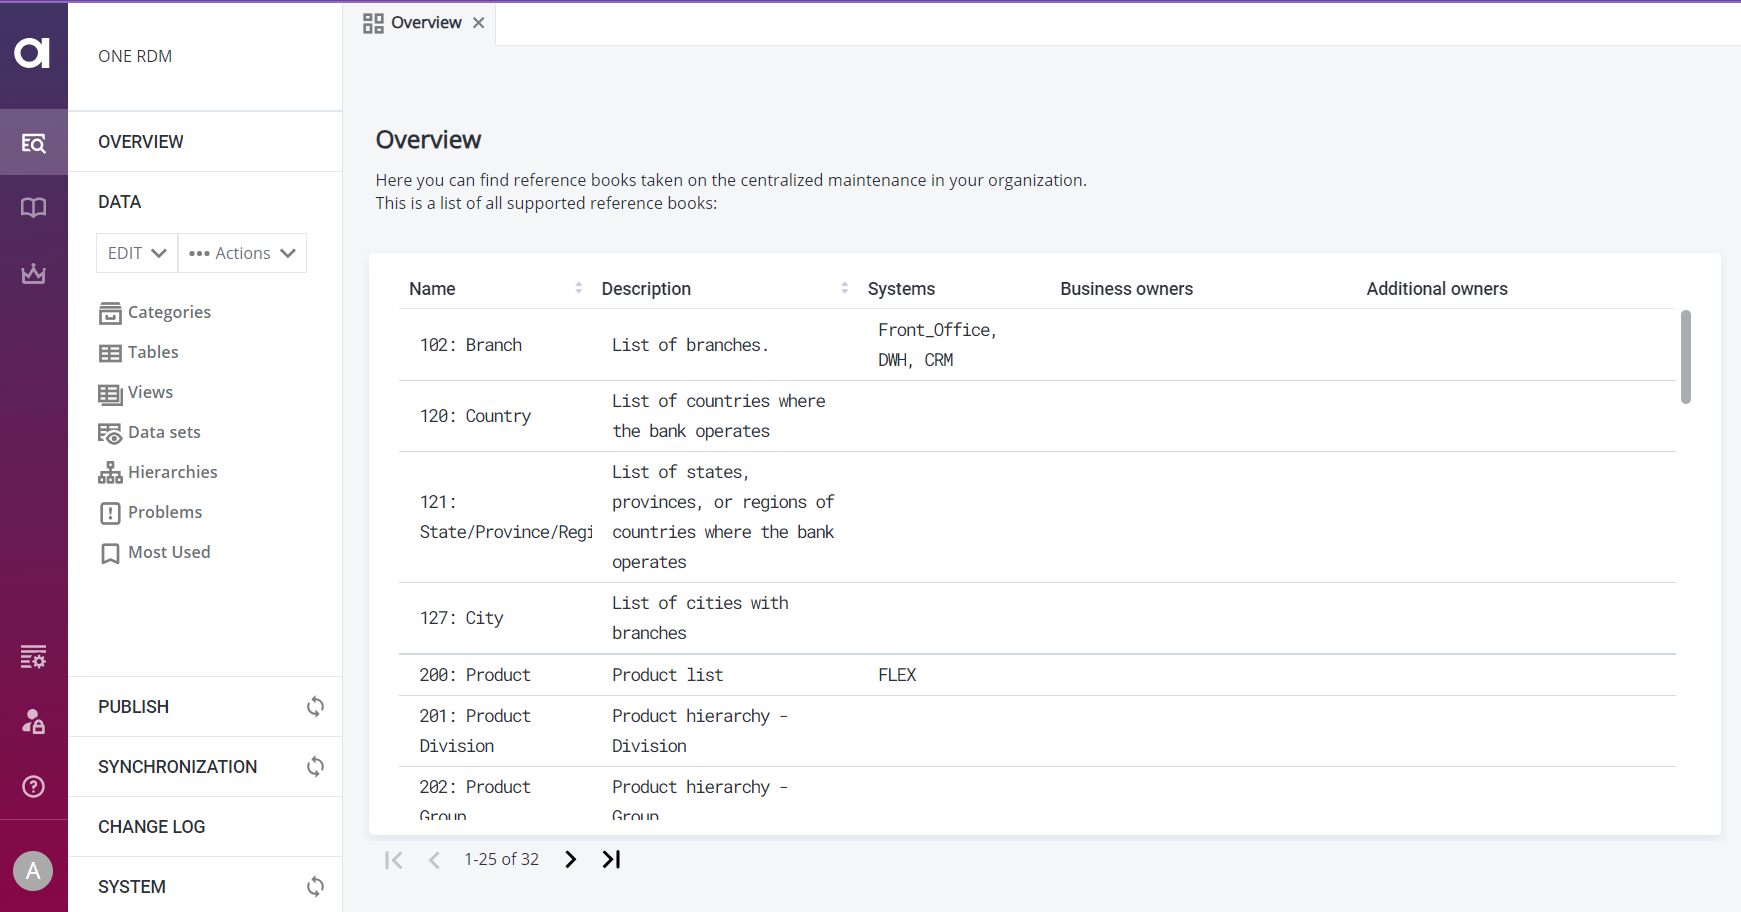
Navigation Panel
Use the Navigation Panel to switch between different areas for managing reference data, tracking changes, and troubleshooting.
| Your role determines which areas you can access. Some features are available only to users with supervisor, manager, or administrator permissions. |
The Navigation Panel contains the following tabs:
- Overview
-
Quick access to your most commonly used tables and views, showing their name, description, source system, and owner. Double-click a table to open it.
Customize which tables appear here in the RDM model configuration (Show in all tables parameter). See Tables > General attributes and Views > General attributes.
- Data
-
Defined tables, views, hierarchies, categories, and related problems.
- Workflows
-
Workflows that control how table data is processed. Shown only if custom workflows are configured.
- Publish
-
Changes to reference data ready for publishing.
- Synchronization
-
Communication with systems connected to central authority tables.
- Change Log
-
Changes made to reference data, filtered as needed.
- System
-
Error log information including data problems, action history, and long operation data.
Viewing Panel
The Viewing Panel is your main workspace in RDM. This is where you view, edit, and publish records, perform synchronizations, and complete other tasks.
The Viewing Panel works like a web browser: different features and tables open in separate tabs.
The toolbar above each table provides available actions specific to the current viewing mode.
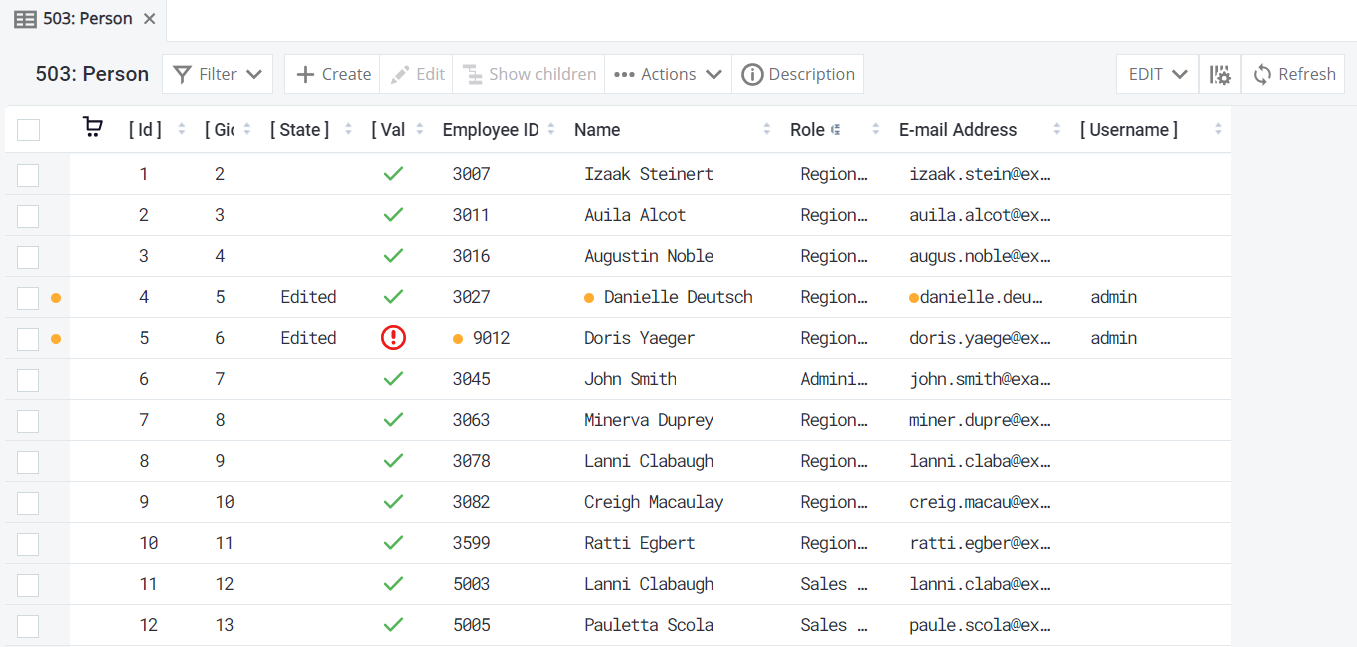
Default columns
In addition to attributes imported from the database, RDM adds system attributes called default columns. These are shown in square brackets (for example, [State]).
The following default columns are available. Which default columns you actually see depends on the data-viewing mode.
-
Id: Unique record identifier.
-
Gid: Group ID (used with record versioning: same GID with different IDs indicate different versions). See Versioning Records in RDM.
-
State: Workflow state.
-
Valid: Validity indicator. Valid records show a green tick; invalid records show a red exclamation mark. See Record validity.
-
User: User who made the change.
-
Date from (in HISTORY and ALL_HISTORY modes): Attribute values effective from this date.
-
Date to (in HISTORY and ALL_HISTORY modes): Attribute values effective until this date.
-
Tags (in ALL_HISTORY mode): Tags used during record publishing.
Record edit states
Color-coded dots help identify edited records before publishing and show their status:
-
Green: Newly created record.
-
Orange: Modified record.
-
Red: Deleted record.
These dots appear next to records or attribute values to show changes in the current viewing mode.
| Color-coding in views slightly differs from tables. |
Record validity
Attributes in RDM tables can have validity conditions that define acceptable input values. These conditions are checked when you create or edit records.
There are two types of validations:
-
Instantaneous validations: Run automatically as you enter values (for example, checking format or length).
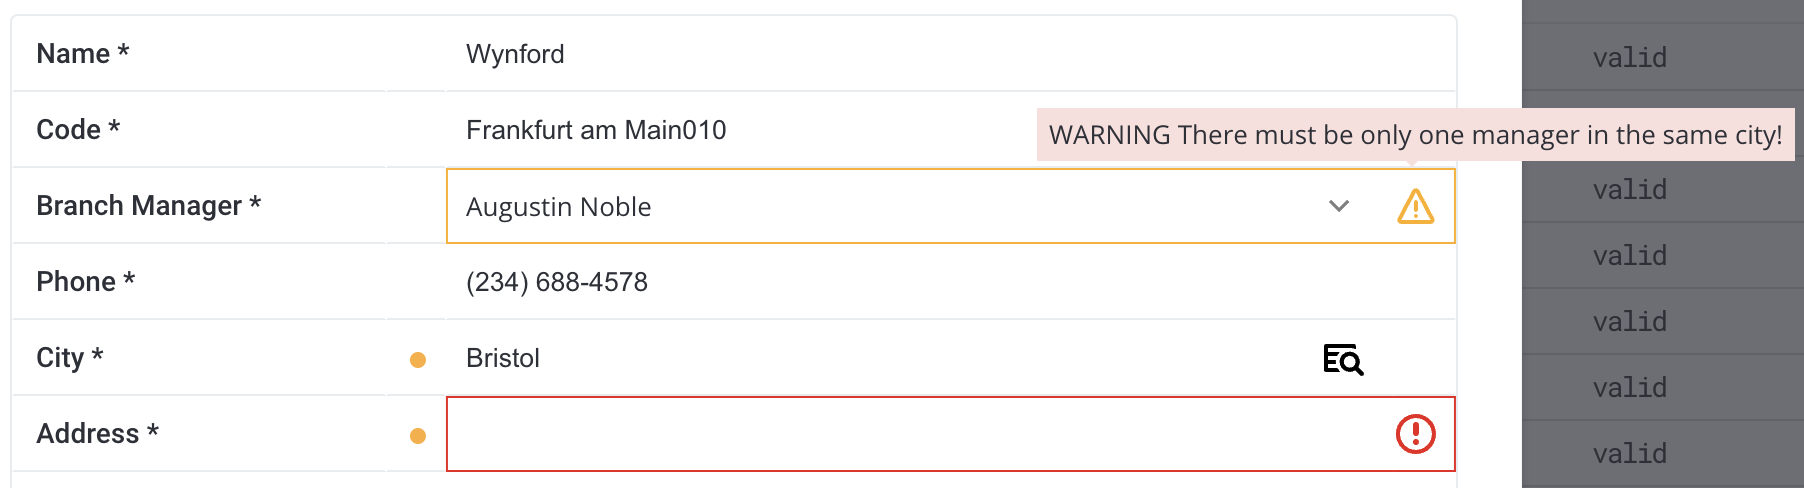
If the value doesn’t meet conditions, an error icon appears. Hover over it to find out more.
-
Online validations: Based on complex conditions, these run automatically after a change is detected or when you select Validate in the Create detail or Edit detail dialog. They use ONE plans (for lookups such as phone number or address) or SQL queries.
Tables can be set to manual validation mode (see Tables, parameter Row validation strategy). In this case, after you edit a record, you see a reminder to revalidate data before saving or publishing. If values don’t meet conditions, a warning icon appears. Hover over it to find out more.
Records that fail online validations or are imported with invalid inputs show INVALID in the Validity column and cannot be published.
Application admins define validity conditions and validations in the RDM backend. You cannot change them in the web application.
Was this page useful?