Policy Management
The Policy Management module is the central place for storing policies and regulations that are used across the entire organization. You can define and keep track of all the regulations that are in place and all the internal policies helping you comply with those regulations.
Overview
To manage policies, navigate to the Policy Management left-sidebar section. The list of all policies is shown on the All Policies tab.
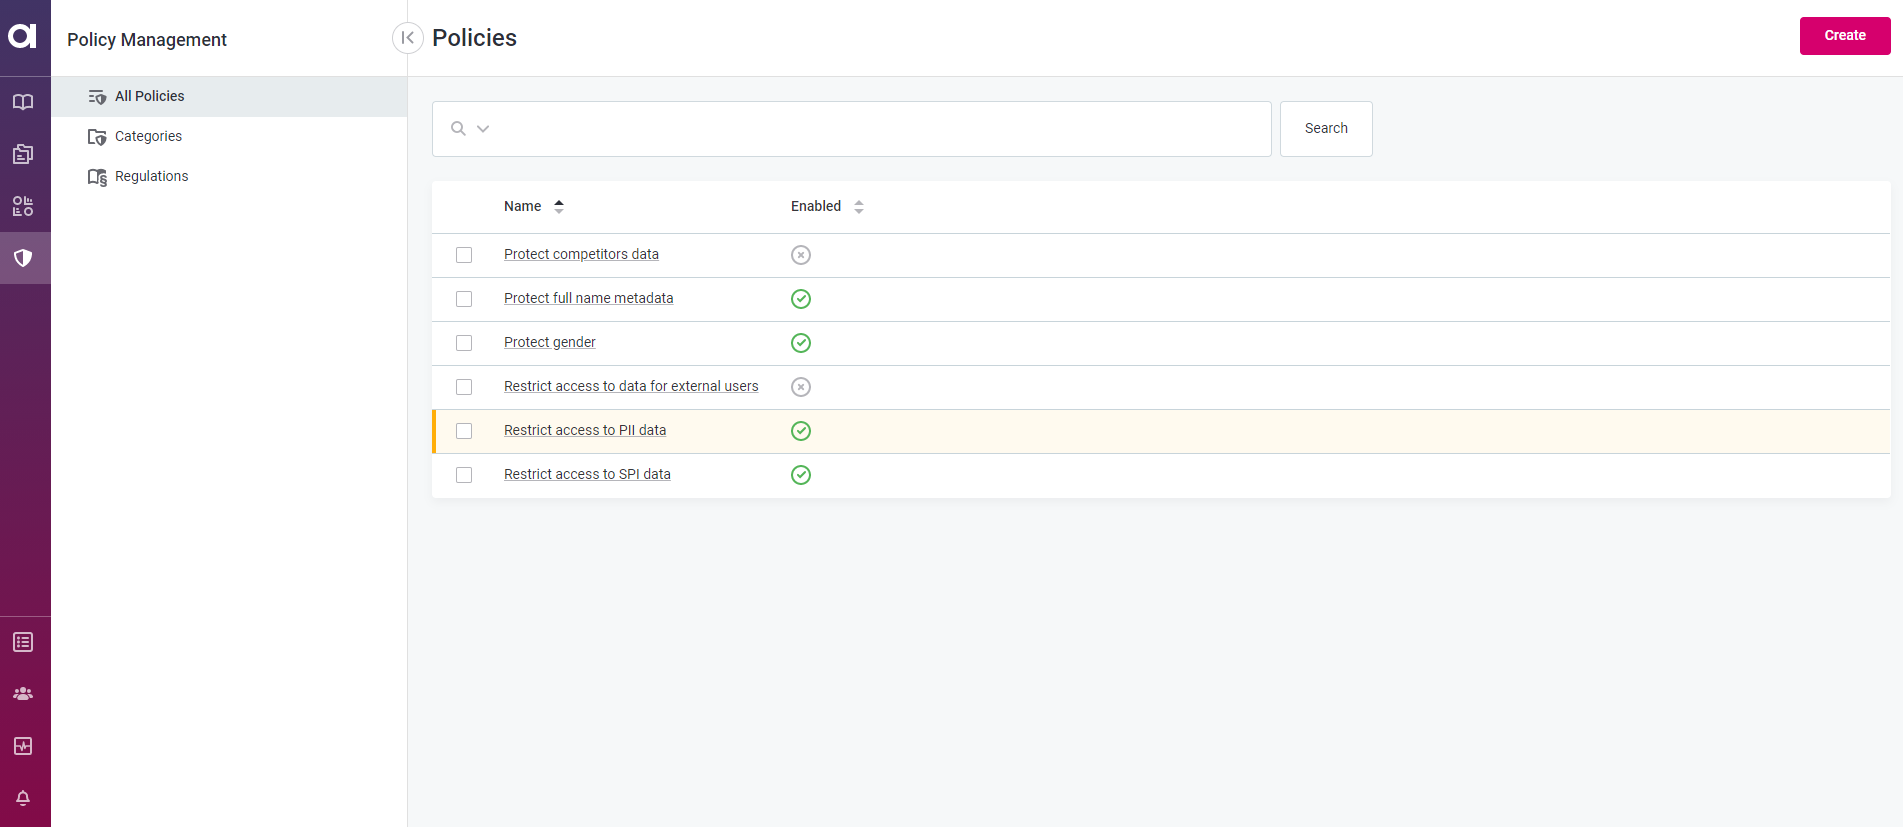
The current state of the policy is indicated as follows:
-
No highlight - Published policy.
-
Green highlight - Recently added policy.
-
Orange highlight - Policy with requested changes.
-
Red highlight - Term requested for removal.
To organize policies in an effective way, the regulation type and category can be specified for each policy. One category can contain multiple policies and one policy can be referenced from multiple regulations and categories. The groups of policies referring to specific regulations and categories are aggregated on the Regulations and Categories tabs.
In order to be able to create, edit, and delete Polices, Regulations, and Categories, you need to have a Data Governor (MMM_data-governor) role assigned.
See user-access-management:default-permissions-configuration.adoc.
Categories
Currently, categories work as organizational folders for policies (in other words: Category = folder, Policy = file).
You can have more than one category under each category (folders containing folders).
To manage categories, navigate to Categories tab, where you can do the following:
-
Create a new category.
Click here to expand
-
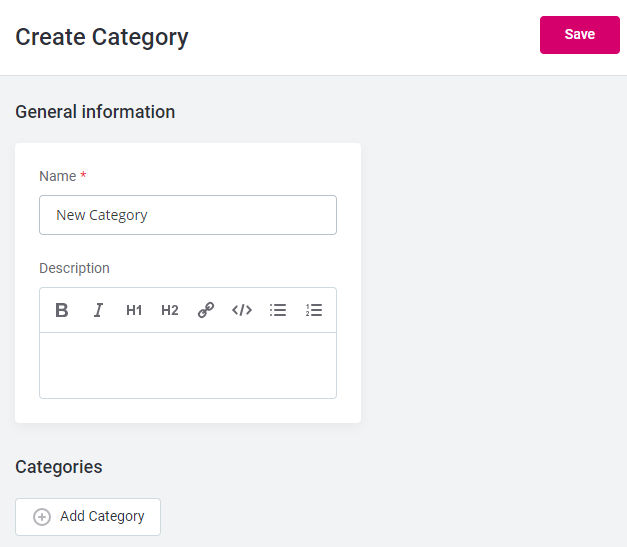
Select Create.
-
Provide the following information for each new category:
-
Name of the category.
-
Description (optional).
-
-
Select Save.
-
On the Overview tab, click Add category to add underlying category.
You can edit this list later.
Note that the underlying categories are not included in the listing that you can find by viewing the Categories tab. On the Categories tab, only the top level categories are listed.
-
On the Overview tab, select Add policy reference to add policies that will be grouped under the created category.
You can edit this list later. To group policies under underlying categories created in the previous step, navigate to the underlying category (by clicking its name) and repeat steps 4-5.
-
After the changes are implemented, they need to be published. For more information about publishing changes, see Publish Changes.
-
-
Delete categories.
Click here to expand
Delete category in one of the following ways:
-
Select one or more categoryies from the categories list and select Delete in the dialog that opens.

-
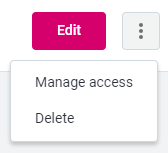
Navigate to the category, select the three dots menu and then Delete. Confirm your choice.
After the changes are implemented, they need to be published. For more information about publishing changes, see Publish Changes.
-
Create policy
-
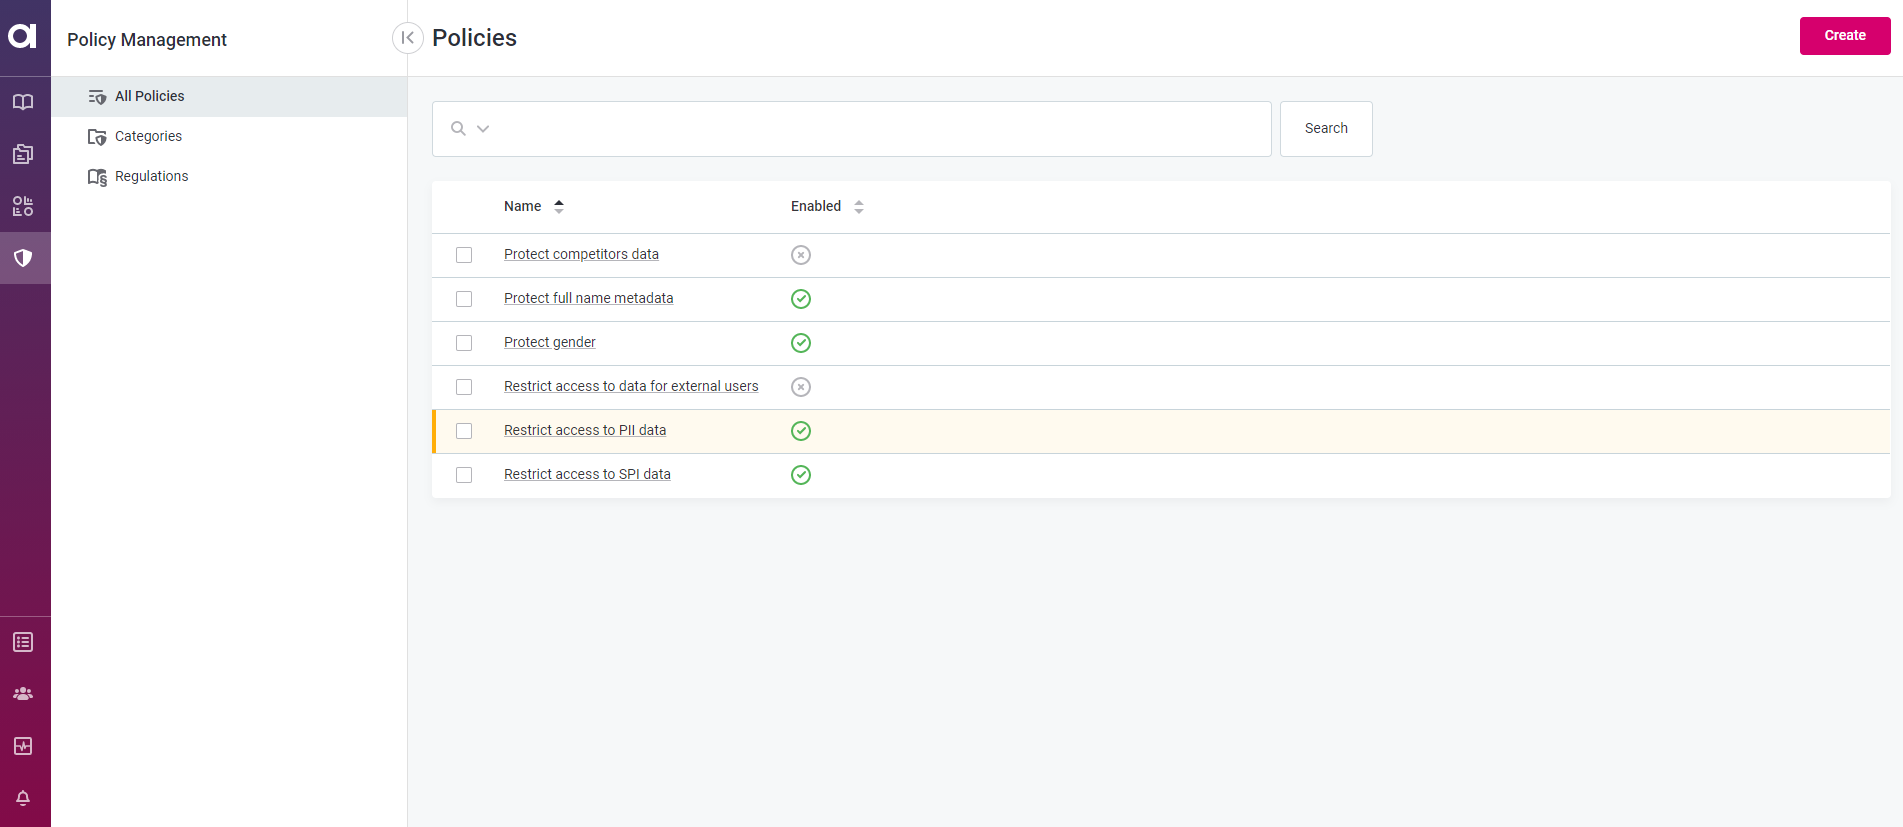
In Policy Management, navigate to All Policies.
-
Select Create.
-
In General Information, provide a meaningful name for your policy, select whether the policy should be Enabled, and, optionally, describe the policy purpose.
-
Select Save.
-
Add the policy conditions and their criteria:
-
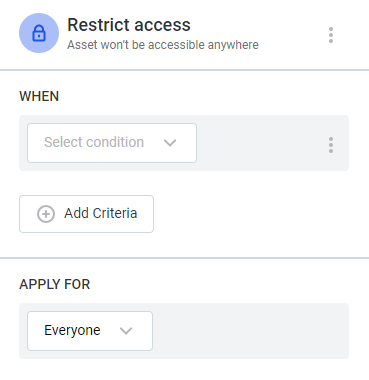
Select Add Condition. In Restrict access to data settings:
-
Define the WHEN clause by selecting when an asset should be hidden:
-
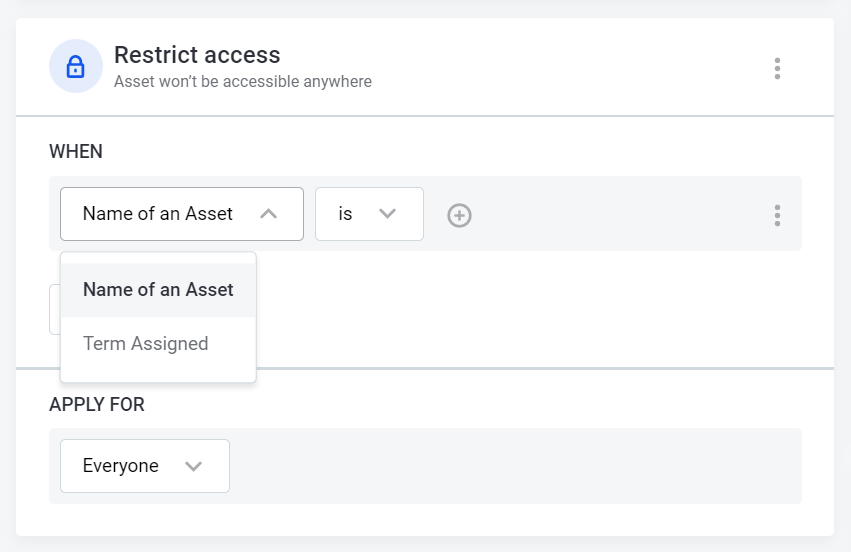
Define your condition using the available options. The options are Name of an Asset (checks for name property) and Term Assigned (checks for assigned terms on an asset).
Name of an Asset Term Assigned is, is not, is like, is not like
is, is not
Text field
Specific term (Multiple with search)
-
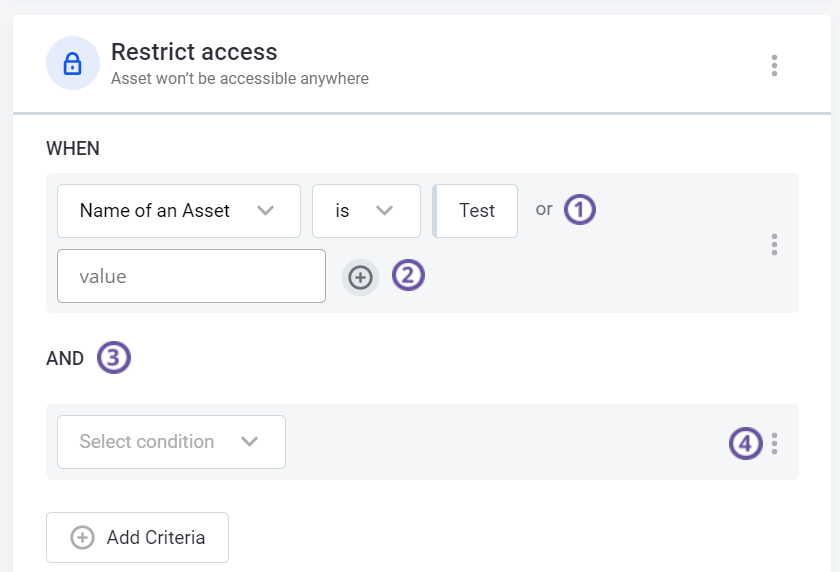
Both OR and AND operators are available: for OR select the plus icon (1 and 2 in the image), for AND select Add Criteria (3).
-
To remove a part of the WHEN clause, hover over the term or value and select X. To remove all criteria, select the three dots menu (4) and then Remove.
Clicking a term used in the condition opens the term details in the right-hand sidebar. -
In APPLY FOR, specify for which users these conditions should apply:
-
Everyone: Policy applies to all groups.
-
Exactly: Policy applies only to the groups selected here.
-
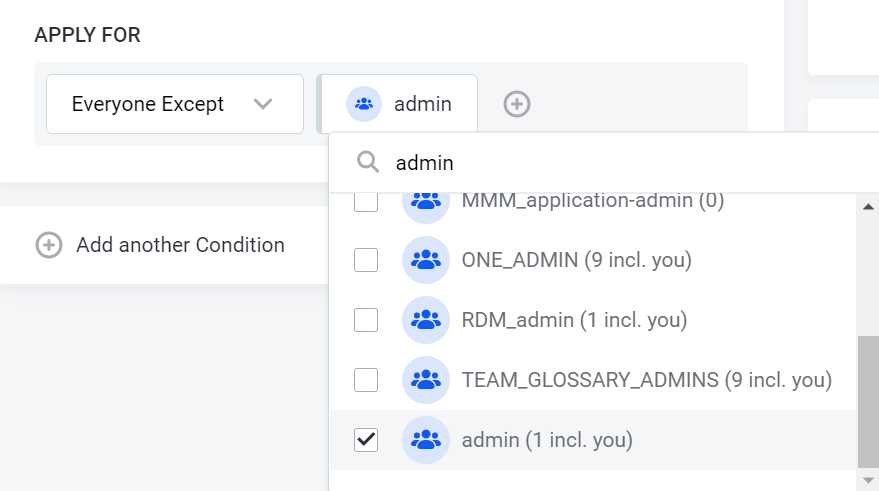
Everyone Except: Policy does not apply to the groups selected here.
In the following example, the policy would restrict access for everyone except the admin role.
-
-
-
After defining a condition, you can see how many assets this affects by checking Impact analysis. For more information, see Impact analysis.
The Impact Analysis section is updated automatically as you set and change conditions. This way, you can see if the condition might be too restrictive (that is, nearly all assets are impacted), or not effective (that is, no assets are impacted).
-
-
After the changes are implemented, they need to be published. For more information about publishing changes, see Publish Changes.
Impact analysis
Impact analysis shows you the attributes, catalog items, and sources that are affected by your policy. The Impact analysis section on the Overview tab shows the aggregated impact of the policy.
If you would like to see the impact of an individual condition, select the three dots menu and then Impact analysis.
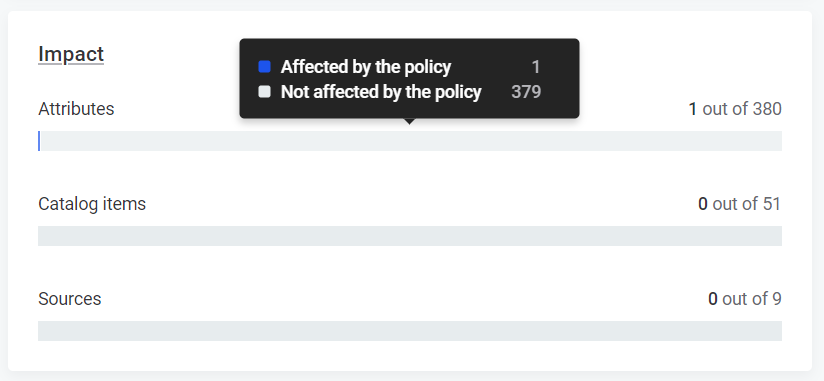
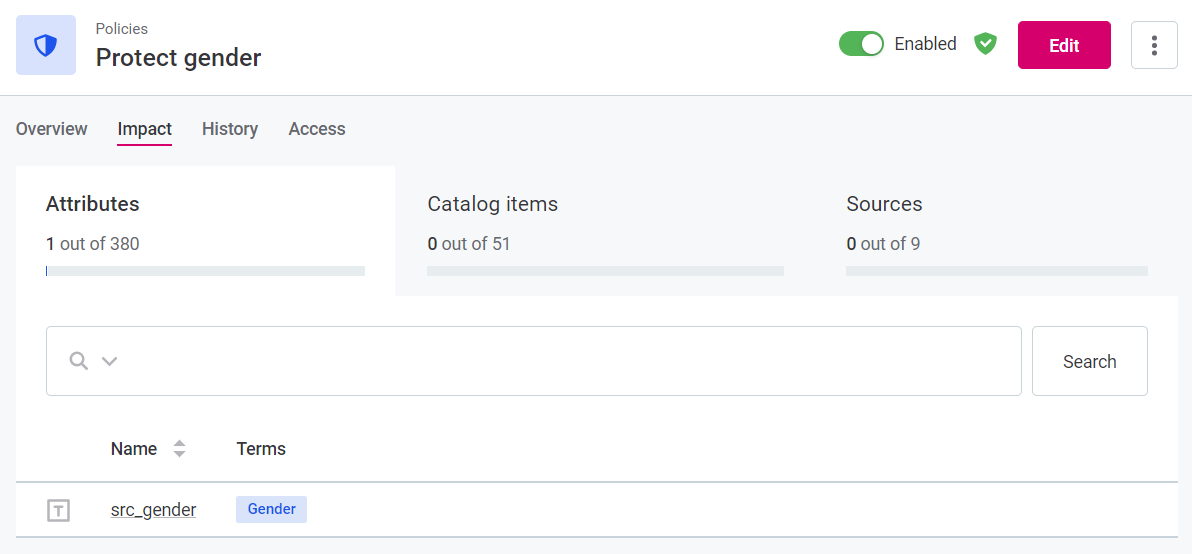
To see the impact of the policy in more details, that is, which attributes, catalog items, or sources specifically have been affected, navigate to the Impact tab.
Was this page useful?
