
Data Files
Existing files can be used as input data for plans. Files can be added by dragging and dropping from the file system to the desired project in the Navigator panel or by copying them from the destination folder to the desired project folder inside the workspace folder in the file system.
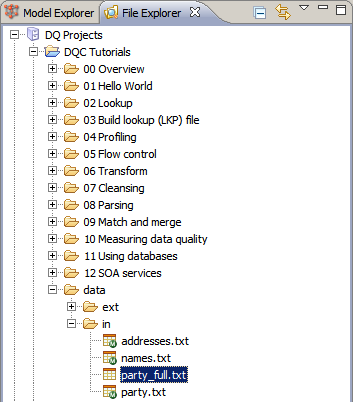
Open data files
To open a data file, locate it in the File Explorer or Model Explorer and double-click it. When you open a data file for the first time (the file does not have letter 'M' in the lower-right corner), the Metadata Editor is launched.
Edit metadata
Metadata describes the format of the data and needs to be assigned for the fil—primarily CSV, TXT, and XLS(X)--to be properly used in plans. To edit metadata, right-click the file and select Edit Metadata.
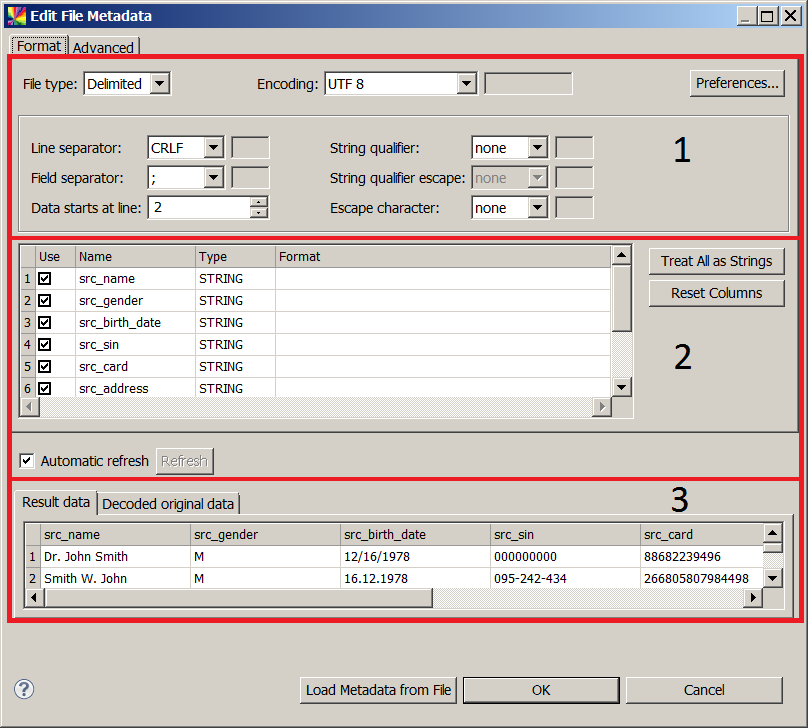
In Section 1 of the initial Format tab, the rules for reading and interpreting the raw data can be specified, the main of which are:
-
File type: Choose whether the file is delimited or fixed width.
-
Encoding: Specify the encoding.
-
Field Separator: Choose which symbol separates your data into fields (columns). The setting is applicable if the delimited File Type is chosen.
-
Data starts at line: Specify which line the data starts at. The value is usually "2" for data with field names or "1" for data without.
-
String qualifier: Specify which symbol is used at the beginning and the end of string fields delimiting them as one value. String qualifiers are recommended as data in the fields might contain the defined delimiter, thus breaking the structure (for example, the data contains line separator or column separator shifting the values).
-
String qualifier escape: Specify which symbol is used to escape the string qualifier in the data. Sometimes the string qualifiers are present in the data (for example, apostrophe) that need an escaping character to be preserved (for example,
'Macy's'is read asMacy’swith an apostrophe string qualifier and backslash string qualifier escape). -
Escape character: Reserved for future use. Currently not applicable for data reading.
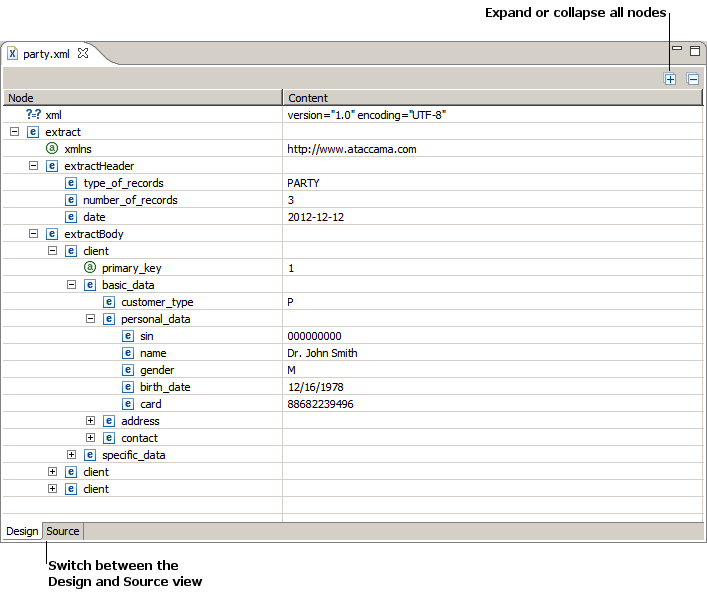
Section 2 of Edit File Metadata dialog allows you to see the columns resulting from specifications in Section 1, change their type, and specify their format where applicable. For example, if you choose integer or long data format, you can choose the thousands separator in the Format column.
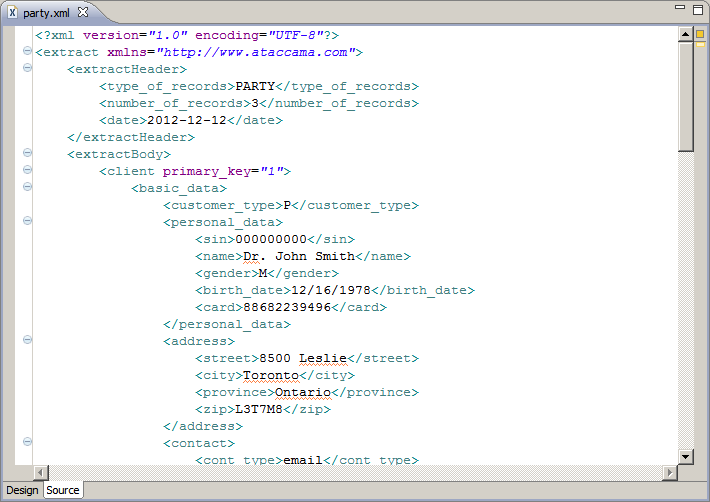
Section 3 lets you see the final data on the Result data tab and compare it to the original data on the Decoded original data tab.
View data files
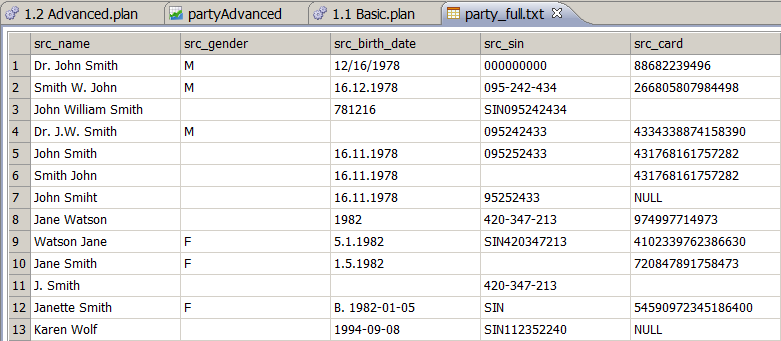
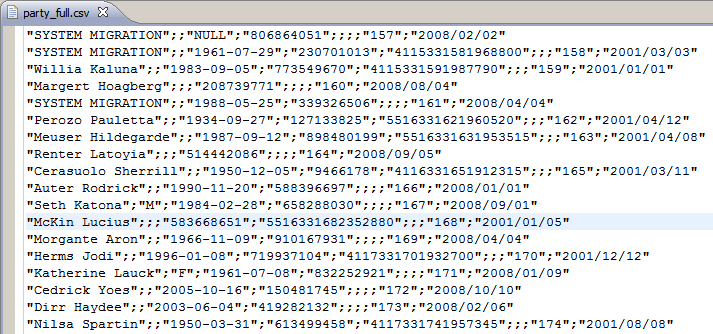
Double-clicking a text file opens it for viewing in the CSV Viewer. The CSV Viewer displays the data in rows and columns, as defined in the file metadata.
Sorting
To sort a column, click the name of the column in the header row.
Click once to sort the data in ascending order (that is, from smallest to largest, or A to Z), indicated by an up arrow. Click twice to sort the data in descending order, indicated by a down arrow. Click a third time to remove all sorting and revert to the original ordering of the data, indicated by no arrow.
Filtering
To show only a subset of data, select Switch View in the toolbar as shown in the image:
This opens the View Settings dialog, which contains a tab named Filter.
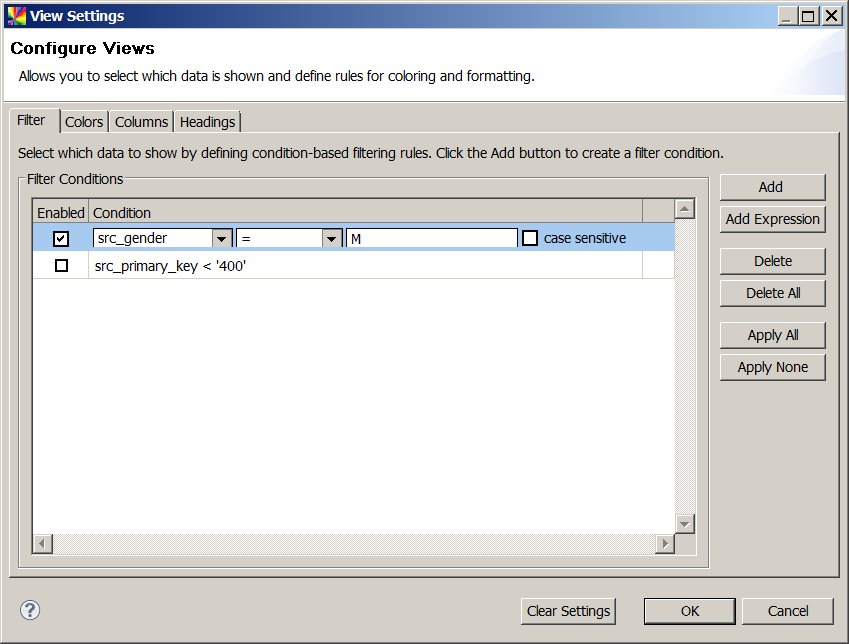
To define a filter, select Add.
Use the dropdown to select a column to filter by and a condition to apply (for example, =, <, contains).
Then specify the matching criteria.
It is also possible to specify whether the filter should be case sensitive or not. This displays only the rows matching the filter criteria.
Multiple filters can be defined to further refine the data that is shown. To remove a filter without deleting it, clear the Enabled option.
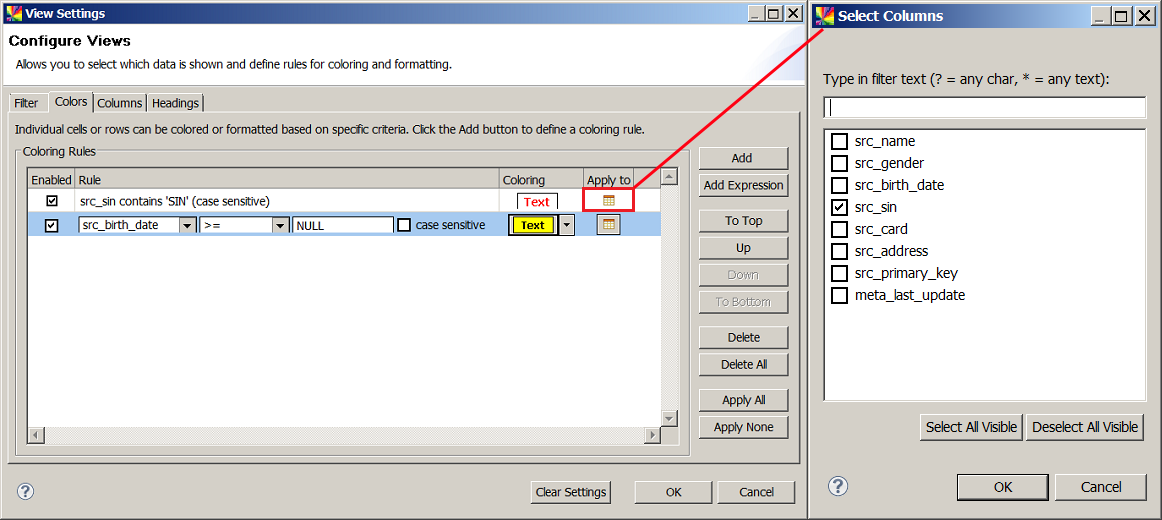
Colors and formatting
By default, all data is shown in black text on a white background. However, you can configure settings to use different formatting or colors for specific data values or ranges. This can be useful for visually scanning for key values in a large data file. The conditions are defined similarly to Filters, but there are additional options for colors and text formatting (available via the Coloring column):
-
Background: Define the highlighting to apply to the cells.
-
Foreground: Defines the text color.
-
Bold: Select to make the text bold.
-
Italic: Select to make the text italic.
Additionally, you can define whether the coloring rule should be applied only to the specific cell that matches the coloring rule or to all (or any subset) of the columns (in the Apply to column).
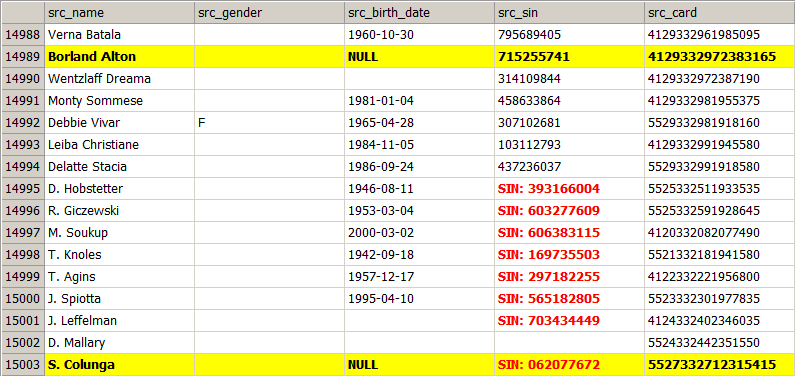
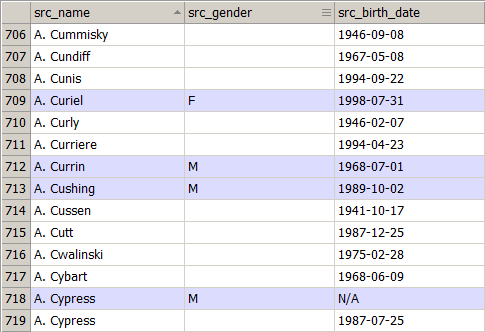
After you define and apply the two coloring rules, as described previously, the data in the CSV Viewer looks like this:

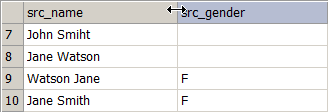
Coloring rules are applied in the order in which they appear.
For example, as shown in the previous image, the last line contains a cell with "SIN" in the src_sin column, but the text inside is not red as defined on the Colors tab of View Settings.
This is because this rule is followed by the src_birth_date >= 'NULL' rule.
The order can be changed using the To Top, Up, Down, and To Bottom options. If we change the order of these two rules, the src_sin column in the last row now has the red font color instead of black (see the following image). Since the background color was not defined for this rule, it is inherited from the other one and stays yellow.
Column visibility
For data files with many columns it might be useful to hide certain columns to focus on specific data. This can be done on the Columns tab of the View Settings dialog. Clear a column to hide it from view.
When columns are hidden, a note appears at the bottom of the CSV Viewer indicating the number of columns that are hidden and providing a quick link to show them all. You can also hide a column by right-clicking it and selecting Hide Column.
Color-coding column headers
Many data files use standardized naming conventions to group similar columns. The View Settings dialog allows specifying different colors for column headers based on all or part of the column name.
On the Heading tab, a column mask can be defined (for example, "src*"), which applies color to all headings whose name starts with the text specified. A different background color can be set for each mask that is used.
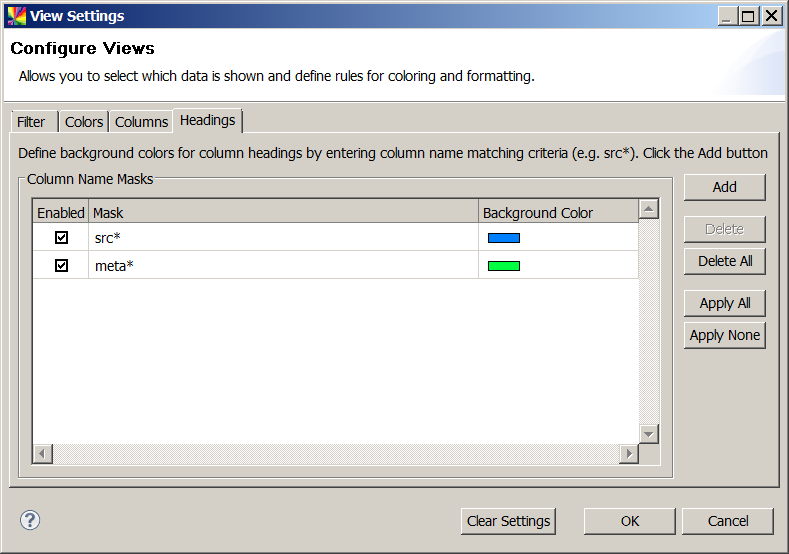
The settings from the example would have the following result:

Resize columns
Column widths can be resized by moving the column divider left or right in the column header. Columns can be automatically sized to fit their contents by double-clicking the column divider.
Additionally, right-clicking a column header brings up a menu which offers, among other functions, the ability to autofit the selected column or all columns.
Mark groups
The column header context menu also offers the ability to visually mark changes (or identify groups) in data. This can be useful for visually scanning a specific column for changes in data.
The column whose groups are marked is indicated by an icon showing three parallel horizontal lines next to the column name (as shown in the image).
Save views
To preserve the view settings (including sorting, column widths, and marked groups) for later use, select View Settings dropdown arrow to open the options menu.
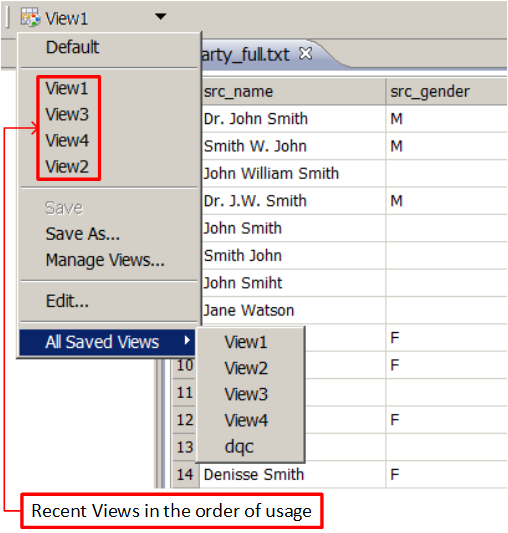
To create a new saved view, select Save As. To store changes to an existing view, select Save.
A list of recently used views is shown at the top of the menu while a complete list of all saved views is available under All Saved Views.
An asterisk (*) next to the view name indicates that there are unsaved changes in the current view.
|
To delete a view, select Manage Views. It is also possible to import and export views for use with other copies of the product using this menu option.
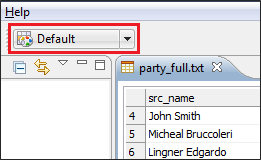
A view called "Default" is a stored view with no settings applied. It cannot be changed or deleted.
If you make changes to the default view, the label changes to <custom>, indicating that you an unsaved view has been created based on the default view. To rename and store the new view, select Save As.
The Edit option is the same as selecting the toolbar button with the view name, which opens the View Settings dialog.
Edit data files
In addition to viewing, you can also edit .txt and .csv files directly in ONE Desktop.
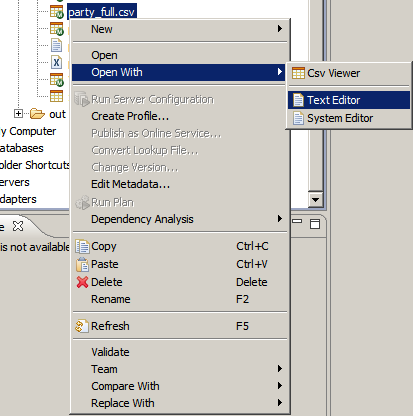
To edit a data file, right-click it and select Open With > Text Editor.
The file will open as plain text (instead of a table) without its metadata applied.
You can also select Open With > System Editor to open the file in the default editor in your operating system.
Was this page useful?