
Users
Users identify people and services that have access to Ataccama ONE.
The user list is loaded from your identity management system. To view it, go to Global Settings > Users.
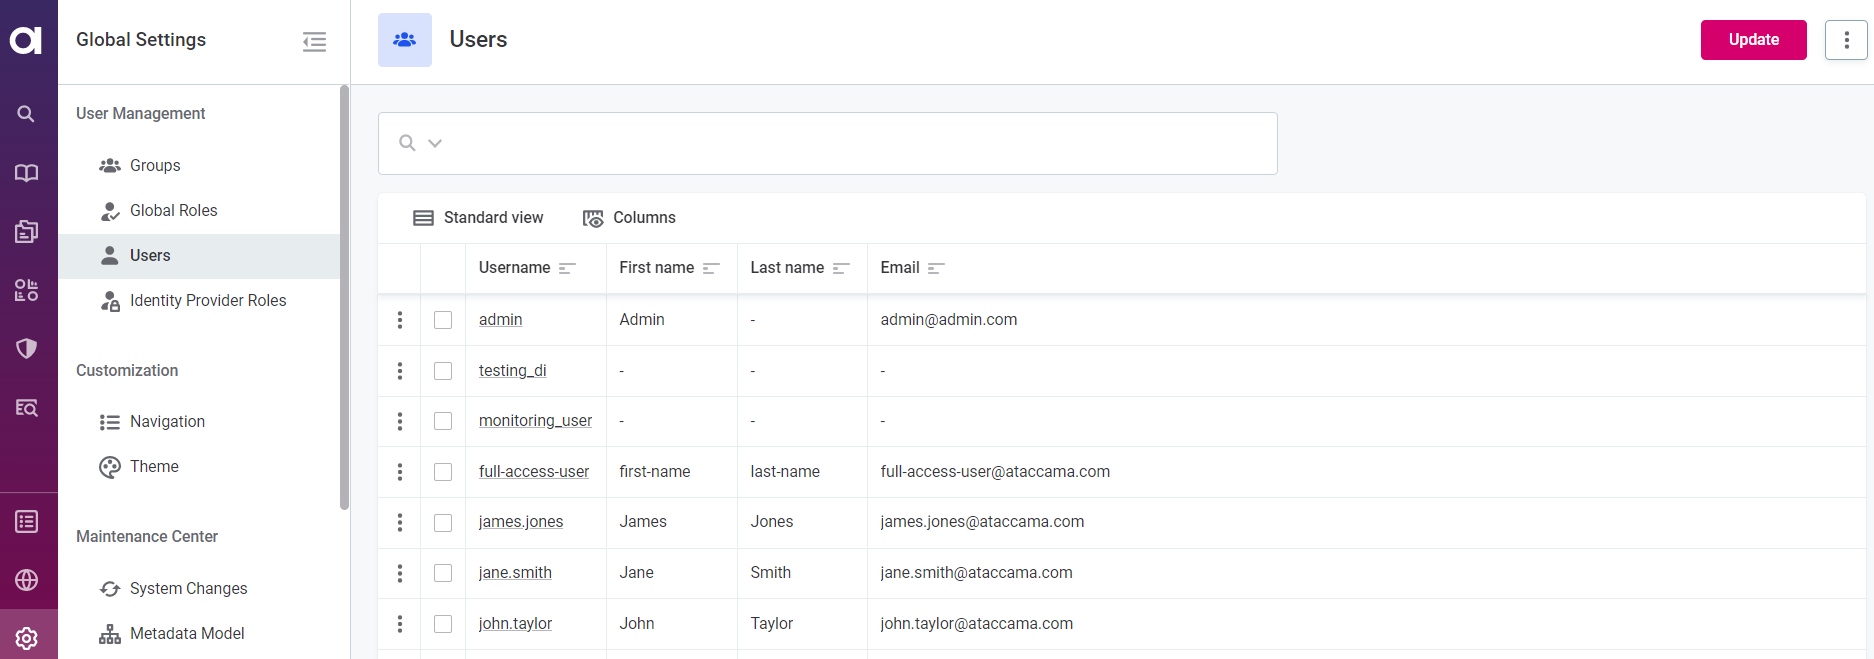
| In this article, we assume the identity management system that you’re using is Keycloak. |
Before you start
To access the application, users must be part of at least one group. See Groups.
You cannot create new users in ONE, only load them from your identity management system. See Manage users in Keycloak.
All changes made to user information in ONE apply only to ONE.
After modifying the list of users in ONE, you need to manually synchronize it with your identity management system. See Manage users in ONE.
Manage users in Keycloak
Prerequisites
The ataccamaone realm is set up in Keycloak.
This is done during the installation or upgrade of ONE.
To manage users and Keycloak roles, log in to Keycloak Admin Console as the ataccamaone realm admin.
| Typically, users and roles in Keycloak are loaded from other authentication services, such as Active Directory or LDAP. For more information about synchronization with Keycloak, see the official Keycloak documentation. |
Create or edit users
-
Log in to the Keycloak Admin Console and make sure the
ataccamaonerealm is selected.To switch realms, select Manage realms in the navigation menu and then the realm name.
-
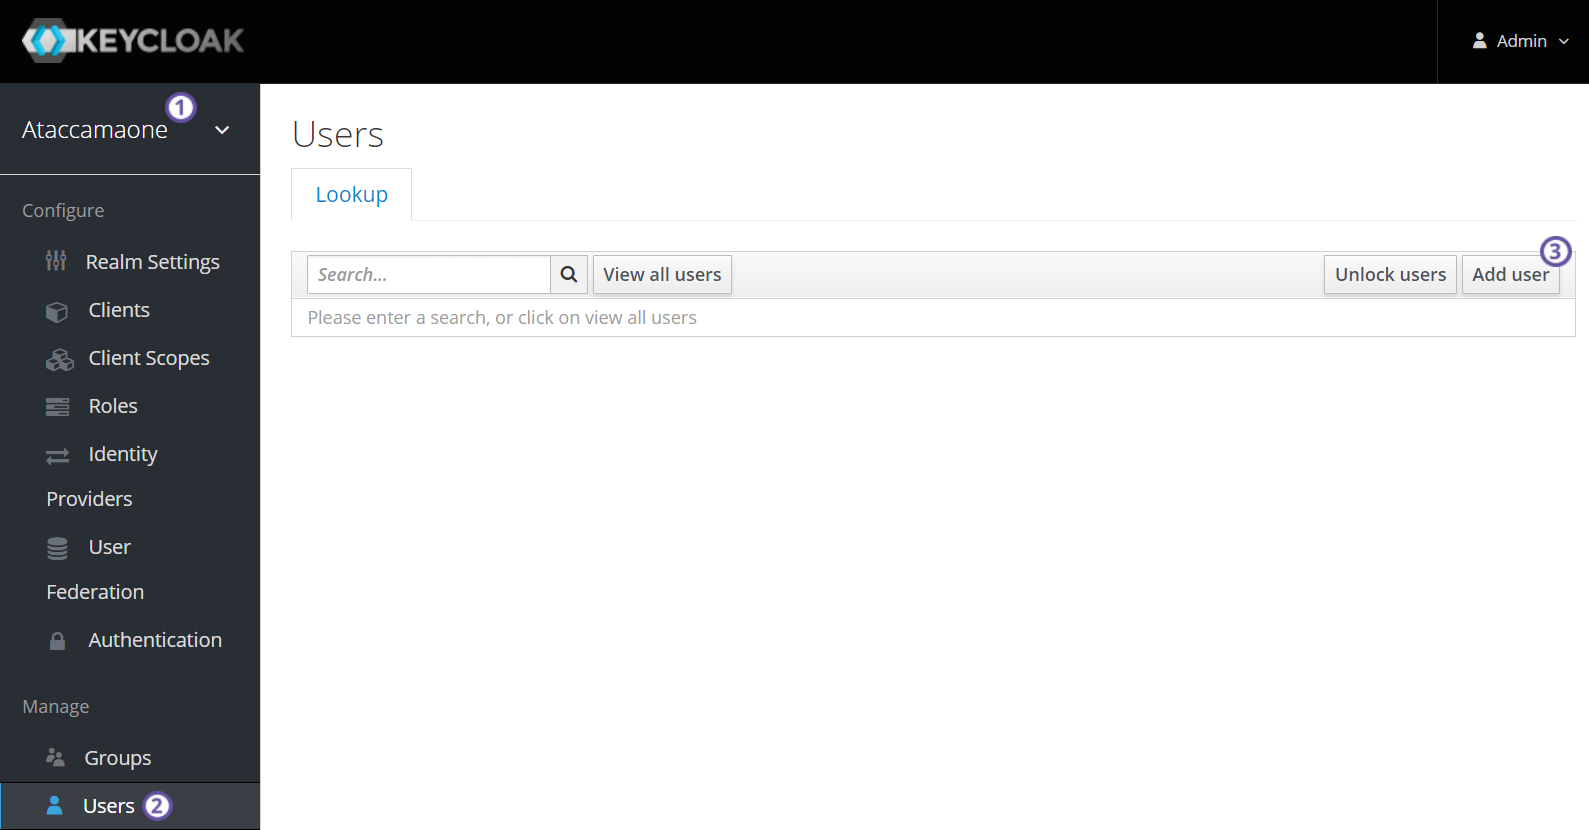
Under Manage, go to Users.
-
Select Add user to create a new user, or select a username to edit an existing user.
-
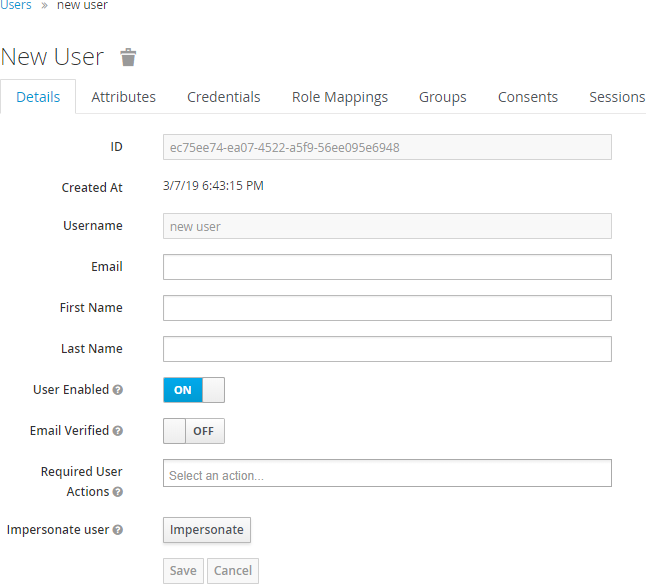
Fill in the user details: the username is required, and you can also provide the email, first name, and last name.
-
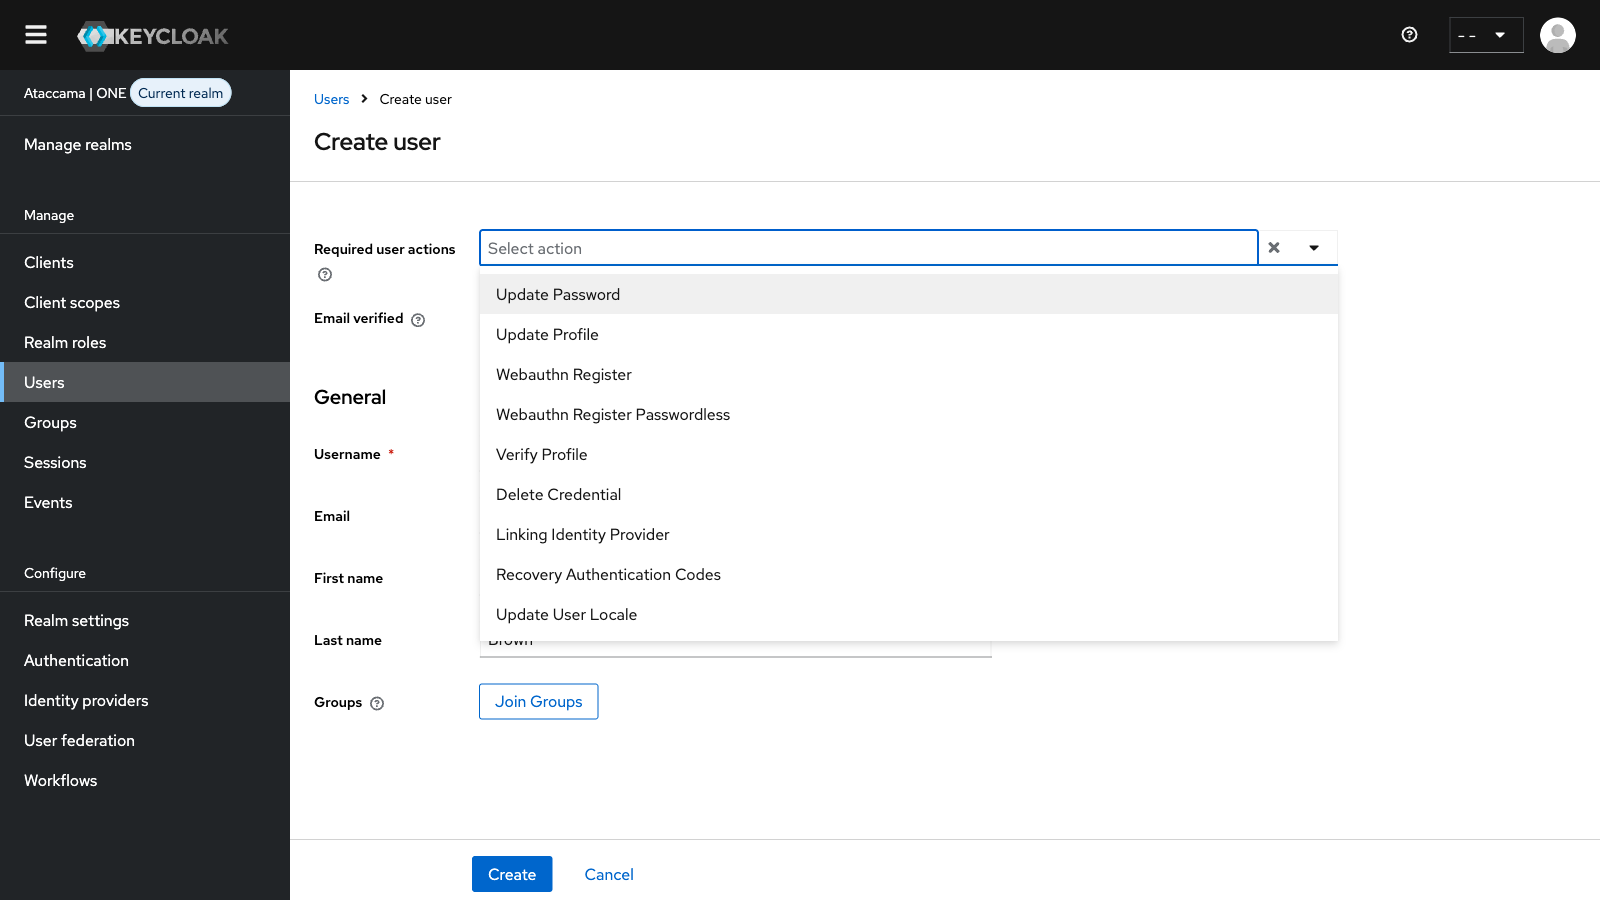
In Required user actions, select any actions the user must complete before their first login, such as updating their password.
-
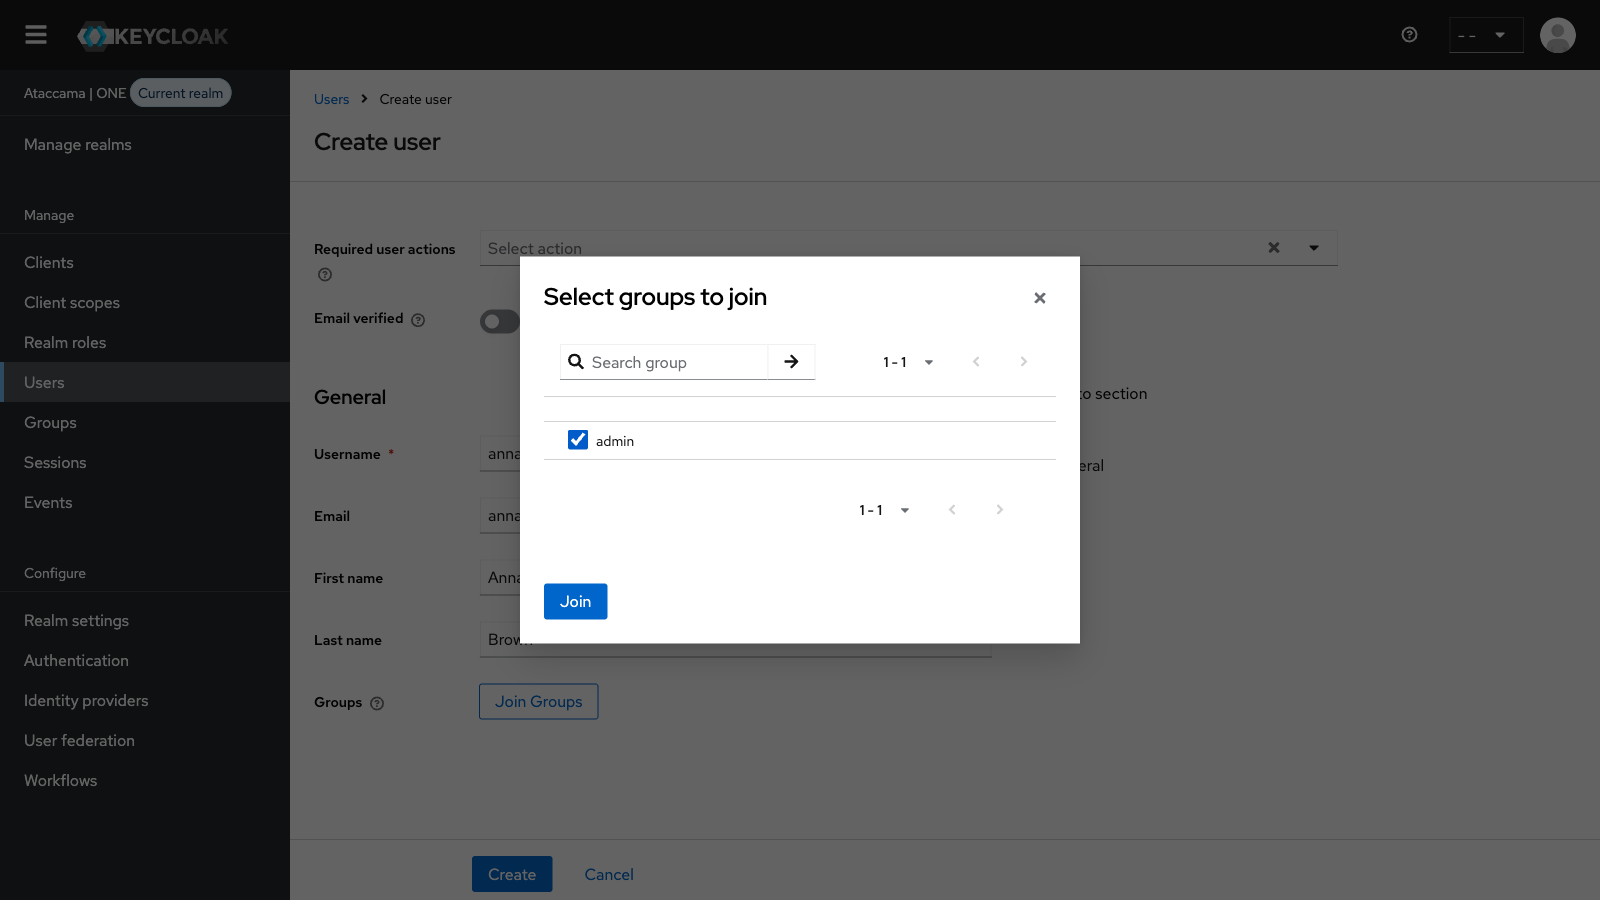
To assign the user to a group, select Join Groups.
In the Select groups to join dialog, select the relevant groups and then Join.
-
Select Create.
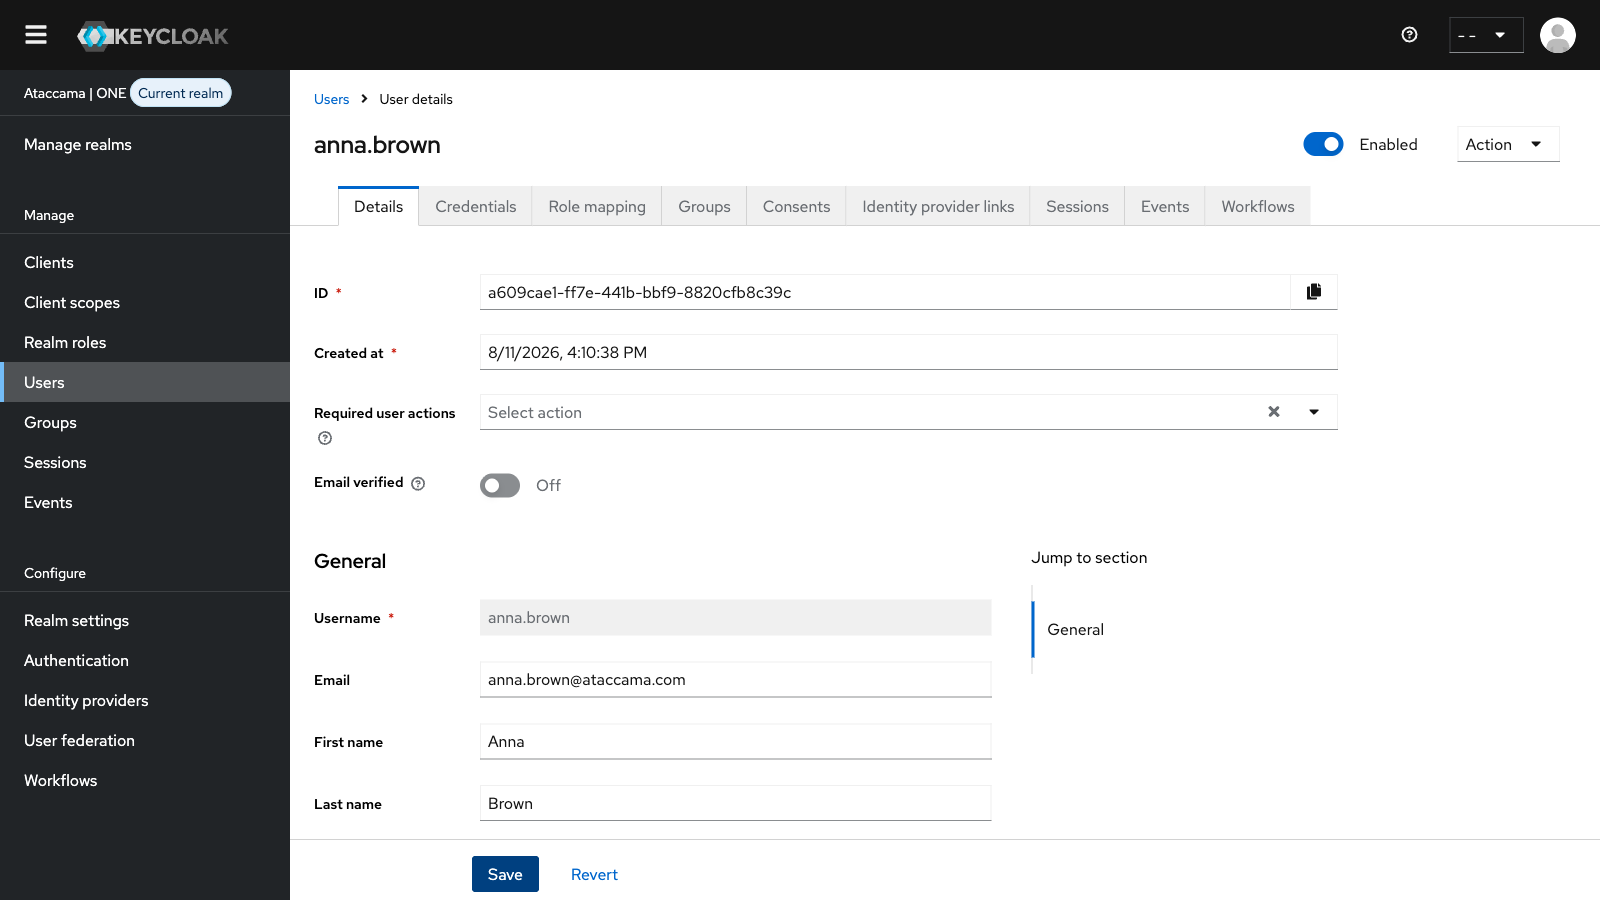
The User details screen opens, where you can make additional updates, such as managing the user credentials on the Credentials tab. Select Save to confirm any changes.
Assign roles
To assign identity provider roles to a user:
-
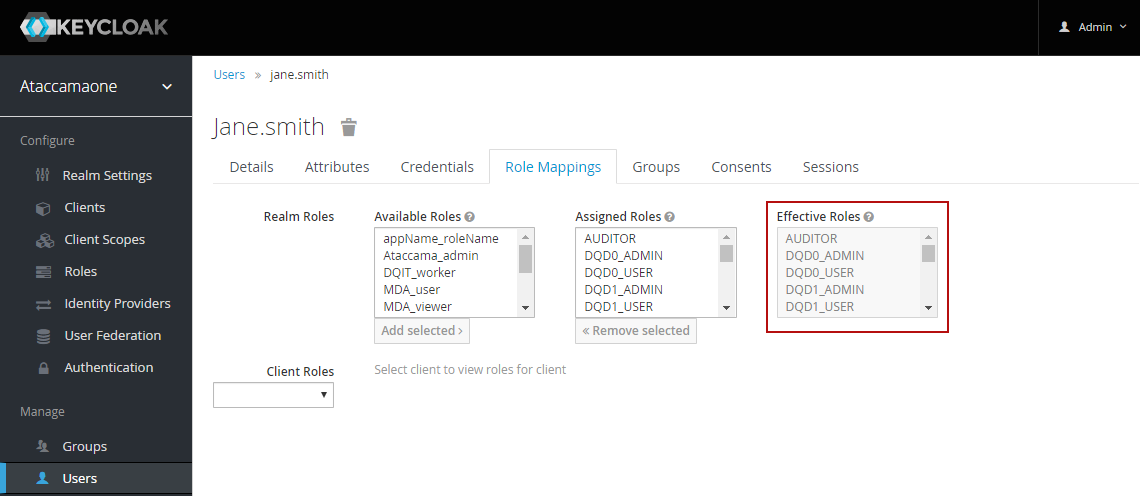
Go to Manage > Users, select the user, and switch to the Role mapping tab.
-
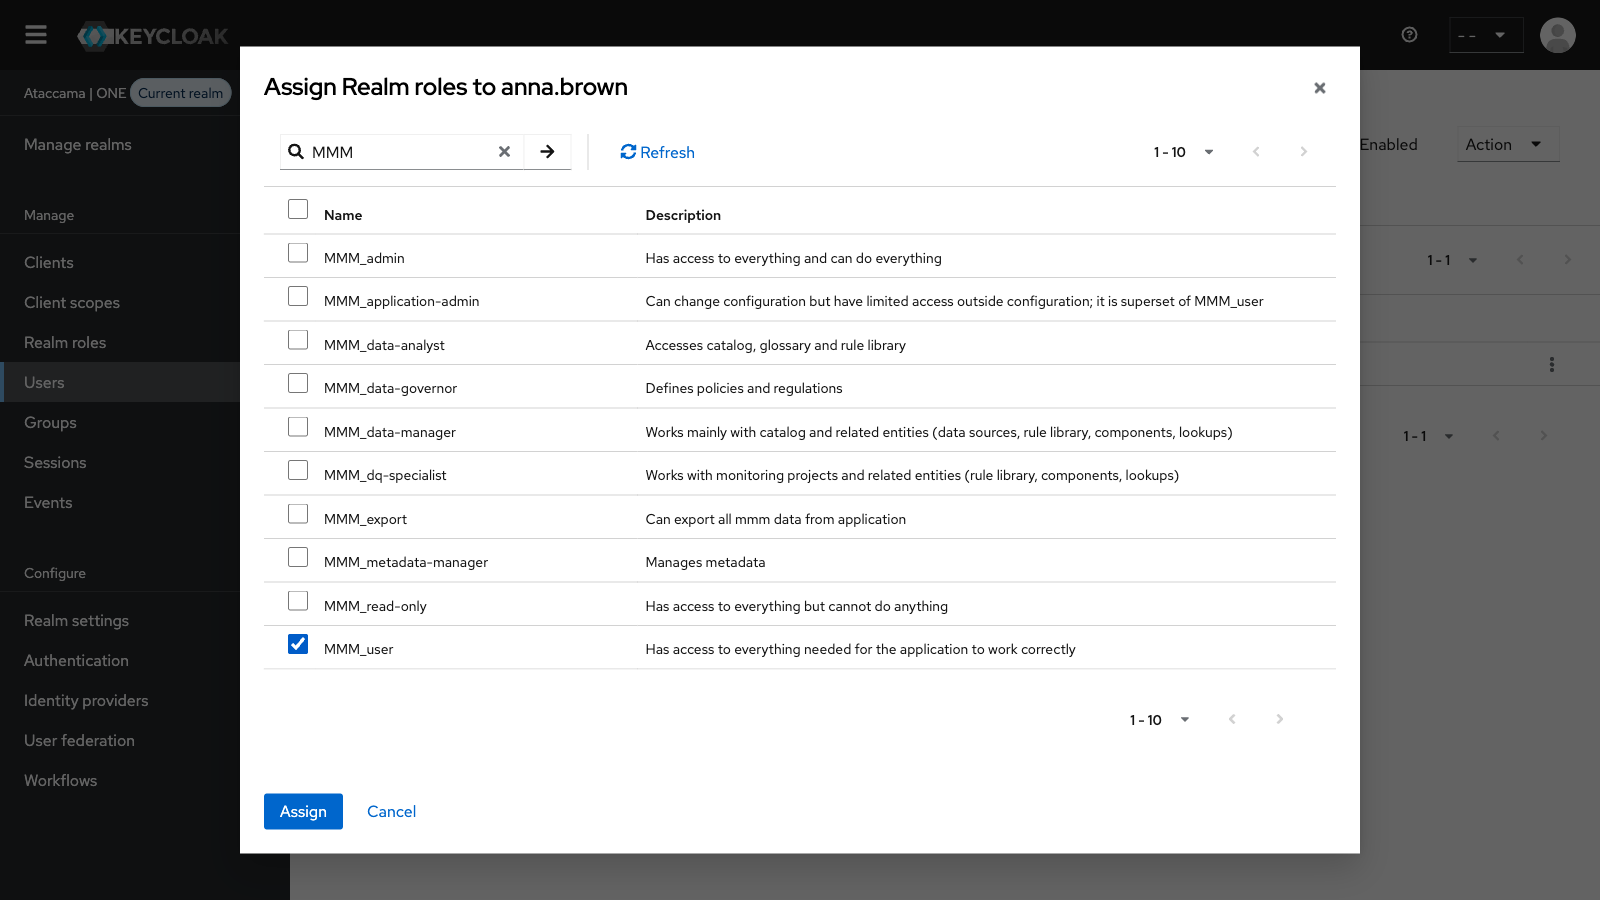
Select Assign role and choose Realm roles.
To assign client-specific roles, choose Client roles instead.
-
Select the roles you want to assign and then Assign.
| For more information about managing roles in Keycloak, see Identity Provider Roles. |
To remove roles from a user, select the roles on the Role mapping tab and then Unassign.
End user sessions
Make sure all user sessions for a particular user are ended after each role change (manual or inherited from group roles). To do so:
-
In the Keycloak Admin Console, go to Manage > Users and select the user.
-
On the Sessions tab, select Logout all sessions.
Tips and tricks
-
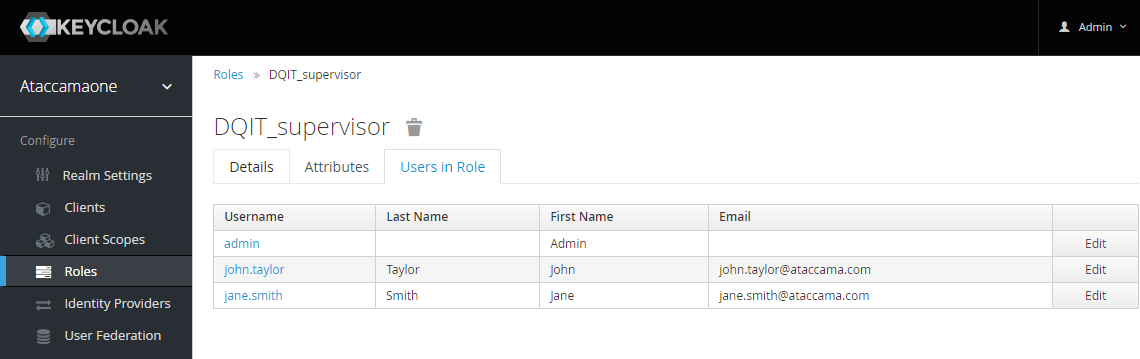
To view all users assigned to a role, go to Manage > Realm roles, select the role, and switch to the Users in role tab.
-
To view all roles assigned to a user, go to Manage > Users, select the user, and switch to the Role mapping tab.
Remove users
|
After a user is deleted from Keycloak, they can no longer log in to ONE with their credentials. However, to retain their activity history and drafts related to the deleted user, the user is not automatically removed from ONE but is instead marked as inactive. If you want to delete the user profile from ONE as well, see Edit users in ONE. |
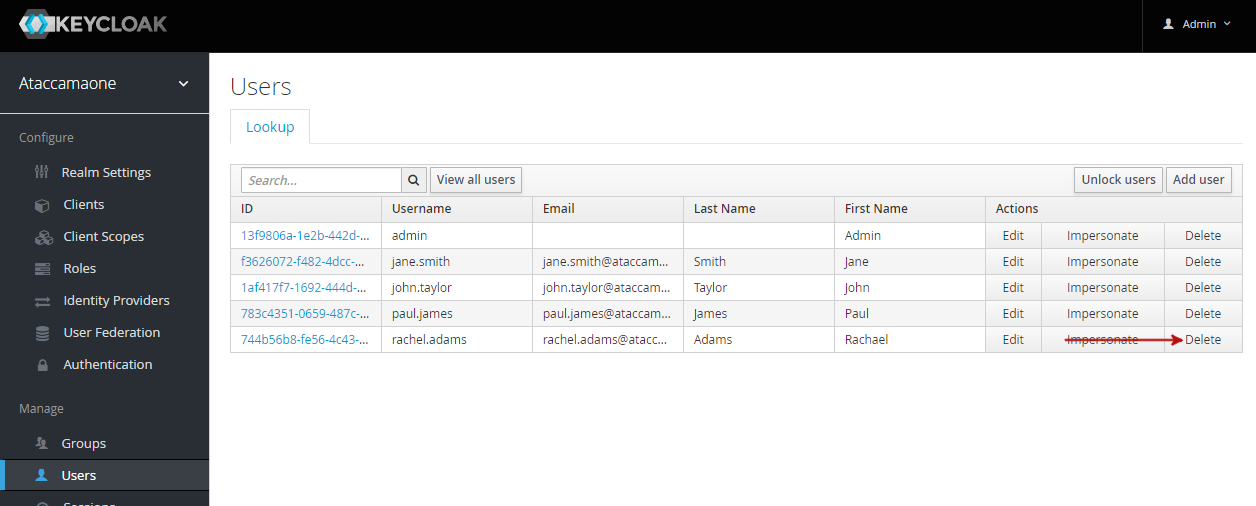
To remove a user from Keycloak, go to Manage > Users, open the three-dot menu for the user, and select Delete. Confirm your choice.
Manage users in ONE
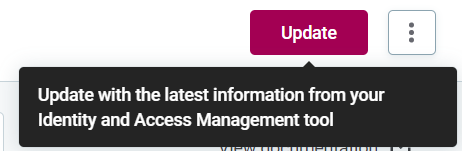
Use ONE to synchronize with your identity management system manually when there are issues with automatic synchronization. You can also manage user information in ONE, but these changes cannot be propagated to your identity management system.
| Check the Before you start section before proceeding. |
|
Synchronization works only in one direction: from your identity management system to ONE. After you run the synchronization, the changes in your identity management tool override all changes in ONE. We strongly recommend managing all users and roles in your identity management system. |
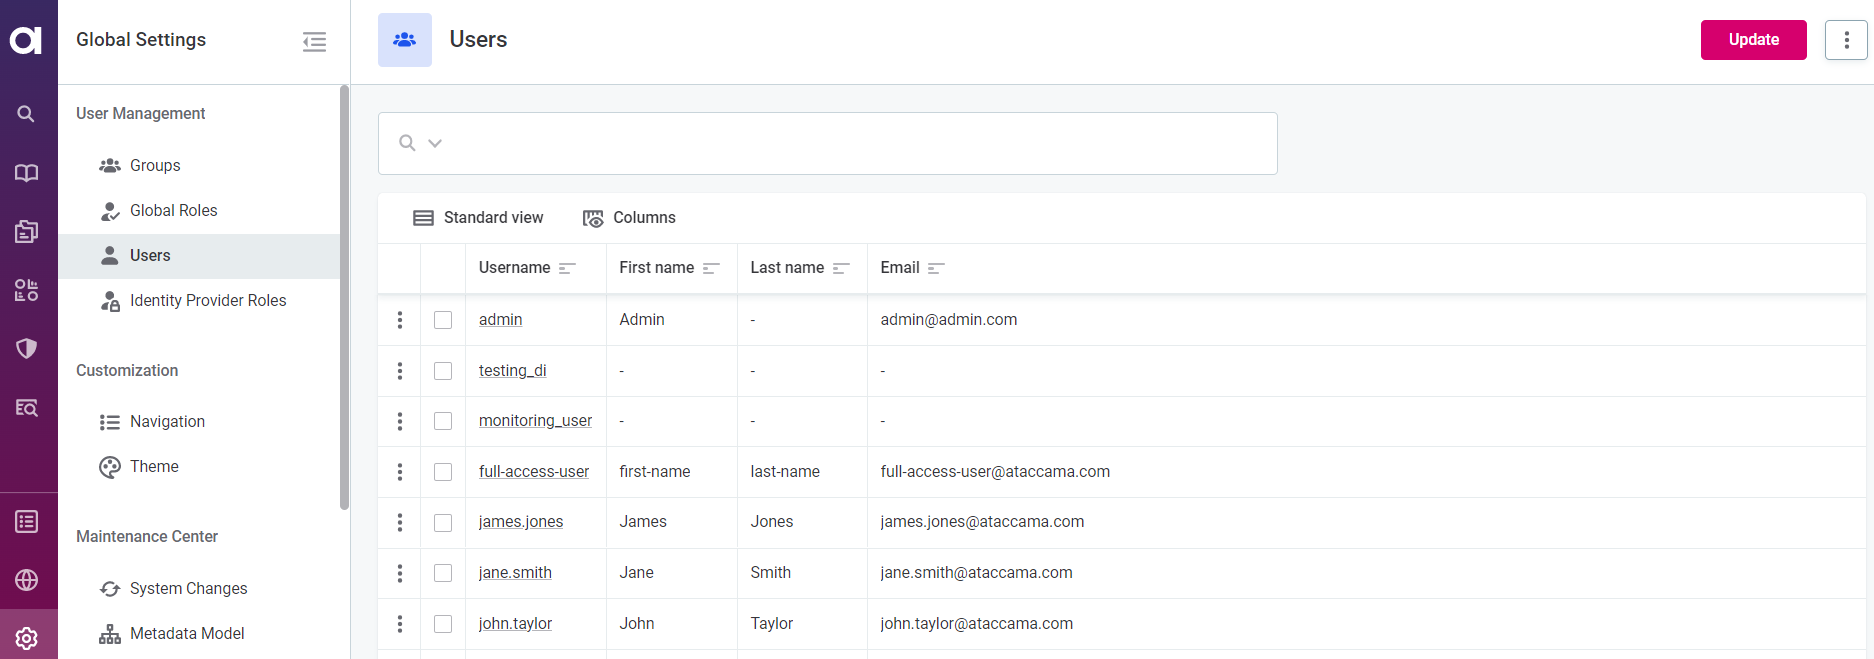
To manage users in ONE or synchronize with your identity management system, go to Global Settings > Users.
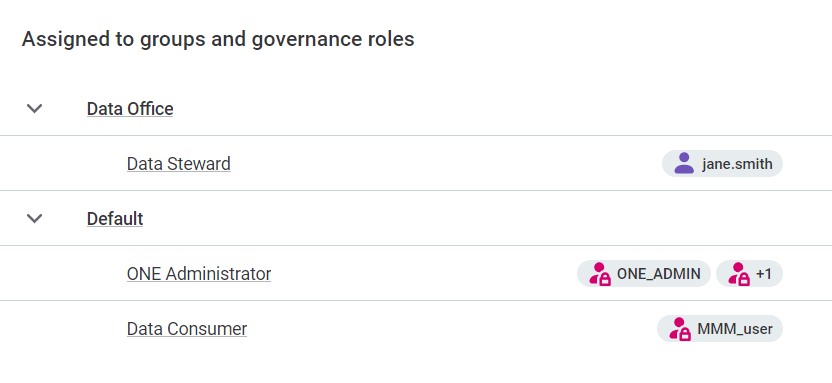
Select a user from the list to view the assigned identity provider roles, groups, and governance roles. Expand the group to see which governance roles this user is assigned to and whether they have been assigned through the identity provider role (see Default group example) or directly to the user (see Data Office group example).
Edit users in ONE
You can edit both the user metadata and the identity provider roles assigned to the user from the Global Settings > Users tab:
-
To edit an existing user description or name, select a user and then Edit. After you have finished making changes, select Save to apply them.
-
To manage identity provider roles that are assigned to a user, select a user and modify the list of roles as needed:
-
To add an identity provider role that was not yet assigned, select Add Role and choose a person from the list.
-
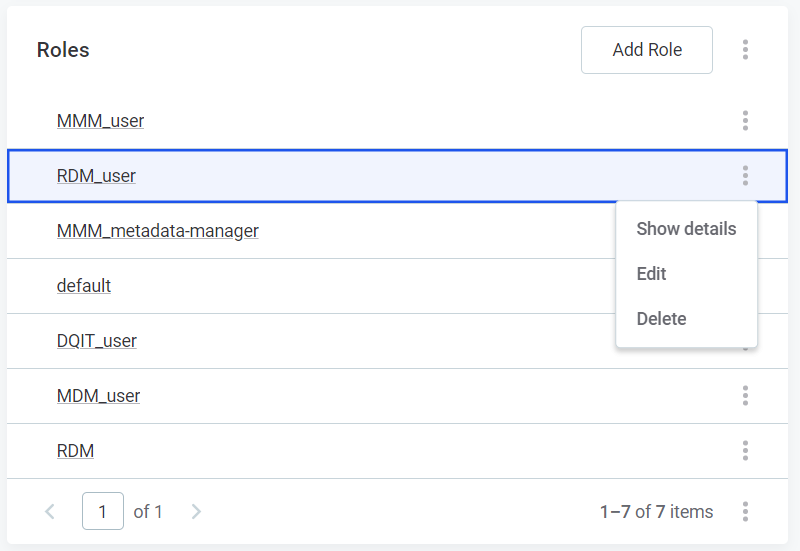
Expand the three-dot menu to:
-
Show details for a user.
-
Edit the identity provider role from the Roles tab.
-
Delete the role.
-
-
Remove users in ONE
To remove a user:
-
Go to Global Settings > Users.
-
Do one of the following:
-
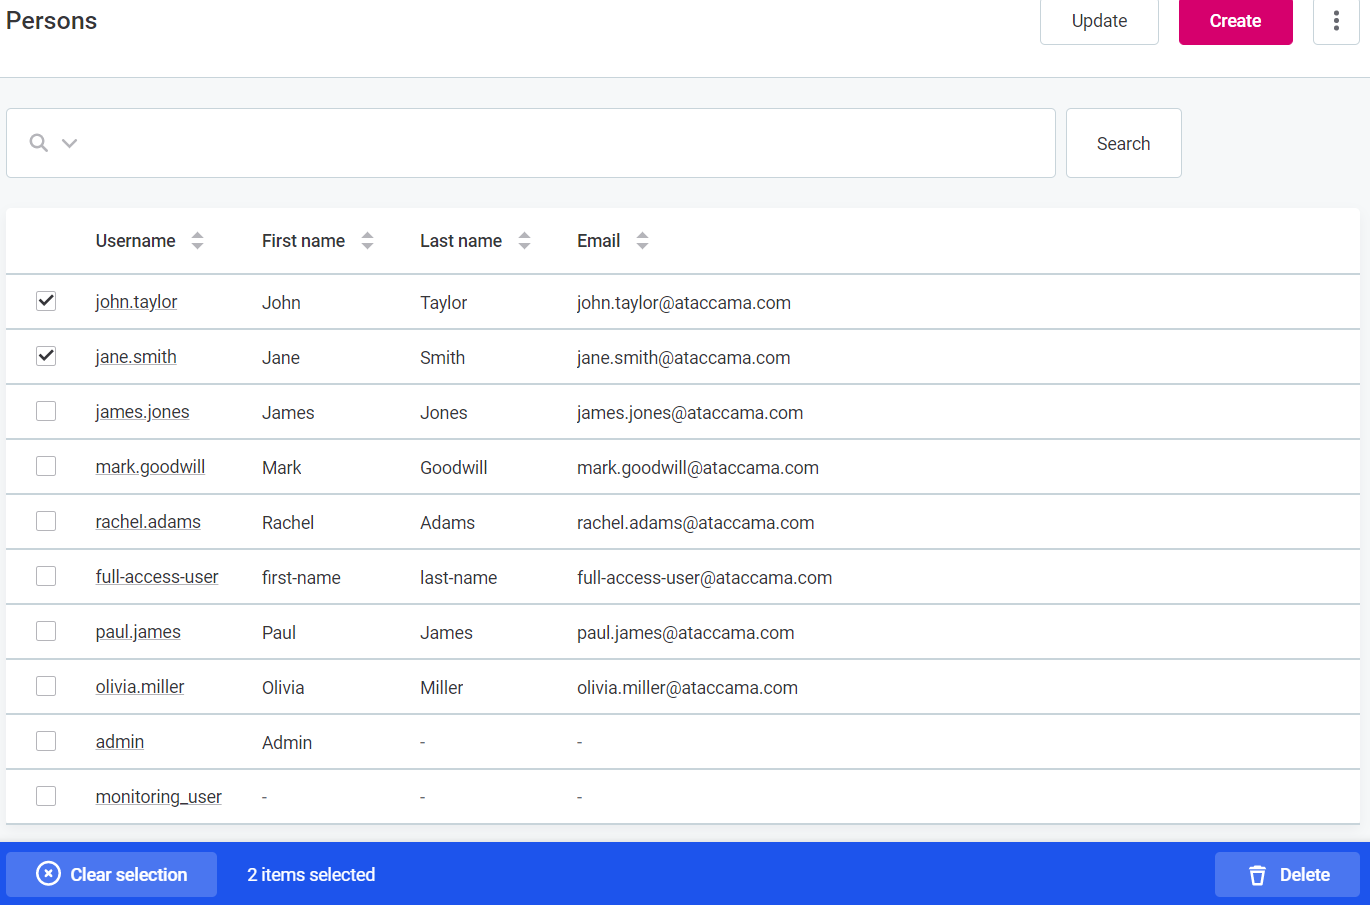
Select one or more users and then Delete.
-
Open the user details and in the three-dot menu select Delete.
-
-
After you’re done editing, publish the changes.
Was this page useful?