
Tasks
What are tasks?
Tasks help you track work and collaborate with coworkers across the platform.
Create tasks to request help from other team members or departments, resolve tasks assigned to you, and use comments to discuss progress.
All tasks are managed from a centralized kanban board on the Tasks Overview screen, where you can visualize and track your workload from creation to completion.
Tasks can be platform-wide (such as adding a new data source) or asset-specific, where they reference a particular asset (such as reviewing the quality of a specific term).
When to use tasks
Here are common scenarios and how tasks can help:
- You need to add a new data source but lack permissions
-
Create a task from Tasks Overview and assign it to users with the necessary access.
- You want someone to review a term’s quality
-
Create a task directly from that term and assign it to the relevant person or group.
- You need access to a specific asset data, such as sample of live data
-
Start the Request access workflow. See Workflows > Request access to data.
- You want to assign Data Observability issues for resolution
-
Create a task from the Data Observability dashboard. See Data Observability Dashboards > Create tasks.
- You’ve changed an asset but can’t publish it
-
Start the Review request workflow. See Publish Changes.
Where to find tasks?
To view and manage all tasks, select Tasks and Workflows > Tasks from the main navigation.
You see only tasks you created or were assigned to.
Admin users (MMM_admin role) can see all tasks.
|
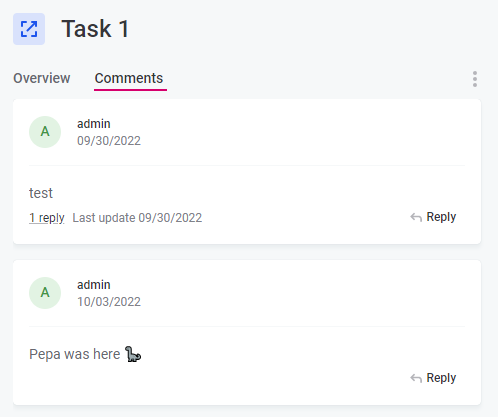
Select any task to view details in the sidebar.
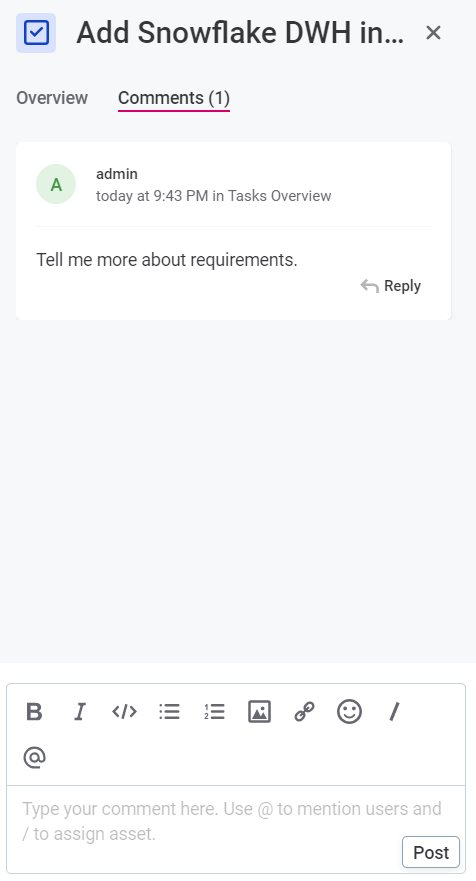
To view comments, open the Comments tab:
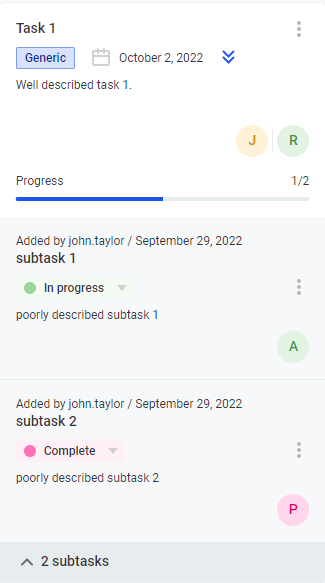
Understanding the board
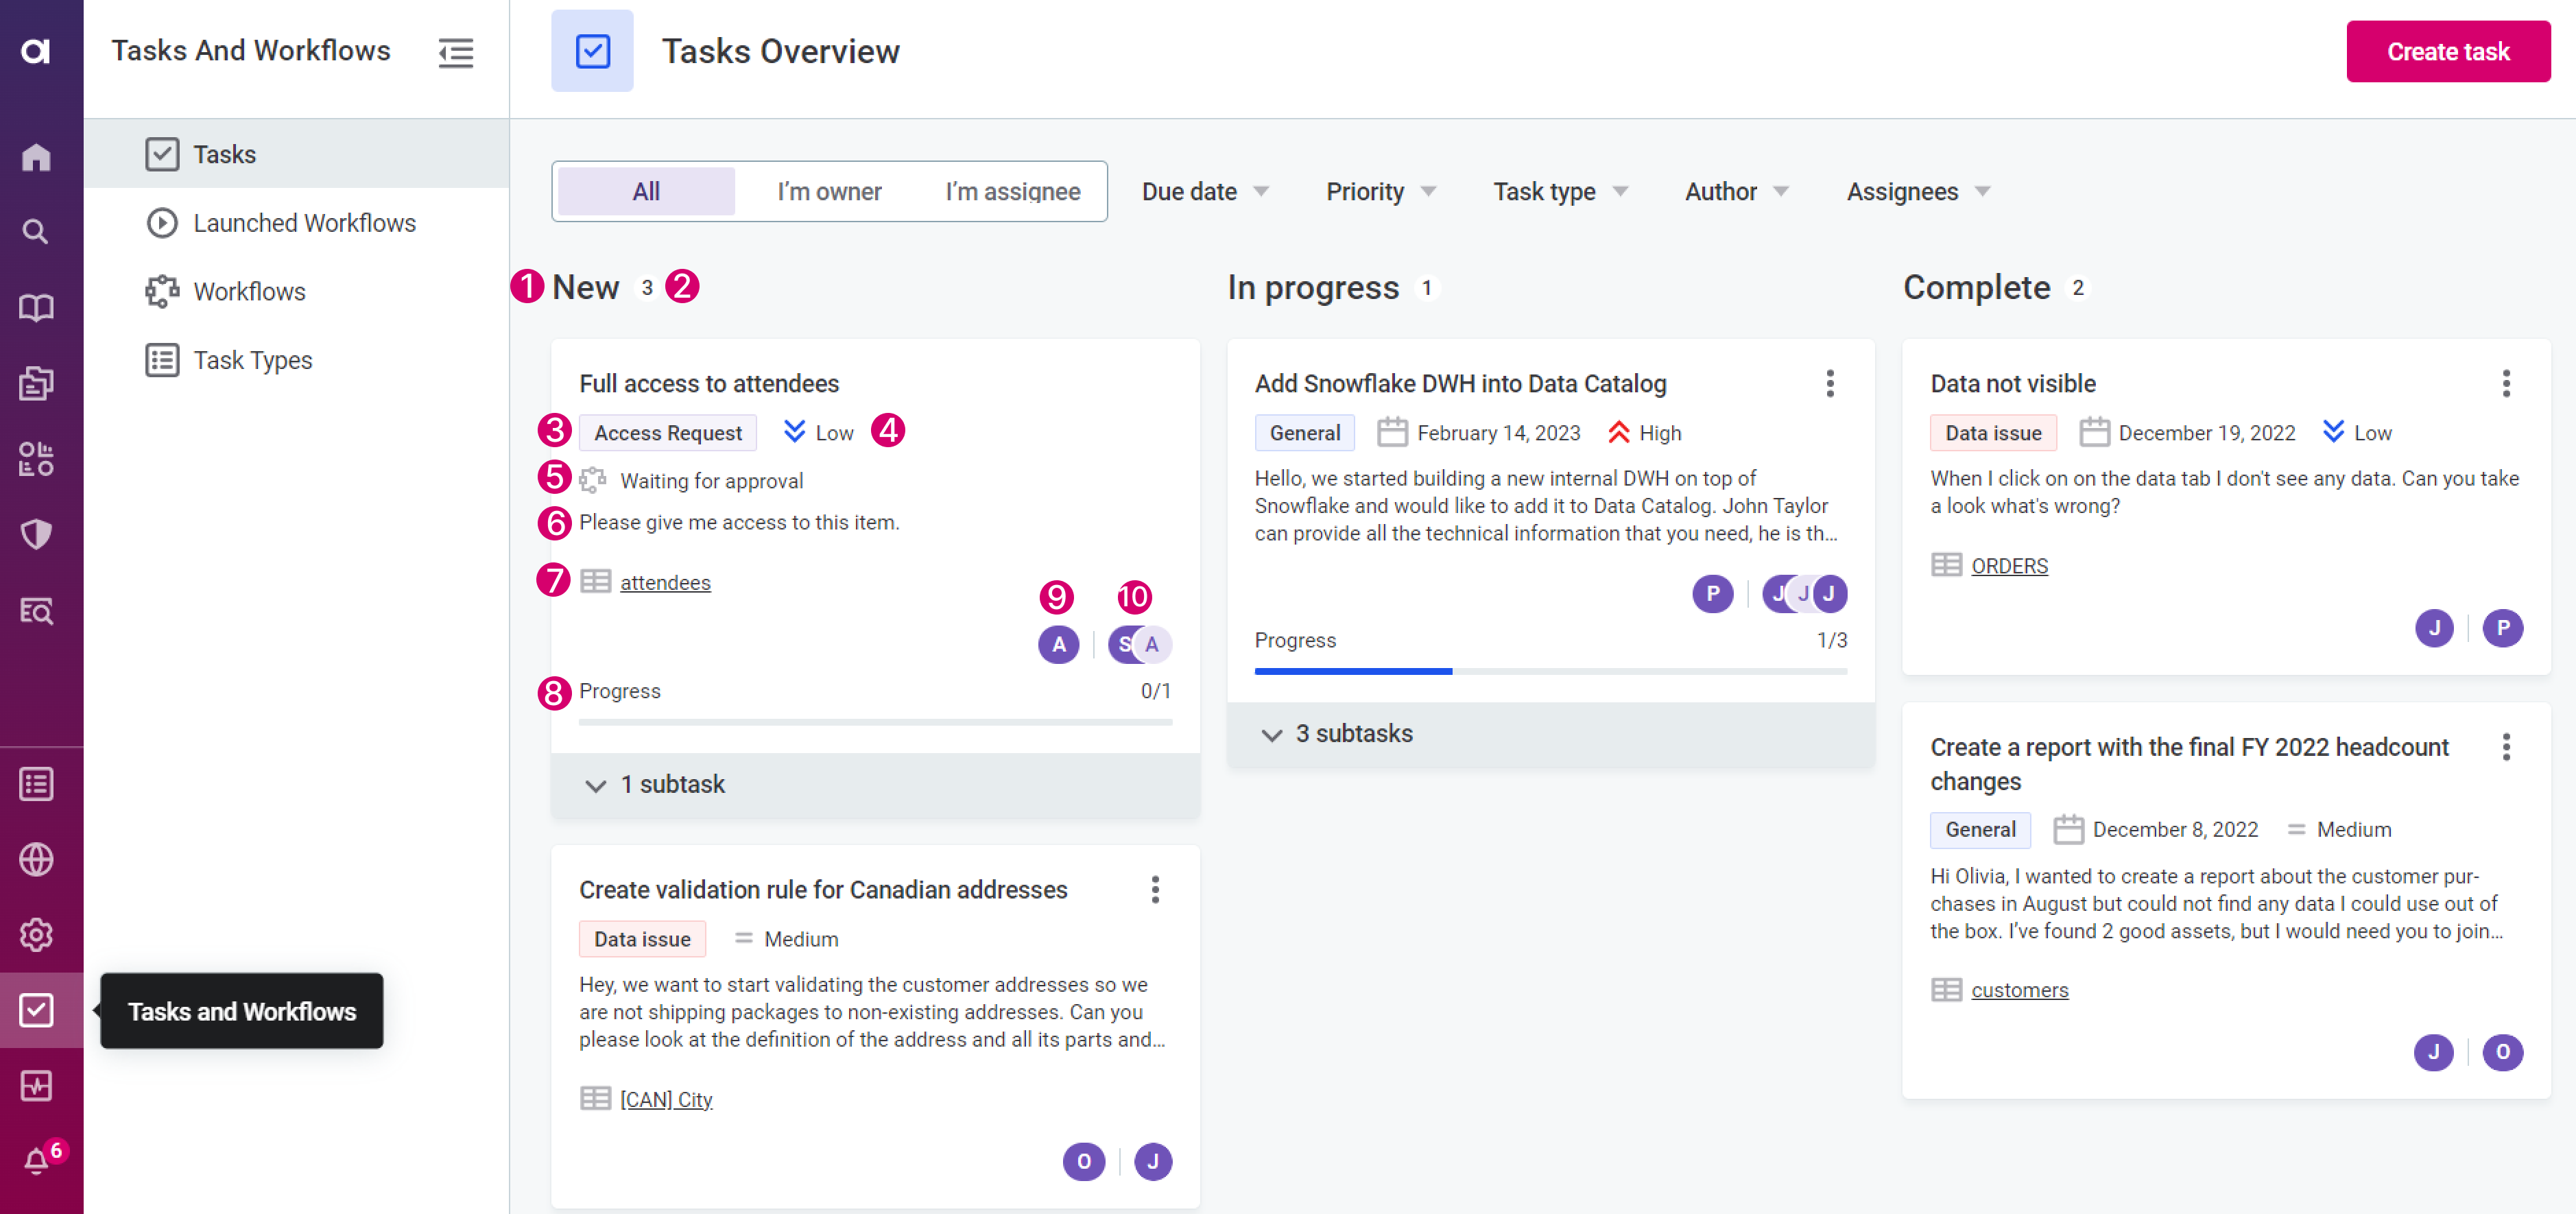
Tasks are organized into columns by status (see 1 in the image):
-
New: Newly created tasks.
-
In progress: Tasks currently being worked on.
-
Complete: Finished tasks.
Tasks in all columns are sorted by creation date, with the most recent first.
Each column header shows the total number of tasks in that status (2). For each task, you can see task type (3), priority (4), state (5), description (6), related data asset (7), progress line (8), author (9) and assignees (10).
The progress line shows how many subtasks are complete and it is not available if there are no subtasks. The task state is only shown for workflow tasks (access request and review request).
Filter tasks
Use filters to narrow down what you see on the board. Filters use AND logic when multiple filters are selected.
| Select X inside a filter field to clear it, or select Clear filters to remove all filters. |
- Filter by owner
-
-
All: Shows all tasks you can access.
-
I’m owner: Shows tasks you created.
-
I’m assignee: Shows tasks assigned to you.

-
- Filter by task details
-
-
Due date: Filter by completion deadline.
-
Priority: Filter by priority level.
-
Task type: Filter by type.
-
Author: Filter by who created the task.
-
Assignee: Filter by who is assigned.

-
Work with tasks
Before you start
By default, you can create tasks for:
-
Catalog items
-
Attributes
-
Terms
-
Rules
-
Monitoring projects
To be able to create tasks from custom asset types, add the tasks:ableToCreateTask trait to those entities in the metadata model.
See Traits.
| Workflow tasks (access request and review request task types) are created automatically when you submit an access or review request. As such, certain actions are restricted. See Workflow tasks. |
Create task
You can create tasks from the Tasks Overview screen or directly from an asset.
To create a task:
-
Select Create task:
-
From a specific asset.
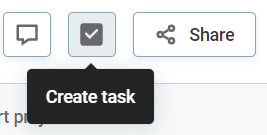
-
From the tasks board (Tasks and Workflows > Tasks).

-
-
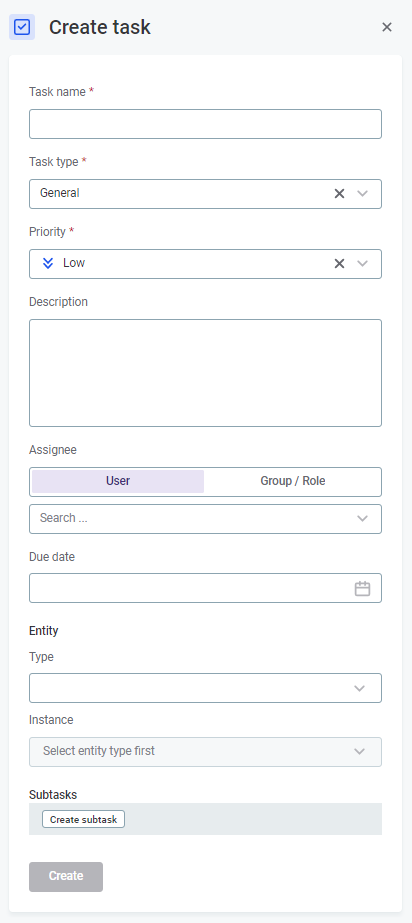
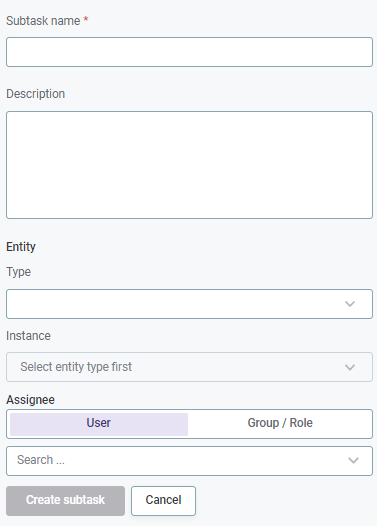
Fill in the task details:
-
Task name: Give your task a clear name.
-
Task type:
-
General: A standard task that doesn’t fit other categories (default).
-
Custom task type: See Task types.
-
-
Priority: Choose Low, Medium, or High.
-
Description: Explain what needs to be done.
-
Assignee: Choose User for a specific person or Group/Role to assign to a group or a specific governance role within a group. Then select from the list.
If no assignee is selected, only you (the task author) can see it.
-
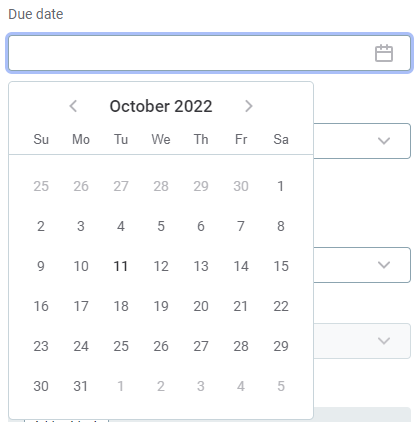
Due date: Optionally, set a deadline using the calendar.
-
Entity type: Optionally, select the type of asset (entity) this task relates to.
-
Instance: Select the specific asset. For example, if you selected term as the entity type, you’ll see a list of all terms.
-
-
To break the task into smaller pieces or assign it to multiple people, create subtasks.
-
Select Create. The task appears on the Tasks Overview screen in the New column.
Task assignees are notified of the new task and will see the task on their board.
Add comments
If you’re the task author or assignee, you can use comments to collaborate with coworkers. Find comments on the Comments tab, where you can leave new comments (Post) or add to an existing thread (Reply).
| Thread replies are collapsed by default. Expand them to see the full comment thread. |
Edit task
You can edit the main task or subtasks (change the status, assignee, or task details) only if:
-
You’re the task author.
-
You’re the task assignee.
-
You have an application admin role (
MMM_admin).
The subtask author and assignee can view the whole tree of tasks but can edit only the subtask.
To modify task details:
-
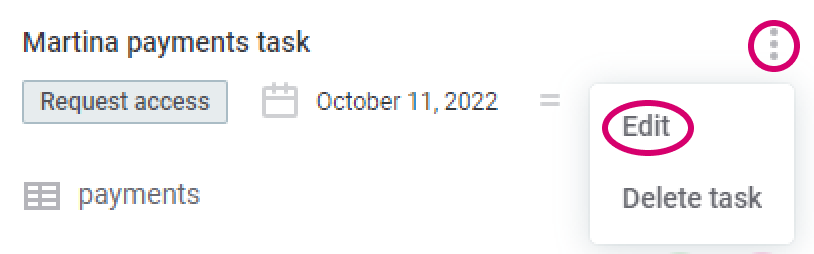
In the three dots menu of the task, select Edit.
-
Make your changes (see Create task for details).
-
Select Save.
Change task assignee
You can update who’s responsible for a task directly from the board. To change the assignee, you need the same permissions as for editing tasks.
For access request and review request tasks, you can only reassign subtasks but not the main task. In addition, subtask assignees can only assign the subtask to another user, not a group or role.
To change the task assignee:
-
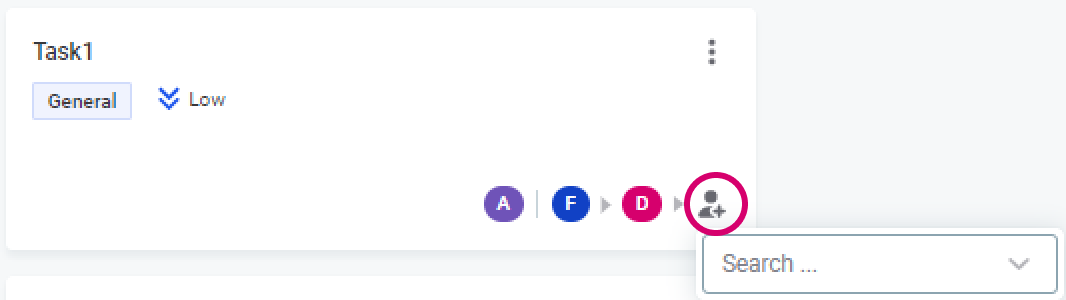
Select the assignee icon to open the Edit task assignee dialog. Alternatively, in the three dots menu of the task, select Edit.
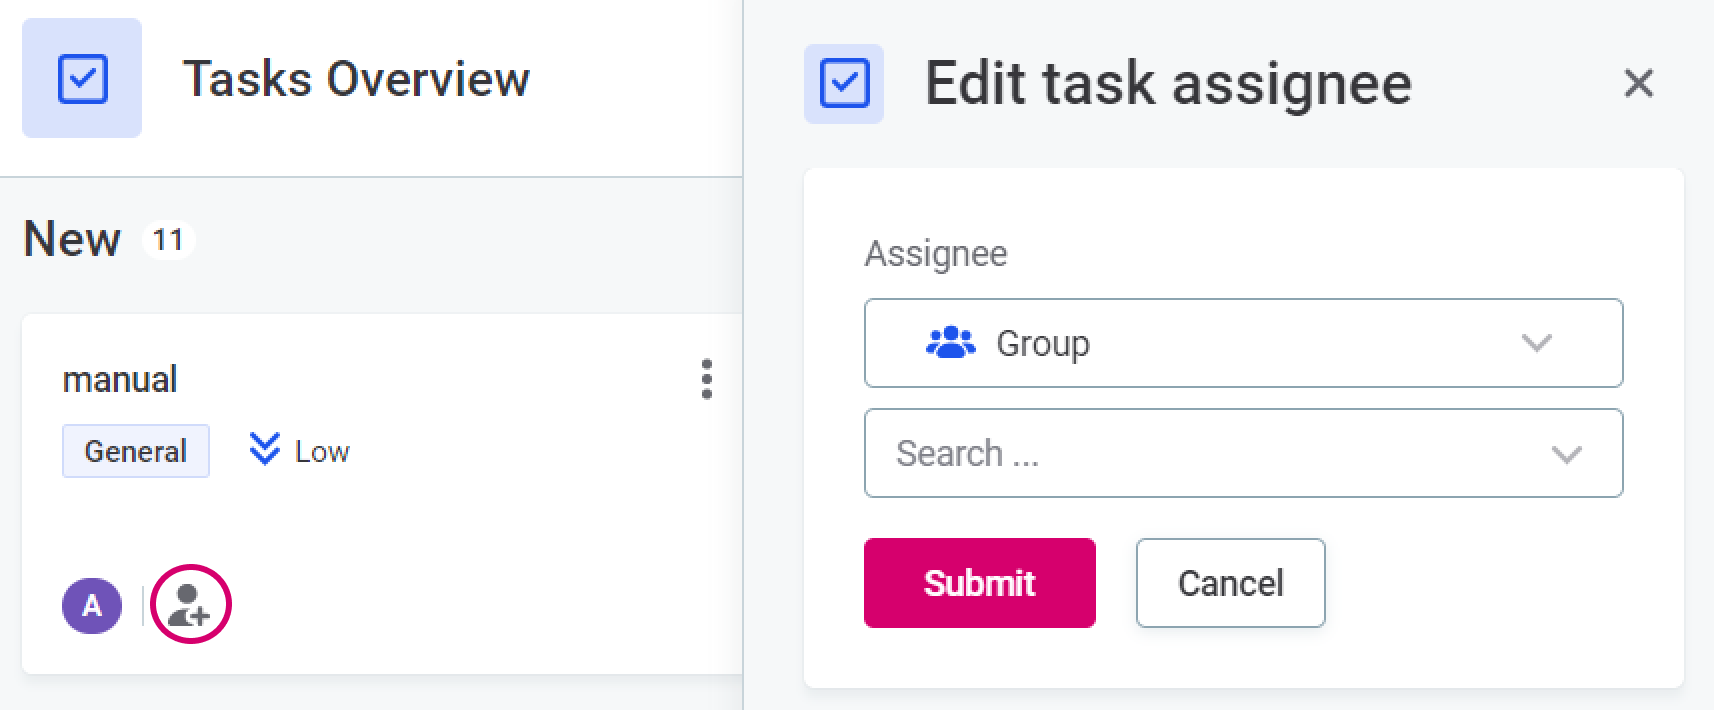
-
To add an assignee: Select a group, role, or user, then Submit. New assignees receive notifications about the change.
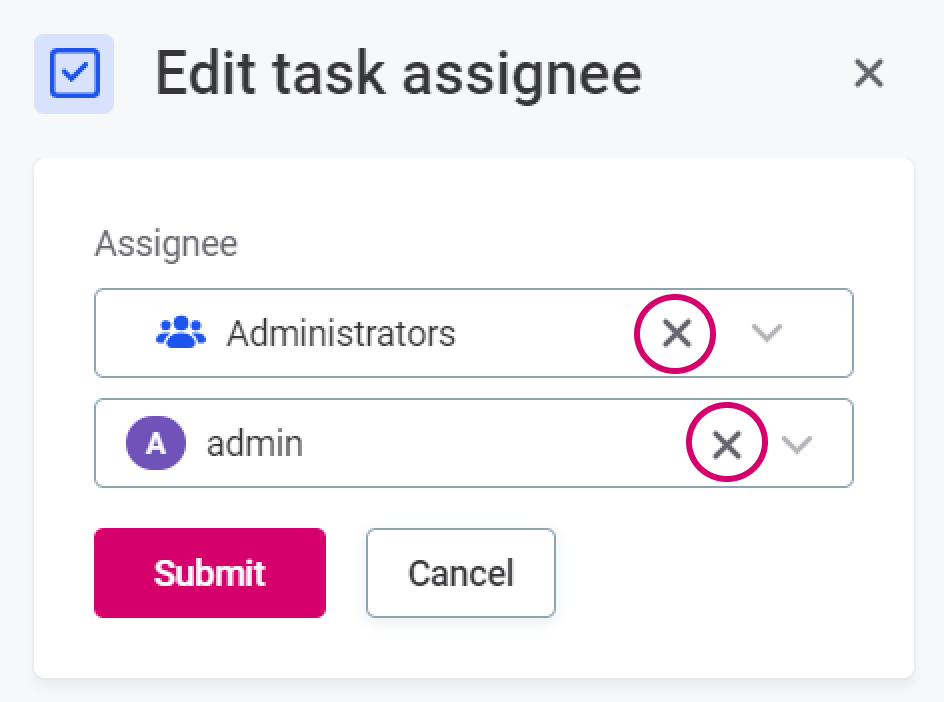
-
To remove an assignee: Select the X icon next to the assignee name. You can then assign someone else or leave the task unassigned.
-
To change the subtask assignee:
-
In the task details view, select Reassign.
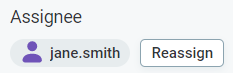
-
Choose a Group, Role, or User, then select Submit.
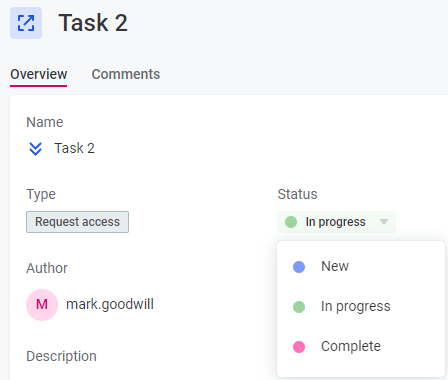
Change task status
Move tasks through your workflow by updating their status.
The status of access request and review requests tasks cannot be changed manually.
Drag and drop tasks to another column, or select a task and change the status in the sidebar.
To change the status of a subtask, use the task details view (either in the sidebar or from the expanded view on the board).
Create subtask
Break down complex tasks or assign work to multiple people by creating subtasks.
For access request and review request tasks, subtasks are created automatically according to the workflow configuration—one for each approval step.
To create a subtask:
-
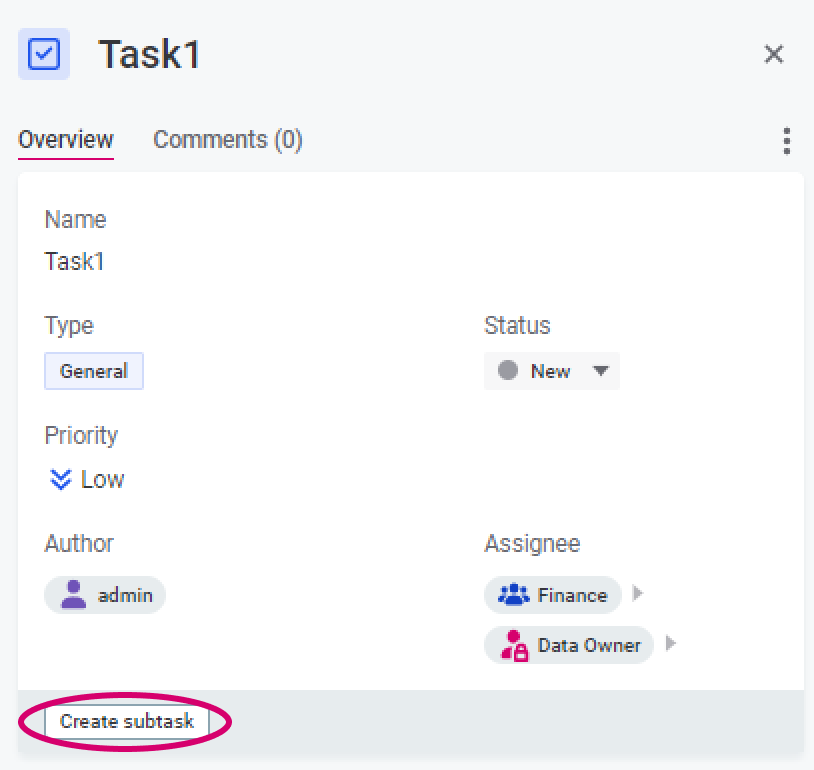
Select a task to view task details in the sidebar. Alternatively, in the three dots menu of the task, select Edit.
-
Select Create subtask.
-
Fill in the subtask information. Refer to Create task for details.
-
Select Submit.
Delete task
| Deleting a task removes all its subtasks and comments. Consider deleting subtasks and comments individually. |
To delete a task or subtask, you need the same permissions as for editing tasks.
Workflow tasks cannot be deleted manually. See Workflow tasks.
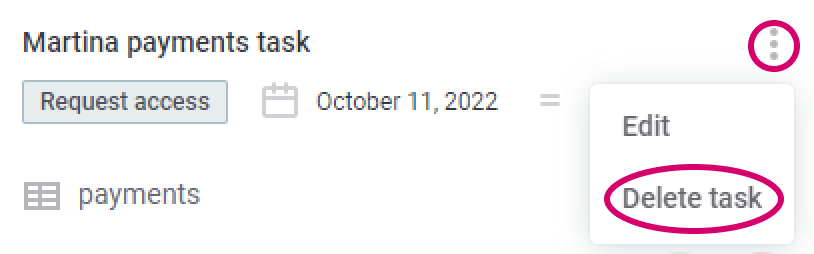
To delete a task:
-
In the three dots menu of the task, select Delete.
-
Confirm the deletion.
Workflow tasks
Workflow tasks (access request and review request task types) are created automatically when you submit an access or review request.
As such, some actions available for user-created tasks are not available or are automated. Specifically:
-
New workflow tasks and subtasks are created only automatically when you submit a request to review or access data.
-
The status of such tasks is always updated automatically, as the task progresses through the workflow. The task moves to Complete once all subtasks are resolved (approved or rejected).
-
You cannot manually edit the task details or assignees nor delete the task or its subtasks.
You can still edit the subtask assignee manually.
Admin users (
MMM_adminrole) and fallback assignees can change the subtask assignee to a group, role, or user, while task assignees can only reassign the subtask to another user.
For details about workflows, see Request Access to Data and Publish Changes respectively.
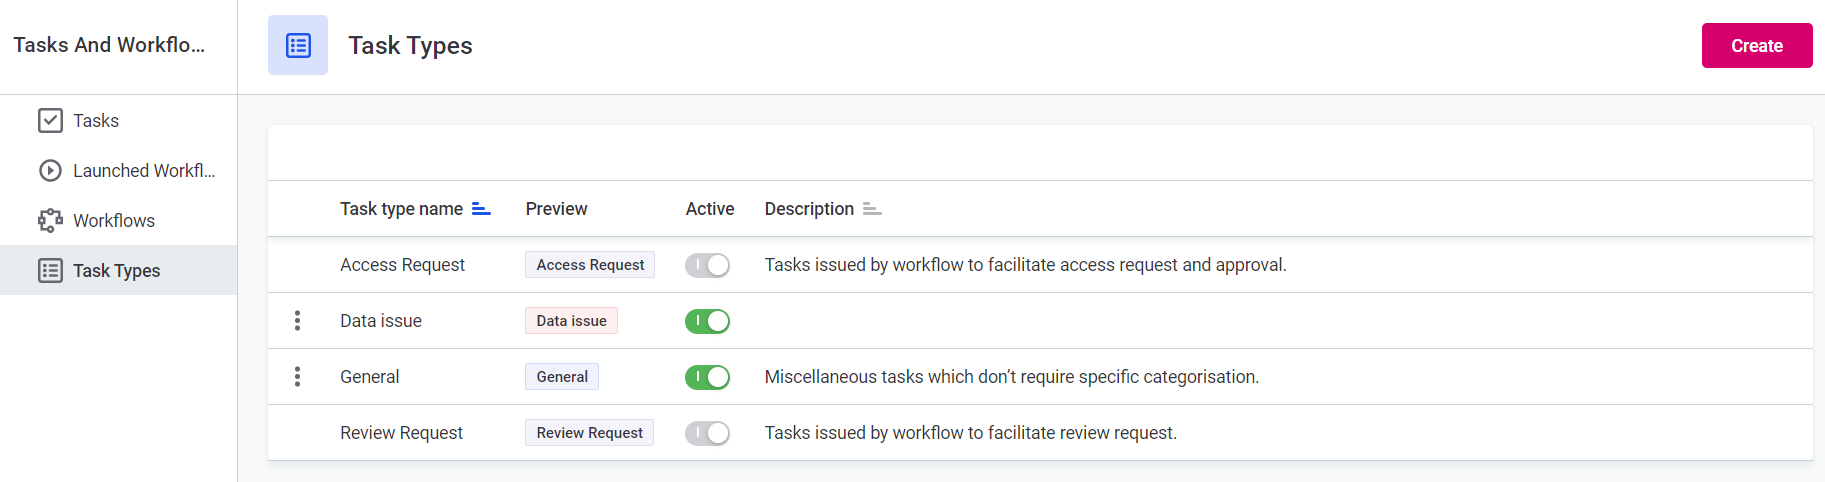
Task types
View all available types at Tasks and Workflows > Task Types.
By default, the following task types are available:
-
Access Request
-
Data issue
-
General
-
Review Request
Access request and review request task types are related to workflows and cannot be edited, deleted, or set as inactive. The remaining task types can be managed manually as described in the following sections.
Create task type
If required, your admin can create a new task type for your organization.
To create a new task type:
-
Go to Tasks and Workflows > Task Types.
-
Select Create.
-
Fill in the following information:
-
Task type name: A clear name for this category.
-
Description: What this task type is used for.
-
Color of tag: Choose a color to help identify this type on the board.
-
-
Check the preview and select Save.
The task type is added as active and can now be used.
Edit task type
You can edit task type details or delete custom task types.
|
Deleting a task type also removes all tasks of that type. Instead, consider making the task type inactive, which makes the task type unavailable for new tasks. To change the status, move the task type between Active and Inactive columns as needed. |
To manage task types:
-
Go to Tasks and Workflows > Task Types.
-
In the three dots menu of the task type, select:
-
Edit to change the task type information.
-
Delete to instantly delete a task type.
-
Was this page useful?