Prepare Server Configuration
The ONE Runtime Server is configured by the server configuration XML file.
For more information about the structure of the server configuration file, refer to one-runtime-server:runtime-configuration.adoc.
Server Configuration Editor
You can edit the server configuration file directly in ONE Desktop, using the Server Configuration Editor.
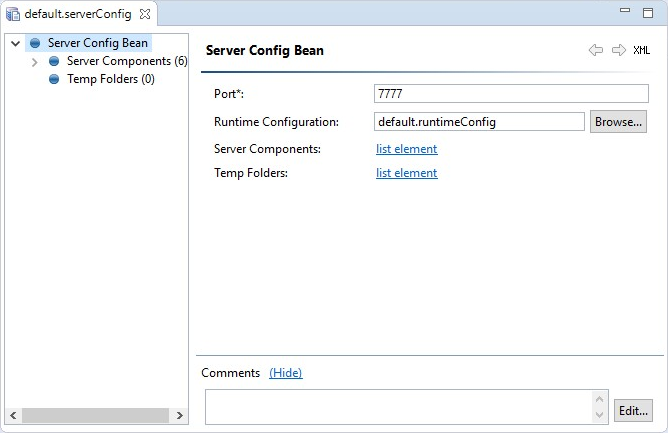
Edit a server configuration file
To edit the server configuration:
-
Right-click a file with the
.serverConfigextension and select Open with > Server Configuration Editor. Or, simply double-click the file name.
-
Define the following attributes in the Server Config Bean node:
-
Port
-
Runtime Configuration file
-
-
Configure the server components you need in Server Components.
-
If necessary, define temporary folders in the Temp Folders node.
-
Save your changes and close the editor.
In the current version, editing server details, such as the server name, can affect certain functionalities, like running profiling on virtual catalog items related to that server. In that case, we recommend specifying additional parameters, for example, the new server name, through the global runtime configuration.
This configuration is provided as a base64 encoded string to Data Processing Module (DPM) configuration using the Configuration Service. See DPM Configuration, section Global runtime configuration.
Server components
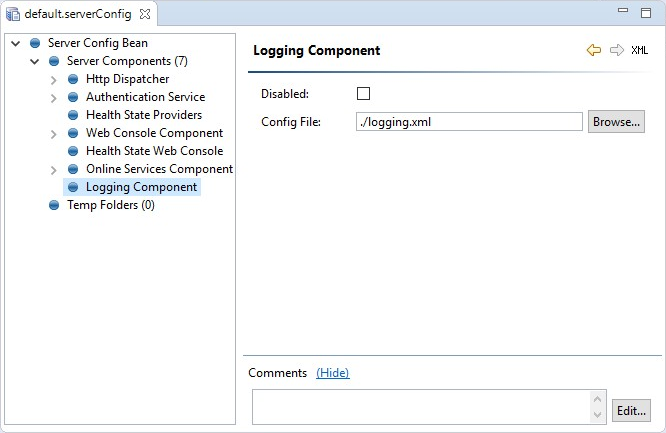
To view all currently configured components, open the server configuration file in the editor and select the Server Components node in the property tree.
You can make components inactive by checking the Disabled option next to the component name. This way, you can prepare several alternative component configurations and test them one by one without having to delete the alternatives.
For detailed information about the function and configuration of specific components, see Server Components.
Add and remove server components
To add a component:
-
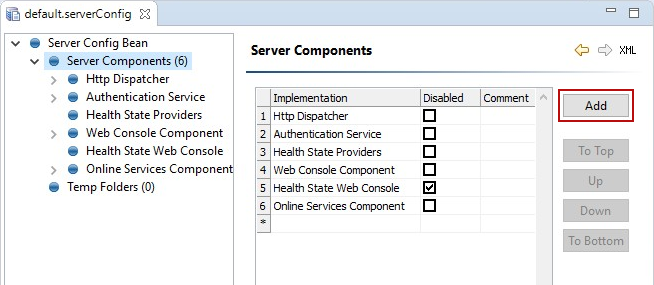
Navigate to the Server Components node of the property tree and select Add.
-
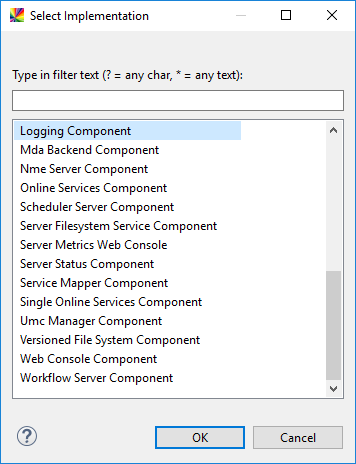
In the Select Implementation dialog, select the component from the list and confirm.
To remove a component, right-click the component in the property tree and choose Delete.
Create a server configuration file
To create a server configuration file:
-
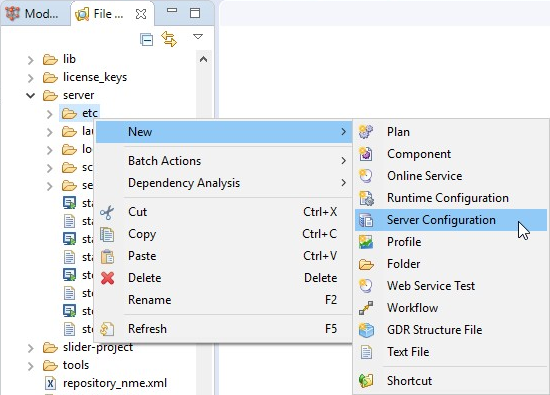
In the File Explorer, right-click a folder and choose New > Server Configuration.
-
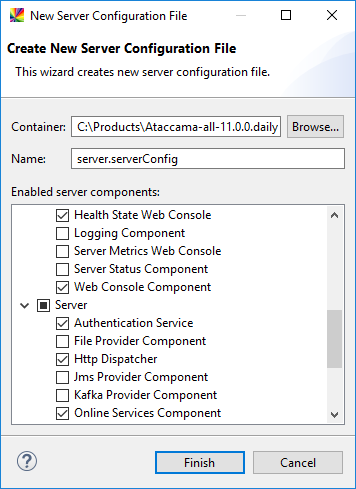
Specify the file Name.
-
Select the components that you want to use and select Finish.
Some essential components are preselected by default.
Was this page useful?

