
Collibra Integration
This guide provides examples of how to set up ONE Desktop integration with Collibra and how you can use the Collibra Reader and Collibra Writer steps in ONE Desktop to read DQ Rules from Collibra or import them back to Collibra respectively.
Prerequisites
-
You have a running instance of Collibra, with valid credentials for logging in and reading and writing assets.
Create a server connection to Collibra
To set up a connection to Collibra via ONE Desktop:
-
Launch ONE Desktop.
-
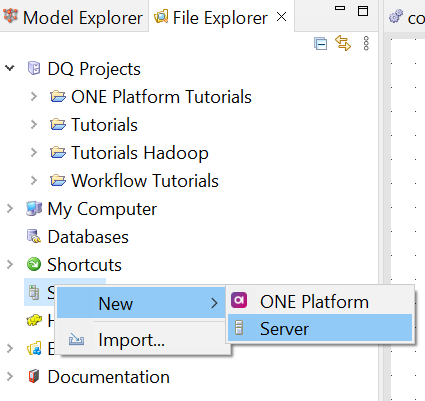
Right-click Servers and select New > Server.
-
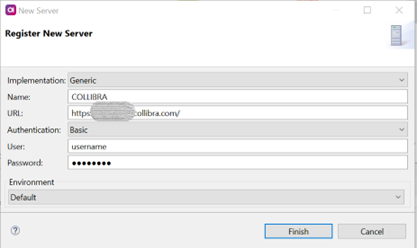
Fill in the following information:
-
Implementation:
Generic. -
Name: Name of the connection.
-
URL: URL of your Collibra instance.
-
Authentication:
Basic. -
Username: Username used to connect to Collibra.
-
Password: Password used to connect to Collibra.
-
-
Select Finish.
Read data quality rules from Collibra
To extract DQ rule definitions from Collibra into a text file:
-
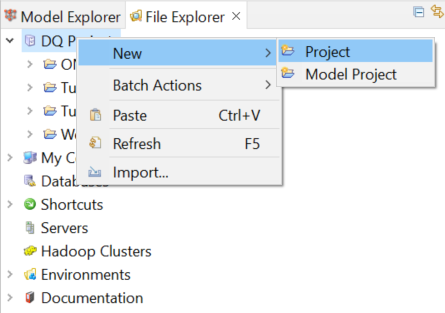
Create a project in ONE Desktop to store your work. Right-click DQ Projects and select New > Project.
-
Name your project and select Finish.

-
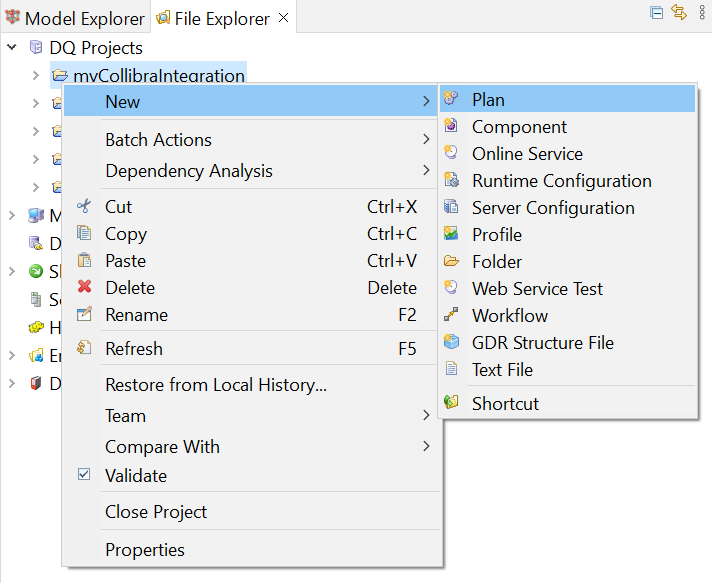
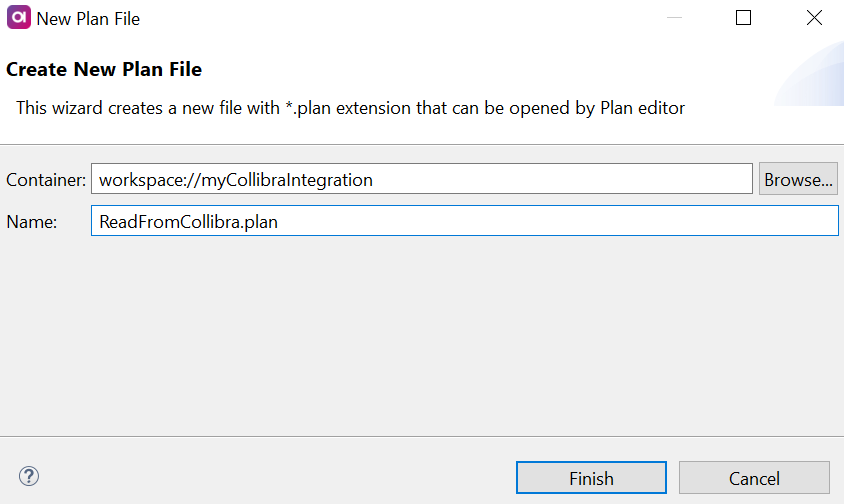
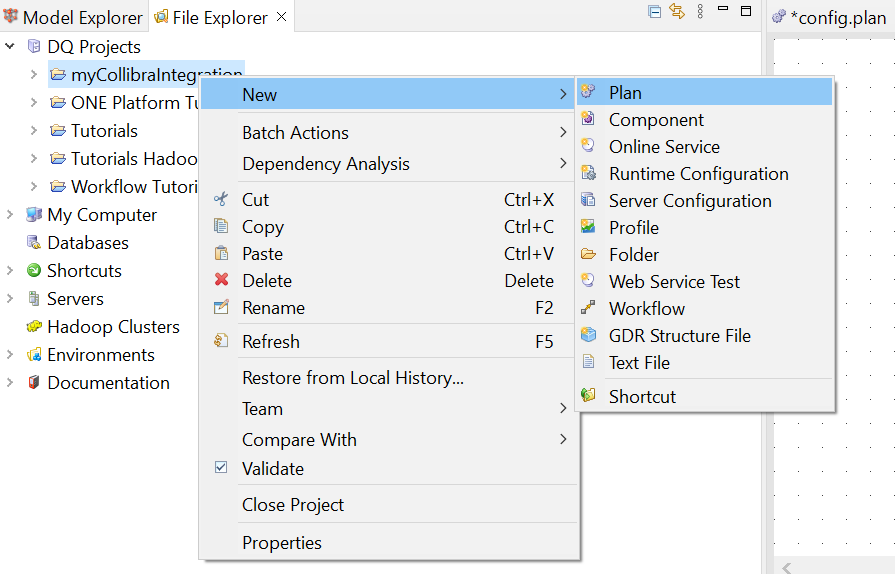
Right-click the newly created project directory and select New > Plan.
-
Give the plan a name and select Finish. This opens the plan canvas where you can implement the solution.
-
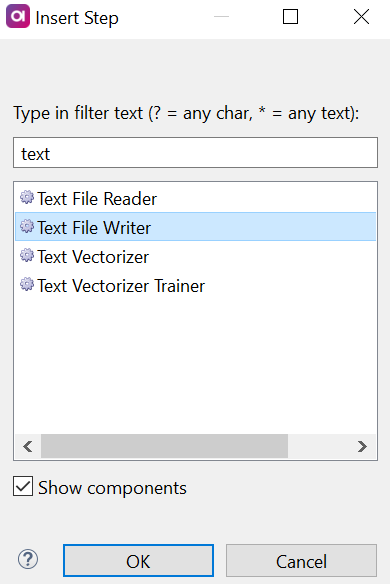
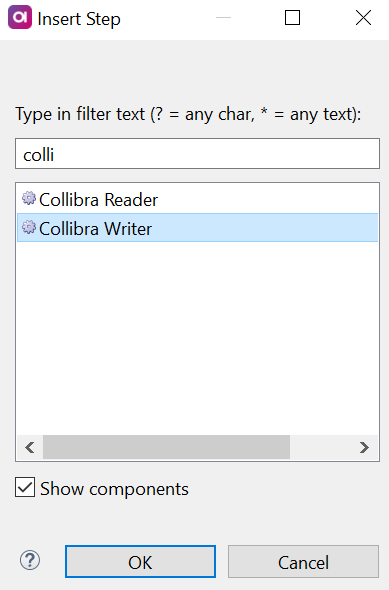
Right-click the canvas and select Insert Step (or press Ctrl+I).
-
Select Collibra Reader and then OK. Click the canvas to place the step.
-
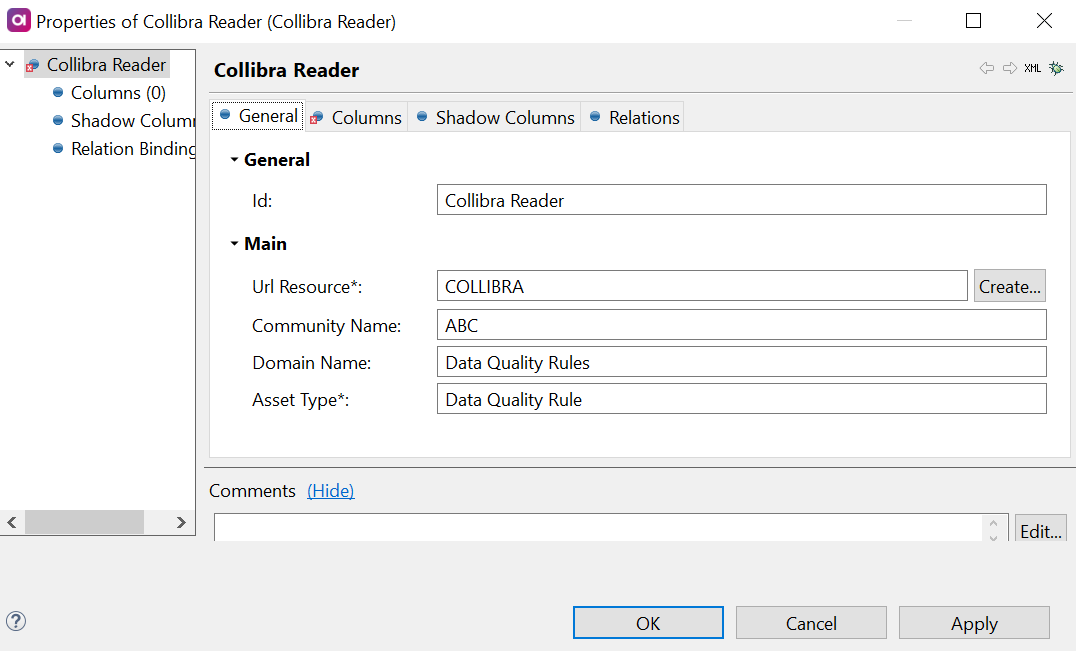
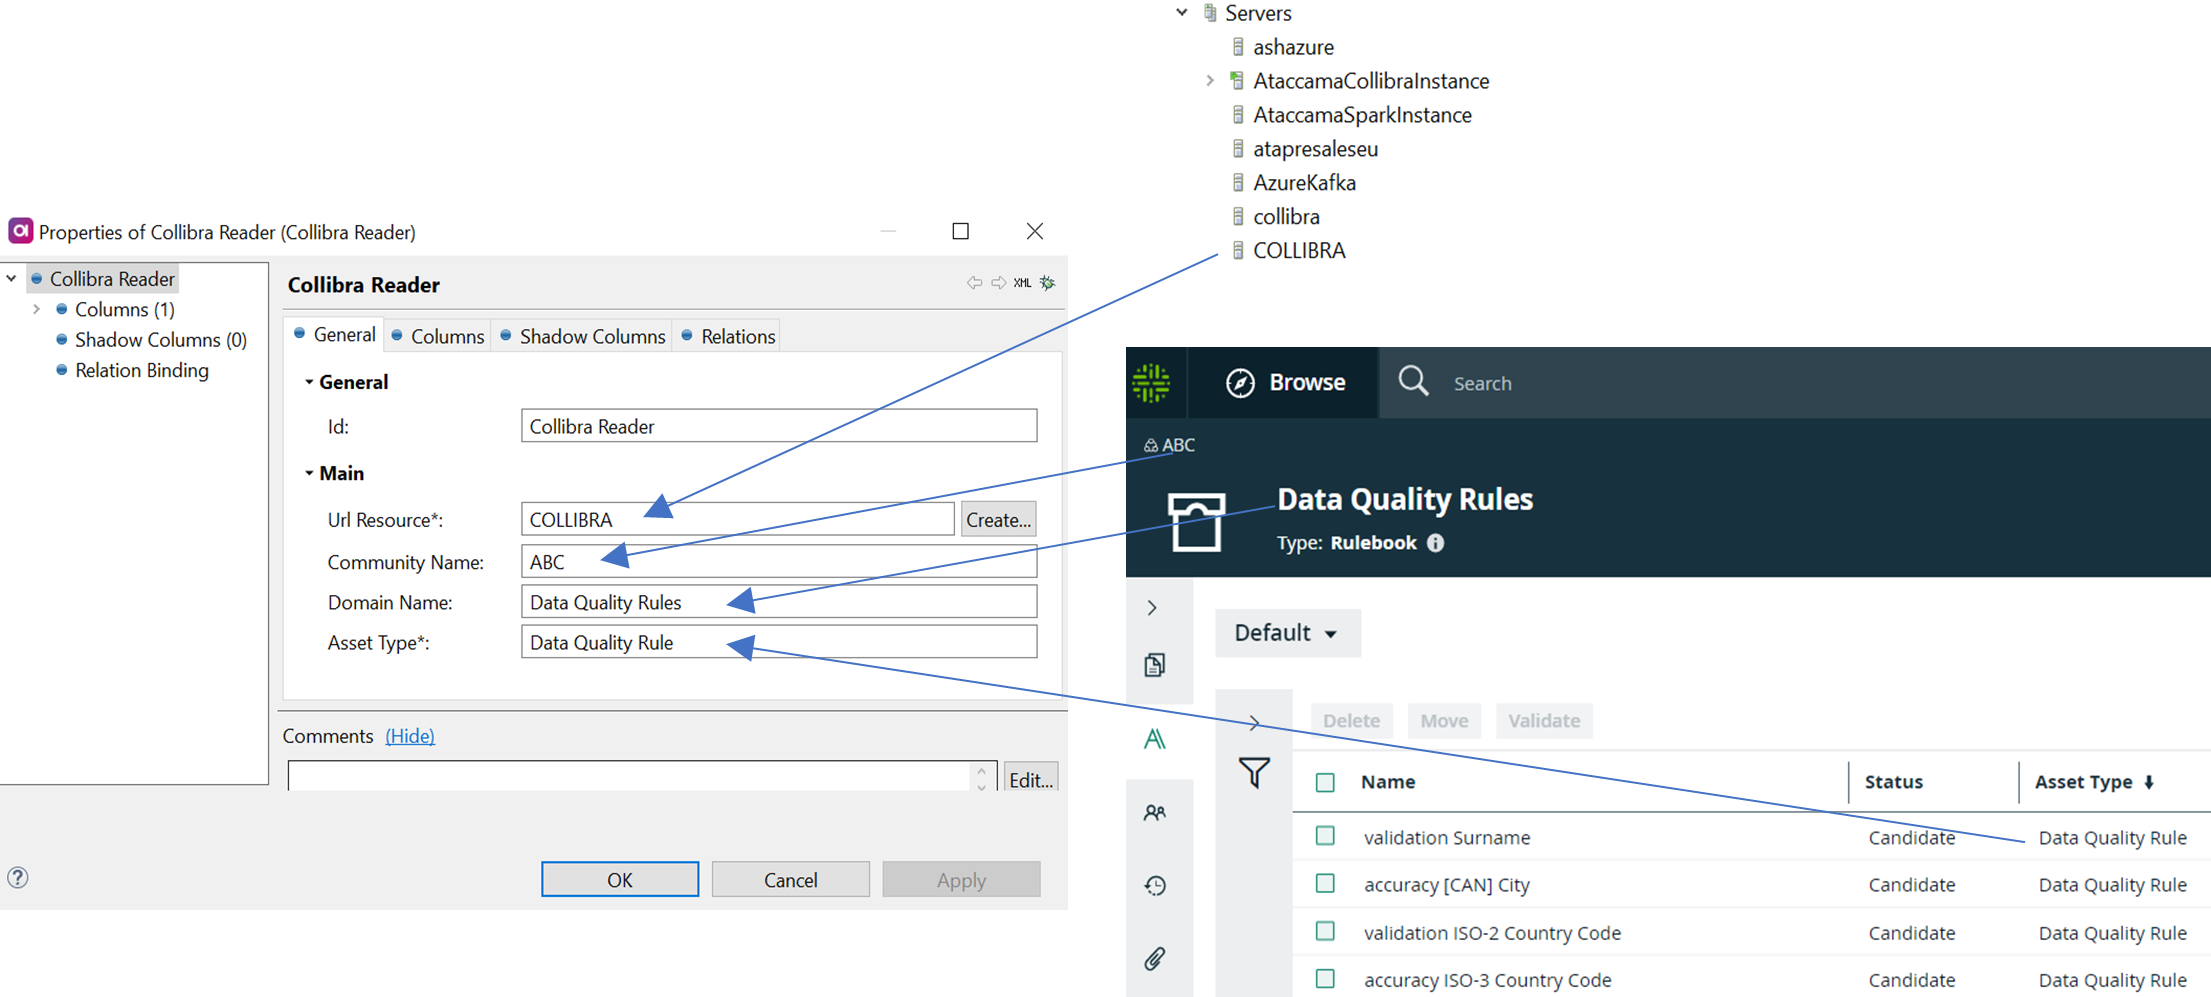
Double-click the step to configure. On the General tab, provide the following:
-
URL Resource: The newly created Collibra server.
-
Community Name: The Collibra community from where you would like to read (found in Collibra).
-
Domain Name: The domain within the community (found in Collibra).
-
Asset Type: The type of asset you would like to read (found in Collibra).
-
-
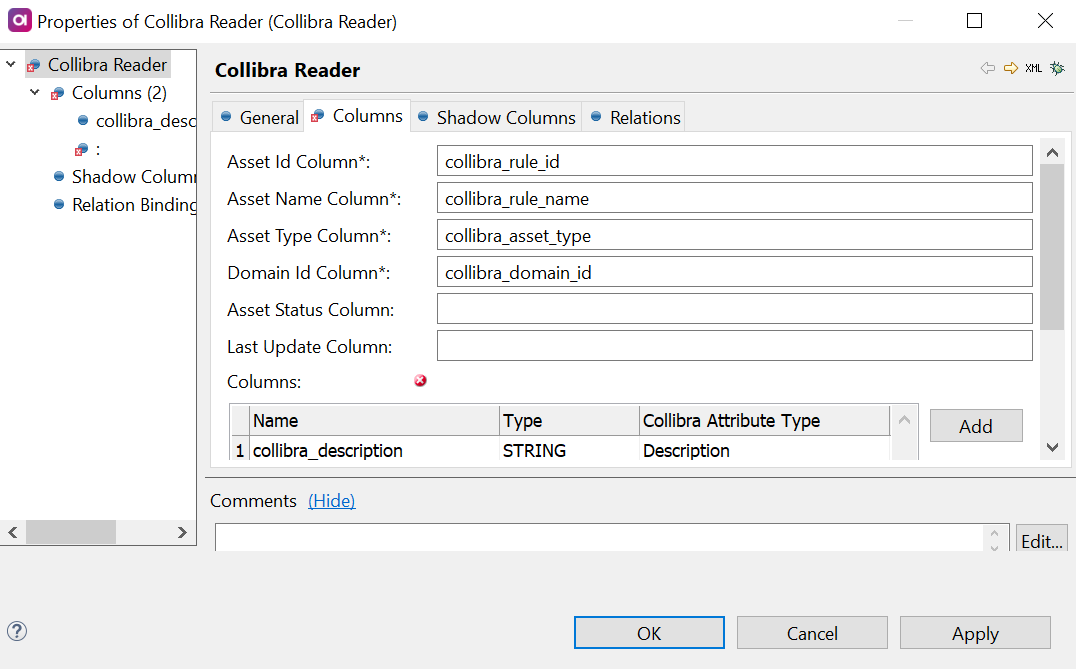
Now you need to configure which columns from Collibra data quality rules you want to read. On the Columns tab, first map the following default columns:
-
Asset Id Column: The unique identifier of the rule.
-
Asset Name Column: The name of the DQ rule.
-
Asset Type Column: The asset type. In this case, it is Data Quality Rules.
-
Domain Id Column: The unique identifier of the domain.
-
-
Import the value of the Description field in Collibra by creating a new column.

-
Once configured, select Apply and OK to save.
-
Now that you have configured the Collibra Reader step, you can output the result to a file using the Text File Writer step. Insert the step to the canvas and double-click it to configure.
-
Specify the name of the output file with a
.txtextension and select OK.
-
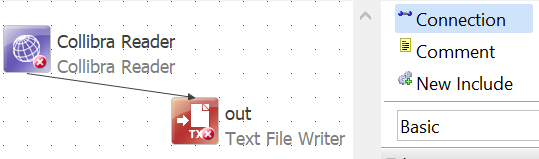
Connect the Collibra Reader and Text File Writer steps.
-
Right-click anywhere on the canvas and select Run.
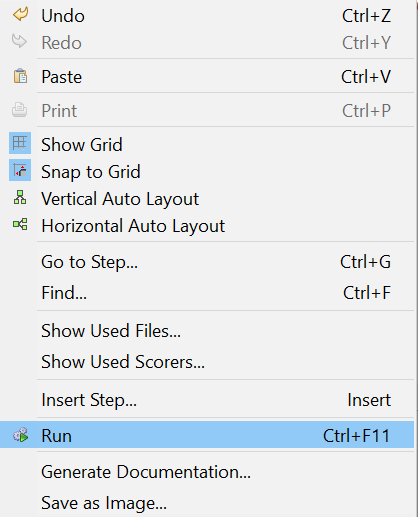
-
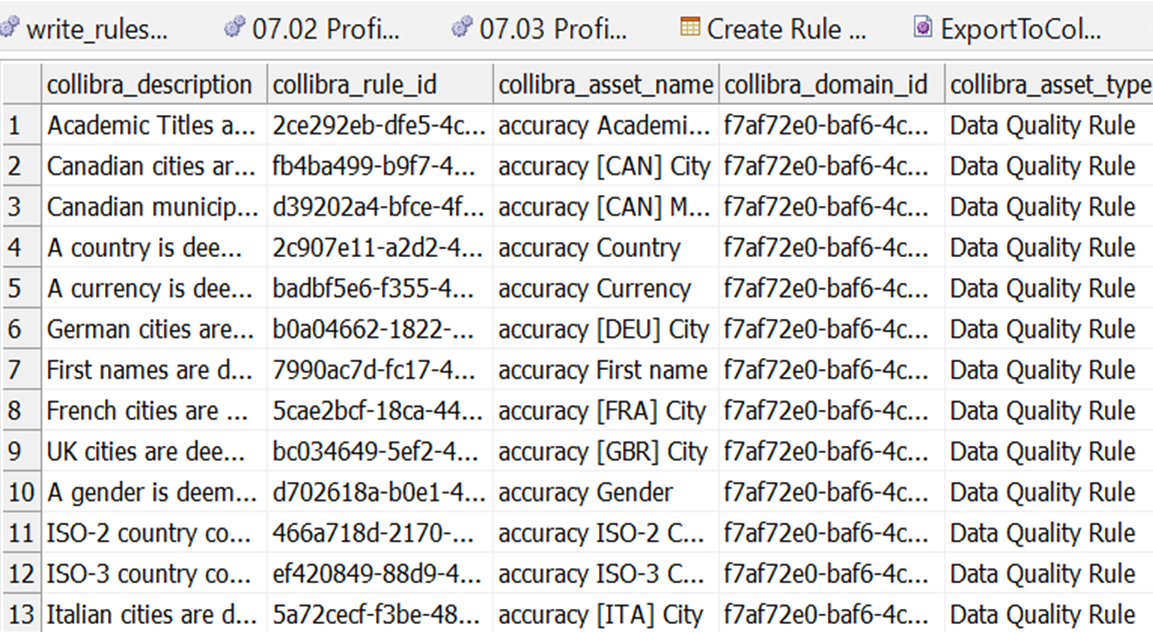
After execution, hold the Ctrl key and double-click the Text File Writer step to view the result.
Write data quality rules to Collibra
To create a new rule definition from scratch and write back to Collibra using the Collibra Writer step:
-
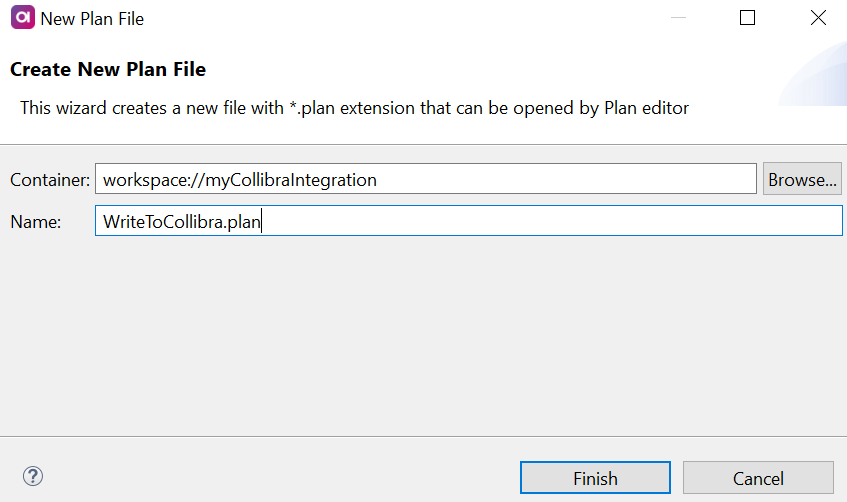
Right-click the required directory (in this example, we will use the same directory as in the previous step) and select New > Plan.
-
Give the plan a name and select Finish. This opens the plan canvas where you can implement the solution.
-
Insert a Random Record Generator step.
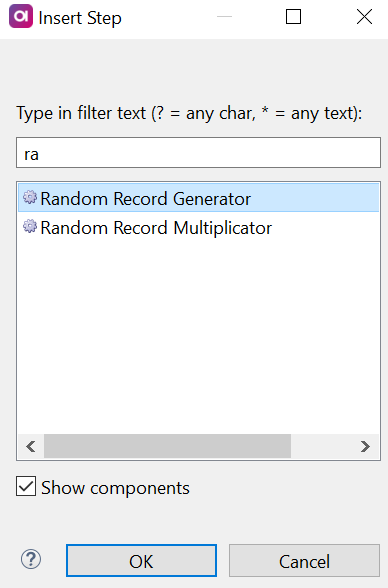
*
-
Double-click the Random Generator step to open it and on the General tab, set Record Count to
1.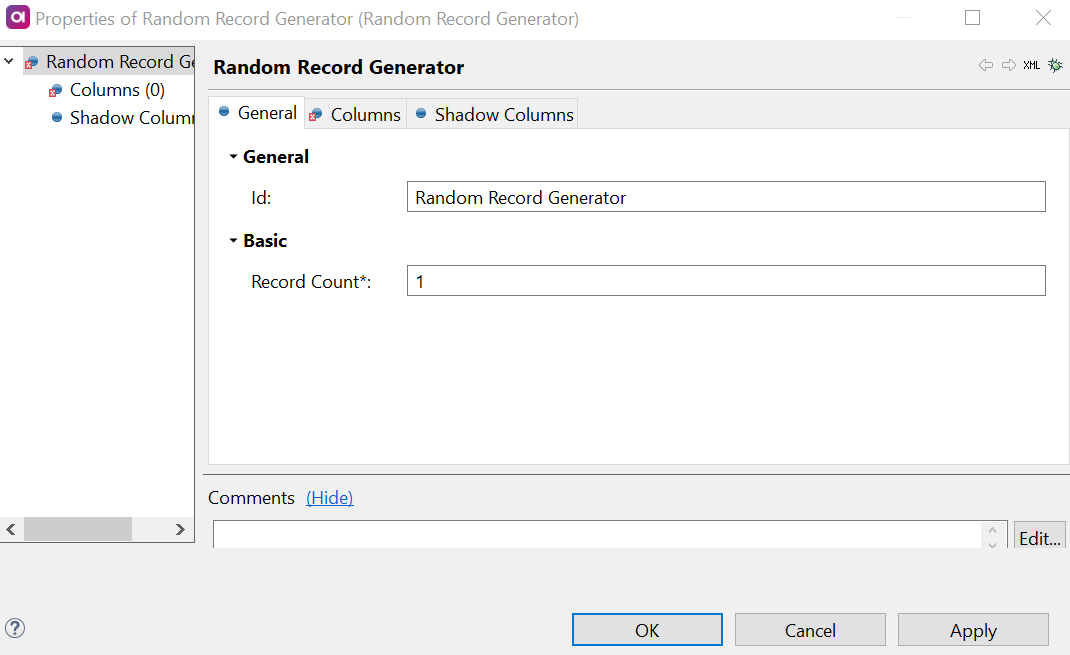
-
On the Columns tab, select Add to open the Select Implementation dialog and then select Expression.
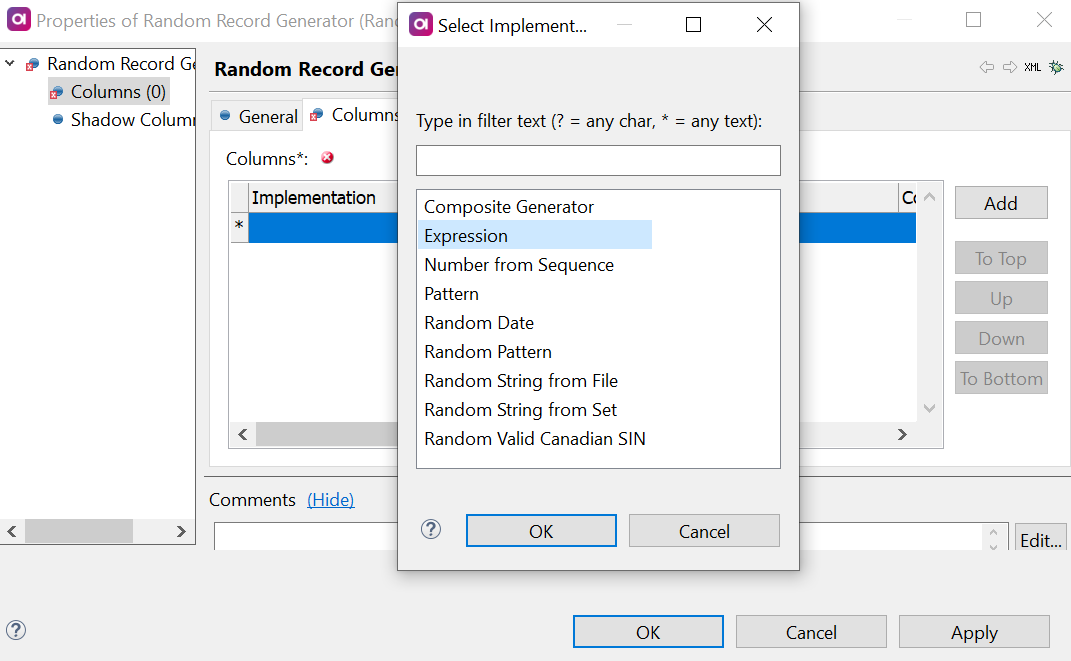
-
Fill in the fields as follows:
-
Name:
RuleName. -
Type:
String. -
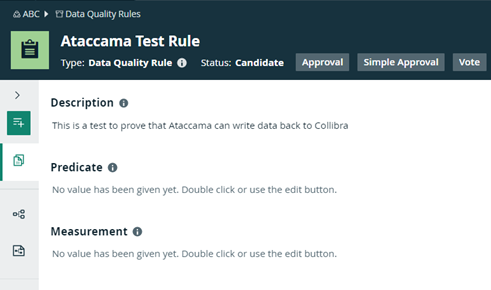
Expression:
"Ataccama Test Rule".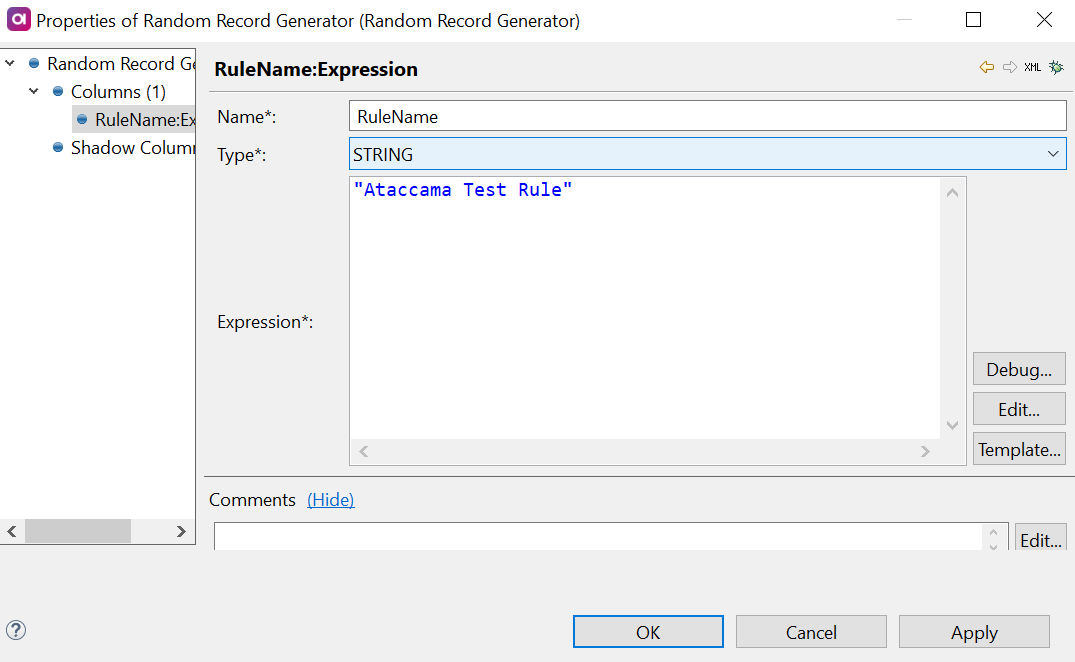
-
-
Add another column as described in step 5 and fill in the fields as follows:
-
Name: RuleDescription.
-
Type: String.
-
Expression:
“This is a test to prove that Ataccama can write data back to Collibra”.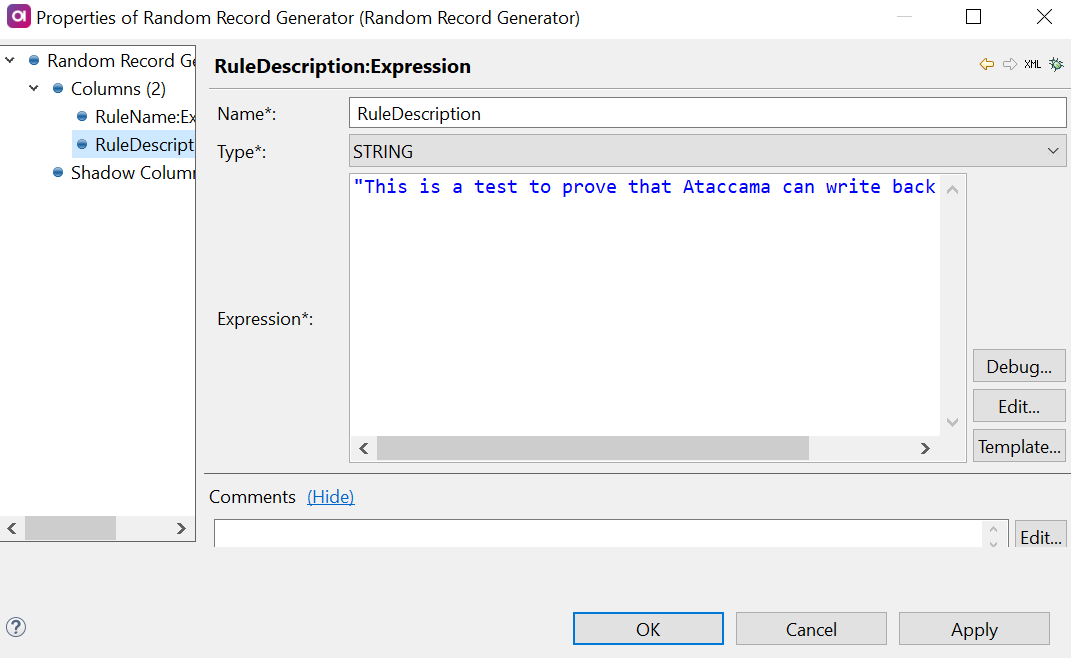
-
-
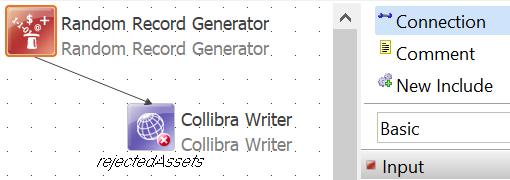
Insert a Collibra Writer step.
-
Open the Collibra Writer step configuration and set up the Url Resource as the name of the server created earlier in this guide.

-
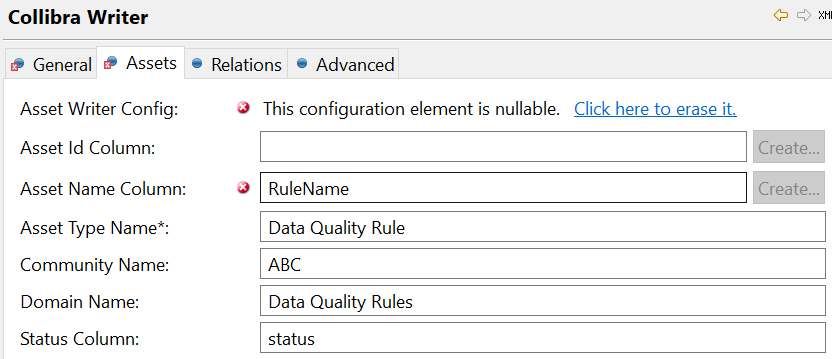
On the Assets tab, create a new configuration as follows:
-
Asset Name Column: The name of the column created in step 6.
-
Asset Type Name: The asset type as it corresponds to the asset type in Collibra.
-
Community Name: The name of the community in Collibra you want to write to.
-
Domain Name: The community domain in Collibra you want to write to.
-
Status Column: The name you would like to use for the status column.
-
-
Write the value of the Description field to Collibra in Asset Writer Columns, using the column name created in step 7.

-
Connect the Collibra Writer and Random Record Generator steps.
-
Right-click anywhere on the canvas and select Run.
-
After running the plan successfully, you can verify that the rule is created in Collibra.
Was this page useful?